I wasn’t expecting baking advice from my accountant, but there I was, hunched over a stack of receipts during tax season, listening to Mr. Henderson describe exactly how to make the perfect small batch of chocolate chip cookies. He’d noticed me eyeing the sad, crumbly store-bought cookie on his desk and just started talking. “You know,” he said, not looking up from my 1099 form, “the problem with most recipes is they assume you want thirty cookies. Nobody needs thirty cookies on a Tuesday night.” And just like that, he scribbled his formula on a sticky note—a recipe scaled down to just six cookies. It was the last place I expected to find baking gold.
Honestly, I almost lost that sticky note. It got buried under bank statements and forgotten for months. When I finally found it again, I was skeptical. Could a recipe from a man who spent his days calculating depreciation really produce a cookie worth writing home about? But let me tell you, that first batch changed everything. The edges were perfectly crisp, the centers were soft and gooey, and the chocolate—he insisted on chopping a bar instead of using chips—melted into these incredible pools of richness.
Maybe you’ve been there, staring at a recipe that calls for three sticks of butter and a whole bag of flour, wondering if you really need that many cookies in your life. This recipe is the answer. It’s just enough to satisfy that craving without leaving you with a week’s worth of temptation on your counter. Mr. Henderson’s little sticky note has become my go-to, and I keep making it because it proves that sometimes the best things come in the smallest batches.
Why You’ll Love This Recipe
Let’s be honest—there’s something special about a warm, freshly baked chocolate chip cookie. But most recipes make a mountain of them, and that’s not always what you need. This small-batch chocolate chip cookies recipe is different. It’s designed for those moments when you want the real deal without the commitment of a full batch.
- Quick & Easy: From start to finish, these cookies are ready in about 25 minutes. No chilling required, no complicated techniques. Perfect for a sudden craving or a lazy afternoon.
- Simple Ingredients: You likely have everything in your pantry right now. Butter, sugar, an egg, flour, and a good chocolate bar. No fancy extracts or specialty flours needed.
- Perfect for Small Households: Living alone or with just one other person? This recipe gives you six perfect cookies—enough for two or three days of treats, not two weeks.
- Crowd-Pleaser: I’ve made these for neighbors, friends, and even my skeptical accountant. They disappear every single time. The texture and flavor combo is next-level comfort food.
- Unbelievably Delicious: The secret is in the technique—browning the butter and using chopped chocolate instead of chips. It sounds fancy, but it’s actually easier than you think and makes a world of difference.
What sets this recipe apart is the balance. You get that perfect crisp edge with a soft, almost underbaked center. It’s not just another version of chocolate chip cookies—it’s the best version for when you need exactly six. This is the kind of cookie that makes you close your eyes after the first bite. Trust me on this one.
What Ingredients You Will Need
This small-batch chocolate chip cookies recipe uses simple, wholesome ingredients to deliver bold flavor and satisfying texture without the fuss. Most of these are pantry staples, but a few key choices make all the difference.
- Unsalted butter, 3 tablespoons (42g) — We’re going to brown this butter for a nutty, caramelized flavor. I recommend using a good quality butter like Kerrygold for the best taste (adds richness).
- Granulated sugar, 2 tablespoons (25g) — Provides sweetness and helps create those crispy edges.
- Light brown sugar, 2 tablespoons (25g), packed — Adds moisture and a deeper, molasses-like flavor. Make sure it’s packed firmly into the spoon.
- Large egg yolk, 1 — The yolk adds richness and tenderness without the excess moisture of the white. Save the white for an omelet!
- Vanilla extract, ½ teaspoon — Pure vanilla extract is worth it here. Imitation will work, but the flavor won’t be as rich.
- All-purpose flour, ¼ cup plus 2 tablespoons (48g) — Standard all-purpose flour works perfectly. Spoon it into your measuring cup and level it off—don’t scoop directly or you’ll pack it too tight.
- Baking soda, ⅛ teaspoon — Just a tiny bit helps the cookies spread and become chewy.
- Salt, ¼ teaspoon — I use fine sea salt. It balances the sweetness and enhances the chocolate flavor.
- Dark or semi-sweet chocolate, 2 ounces (56g), chopped — This is the game-changer. Use a good quality chocolate bar like Ghirardelli or Lindt. Chop it into irregular pieces—some big, some small—for those beautiful pools of melted chocolate. Chocolate chips are fine in a pinch, but chopped chocolate gives you that bakery-style look and texture.
- Flaky sea salt (optional) — A sprinkle on top right after baking takes these cookies to another level. Maldon is my go-to brand.
Equipment Needed
You don’t need a professional bakery setup for these small-batch chocolate chip cookies. A few basic tools will get the job done beautifully.
- Small skillet or saucepan — For browning the butter. A light-colored pan helps you see the color change. I use my trusty 8-inch non-stick skillet.
- Mixing bowls — One medium bowl for the wet ingredients and one small bowl for the dry. Nothing fancy needed.
- Whisk — For combining the wet ingredients smoothly. A fork works in a pinch.
- Rubber spatula — For folding everything together. It helps you scrape the sides and get every bit of that buttery goodness.
- Baking sheet — A small half-sheet pan is perfect. If you only have a large one, that’s fine too.
- Parchment paper or silicone baking mat — Prevents sticking and makes cleanup a breeze. I prefer parchment for the crispiest bottoms.
- Cookie scoop or tablespoon — For evenly sized cookies. A #40 scoop (about 1.5 tablespoons) works perfectly.
- Cooling rack — Lets the cookies cool evenly. If you don’t have one, just let them cool on the baking sheet for a few minutes before transferring.
I’ve made these cookies with a cheap baking sheet and they still turned out great. The most important tool is a watchful eye—ovens vary, so keep an eye on that golden edge.
Preparation Method
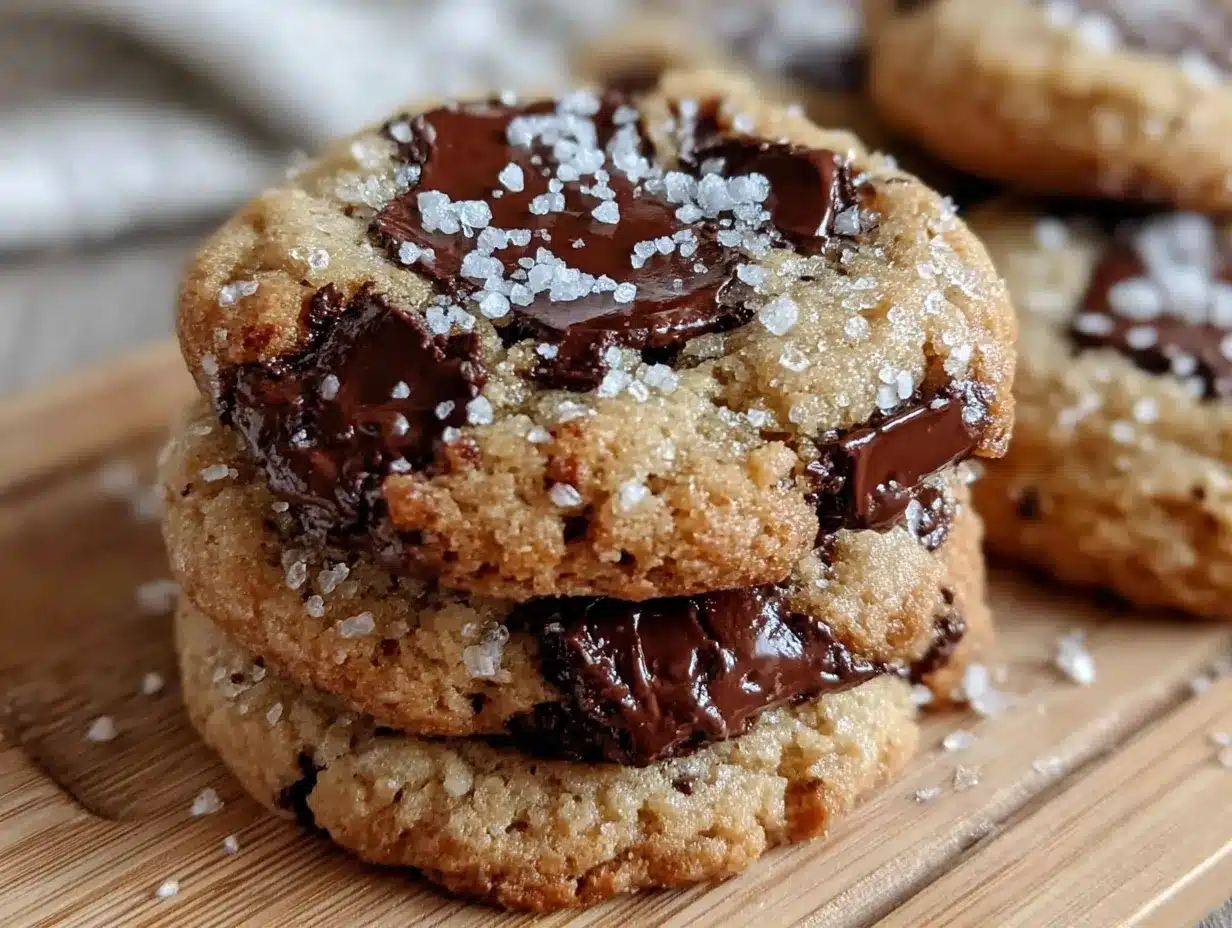
Ready to bake? Here’s how to make these perfect small-batch chocolate chip cookies step by step. The whole process takes about 25 minutes, and the smell alone is worth it.
- Preheat your oven to 350°F (175°C). Line your baking sheet with parchment paper. This is a small batch, so you only need one sheet.
- Brown the butter. Place the 3 tablespoons of butter in a small skillet or saucepan over medium heat. Stir constantly with a rubber spatula or whisk. The butter will melt, then foam, then start to turn golden. Watch for brown specks forming at the bottom—that’s the milk solids toasting. This takes about 3-4 minutes. Once it smells nutty and is a light amber color, remove it from the heat immediately. Pour it into a medium mixing bowl to stop the cooking. Let it cool for 2-3 minutes—it should be warm, not hot, when you add the sugars.
- Combine the sugars and butter. Add the granulated sugar and packed brown sugar to the warm browned butter. Whisk vigorously until the mixture is smooth and looks like wet sand. It should be slightly grainy but well combined. This takes about 30 seconds.
- Add the egg yolk and vanilla. Drop in the egg yolk and the vanilla extract. Whisk again until the mixture becomes thick, glossy, and falls in ribbons from the whisk. This is called the “ribbon stage” and it’s your sign that everything is emulsified properly. It takes about 1 minute of steady whisking.
- Mix the dry ingredients. In a small separate bowl, whisk together the flour, baking soda, and salt. Make sure there are no clumps—baking soda loves to hide in little pockets.
- Fold in the dry ingredients. Add the flour mixture to the wet ingredients. Use your rubber spatula to fold gently. Stir just until you see no more streaks of flour. Overmixing at this stage will make your cookies tough. The dough will be soft and slightly sticky—that’s perfect.
- Add the chocolate. Gently fold in the chopped chocolate. Reserve a few nice pieces to press onto the tops of the dough balls later for a prettier look. The dough should be chunky and studded with chocolate.
- Portion the dough. Use your cookie scoop or a tablespoon to scoop out 6 equal portions of dough. Each should be about 1.5 tablespoons. Roll them gently into balls and place them on the prepared baking sheet, spacing them about 2 inches apart. They will spread, but not too much.
- Top with extra chocolate (optional). Press those reserved chocolate pieces onto the tops of each dough ball. This gives you those gorgeous chocolate pools on top.
- Bake. Place the baking sheet in the preheated oven. Bake for 9-11 minutes. At 9 minutes, the edges should be golden brown and set, but the centers will still look puffy and slightly underdone. This is exactly what you want. For softer cookies, go with 9 minutes. For slightly crispier edges, go with 11 minutes. Your kitchen should smell like a bakery right about now.
- Cool on the baking sheet. Remove the sheet from the oven. Let the cookies rest on the hot baking sheet for 5 minutes. This allows them to finish setting up without overbaking. They will look a bit puffy at first, then settle into perfect little discs.
- Transfer to a cooling rack. After 5 minutes, carefully move the cookies to a cooling rack. If you’re using flaky sea salt, sprinkle a tiny pinch over each warm cookie. The salt melts slightly into the surface and balances the sweetness beautifully.
- Wait (if you can). Let them cool for at least 5 more minutes before devouring. The chocolate needs that time to set up so you don’t burn your tongue. But honestly, I’ve eaten them warm and regretted nothing.
Cooking Tips & Techniques
After making these small-batch chocolate chip cookies more times than I can count, I’ve picked up a few tricks that make a real difference. Here’s what I’ve learned—sometimes the hard way.
Don’t skip browning the butter. I know it’s an extra step, but it’s the single biggest flavor booster in this recipe. The nutty, toasty notes it adds are incredible. I once tried to skip it when I was in a rush, and the cookies were flat and boring. Never again. Watch the butter carefully—it goes from browned to burnt in seconds.
Weigh your ingredients if you can. Flour is notoriously easy to overmeasure. Scooping directly from the bag can add up to 25% more flour than you need, resulting in dry, cakey cookies. Using a kitchen scale takes the guesswork out. If you don’t have one, spoon the flour into your measuring cup and level it off with a knife.
Room temperature ingredients matter. The egg yolk should be at room temperature so it emulsifies properly with the warm butter. If you forgot to take it out ahead of time, place the whole egg in a bowl of warm water for 5 minutes before separating.
Chill the dough if you have time. While this recipe doesn’t require chilling, letting the dough rest in the fridge for 30 minutes will produce thicker, chewier cookies. The flour has time to hydrate and the flavors meld together. I do this when I’m making them for company.
My biggest failure? The first time I made these, I used a dark non-stick pan and left them in for 12 minutes. The bottoms came out almost burnt while the tops looked perfect. Now I always use a light-colored baking sheet and check at the 9-minute mark. Every oven runs differently, so get to know yours.
Variations & Adaptations
One of the best things about this small-batch chocolate chip cookies recipe is how easily it adapts. Here are some variations I’ve tried and loved.
Gluten-Free Version: Swap the all-purpose flour with a 1:1 gluten-free baking blend that contains xanthan gum. I’ve used Bob’s Red Mill with great results. The texture will be slightly more delicate, but the flavor is spot on.
Double Chocolate: Replace 1 tablespoon of the flour with unsweetened cocoa powder. Use white chocolate chunks instead of dark chocolate for a beautiful contrast. These are dangerously good.
Add-In Variations: Once the dough is mixed, fold in ¼ cup of toasted pecans or walnuts for crunch. Or try ¼ cup of dried cherries or cranberries for a tart pop. My personal favorite is adding a handful of toffee bits—they melt into buttery pockets.
Vegan Adaptation: Use vegan butter (I like Miyoko’s) and replace the egg yolk with 1 tablespoon of aquafaba (the liquid from a can of chickpeas) mixed with ½ teaspoon of cornstarch. The texture won’t be quite as rich, but they’re still delicious.
Bigger Batch: If you decide you want more than six cookies, simply double or triple the recipe. The ratios work perfectly. Just be sure to bake in batches and keep the unused dough in the fridge.
Serving & Storage Suggestions
These small-batch chocolate chip cookies are best enjoyed warm, when the chocolate is still melty and the edges are perfectly crisp. Serve them with a cold glass of milk or a hot cup of coffee for the ultimate treat. For something extra special, sandwich a scoop of vanilla ice cream between two cookies for an instant ice cream sandwich.
If you somehow have leftovers, store them in an airtight container at room temperature. They’ll stay soft for up to 3 days. To revive them, pop a cookie in the microwave for 10 seconds—it brings back that just-baked softness.
These cookies also freeze beautifully. Place the baked and cooled cookies in a single layer in a freezer-safe bag. They’ll keep for up to 3 months. Thaw at room temperature for 15 minutes, or warm in a 300°F oven for 5 minutes. You can also freeze the unbaked dough balls—just scoop them onto a parchment-lined baking sheet, freeze until solid, then transfer to a bag. Bake from frozen, adding 1-2 minutes to the baking time.
The flavors actually develop overnight. If you can resist eating them all on day one, you’ll find they’re even chewier and more flavorful on day two. The browned butter flavor deepens and the chocolate sets into perfect little pockets.
Nutritional Information & Benefits
Here’s the estimated nutritional breakdown for one small-batch chocolate chip cookie (assuming 6 cookies per batch). Values are approximate and will vary based on specific ingredients used.
| Nutrient | Amount Per Cookie |
|---|---|
| Calories | 165 |
| Total Fat | 10g |
| Saturated Fat | 6g |
| Cholesterol | 45mg |
| Sodium | 115mg |
| Total Carbohydrates | 18g |
| Dietary Fiber | 1g |
| Sugars | 12g |
| Protein | 2g |
Dark chocolate is rich in antioxidants and can help support heart health. The butter provides vitamin A and healthy fats, while the small portion size makes this a reasonable treat. These cookies are not gluten-free in their standard form, but can easily be adapted. They contain dairy and eggs, so keep that in mind for allergies.
I believe in enjoying treats in moderation. Six cookies is the perfect amount—enough to satisfy your sweet tooth without going overboard. It’s all about balance, right?
Conclusion
These small-batch chocolate chip cookies are proof that you don’t need a huge batch to get the real deal. They’re quick, easy, and absolutely delicious. The browned butter and chopped chocolate make them taste like something from a fancy bakery, but they come together in your own kitchen with minimal fuss.
I love that this recipe gives me exactly what I need—no more, no less. It’s perfect for a quiet night in, a small gathering, or just because you deserve a warm cookie. Don’t be afraid to play with the variations and make it your own. That’s the beauty of a simple recipe like this.
So go ahead, give these a try. I have a feeling they’ll become your go-to, just like they became mine. When you do, come back and let me know how they turned out. Did you add nuts? Try the double chocolate version? I’d love to hear about your cookie adventures. Happy baking!
Frequently Asked Questions
Can I use chocolate chips instead of chopped chocolate?
Yes, absolutely! Chopped chocolate gives you those beautiful pools and a more bakery-style look, but chocolate chips work perfectly fine. Use about ⅓ cup of semi-sweet or dark chocolate chips if you’re swapping.
Why do I need to brown the butter?
Browning the butter adds a deep, nutty, caramelized flavor that takes these cookies to another level. It’s a simple extra step that makes a huge difference. Without it, the cookies are good. With it, they’re unforgettable.
Can I make the dough ahead of time?
Definitely. You can make the dough, scoop it into balls, and refrigerate them for up to 2 days. Let them sit at room temperature for 10 minutes before baking. You can also freeze the dough balls for up to 3 months—just bake from frozen, adding 1-2 minutes to the time.
My cookies came out flat. What went wrong?
Flat cookies usually mean the butter was too warm when you added the dry ingredients, or the dough was overmixed. Make sure your browned butter has cooled for a few minutes before adding the sugars. Also, check your baking soda—old baking soda loses its power and won’t help the cookies rise properly.
Can I double this recipe?
Yes, this recipe scales beautifully. Just double all the ingredients and bake in batches. The baking time stays the same. You’ll have 12 perfect cookies instead of 6—perfect for sharing or stocking the freezer.
Pin This Recipe!
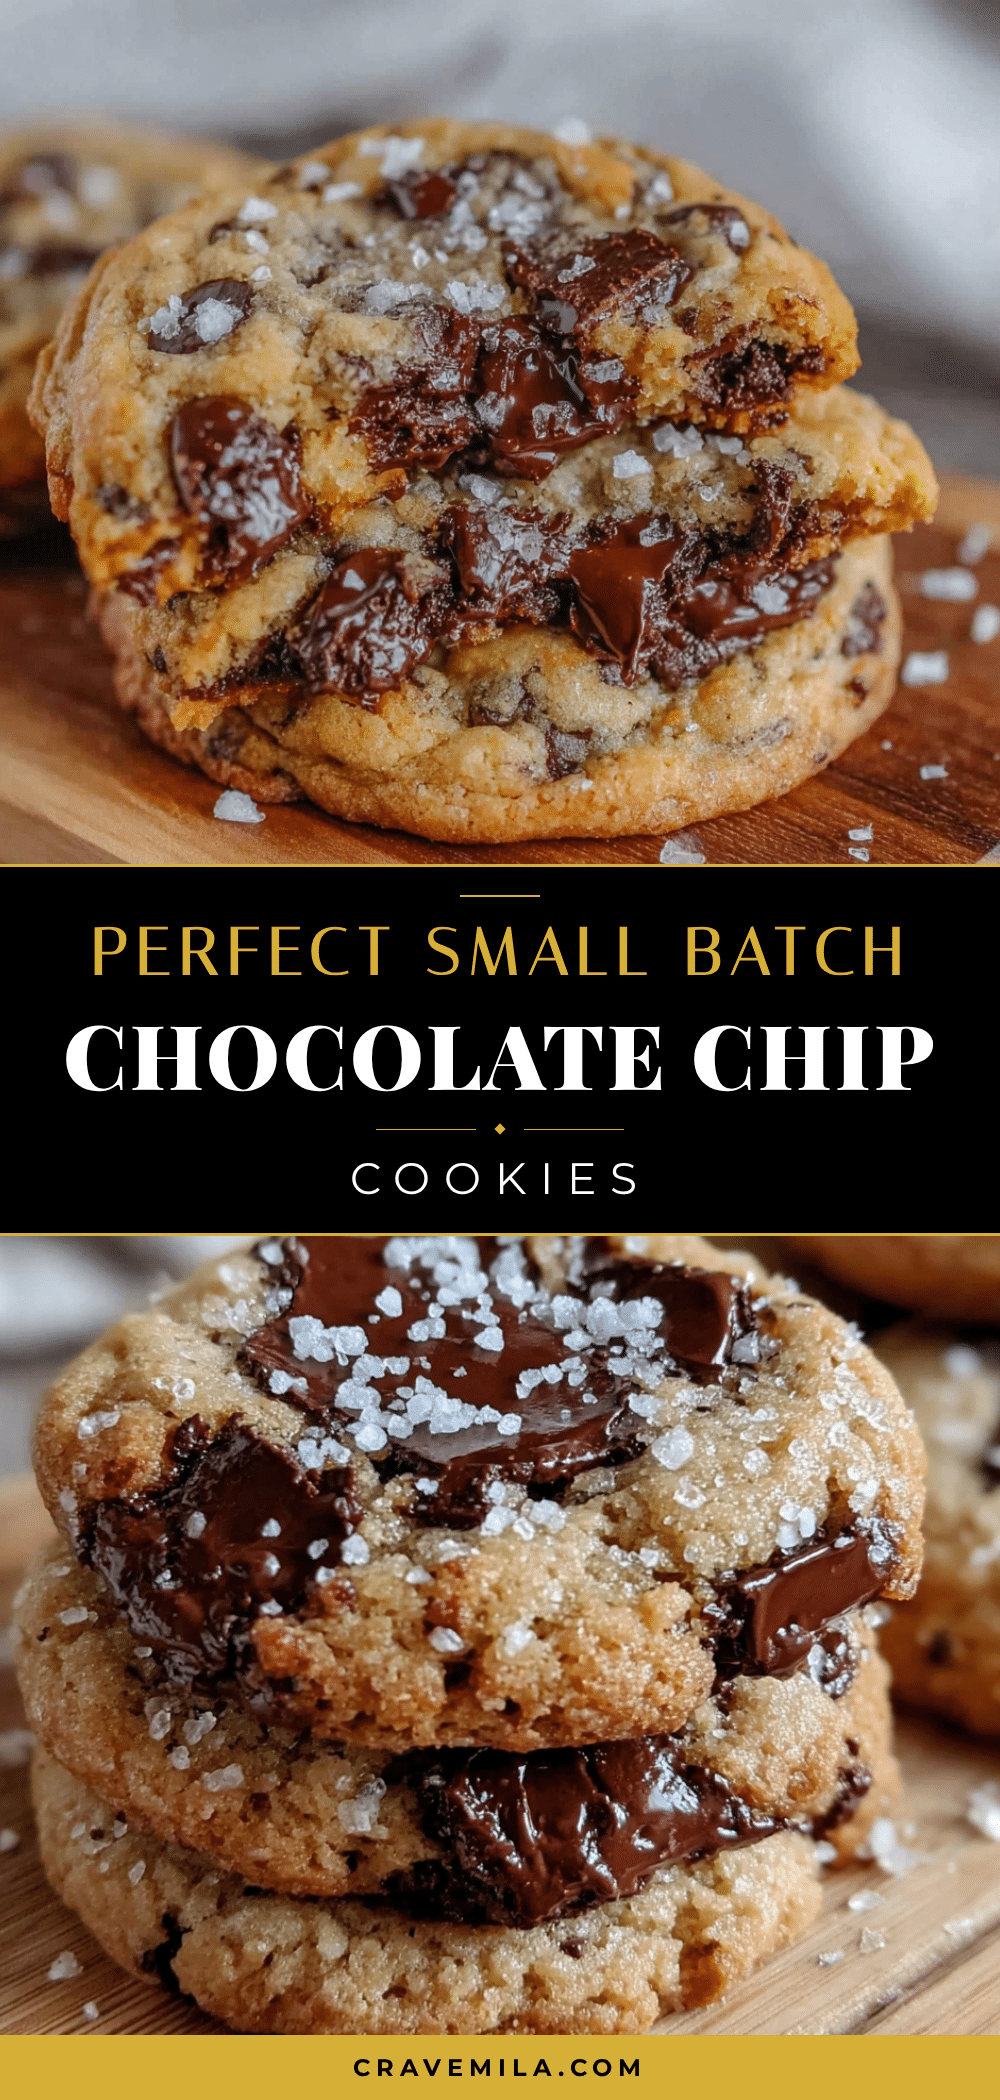
Perfect Small-Batch Chocolate Chip Cookies: Easy 6-Cookie Recipe

These small-batch chocolate chip cookies are quick, easy, and absolutely delicious. With browned butter and chopped chocolate, they deliver perfectly crisp edges and soft, gooey centers—just six perfect cookies for when you need a treat without the commitment of a full batch.
- Prep Time: 10 minutes
- Cook Time: 9-11 minutes
- Total Time: 25 minutes
- Yield: 6 cookies 1x
- Category: Dessert
- Cuisine: American
Ingredients
- 3 tablespoons (42g) unsalted butter
- 2 tablespoons (25g) granulated sugar
- 2 tablespoons (25g) light brown sugar, packed
- 1 large egg yolk
- ½ teaspoon vanilla extract
- ¼ cup plus 2 tablespoons (48g) all-purpose flour
- ⅛ teaspoon baking soda
- ¼ teaspoon fine sea salt
- 2 ounces (56g) dark or semi-sweet chocolate, chopped
- Flaky sea salt (optional, for topping)
Instructions
- Preheat your oven to 350°F (175°C). Line your baking sheet with parchment paper.
- Brown the butter: Place 3 tablespoons of butter in a small skillet or saucepan over medium heat. Stir constantly until the butter melts, foams, and turns golden with brown specks at the bottom (about 3-4 minutes). Remove from heat immediately and pour into a medium mixing bowl. Let cool for 2-3 minutes.
- Combine the sugars and butter: Add granulated sugar and packed brown sugar to the warm browned butter. Whisk vigorously until smooth and looks like wet sand (about 30 seconds).
- Add the egg yolk and vanilla: Drop in the egg yolk and vanilla extract. Whisk until the mixture becomes thick, glossy, and falls in ribbons from the whisk (about 1 minute).
- Mix the dry ingredients: In a small separate bowl, whisk together flour, baking soda, and salt until no clumps remain.
- Fold in the dry ingredients: Add the flour mixture to the wet ingredients. Use a rubber spatula to fold gently just until no streaks of flour remain. Do not overmix.
- Add the chocolate: Gently fold in the chopped chocolate. Reserve a few pieces to press onto the tops of the dough balls later.
- Portion the dough: Use a cookie scoop or tablespoon to scoop out 6 equal portions (about 1.5 tablespoons each). Roll into balls and place on the prepared baking sheet, spacing 2 inches apart.
- Top with extra chocolate (optional): Press reserved chocolate pieces onto the tops of each dough ball.
- Bake: Place the baking sheet in the preheated oven. Bake for 9-11 minutes. For softer cookies, bake 9 minutes; for crispier edges, bake 11 minutes. Edges should be golden brown and set, centers puffy and slightly underdone.
- Cool on the baking sheet: Remove from oven and let cookies rest on the hot baking sheet for 5 minutes.
- Transfer to a cooling rack: After 5 minutes, carefully move cookies to a cooling rack. If using, sprinkle a tiny pinch of flaky sea salt over each warm cookie.
- Wait (if you can): Let cool for at least 5 more minutes before serving to allow the chocolate to set.
Notes
Don’t skip browning the butter—it adds a nutty, caramelized flavor. Weigh your ingredients for best results. Room temperature egg yolk emulsifies better. Chilling the dough for 30 minutes produces thicker, chewier cookies. Store in an airtight container at room temperature for up to 3 days. Freeze baked cookies for up to 3 months or unbaked dough balls for up to 3 months.
Nutrition
- Serving Size: 1 cookie
- Calories: 165
- Sugar: 12
- Sodium: 115
- Fat: 10
- Saturated Fat: 6
- Carbohydrates: 18
- Fiber: 1
- Protein: 2
Keywords: small batch chocolate chip cookies, easy cookie recipe, 6 cookies, browned butter cookies, chocolate chip cookies for two



