This was supposed to be a batch of browned butter chocolate chip cookies. I had the butter bubbling away in the skillet, the flour measured out, and I was feeling pretty good about myself. Then my phone rang—my sister, needing a pep talk about her job interview. By the time I hung up, the butter had gone from “nutty and golden” to “dangerously close to burnt,” and I realized I was out of chocolate chips. I stood there, staring at this bowl of deeply fragrant, slightly-too-dark butter, and felt that familiar kitchen panic rise up. You know that feeling when you’ve already committed to a recipe and the universe just laughs at you?
Instead of tossing it—because honestly, wasting browned butter feels like a crime—I grabbed the ripest bananas on my counter. They were practically begging to be used, spotted and sweet. I figured, what’s the worst that could happen? I threw everything into one bowl, stirred it with more frustration than finesse, and shoved it in the oven. I didn’t even bother to cream the butter and sugar properly. I just… mixed. When the timer went off, I pulled out a loaf that was so tender, so deeply caramel-flavored, and so absurdly moist that I actually laughed out loud. It was better than any banana bread I had ever intentionally made. I mean, it was ridiculous. The happy accident had handed me my new go-to recipe on a silver platter.
That first bite had this unexpected complexity—the browned butter added a toasty, almost butterscotch note that made the banana flavor sing. And because I was too lazy to dirty another bowl, the one-bowl method turned out to be the secret to not over-mixing the batter. Less work, better results. It is the kind of recipe that makes you feel like a genius even when you are just cleaning up your own mess. Maybe you’ve been there—a kitchen fail that turned into a win. This is that recipe for me, and I keep making it because it proves that sometimes the best things come from a little bit of chaos.
Why You’ll Love This Recipe
Let me tell you why this banana bread has become the only one I ever make anymore. I have tested it at least a dozen times since that first accidental batch, and each time it gets better. Here is what makes it special:
- One Bowl, Minimal Mess: No need to cream butter and sugar separately or wash a million dishes. Everything goes into one bowl, which means less cleanup and more time to actually enjoy your warm slice.
- Browned Butter Magic: That extra five minutes of browning the butter transforms the entire loaf. It adds a nutty, caramelized depth that plain butter just cannot touch. It is the difference between good banana bread and unforgettable banana bread.
- Perfectly Moist Every Time: The combination of melted browned butter and ripe bananas creates a texture that is incredibly tender and moist. It stays that way for days—if it lasts that long.
- Pantry-Friendly Ingredients: You likely already have everything you need. Flour, sugar, eggs, bananas, and butter. No fancy extracts or specialty flours required.
- Foolproof for Beginners: Even if you mess up the browned butter a little (like I did), this recipe is forgiving. It is practically impossible to over-mix when you are using a single bowl and melted butter.
- Crowd-Pleasing Comfort: I have brought this to brunches, potlucks, and family gatherings, and it always disappears first. Kids love it, adults love it, and everyone asks for the recipe.
This bread isnt just good—it is the kind that makes you close your eyes after the first bite. The browned butter adds a sophistication that feels special, but the one-bowl method keeps it humble and easy. It is comfort food reimagined—richer, deeper, but with the same soul-soothing satisfaction you expect from banana bread. Perfect for impressing guests without any stress, or turning a simple Tuesday morning into something memorable.
What Ingredients You Will Need
This recipe uses simple, wholesome ingredients to deliver bold flavor and satisfying texture without the fuss. Most of these are pantry staples, but I have a few tips to make sure you get the best results.
- Unsalted Butter (1/2 cup, or 1 stick): You will brown this first, so do not substitute margarine. I prefer using a high-fat European-style butter like Kerrygold for a richer flavor, but any unsalted butter works. The browning process is what unlocks that nutty, toasty magic.
- Ripe Bananas (3 medium, about 1 1/2 cups mashed): The riper the better. Look for bananas with plenty of brown spots—they are sweeter and softer, which makes the bread more flavorful and moist. If your bananas are not ripe enough, you can roast them in a 300°F oven for 15-20 minutes until the skins darken. (I have done this in a pinch, and it works like a charm!)
- Granulated Sugar (3/4 cup): Regular white sugar adds sweetness and helps create a tender crumb. You can reduce it to 1/2 cup if your bananas are very sweet, but I find 3/4 cup gives the perfect balance.
- Brown Sugar (1/4 cup, packed): This adds a touch of molasses flavor that pairs beautifully with the browned butter. Light or dark brown sugar both work; dark will give a deeper flavor.
- Large Eggs (1, at room temperature): The egg binds everything together. Room temperature is important here because it emulsifies better with the melted butter, creating a smoother batter. Just set your egg out on the counter for 15 minutes before you start.
- Vanilla Extract (1 teaspoon): Pure vanilla extract is worth splurging on for this recipe. It enhances the banana and butter flavors without overpowering them. I use Nielsen-Massey vanilla, but any good brand will do.
- All-Purpose Flour (1 1/2 cups): Standard all-purpose flour gives the bread structure while keeping it tender. Spoon and level your flour into the measuring cup—do not scoop directly from the bag, or you will end up with too much flour and a dry loaf.
- Baking Soda (1 teaspoon): This is the leavening agent that helps the bread rise. Make sure it is fresh—test it by dropping a little into vinegar; if it fizzes vigorously, it is good to go.
- Salt (1/2 teaspoon): Salt balances the sweetness and enhances all the flavors. I use fine sea salt for baking.
- Optional Add-Ins: 1/2 cup chopped walnuts or pecans, or 1/2 cup chocolate chips. I often add a handful of dark chocolate chips because the bitterness pairs so well with the sweet banana and nutty butter.
For ingredient selection, I recommend using a good quality unsalted butter since you are controlling the salt level yourself. And please, do not skip the brown sugar—it adds a moisture and depth that white sugar alone cannot replicate.
Equipment Needed
You do not need a lot of fancy gear for this recipe, which is part of its charm. Here is what you will need:
- 9×5-inch Loaf Pan: This is the standard size for banana bread. If you use an 8×4-inch pan, your bread will be taller and may need a few extra minutes of baking time. I love my USA Pan loaf pan because it has a nonstick coating and bakes evenly.
- Light-Colored Skillet or Saucepan: Use a light-colored pan to brown the butter so you can see the color change clearly. A dark pan makes it hard to tell when the butter is done, and you risk burning it.
- Large Mixing Bowl: Since this is a one-bowl recipe, you only need one. I use a glass or ceramic bowl because they do not react with the ingredients.
- Whisk and Rubber Spatula: A whisk for combining the wet ingredients and a spatula for folding in the flour. That is all you need—no electric mixer required.
- Parchment Paper: Lining your loaf pan with parchment paper makes lifting the bread out effortless. I always leave a little overhang on the sides for handles.
- Cooling Rack: A wire rack allows air to circulate around the loaf, preventing the bottom from getting soggy. If you do not have one, you can use the inverted lid of a roasting pan—I have done that in a pinch.
Budget-friendly tip: You can skip the parchment paper and just grease the pan well with butter or nonstick spray. It works fine, just be gentle when removing the bread.
Preparation Method
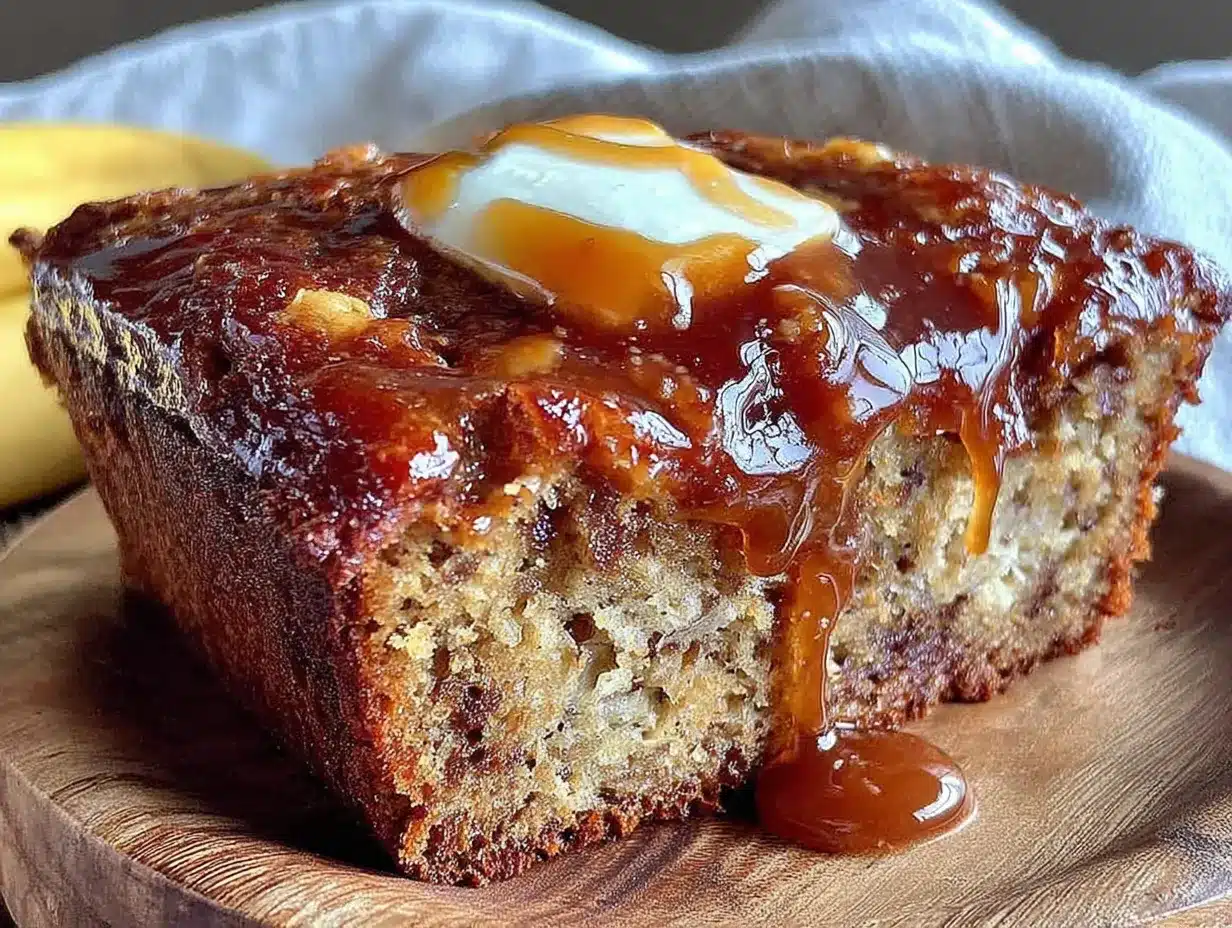
Follow these steps carefully, and you will have the best banana bread of your life. The key is to not rush the browned butter—it is the star of the show.
- Preheat and Prep: Preheat your oven to 350°F (175°C). Line your 9×5-inch loaf pan with parchment paper, leaving some overhang on the two long sides. Lightly grease the ends with butter or spray.
- Brown the Butter: Place the 1/2 cup (1 stick) of unsalted butter in a light-colored skillet or saucepan over medium heat. Swirl the pan occasionally as the butter melts. It will start to foam and crackle—that is the water evaporating. After about 4-5 minutes, the foam will subside, and you will see golden brown specks forming at the bottom. The butter will smell nutty and amazing. As soon as it turns a warm amber color, remove it from the heat and pour it into your large mixing bowl. Do not walk away from this—it can go from perfect to burnt in seconds.
- Cool the Butter: Let the browned butter cool for 5 minutes. It should be warm but not hot. If you add the eggs to hot butter, they will scramble. Trust me, I have made that mistake before, and it is not pretty.
- Mash the Bananas: In the same bowl with the cooled butter, add your 3 ripe bananas. Mash them with a fork until mostly smooth, with a few small lumps left for texture. I like to leave some chunks because they melt into pockets of sweetness in the baked bread.
- Add Sugars and Egg: Add the 3/4 cup granulated sugar, 1/4 cup packed brown sugar, 1 large egg (room temperature), and 1 teaspoon vanilla extract to the bowl. Whisk everything together until smooth and well combined. The mixture should look glossy and smell incredible.
- Add Dry Ingredients: Sprinkle the 1 1/2 cups all-purpose flour, 1 teaspoon baking soda, and 1/2 teaspoon salt over the wet mixture. Use a rubber spatula to fold everything together gently. Stir only until you no longer see streaks of flour—over-mixing will make the bread tough. If you are adding nuts or chocolate chips, fold them in at this point.
- Pour and Bake: Pour the batter into your prepared loaf pan and spread it into an even layer. Bake for 50-60 minutes, or until a toothpick inserted into the center comes out clean or with a few moist crumbs. The top should be deep golden brown and cracked beautifully. My oven runs a little hot, so I start checking at 50 minutes.
- Cool Completely: Let the bread cool in the pan on a wire rack for 15 minutes. Then use the parchment paper handles to lift it out and transfer it to the rack to cool completely. This step is crucial—if you slice it while it is still warm, it will crumble. I know it is tempting, but patience pays off here.
A sensory cue to look for: when the bread is done, the kitchen will smell like a bakery. The top will be a rich golden brown, and the edges will have pulled away slightly from the pan. If you tap the top gently, it should feel firm and spring back.
Cooking Tips & Techniques
I have made this recipe more times than I can count, and I have learned a few things the hard way. Here are my best tips to ensure success every time.
Master the Browned Butter: This is the most important step. Use a light-colored pan so you can see the color change. Keep the heat at medium—too high, and the butter will burn before it browns. Once you see the milk solids turn golden and smell that nutty aroma, pull it off the heat immediately. I once got distracted and ended up with black butter that tasted bitter. Save yourself the heartache and stay close to the stove.
Do Not Over-Mix: When you add the flour, use a light hand. Stir just until the flour disappears. Over-mixing develops the gluten, which leads to a dense, rubbery loaf. The one-bowl method actually helps here because you are less likely to overwork the batter.
Use Room Temperature Ingredients: Cold eggs can seize the browned butter, creating a lumpy batter. Let your egg sit out for 15-20 minutes before starting. If you forget, place the egg in a bowl of warm water for 5 minutes to bring it to room temperature quickly.
Check for Doneness: Every oven is different. If the top is browning too fast but the center is still raw, tent the loaf with aluminum foil for the last 15 minutes of baking. I have had to do this with my friend’s oven, and it saved the bread from a burnt top.
Let It Rest: I know it is hard, but let the bread cool completely before slicing. The structure needs time to set. If you cut into it warm, the texture will be gummy and it will fall apart. I learned this lesson when I was impatient and ended up with a pile of crumbs on my plate.
Variations & Adaptations
One of the best things about this recipe is how adaptable it is. Here are some variations I have tried and loved.
- Chocolate Chip Banana Bread: Fold in 1/2 cup dark chocolate chips or semi-sweet chocolate chips. The bitterness of the chocolate is a perfect counterpoint to the sweet banana and nutty browned butter. This is my go-to version when I want something extra indulgent.
- Nutty Crunch: Add 1/2 cup toasted walnuts or pecans, roughly chopped. Toast them in a dry skillet for 3-4 minutes before adding to the batter—it brings out their flavor and keeps them crunchy. I made this for a holiday brunch, and it was a hit.
- Gluten-Free Option: Substitute the all-purpose flour with a 1:1 gluten-free baking flour blend that contains xanthan gum. I have used Bob’s Red Mill 1-to-1 Baking Flour with great results. The texture will be slightly denser but still delicious.
- Vegan Adaptation: Replace the egg with a flax egg (1 tablespoon ground flaxseed mixed with 3 tablespoons water, let sit for 5 minutes). Use a plant-based butter for browning. I have tested this version, and while the texture is a bit more tender, the flavor is still spot-on.
- Spiced Version: Add 1 teaspoon of ground cinnamon, 1/2 teaspoon of ground nutmeg, and a pinch of ground cloves to the dry ingredients. This turns the bread into a cozy autumn treat. I love making this version when the weather turns cold.
Each variation brings something new to the table, but the core recipe remains the star. Do not be afraid to experiment—banana bread is forgiving, and you might just discover your own favorite twist.
Serving & Storage Suggestions
This banana bread is wonderful served warm or at room temperature. Here are my favorite ways to enjoy it.
Serving Temperature: For the best texture, serve at room temperature. If you want a warm slice, pop it in a 300°F oven for 5-7 minutes. Avoid the microwave—it can make the bread rubbery. I like to spread a thin layer of salted butter on a warm slice; the saltiness enhances the browned butter flavor beautifully.
Pairings: This bread is perfect with a cup of strong coffee or a cold glass of milk. For a dessert twist, serve it with a scoop of vanilla ice cream and a drizzle of caramel sauce. I have also used it to make French toast—just slice it thick, dip in egg mixture, and pan-fry. It is life-changing.
Storage: Store the cooled banana bread wrapped tightly in plastic wrap or in an airtight container at room temperature for up to 4 days. The moisture actually improves over the first day, so it might taste even better on day two. Do not refrigerate it—the cold air dries out the bread and makes it stale faster.
Freezing: This bread freezes beautifully. Wrap the cooled loaf tightly in plastic wrap, then in aluminum foil. Freeze for up to 3 months. To thaw, leave it on the counter for a few hours or overnight in the refrigerator. You can also freeze individual slices for a quick treat—just wrap each slice separately. I always keep a loaf in the freezer for unexpected guests or lazy Sunday mornings.
Reheating: For a freshly baked taste, reheat slices in a toaster oven or in a 300°F oven for 5-7 minutes. The outside gets slightly crisp while the inside stays tender. It is almost as good as the day you baked it.
Nutritional Information & Benefits
Here is the approximate nutritional breakdown for one slice (based on 10 slices per loaf, without add-ins):
- Calories: 270
- Fat: 12g
- Saturated Fat: 7g
- Carbohydrates: 38g
- Fiber: 2g
- Sugar: 20g
- Protein: 4g
- Sodium: 220mg
This banana bread offers some nutritional benefits thanks to its key ingredients. Bananas are rich in potassium and vitamin B6, which support heart health and energy metabolism. The browned butter provides a small amount of vitamin A and healthy fats, though it should be enjoyed in moderation. Using whole wheat flour instead of all-purpose would boost the fiber content, but I prefer the tender texture of all-purpose for this recipe.
If you are watching your sugar intake, you can reduce the granulated sugar to 1/2 cup without sacrificing too much sweetness, especially if your bananas are very ripe. For a lower-fat option, you can substitute half of the browned butter with unsweetened applesauce, but honestly, the browned butter is what makes this recipe special. I say enjoy it as an occasional treat and savor every bite.
This recipe is not gluten-free or dairy-free in its standard form, but it can be adapted (see variations above). It contains wheat, dairy, and eggs, so please be mindful of allergies.
Conclusion
This Perfect One-Bowl Banana Bread with Browned Butter is proof that the best recipes often come from happy accidents. What started as a distracted mistake turned into a loaf that is richer, more flavorful, and easier than any banana bread I have ever made. The browned butter adds a depth that feels fancy, while the one-bowl method keeps it simple enough for a weekday morning. It is the kind of recipe that makes you look like a pro without any of the effort.
I encourage you to make this your own—add chocolate chips, toss in some nuts, or keep it classic. Banana bread is meant to be personalized, and this version is the perfect canvas. I would love to hear how it turns out for you. Did you add any fun twists? Did your family love it as much as mine does? Leave a comment below and share your experience. And if you snap a photo, tag me on social media—I cannot wait to see your beautiful loaves. Happy baking, friends. You have got this.
Frequently Asked Questions
Can I use salted butter instead of unsalted?
Yes, you can use salted butter, but reduce the added salt in the recipe to 1/4 teaspoon. The browned butter process works the same way. Just be aware that salted butter can sometimes brown a bit differently due to the added moisture, but it will still be delicious.
Why is my banana bread dry?
Dry banana bread is usually caused by over-measuring the flour or over-baking. Make sure to spoon and level your flour into the measuring cup. Also, check your bread at 50 minutes and remove it as soon as a toothpick comes out clean. Every oven is different, so keep an eye on it.
Can I make this recipe without browning the butter?
You can, but you will miss out on the incredible nutty flavor that makes this bread so special. If you are short on time, simply melt the butter and use it as is. The bread will still be good, just not as complex. I really recommend taking the extra five minutes—it is worth it.
How do I know when my bananas are ripe enough?
Look for bananas with plenty of brown spots or even fully blackened skins. They should be soft to the touch and smell sweet. If your bananas are still yellow with green tips, they are not ready. You can speed up ripening by placing them in a paper bag with an apple overnight.
Can I double this recipe?
Absolutely. This recipe doubles easily. Just use a larger bowl and bake in two separate loaf pans. You can also bake the batter in a 9×13-inch pan for a thinner banana bread—just reduce the baking time to 30-35 minutes and check for doneness early.
Pin This Recipe!
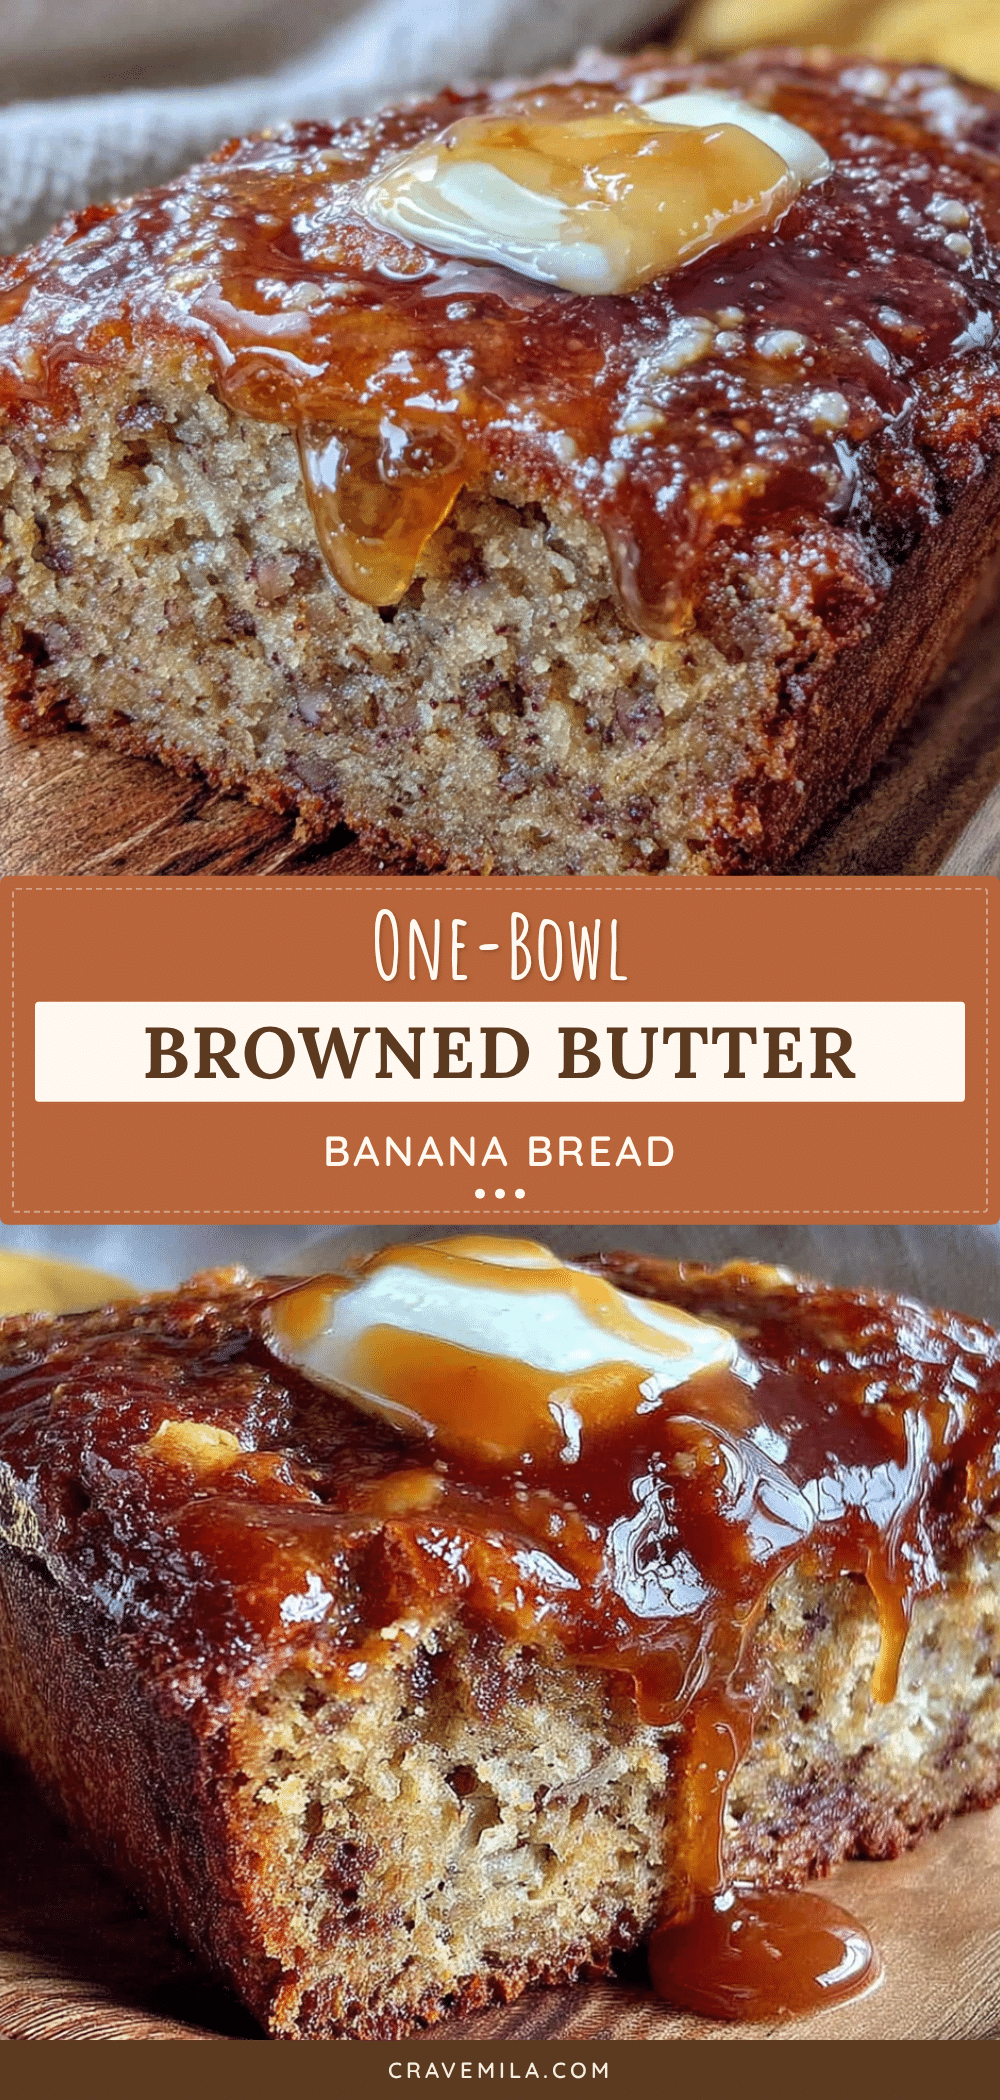
Perfect One-Bowl Banana Bread with Browned Butter – Easy & Best
This banana bread is incredibly tender, deeply caramel-flavored, and absurdly moist, thanks to a happy accident with browned butter. The one-bowl method makes it easy and foolproof, delivering a sophisticated loaf that’s perfect for any occasion.
- Prep Time: 15 minutes
- Cook Time: 55 minutes
- Total Time: 1 hour 10 minutes
- Yield: 10 servings 1x
- Category: Dessert
- Cuisine: American
Ingredients
- 1/2 cup (1 stick) unsalted butter
- 3 medium ripe bananas (about 1 1/2 cups mashed)
- 3/4 cup granulated sugar
- 1/4 cup packed brown sugar
- 1 large egg, at room temperature
- 1 teaspoon vanilla extract
- 1 1/2 cups all-purpose flour
- 1 teaspoon baking soda
- 1/2 teaspoon salt
- Optional: 1/2 cup chopped walnuts or pecans, or 1/2 cup chocolate chips
Instructions
- Preheat oven to 350°F (175°C). Line a 9×5-inch loaf pan with parchment paper, leaving overhang on the long sides. Lightly grease the ends.
- In a light-colored skillet or saucepan over medium heat, melt the butter. Swirl occasionally. After 4-5 minutes, the butter will foam, then subside, and golden brown specks will form. When it smells nutty and turns warm amber, remove from heat and pour into a large mixing bowl. Let cool for 5 minutes.
- Add the bananas to the bowl with the cooled butter and mash with a fork until mostly smooth with a few lumps.
- Add granulated sugar, brown sugar, egg, and vanilla extract. Whisk until smooth and glossy.
- Sprinkle flour, baking soda, and salt over the wet mixture. Fold gently with a rubber spatula until just combined. If using add-ins, fold them in now.
- Pour batter into the prepared loaf pan and spread evenly. Bake for 50-60 minutes, until a toothpick inserted in the center comes out clean or with a few moist crumbs.
- Cool in the pan on a wire rack for 15 minutes, then lift out using parchment handles and cool completely on the rack before slicing.
Notes
For best results, use very ripe bananas with brown spots. Do not over-mix the batter. Let the bread cool completely before slicing to avoid crumbling. The bread stays moist for up to 4 days at room temperature when wrapped tightly.
Nutrition
- Serving Size: 1 slice
- Calories: 270
- Sugar: 20
- Sodium: 220
- Fat: 12
- Saturated Fat: 7
- Carbohydrates: 38
- Fiber: 2
- Protein: 4
Keywords: banana bread, browned butter, one-bowl, easy banana bread, moist banana bread, homemade banana bread



