This was supposed to be a simple batch of infused honey. I had a beautiful jar of local wildflower honey, a fat knob of ginger, and a bag of dried elderberries I’d ordered on a whim. My plan was to just let them all sit together for a few weeks, you know, make a fancy gift. But I got impatient. Honestly, I always get impatient. It was a rainy Tuesday, I was fighting off that scratchy-throat feeling everyone dreads, and I thought, “Why wait?” So I dumped everything into a pot and boiled it. I figured I’d just make a quick tea concentrate. What came out was nothing like the plan—and better.
The honey turned into this dark, jewel-toned syrup. The ginger gave it a pleasant warmth that hit the back of my throat, and the elderberries—well, they turned the whole thing a deep, almost magical purple. I strained it, tasted it, and let me tell you, it was a revelation. It wasn’t just a tea; it was a proper syrup. I poured it into a swing-top bottle, and it sat in my fridge for a week. Every morning, I’d take a spoonful, and that scratchy feeling just… vanished. Maybe you’ve been there, staring into your pantry, wondering if you can make something useful out of a few random ingredients. That’s this recipe. It started as a mistake, but it’s the kind of mistake you keep on purpose.
Why You’ll Love This Recipe
This homemade elderberry syrup isn’t just another health trend. It’s a staple I’ve tested through three cold seasons, tweaking the ratio of ginger and honey until it was just right. I’m not a doctor or a nutritionist, but I’ve been making this long enough to know what works. It’s the recipe I turn to when I feel that first tickle in my throat or when I want to give my family a little extra support during flu season. Here’s why it’s become a non-negotiable in my kitchen:
- Quick & Easy: This comes together in under 45 minutes, most of which is just simmering time. Perfect for a Sunday afternoon or a weeknight when you realize you’re out of store-bought syrup.
- Simple Ingredients: You only need four things—dried elderberries, fresh ginger, raw honey, and water. No fancy extracts or hard-to-find herbs.
- Perfect for Cold Season: It’s my go-to for boosting immunity during the winter months, but I also keep it on hand for seasonal allergies in the spring.
- Crowd-Pleaser: Even the kids in my life will take a spoonful without a fuss. The honey and ginger make it taste more like a treat than a remedy.
- Unbelievably Delicious: The deep berry flavor with that kick of ginger is honestly addictive. I’ve been known to drizzle it on pancakes when no one is looking.
What makes this recipe different from the rest? It’s the balance. I’ve tried versions that were too sweet, too spicy, or just plain watery. This one has a thick, syrupy consistency that coats your spoon, and the ginger is present but not overpowering. It’s not just another version—it’s your best version. And honestly, it’s the kind of thing that makes you feel like you’ve got a secret weapon in your fridge. It’s comfort in a bottle, made with your own hands.
What Ingredients You Will Need
This recipe uses simple, wholesome ingredients to deliver a powerful immune boost and a flavor that’s surprisingly complex. Most of these are pantry staples or easily found at your local grocery store or health food shop.
- Dried Elderberries (1 cup / 140g): These are the star of the show. I prefer the variety Sambucus nigra, which is the most common for syrup. Look for deep, dark purple berries that are plump and not too dusty. I usually buy mine from a reputable bulk herb store or online from Mountain Rose Herbs. Do not use fresh elderberries, as they are bitter and can cause stomach upset when raw.
- Fresh Ginger (2-inch piece, sliced / about 30g): This adds a warming, spicy kick that complements the berries perfectly. It also has its own anti-inflammatory properties, which is a nice bonus. I don’t bother peeling it too thoroughly—just give it a good scrub and slice it into thin rounds. The skin is fine for simmering.
- Raw Honey (1 cup / 340g): This is crucial. Do not use pasteurized honey. Raw honey retains its natural enzymes and beneficial properties, which is why we add it after the syrup has cooled. I use a local wildflower honey, but any raw honey will work. The flavor of the honey will change the final taste, so use one you love.
- Filtered Water (4 cups / 960ml): Tap water can contain chlorine or minerals that might affect the taste, so I always use filtered water. It gives a cleaner, purer flavor to the syrup.
- Optional: Cinnamon Stick (1) or Cloves (3-4): I sometimes add a cinnamon stick or a few cloves to the simmering pot for an extra layer of warmth and immune support. It’s not necessary, but it makes the syrup taste even more like a cozy winter remedy.
Equipment Needed
You don’t need any fancy gadgets to make this syrup. I’ve made it in a tiny apartment kitchen with just a few basic tools. Here’s what you’ll need:
- Medium-Sized Saucepan: A 2-quart or 3-quart pot works perfectly. You want something with a heavy bottom to prevent scorching.
- Fine-Mesh Strainer or Cheesecloth: I’ve used both. A fine-mesh strainer is easier to clean, but if you want a super clear syrup, line it with a double layer of cheesecloth. I usually just use the strainer because I don’t mind a few tiny berry particles.
- Glass Bowl or Large Measuring Cup: To catch the strained liquid. A Pyrex measuring cup with a spout makes pouring into the bottle much less messy.
- Glass Bottle or Jar for Storage: A 16-ounce (500ml) swing-top bottle is ideal, but a clean mason jar works just fine. Make sure it’s sterilized to keep the syrup fresh longer.
- Wooden Spoon or Silicone Spatula: For stirring. Avoid metal spoons if you’re using a non-stick pot.
I once tried to strain the syrup through a regular colander, and it was a disaster. The berries slipped right through. Trust me, a fine-mesh strainer is worth the investment. You can find a decent one for under ten bucks at any kitchen supply store.
Preparation Method
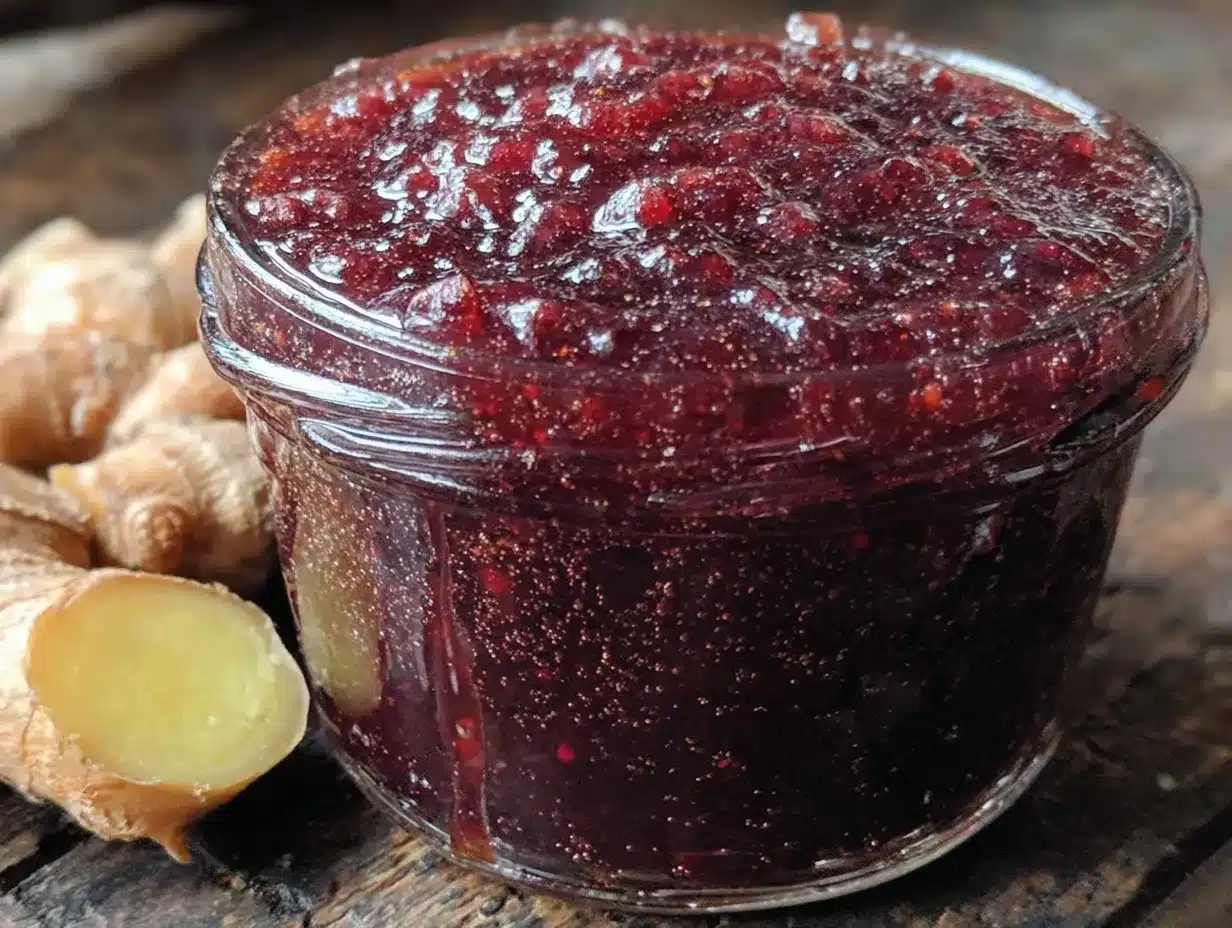
This process is simple, but there are a few key moments where you can mess it up. I’ve done it, so you don’t have to. Follow these steps, and you’ll be golden.
- Combine and Simmer (10 minutes): In your medium saucepan, combine the dried elderberries, sliced ginger, and 4 cups of filtered water. If you’re using a cinnamon stick or cloves, add them now. Bring the mixture to a boil over medium-high heat. Once it’s boiling, reduce the heat to low, cover the pot, and let it simmer gently for about 30 minutes. You’ll see the water turn a deep, dark purple, and your kitchen will smell amazing—like a forest after a rain.
- Mash and Steep (5 minutes): After 30 minutes, turn off the heat. Use the back of your wooden spoon to gently mash the elderberries against the side of the pot. This releases even more of their good stuff. Don’t go crazy—you’re not making a paste, just breaking them open a bit. Let the mixture sit, covered, for another 10-15 minutes to steep.
- Strain the Liquid (10 minutes): Set your fine-mesh strainer or cheesecloth over a large glass bowl or measuring cup. Carefully pour the hot mixture through the strainer. Let it drain naturally for a few minutes. Don’t press on the berries in the strainer, or you’ll force through some sediment that will make your syrup cloudy. Let gravity do the work. You should end up with about 2 ½ to 3 cups of dark, concentrated liquid.
- Cool the Liquid (20 minutes): Let the strained liquid cool completely at room temperature. This is important. If you add the honey while the liquid is still hot, you will destroy all the beneficial enzymes in the raw honey. I usually let it sit for about 20-30 minutes. You want it to be just warm to the touch, not hot.
- Add the Honey (5 minutes): Once the liquid is cool, pour in the 1 cup of raw honey. Whisk gently until the honey is fully dissolved. The syrup will thin out a bit as the honey incorporates, but it will thicken as it cools in the fridge. Taste it now. If you want it sweeter, you can add a little more honey. I find one cup is the perfect balance.
- Bottle and Store (5 minutes): Pour the finished syrup into your sterilized glass bottle or jar. I use a small funnel to avoid spills. Seal it tightly and pop it in the refrigerator. It will keep for about 2-3 weeks.
Cooking Tips & Techniques
I’ve made this syrup so many times, I’ve learned a few tricks that make a big difference. The first time I made it, I used too much water and ended up with a weak, watery syrup. It was a sad, purple puddle. Here’s how to avoid my mistakes:
- Don’t Over-Boil: A gentle simmer is all you need. A rolling boil will evaporate too much water and make the syrup overly concentrated, plus it can make the ginger taste bitter. Keep it low and slow.
- The Honey Temperature Rule: I cannot stress this enough. Let the liquid cool to below 115°F (46°C) before adding honey. I use my finger to test it—if it feels like a warm bath, it’s ready. If it feels hot like a cup of coffee, wait longer. Killing the honey’s benefits defeats the whole purpose of making this.
- Straining Without the Mess: Line your strainer with a coffee filter if you want an ultra-clear syrup. I don’t bother, but if you’re gifting it, it looks prettier. Just be patient—it takes longer to drip through.
- Don’t Skip the Mash: That gentle mashing step is where the magic happens. It breaks down the berries’ skins and releases the anthocyanins (the compounds that give elderberries their immune-boosting reputation). It’s worth the extra minute.
One time, I forgot to add the honey before I poured the syrup into the bottle. I had to pour it all back into the pot, which was a sticky, frustrating mess. Learn from my chaos and add the honey in the bowl first.
Variations & Adaptations
This recipe is a great base, but you can absolutely make it your own. I’ve experimented with a few variations over the years, and here are some of my favorites:
- Spiced Version: Add a star anise pod and a strip of orange peel to the simmering pot. It gives the syrup a cozy, almost chai-like flavor that’s perfect for winter. I made this for a holiday party, and everyone thought I was a culinary genius.
- No-Ginger Version: If you’re not a fan of ginger’s heat, you can substitute it with 1 tablespoon of dried turmeric slices. It will give the syrup a more earthy, slightly peppery flavor and a gorgeous golden-orange hue. The anti-inflammatory benefits are still top-notch.
- Kid-Friendly Sweetness: Some kids find the elderberry flavor a little tart. You can boost the honey to 1 ¼ cups (425g) for a sweeter syrup. My nephew calls it “purple juice” and asks for it on his oatmeal.
- Dried Herb Boost: Add 1 tablespoon of dried echinacea root or 1 teaspoon of dried astragalus root to the simmering pot. These are classic immune-supporting herbs that pair beautifully with elderberry. Just strain them out with the berries.
- Low-Sugar Option: You can replace the honey with ½ cup (120ml) of monk fruit syrup or maple syrup. It won’t have the same immune-boosting enzymes, but it will still taste great and be lower on the glycemic index.
Serving & Storage Suggestions
This syrup is incredibly versatile. I don’t just use it when I’m feeling under the weather. Here’s how I incorporate it into my daily routine:
- Daily Dose: I take 1 tablespoon (15ml) every morning during cold season, straight from the spoon. It’s like a little wake-up call for my immune system.
- In Tea: Stir a tablespoon into a cup of hot water with a squeeze of lemon. It makes a comforting, throat-soothing tea that’s perfect for a sore throat or just a chilly evening.
- Over Pancakes or Yogurt: Honestly, it’s amazing. Drizzle it over pancakes, waffles, oatmeal, or even vanilla ice cream. The ginger and berry flavor is a fantastic breakfast treat.
- In Cocktails: Use it as a syrup in a gin and tonic or a whiskey sour. It adds a beautiful color and a complex, herbal sweetness.
Storage: Keep the syrup in a sealed glass bottle in the refrigerator. It will stay fresh for 2-3 weeks. If you see any mold or fermentation (bubbles, off-smell), toss it immediately. I’ve never had it go bad because I use it so fast, but it’s worth noting. For longer storage, you can freeze the syrup in ice cube trays. Pop out a cube and thaw it in the fridge overnight whenever you need it. The flavor will be just as good for up to 3 months.
Nutritional Information & Benefits
This syrup is more than just a tasty treat—it’s packed with good stuff. While I’m not a medical professional, I can share what the research says about these ingredients. The nutritional values below are for a 1-tablespoon (15ml) serving, using raw honey.
| Nutrient | Amount per Serving |
|---|---|
| Calories | 45 |
| Total Carbohydrates | 12g |
| Sugars (natural) | 11g |
| Vitamin C | 2% DV |
| Antioxidants (Anthocyanins) | High |
Key Benefits: Elderberries are rich in antioxidants called anthocyanins, which help combat oxidative stress and support the immune system. Ginger is known for its anti-inflammatory and anti-nausea properties. Raw honey provides natural enzymes and has been used for centuries to soothe sore throats and coughs. This syrup is naturally gluten-free, dairy-free, and vegan-friendly (if you use maple syrup instead of honey). The only potential allergen is honey, so use caution if you have pollen allergies.
I personally love that this recipe lets me support my family’s health with something that tastes like a treat. It feels good to know exactly what’s in it—no artificial flavors, no high-fructose corn syrup, just real food.
Conclusion
This homemade elderberry syrup with honey and ginger is one of those recipes that proves simple ingredients can do amazing things. It started as a happy accident, but it’s become a staple in my kitchen that I genuinely look forward to making every year. It’s not just about fighting off a cold—it’s about the ritual of simmering those berries, the warmth of the ginger, and the satisfaction of making something that actually works.
I encourage you to make this your own. Adjust the sweetness, add your favorite spices, or experiment with different herbs. The best recipes are the ones that evolve with you. If you give this a try, I’d love to hear how it turned out. Leave a comment below and tell me about your favorite way to use it. And if you’re feeling generous, share this post with a friend who could use a little immune boost. Happy cooking, and stay healthy!
Frequently Asked Questions
Can I use fresh elderberries instead of dried?
No, I strongly advise against using fresh elderberries for this syrup. Raw elderberries contain a compound that can cause nausea and stomach upset. Dried elderberries are safe because the drying process neutralizes that compound. Stick with dried for this recipe.
How long does this syrup last in the fridge?
It will stay fresh for 2-3 weeks when stored in a sealed glass bottle in the refrigerator. If you want it to last longer, you can freeze it in ice cube trays for up to 3 months. Just thaw a cube in the fridge as needed.
Can I use this syrup for my kids?
Yes, absolutely. I give this to my nephew (age 4) in small doses. For children under 1 year old, you should not use honey due to the risk of botulism. For older kids, a teaspoon daily is a great way to support their immune system. Just be mindful of the sugar content from the honey.
What can I do with the leftover elderberries after straining?
Don’t toss them! The strained berries still have some flavor and fiber. You can blend them into a smoothie for a fiber boost, or mix them into oatmeal. Some people even add them to homemade granola bars. They won’t be as potent as the syrup, but they’re still good.
Can I make this syrup without ginger?
Yes, you can leave the ginger out entirely, or swap it for a different warming spice. I’ve made a version with 1 tablespoon of dried turmeric slices instead, and it was lovely. The ginger adds a nice kick, but the syrup will still be effective without it.
Pin This Recipe!
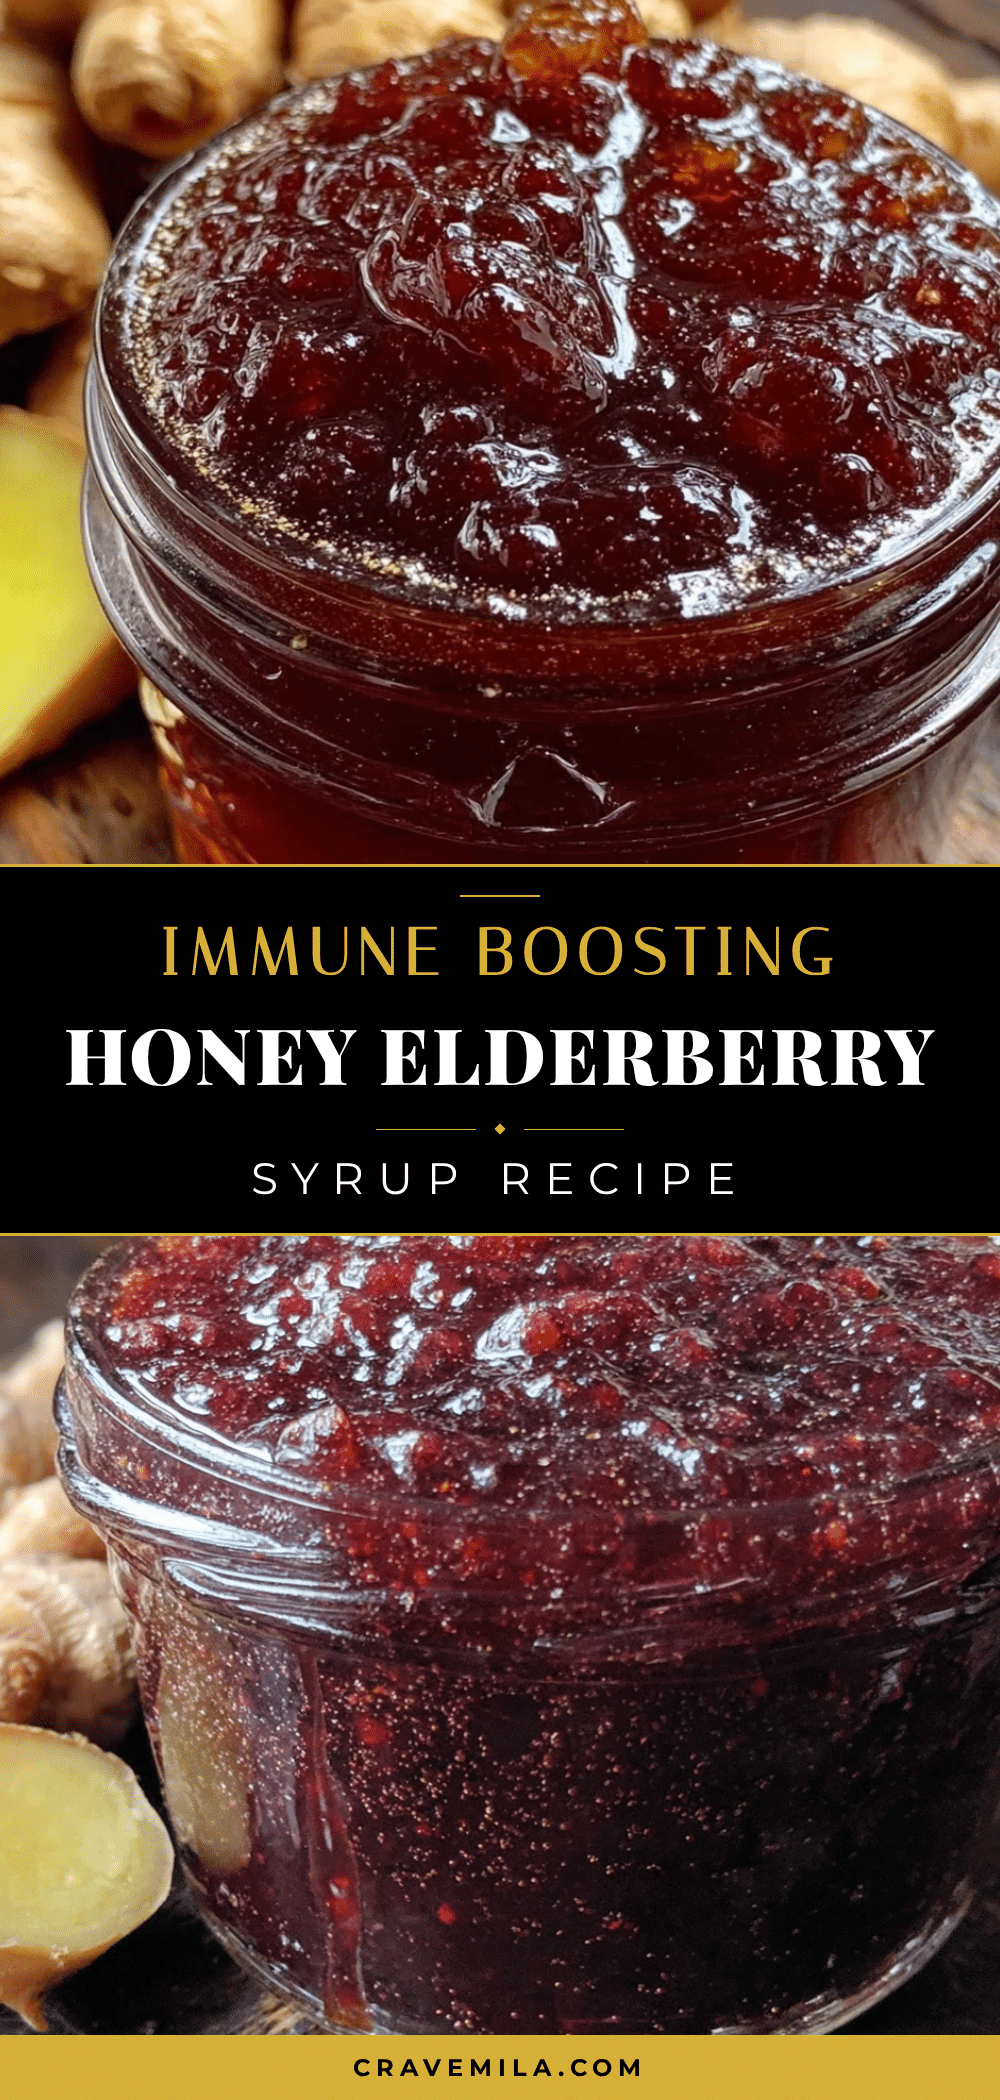
Homemade Elderberry Syrup with Honey & Ginger: Easy Immune Booster
This homemade elderberry syrup is a simple, delicious immune booster made with dried elderberries, fresh ginger, and raw honey. It’s a comforting staple for cold season that comes together in under an hour.
- Prep Time: 15 minutes
- Cook Time: 30 minutes
- Total Time: 45 minutes
- Yield: 16 servings 1x
- Category: Condiment
- Cuisine: American
Ingredients
- 1 cup (140g) dried elderberries (Sambucus nigra)
- 2-inch piece fresh ginger, sliced (about 30g)
- 1 cup (340g) raw honey
- 4 cups (960ml) filtered water
- 1 cinnamon stick (optional)
- 3–4 cloves (optional)
Instructions
- In a medium saucepan, combine dried elderberries, sliced ginger, and 4 cups filtered water. Add cinnamon stick or cloves if using. Bring to a boil over medium-high heat, then reduce heat to low, cover, and simmer gently for 30 minutes.
- Turn off the heat. Use the back of a wooden spoon to gently mash the elderberries against the side of the pot. Let the mixture steep, covered, for 10-15 minutes.
- Set a fine-mesh strainer or cheesecloth over a large glass bowl or measuring cup. Carefully pour the hot mixture through the strainer. Let it drain naturally for a few minutes without pressing on the berries.
- Let the strained liquid cool completely at room temperature, about 20-30 minutes, until just warm to the touch (below 115°F / 46°C).
- Once cool, pour in the raw honey and whisk gently until fully dissolved.
- Pour the finished syrup into a sterilized glass bottle or jar. Seal tightly and refrigerate.
Notes
Do not use fresh elderberries as they can cause stomach upset. Let the liquid cool completely before adding honey to preserve its beneficial enzymes. Store in the refrigerator for 2-3 weeks, or freeze in ice cube trays for up to 3 months. For children under 1 year, replace honey with maple syrup due to botulism risk.
Nutrition
- Serving Size: 1 tablespoon (15ml)
- Calories: 45
- Sugar: 11
- Carbohydrates: 12
Keywords: elderberry syrup, immune booster, homemade syrup, elderberry recipe, ginger honey syrup, cold remedy, natural remedy



