The power went out halfway through a Tuesday dinner back in 2009, leaving me standing in the dark with a cast-iron skillet that was still sizzling. It was July in Chicago, and the humidity was thick enough to chew on, so the air conditioning failure felt like a personal attack. I had been trying to impress a date who had mentioned once, offhand, that he loved crispy chicken skin. I was twenty-four, nervous, and convinced that cooking by candlelight would add some kind of romantic mystery to the evening.
I remember the smell first. It wasn’t just garlic; it was a heavy, golden cloud of browned butter and roasted herbs that filled the tiny apartment. The electricity had cut out right as I tossed the garlic in, so I couldn’t turn on the range hood. The smoke alarm stayed silent, but my eyes watered just from the aroma. My date, whose name was Mark, sat at the small IKEA table and just breathed it in. He didn’t say anything fancy. He just smiled and said, “That smells like safety.”
We ate that meal by the light of a single battery-operated lantern. The chicken thighs were the star of the show, their skin crackling under my fork like thin glass. I had burned my finger reaching for the salt shaker, and I dropped a piece of bread on the floor, which I picked up and ate anyway because I was too embarrassed to admit I was hungry. It was messy and imperfect and honestly, it was the best meal I ever had.
That night taught me that you don’t need perfect conditions to make something memorable. You just need good fat, hot heat, and garlic that doesn’t burn. I still make this recipe when the power is out, or when I’m too tired to care about fancy presentations. It’s the Crispy One-Pan Garlic Butter Chicken Thighs that saved my dignity and my appetite all those years ago.
Maybe you’ve been there, standing in a kitchen that feels too quiet or too hot, wishing for a meal that tastes like a memory you can’t quite place. This dish is my attempt to bottle that feeling. It’s not about being a gourmet chef. It’s about coming home to something warm, something that fills the room with comfort, and something that requires almost zero cleanup. I mean, let’s face it, who has time for three different pans when one will do?
I keep making it because it works. It works on busy weeknights when I’m exhausted. It works when I have guests and need to look put-together without actually trying. And it works when I just need to feed my soul. The skin gets so crispy you can hear it, and the meat stays juicy enough to fall apart. It’s a trick I learned the hard way, in the dark, with a burnt finger and a full heart.
Why You’ll Love This Recipe
Honestly, there are a million chicken recipes out there. You could spend your whole life cooking chicken and still not run out of ideas. But this one? This one is different. It’s not just about feeding yourself; it’s about that specific joy of pulling a pan out of the oven and hearing the crackle of cooling skin. It’s the kind of meal that makes you close your eyes after the first bite and just sigh.
Here is why this recipe has earned a permanent spot in my rotation, and why I think it will earn one in yours too:
- Quick & Easy: This comes together in under 30 minutes from start to finish. I’m talking about a dish that is perfect for those chaotic weeknights when you want to eat before the sun goes down. You chop, you sear, you roast, and you eat. No marinating overnight. No complicated steps.
- Simple Ingredients: You likely already have everything in your kitchen right now. Chicken thighs, butter, garlic, olive oil, and some basic herbs. No fancy grocery trips needed. If you have a pantry and a fridge, you are good to go. It’s wholesome, simple cooking at its finest.
- Perfect for Weeknight Dinners: Whether you are cooking for one or feeding a family of five, this fits into a busy schedule. It’s great for last-minute cravings or when you need to get dinner on the table before the kids start asking “what’s for dinner?” for the tenth time.
- Crowd-Pleaser: This always gets rave reviews from kids and adults alike. The crispy skin is a hit, and the garlic butter sauce is irresistible. Even the pickiest eaters usually ask for seconds because it tastes like comfort food, not “healthy” food.
- Unbelievably Delicious: The texture and flavor combo is next-level. The skin shatters when you bite into it, and the meat is so tender it practically falls off the bone. It’s rich, savory, and deeply satisfying without feeling heavy.
What makes this recipe different from the rest? It’s the technique. A lot of people try to boil or bake chicken and end up with dry, bland meat. I use a high-heat sear followed by a short roast in the same pan. This locks in the juices while rendering out the fat from the skin. I also recommend using bone-in, skin-on thighs because the bone adds flavor to the butter sauce as it cooks. It’s not just another version of garlic chicken—it’s the best version.
This recipe isn’t just good. It’s the kind of meal that turns a simple Tuesday into something special. It’s comfort food reimagined—faster, easier, but with the same soul-soothing satisfaction as a slow-cooked stew. It’s perfect for impressing guests without stress, or turning a simple meal into something memorable. You don’t need to be a pro to make this. You just need a hot pan and a little bit of patience.
What Ingredients You Will Need
This recipe uses simple, wholesome ingredients to deliver bold flavor and satisfying texture without the fuss. The magic here is in the quality of the fat and the freshness of the garlic. You don’t need fancy imports, but you do need to pay attention to the basics. Here is what you will need to make this Crispy One-Pan Garlic Butter Chicken Thighs masterpiece.
For the Chicken
- Chicken thighs, bone-in and skin-on: This is non-negotiable. Boneless skinless breasts will dry out and won’t get that crispy skin we are after. Look for thighs that are about 6 to 8 ounces each. I prefer organic if possible, but regular works fine.
- Vegetable oil or avocado oil: You need an oil with a high smoke point for the initial sear. I use vegetable oil because it’s cheap and effective. Olive oil can burn at these high temperatures, so save it for dressing salads.
- Kosher salt: Use Diamond Crystal if you have it. It’s less salty by volume than table salt, which helps you season evenly. If you use table salt, reduce the amount by half.
- Black pepper, freshly cracked: Freshly cracked pepper adds a nice heat and aroma. Pre-ground pepper just tastes dusty. Take the thirty seconds to grind your own.
- All-purpose flour: A light dusting of flour helps the skin crisp up. It absorbs excess moisture and creates a barrier that gets crunchy. Don’t skip this step.
For the Garlic Butter Sauce
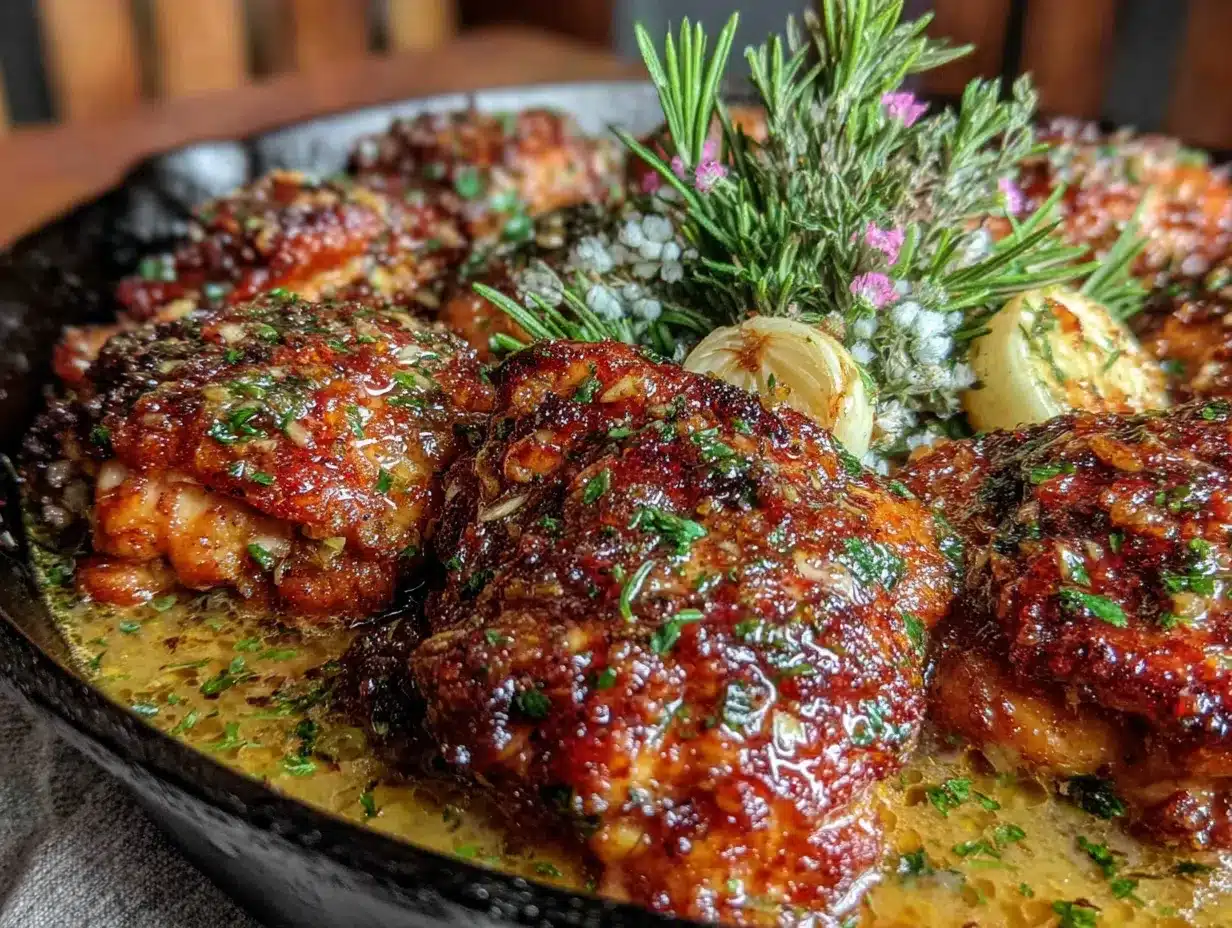
- Unsalted butter: Use high-quality butter. I recommend brands like Plugrá or Kerrygold for their rich flavor. Since we aren’t adding extra salt, the butter provides the sodium.
- Garlic cloves, minced: Use fresh garlic. Jarred garlic has a metallic taste that ruins the dish. You will need about 6 to 8 cloves. Mince them finely so they cook evenly and don’t burn.
- Fresh thyme leaves: Thyme pairs beautifully with garlic and chicken. You can use dried thyme in a pinch, but fresh is so much better. Strip the leaves off the stems.
- Chicken broth: A half-cup of low-sodium broth deglazes the pan and creates the sauce base. It adds depth without making it too salty.
- Lemon juice: A splash of fresh lemon juice cuts through the richness of the butter. It brightens the whole dish. Use one whole lemon.
For the Garnish
- Fresh parsley, chopped: Adds a pop of color and a fresh, grassy note. Flat-leaf parsley is better than curly for this because it has a stronger flavor.
- Lemon wedges: Serve with extra lemon on the side for anyone who likes a bit more acidity.
I usually buy my chicken in bulk and freeze it, so having it on hand is easy. If you can find local, pasture-raised chicken, definitely go for it. The difference in flavor is noticeable. In summer, you might want to swap the thyme for rosemary, which also works great. For a gluten-free option, you can skip the flour dusting, but the skin won’t be quite as crispy. It’s still delicious, just a different texture.
Equipment Needed
You don’t need a fancy kitchen to make this recipe. In fact, the less equipment you have, the better. The beauty of this dish is that it is a true one-pan meal. Here is what you need to get started.
- Large cast-iron skillet: This is the most important tool. Cast iron holds heat incredibly well, which is essential for getting that crispy skin. If you don’t have cast iron, use a heavy-bottomed stainless steel skillet or an oven-safe non-stick pan. Avoid thin, cheap pans because they will warp and burn the butter.
- Pastry brush: Optional, but helpful for basting the chicken with the garlic butter. You can also use a spoon.
- Sharp knife and cutting board: For mincing the garlic and prepping the herbs.
- Measuring cups and spoons: Basic kitchen tools. Nothing fancy needed here.
- Tongs: Essential for flipping the chicken without piercing the skin. Piercing the skin lets the juices out, and we want to keep them in.
I learned the hard way that a thin skillet is a disaster. I once used a cheap non-stick pan and the butter burned before the chicken was cooked. Now, I only use my heavy cast-iron skillet for this. If your skillet is too small, the chicken will steam instead of sear. Make sure there is room between the pieces. If you have a large family, cook in batches. It’s worth the extra effort.
Maintenance tip: If you use cast iron, just rinse it with hot water and dry it thoroughly. You don’t need soap. Rub it with a little oil to keep it seasoned. It’s a tool that lasts forever if you take care of it.
Preparation Method
Let’s get into the nitty-gritty. This process is straightforward, but timing is everything. Follow these steps closely for the best results.
- Preheat the oven: Turn your oven to 400°F (200°C). Let it fully heat up while you prep the chicken. This ensures the oven is hot enough to roast the chicken quickly.
- Prepare the chicken: Pat the chicken thighs completely dry with paper towels. This is crucial. Moisture is the enemy of crispiness. If the skin is wet, it will steam. Be thorough. Then, season both sides generously with kosher salt and black pepper.
- Dust with flour: Lightly dust the chicken thighs with flour. Shake off any excess. You want a thin, almost invisible layer. This helps the skin get crunchy.
- Heat the oil: Place your large skillet over medium-high heat. Add the vegetable oil. Wait until the oil shimmers and just starts to smoke. This means it’s hot enough.
- Sear the chicken: Place the chicken thighs in the pan, skin-side down. Do not overcrowd the pan. Sear for 5 to 6 minutes. Do not touch them. Let the skin get golden brown and crispy. You will hear a loud sizzle. If it’s not sizzling, the pan isn’t hot enough.
- Flip the chicken: Use tongs to flip the chicken. The skin should be deep golden brown and release easily from the pan. If it sticks, it’s not ready. Sear the other side for 2 minutes.
- Add garlic and butter: Reduce the heat to medium. Add the butter to the pan. Once it melts, add the minced garlic and thyme. Cook for 1 minute, stirring constantly. Be careful not to burn the garlic. It should just be fragrant.
- Baste the chicken: Tilt the pan and spoon the garlic butter over the chicken thighs. Do this repeatedly. This infuses the meat with flavor and helps the skin crisp up further.
- Roast: Transfer the entire skillet to the preheated oven. Roast for 15 to 20 minutes. The chicken is done when the internal temperature reaches 165°F (74°C). The juices should run clear.
- Make the sauce: Remove the pan from the oven. Transfer the chicken to a plate. Place the skillet back on the stove over medium heat. Add the chicken broth and lemon juice. Scrape up the browned bits from the bottom of the pan. Simmer for 2 minutes until the sauce thickens slightly.
- Serve: Pour the garlic butter sauce over the chicken. Garnish with fresh parsley and lemon wedges. Serve immediately.
I usually burn the garlic the first few times I make this. It’s easy to get distracted by the sizzling chicken. Keep an eye on the garlic. It should turn golden, not brown. If it turns brown, it will taste bitter. Start over with the sauce if that happens. It’s faster than eating bitter garlic.
Cooking Tips & Techniques
Cooking is as much about technique as it is about ingredients. Here are some professional tips that will help you succeed.
- Dominate the moisture: The number one reason chicken skin isn’t crispy is moisture. Dry your chicken thoroughly. If it’s wet, it won’t crisp. I keep paper towels handy for this.
- High heat is key: You need high heat to render the fat and crisp the skin. Don’t be afraid of the smoke. Just make sure you have ventilation.
- Don’t move the chicken: When searing, let the chicken sit. If you move it too soon, it will stick and tear. Wait for it to release naturally.
- Baste often: Basting keeps the chicken moist and adds flavor. It’s a simple step that makes a big difference.
- Rest the meat: Let the chicken rest for 5 minutes after cooking. This allows the juices to redistribute. If you cut into it immediately, the juices will run out.
I once tried to rush this recipe and skipped the resting step. The chicken was dry and tough. It was a disaster. Now, I always let it rest. It’s worth the extra five minutes.
Timing tip: Have all your ingredients prepped before you start cooking. This is called “mise en place.” It makes cooking less stressful and helps you avoid burning things.
Variations & Adaptations
This recipe is versatile. You can tweak it to suit your taste or dietary needs.
- Spicy version: Add red pepper flakes to the butter sauce. It adds a nice kick.
- Herb variation: Swap thyme for rosemary or sage. Both pair well with garlic.
- Gluten-free: Skip the flour dusting. The chicken will still be delicious, just not as crispy.
- Dairy-free: Use olive oil or coconut oil instead of butter. It won’t be as rich, but it will still work.
I often add a splash of white wine to the sauce for a more complex flavor. It’s a nice touch for dinner parties. You can also add roasted vegetables to the pan. Potatoes, carrots, or Brussels sprouts cook well alongside the chicken. Just add them after you flip the chicken.
Serving & Storage Suggestions
Serve this chicken hot, straight from the pan. It goes well with mashed potatoes, rice, or a simple green salad. The garlic butter sauce is perfect for soaking up with crusty bread.
Store leftovers in an airtight container in the refrigerator for up to 3 days. Reheat in the oven at 350°F (175°C) to keep the skin crispy. The microwave will make the skin soggy.
The flavors develop over time. The next day, the chicken tastes even more flavorful. It’s great for lunch.
Nutritional Information & Benefits
This recipe is high in protein and healthy fats. Chicken thighs are rich in iron and zinc. The garlic has anti-inflammatory properties. The butter adds richness and flavor. It’s a satisfying meal that keeps you full.
It is not low-carb if you use the flour, but you can make it keto-friendly by skipping the flour. It’s gluten-free if you skip the flour. It’s dairy-free if you use oil instead of butter.
I love this recipe because it’s indulgent but not overly heavy. It’s a balance of comfort and nutrition.
Conclusion
This Crispy One-Pan Garlic Butter Chicken Thighs recipe is a game-changer. It’s easy, delicious, and satisfying. You should try it tonight. Customize it with your favorite herbs or spices. It’s a dish that brings people together.
I hope you love it as much as I do. Share your results in the comments. Let me know how it turned out. Thanks for reading.
Frequently Asked Questions
Can I use chicken breasts instead of thighs?
Yes, but they will cook faster and can dry out. Reduce the cooking time and check the temperature frequently.
Why is my chicken skin not crispy?
It’s likely because the skin was wet or the pan wasn’t hot enough. Dry the chicken thoroughly and ensure the pan is smoking hot before adding the oil.
Can I make this in the oven only?
Yes, but searing the skin first gives it better texture. If you skip searing, bake at 400°F for 35-40 minutes.
How do I store leftovers?
Store in an airtight container in the fridge for up to 3 days. Reheat in the oven to maintain crispiness.
Can I freeze this recipe?
Yes, freeze the cooked chicken for up to 3 months. Thaw in the fridge before reheating.
Pin This Recipe!
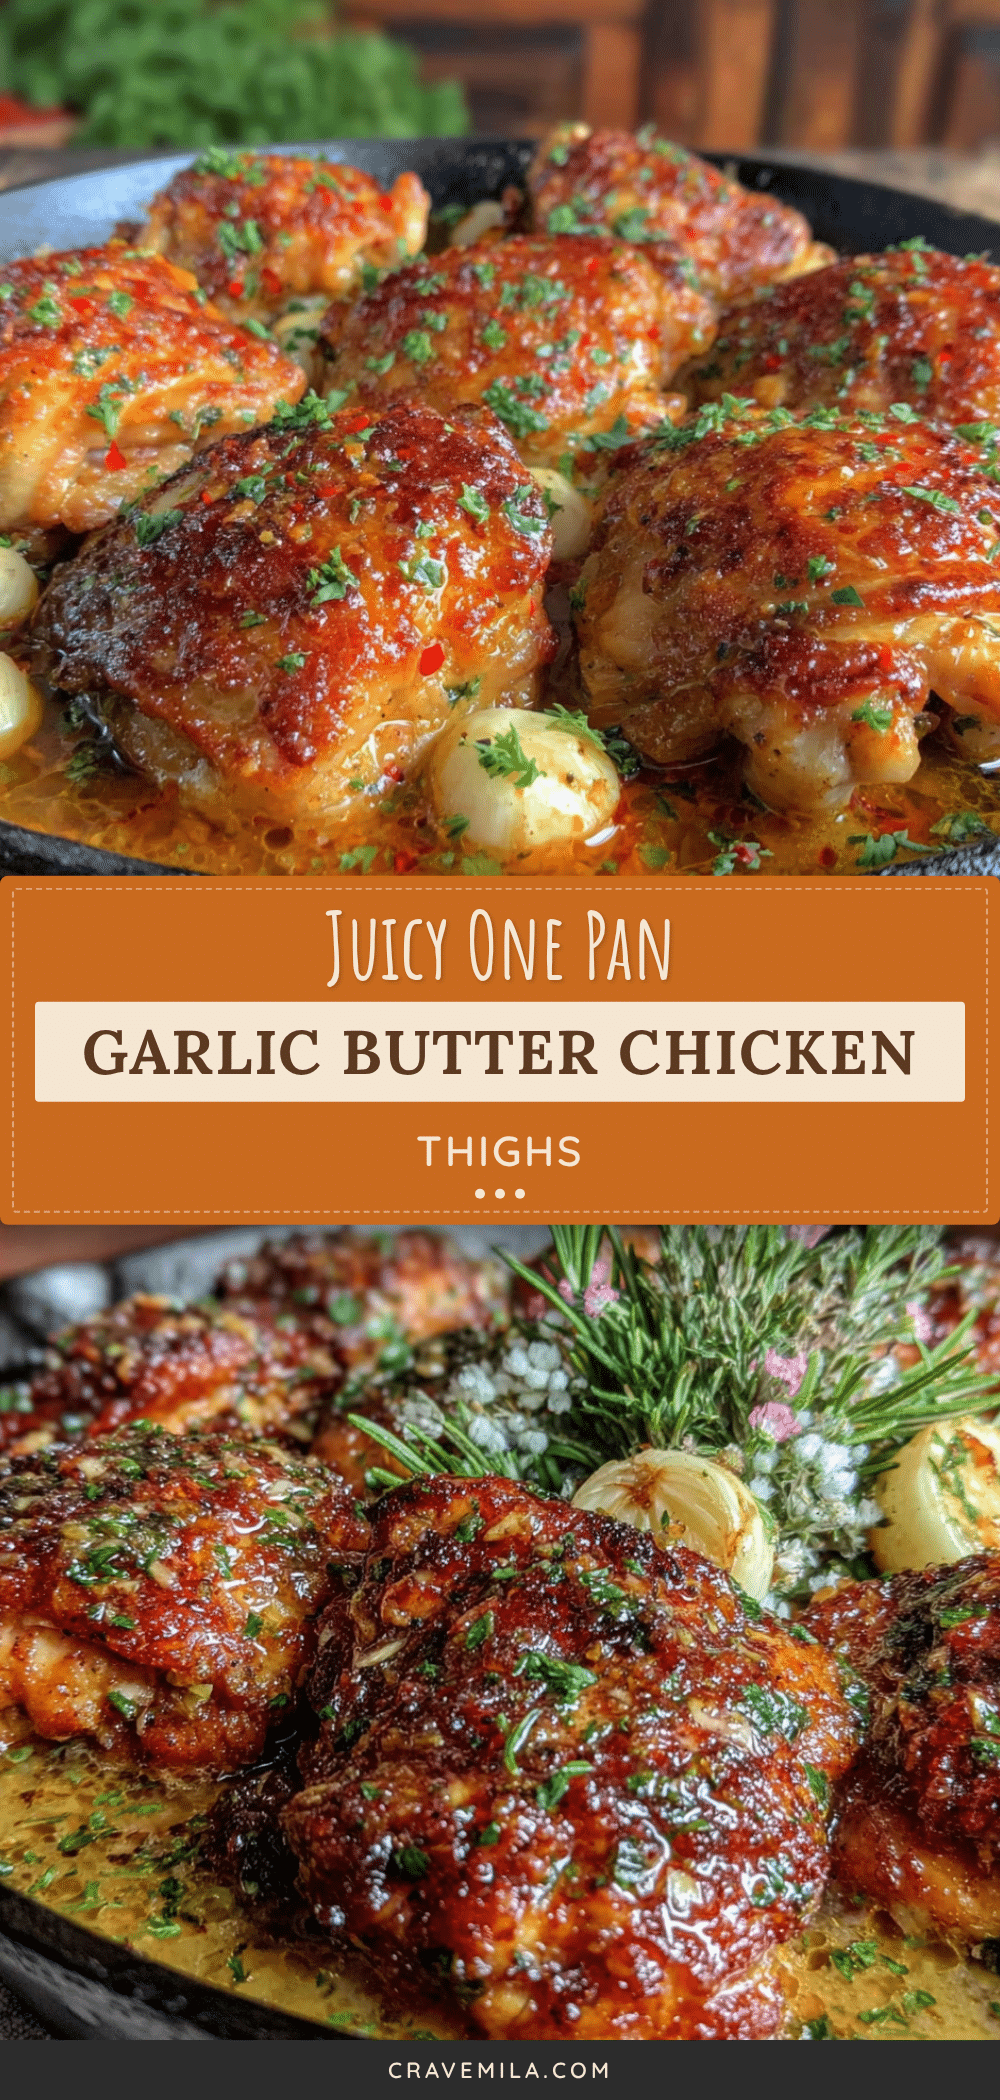
Crispy One-Pan Garlic Butter Chicken Thighs

A quick and easy 30-minute dinner featuring bone-in, skin-on chicken thighs seared in a cast-iron skillet and roasted with garlic butter for crispy skin and juicy meat.
- Prep Time: 10 minutes
- Cook Time: 20 minutes
- Total Time: 30 minutes
- Yield: 4 servings 1x
- Category: Main Course
- Cuisine: American
Ingredients
- 4–6 bone-in, skin-on chicken thighs (6–8 oz each)
- 2 tbsp vegetable oil or avocado oil
- 1 tsp kosher salt (or to taste)
- 1/2 tsp freshly cracked black pepper
- 2 tbsp all-purpose flour
- 4 tbsp unsalted butter
- 6–8 cloves garlic, minced
- 1 tbsp fresh thyme leaves
- 1/2 cup low-sodium chicken broth
- 1 tbsp fresh lemon juice
- 2 tbsp fresh parsley, chopped (for garnish)
- Lemon wedges (for serving)
Instructions
- Preheat oven to 400°F (200°C).
- Pat chicken thighs completely dry with paper towels. Season both sides generously with kosher salt and black pepper.
- Lightly dust chicken thighs with flour, shaking off any excess.
- Heat vegetable oil in a large cast-iron skillet over medium-high heat until shimmering and just starting to smoke.
- Place chicken thighs in the pan skin-side down. Sear for 5-6 minutes without moving until skin is golden brown and crispy.
- Flip chicken and sear the other side for 2 minutes.
- Reduce heat to medium. Add butter, minced garlic, and thyme to the pan. Cook for 1 minute, stirring constantly, until fragrant.
- Tilt pan and baste chicken with the garlic butter mixture repeatedly.
- Transfer skillet to the preheated oven and roast for 15-20 minutes until internal temperature reaches 165°F (74°C).
- Remove skillet from oven. Transfer chicken to a plate.
- Place skillet back on stove over medium heat. Add chicken broth and lemon juice, scraping up browned bits. Simmer for 2 minutes until sauce thickens.
- Pour sauce over chicken, garnish with parsley and lemon wedges, and serve immediately.
Notes
Ensure chicken skin is completely dry before searing to maximize crispiness. Do not overcrowd the pan; cook in batches if necessary. Let chicken rest for 5 minutes after cooking to redistribute juices. For a gluten-free version, skip the flour dusting. For a dairy-free version, use olive oil instead of butter.
Nutrition
- Serving Size: 1-2 chicken thighs p
- Calories: 550
- Sugar: 1
- Sodium: 600
- Fat: 38
- Saturated Fat: 12
- Carbohydrates: 4
- Protein: 42
Keywords: chicken thighs, garlic butter, one-pan dinner, crispy chicken, easy weeknight dinner, cast iron recipes, gluten-free option



