The PTA Halloween bake sale was in 12 hours and I’d completely forgotten. Everyone else would be bringing those elaborate, Pinterest-perfect cakes shaped like tombstones and those incredibly detailed sugar cookies that looked like stained glass. I had a box of black cocoa powder I’d bought on a whim, a stick of butter, and a vague sense of panic. Let me tell you, there is nothing quite like the pressure of a room full of moms who bring store-bought cupcakes that look professionally done to make you rethink your life choices.
I was staring into my pantry, honestly feeling a little defeated, when I remembered a red velvet recipe my grandmother used to make. The thought hit me—what if I just… swapped the color? I mean, it’s basically the same science, right? I grabbed my mixing bowl, my trusty hand mixer, and that mysterious black cocoa. I was frantically measuring flour while trying to convince myself this wasn’t going to be a total disaster. The batter was this gorgeous, inky grey, and when I popped them in the oven, I held my breath.
Twenty minutes later, I pulled out the most beautiful, dark, domed cupcakes I had ever seen. They looked like little bites of the night sky. I whipped up a quick cream cheese frosting, slathered it on, and threw them in a basket. I won the bake sale. Not just got a few compliments—won. The principal asked for the recipe, and a few of those “Pinterest moms” sheepishly asked what bakery I used. That’s when I knew I had stumbled onto something special. This recipe is my little secret weapon, and it’s about to be yours, too.
Why You’ll Love This Recipe
These aren’t just black cupcakes for the sake of being spooky. They are genuinely, ridiculously delicious. I’ve tested this recipe more times than I care to count to make sure it’s foolproof, even when you’re in a last-minute panic like I was.
- Deep, Rich Flavor: The black cocoa powder gives a subtle Oreo-like taste that is way more sophisticated than standard chocolate. It’s not just a color; it’s a flavor upgrade.
- Unbelievably Moist: The combination of buttermilk and oil keeps these cupcakes tender for days. You won’t get that dry, crumbly texture you sometimes find with dark-colored cakes.
- Simple Ingredients: No weird food coloring or specialty extracts. You probably have most of this in your pantry already, minus the black cocoa (which is easy to find online or in specialty baking aisles).
- Perfect for Halloween: They look incredible on a dessert table. The stark white frosting against the black cake is a showstopper, and you can decorate them a million ways.
- Crowd-Pleaser: Kids love the color, adults love the flavor. It’s that rare Halloween treat that satisfies everyone, from the sugar-crazed toddler to the coffee-loving dad.
What makes this recipe different from the rest is the texture. I use a reverse-creaming method that builds a super fine, tender crumb. It’s not just another black cupcake; it’s the best black cupcake. Honestly, the first time I bit into one, I closed my eyes. It’s that good. It’s comfort food reimagined for a spooky season—decadent, satisfying, and surprisingly easy. Perfect for impressing at a party without spending all day in the kitchen.
What Ingredients You Will Need
This recipe uses simple, wholesome ingredients to deliver that bold, dark color and velvety texture. Most of these are pantry staples, which makes this a great last-minute recipe.
- For the Cupcakes:
- All-Purpose Flour (1 ½ cups / 190g): The base of our structure. I use unbleached all-purpose flour for a slightly better texture, but bleached works fine too.
- Black Cocoa Powder (½ cup / 50g): This is the star. It’s what gives the cupcakes that incredible dark color and mild, Oreo-like flavor. I recommend buying from a brand like King Arthur Flour or Rodelle for the best results. Dutch-process cocoa will also work, but the color will be a dark brown, not jet black.
- Granulated Sugar (1 cup / 200g): Adds sweetness and helps with moisture. Regular white sugar is perfect.
- Baking Soda (1 tsp): Our leavening agent. It reacts with the buttermilk to help the cupcakes rise beautifully.
- Salt (½ tsp): Balances the sweetness and enhances the chocolate flavor.
- Buttermilk (1 cup / 240ml): Adds tanginess and tenderizes the gluten. If you don’t have buttermilk, you can make a quick substitute by adding 1 tablespoon of lemon juice or white vinegar to 1 cup of milk and letting it sit for 5 minutes.
- Vegetable Oil (½ cup / 120ml): Keeps the cupcakes incredibly moist. I use a neutral oil like canola or avocado oil.
- Eggs (2 large): Provide structure and richness. Make sure they are at room temperature so they emulsify properly.
- Vanilla Extract (2 tsp): Enhances the overall flavor profile. Use pure vanilla extract if you have it.
- White Vinegar (1 tsp): This is my secret trick! It reacts with the baking soda to create extra lift and helps the black cocoa bloom to its darkest color.
- For the Creamy Cream Cheese Frosting:
- Cream Cheese (8 oz / 226g): Use full-fat, block-style cream cheese. The spreadable kind in a tub has too much water and will make your frosting runny.
- Unsalted Butter (½ cup / 113g): Adds stability and richness to the frosting. Make sure it is softened but not melted.
- Powdered Sugar (3 cups / 360g): Sweetens and thickens the frosting. Sift it if it’s lumpy for a silky smooth finish.
- Vanilla Extract (1 tsp): For that classic flavor.
- Pinch of Salt: To cut the sweetness and balance the tanginess of the cream cheese.
Equipment Needed
You don’t need a fancy kitchen to pull these off. Most of this is basic baking gear.
- Muffin Tin (12-cup): Standard size is perfect.
- Paper Liners: I like using black or orange liners for Halloween, but white ones work too. The cake color will pop against them.
- Mixing Bowls: One large, one medium.
- Whisk: For dry ingredients.
- Hand Mixer or Stand Mixer: A hand mixer is perfectly fine. I actually prefer it for the frosting to avoid over-beating.
- Rubber Spatula: For scraping down the bowl and folding in ingredients.
- Cooling Rack: Essential for cooling the cupcakes evenly so the frosting doesn’t melt.
- Piping Bag & Tip (Optional): A large star tip (like a 1M) makes beautiful swirls, but you can also just use a zip-top bag with the corner snipped off.
Preparation Method
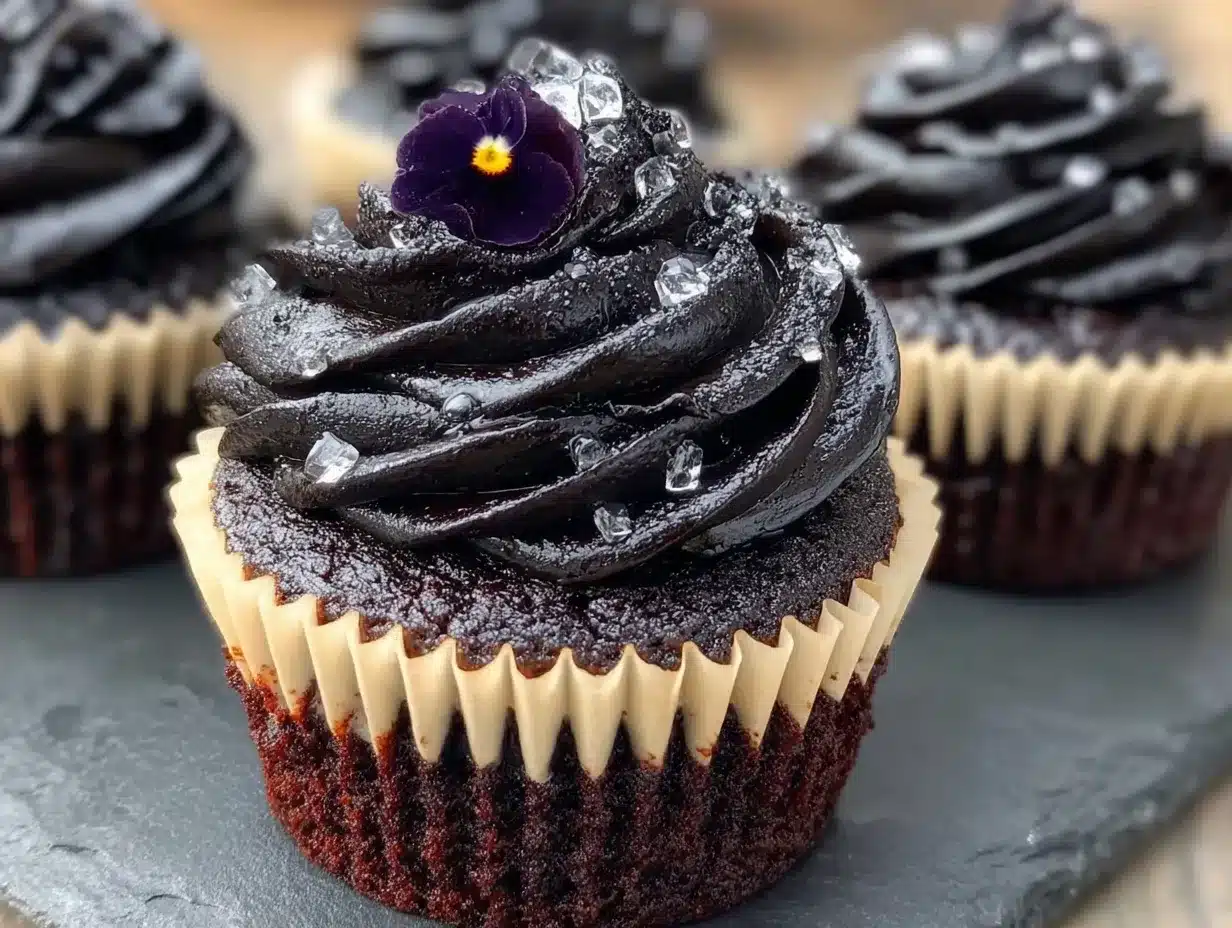
- Preheat & Prep (5 minutes): Preheat your oven to 350°F (175°C). Line your muffin tin with 12 paper liners. This is a good time to take your eggs and buttermilk out of the fridge so they come to room temperature.
- Whisk Dry Ingredients (3 minutes): In a large bowl, whisk together the all-purpose flour, black cocoa powder, granulated sugar, baking soda, and salt. Make sure the cocoa is fully incorporated—you don’t want any lumps of black powder hiding in there.
- Combine Wet Ingredients (2 minutes): In a separate medium bowl or a large liquid measuring cup, whisk together the buttermilk, vegetable oil, eggs, vanilla extract, and white vinegar. Whisk until it’s all a uniform, slightly frothy mixture.
- Mix the Batter (2 minutes): Pour the wet ingredients into the dry ingredients. Using your hand mixer on low speed (or a whisk), mix until just combined. It will look a bit thin and that is perfectly fine. Do not overmix! A few small lumps are okay. The batter will be a gorgeous, deep grey color. Scrape the sides and bottom of the bowl with your spatula to make sure everything is incorporated.
- Fill the Liners (5 minutes): Divide the batter evenly among the 12 liners. I use a large cookie scoop or a ¼ cup measure. Each liner should be about ⅔ full. This is the perfect amount for a nice domed top.
- Bake (18-20 minutes): Bake for 18-20 minutes, or until a toothpick inserted into the center of a cupcake comes out clean or with a few moist crumbs. The tops should spring back when lightly touched. Important note: Because the batter is so dark, it can be hard to tell when they are done by color alone. Trust the toothpick test!
- Cool Completely (30 minutes): Let the cupcakes cool in the pan for 5 minutes. Then, carefully transfer them to a wire rack to cool completely. This is crucial. If you try to frost them while they are even slightly warm, your beautiful cream cheese frosting will turn into a sad, melty puddle.
- Make the Frosting (10 minutes): While the cupcakes are cooling, make your frosting. In a large bowl, beat the softened cream cheese and butter together on medium speed until smooth and creamy, about 2 minutes. There should be no lumps.
- Add Sugar & Flavor (3 minutes): Gradually add the powdered sugar, one cup at a time, mixing on low speed after each addition to avoid a sugar cloud. Once all the sugar is in, add the vanilla and the pinch of salt. Increase the speed to medium-high and beat for another 2-3 minutes until the frosting is light, fluffy, and spreadable.
- Frost & Decorate (10 minutes): Once the cupcakes are completely cool, it’s time for the fun part. Spoon the frosting into your piping bag. Pipe a generous swirl on top of each cupcake. If you don’t have a piping bag, you can simply spread the frosting on with a knife and create little peaks.
Cooking Tips & Techniques
I’ve made this recipe about a dozen times, and I’ve learned a few things the hard way so you don’t have to.
- The Cold Ingredient Trap: One time, I used cold buttermilk and cold eggs straight from the fridge. The batter was thick and curdled-looking. The cupcakes came out dense and flat. Room temperature ingredients emulsify together beautifully, creating that tender, even crumb. Take the time to let them warm up.
- Don’t Overmix: I know it’s tempting to keep beating the batter until it’s perfectly smooth, but that develops the gluten too much. You’ll end up with tough, rubbery cupcakes. Mix until you don’t see any more streaks of flour, and then stop.
- The Toothpick is Your Friend: Because the cake is so dark, the usual “golden brown” test doesn’t work. Rely on the toothpick test every time. If it comes out clean, they are done. Over-baking is the number one reason for dry cupcakes.
- Frosting Consistency: If your cream cheese frosting is too runny, it’s usually because the cream cheese was too soft or you used the wrong kind (the spreadable kind in a tub). If it happens, pop the bowl in the fridge for 15 minutes to firm it up before piping. If it’s too thick, add a teaspoon of milk at a time until it reaches the right consistency.
Variations & Adaptations
This recipe is a fantastic base for getting creative. Don’t be afraid to make it your own.
- Gluten-Free Version: Substitute the all-purpose flour with a good 1:1 gluten-free baking blend (like the one from Bob’s Red Mill). The texture will be slightly more delicate, but they will still be delicious and dark.
- Vegan Adaptation: This one is a bit trickier but totally doable. Use a flax egg (1 tbsp ground flaxseed + 3 tbsp water per egg) and a vegan buttermilk (1 cup unsweetened almond milk + 1 tbsp lemon juice). Use a vegan butter and cream cheese for the frosting. The color might be slightly less vibrant, but the flavor is still great.
- Spooky Decorations: This is where you can go wild. Before the frosting sets, press in some crushed Oreo cookies for a “dirt” effect. Top each cupcake with a candy spider ring or a plastic skeleton hand. You can also tint the frosting with a little black food gel to make it a dark grey, creating a “stormy sky” look.
- Different Frosting: Not a fan of cream cheese? A classic American buttercream or a dark chocolate ganache would be incredible on these. A simple dusting of powdered sugar also looks surprisingly elegant against the black cake.
- Black Velvet Cake: You can easily turn this into a two-layer 8-inch cake. Bake the batter in two greased and floured 8-inch pans for 25-30 minutes. The frosting recipe will be enough for a nice layer in the middle and on top.
Serving & Storage Suggestions
These cupcakes are best served at room temperature. The cake is perfectly moist, and the frosting is soft and creamy.
- Serving: Arrange them on a black cake stand or a wooden board for a beautiful Halloween display. They pair wonderfully with a hot cup of coffee or a glass of cold milk. The contrast is perfect for a party.
- Storing: Because of the cream cheese frosting, these must be stored in the refrigerator. Place them in an airtight container. They will keep well for up to 4 days. I actually think the flavor gets better on the second day as the cocoa deepens.
- Reheating: If you prefer a slightly warmer cake, you can microwave a frosted cupcake for about 10-15 seconds. The frosting will get a bit soft, but the cake will be wonderfully warm and fudgy. It’s a great way to enjoy leftovers.
- Freezing: You can freeze the unfrosted cupcakes for up to 3 months. Wrap them individually in plastic wrap and then place them in a freezer bag. Thaw them at room temperature before frosting. The frosting itself can also be frozen in a sealed container for up to a month. Just let it thaw in the fridge overnight and re-whip it before using.
Nutritional Information & Benefits
This is a treat, so let’s be honest about that. But it’s a treat made with real ingredients.
- Estimated Values (per cupcake with frosting): Calories: 380, Fat: 22g, Carbs: 45g, Protein: 4g.
- Health Benefits: Black cocoa powder is rich in antioxidants called flavonoids. While you’re not eating it for health reasons, it’s nice to know it’s not empty calories. The buttermilk provides a bit of calcium and protein.
- Dietary Considerations: This recipe contains gluten, dairy, and eggs. For those with allergies, please see the variations section above for suitable adaptations.
- My Perspective: I believe in balance. Having a truly decadent, homemade treat like this is part of a happy life. It’s way better than anything from a box, and you know exactly what’s in it. Enjoy one (or two) without any guilt.
Frequently Asked Questions (FAQs)
1. Can I use regular cocoa powder instead of black cocoa powder?
Yes, you can! The cupcakes will taste like a standard red velvet cake, but they will be a dark brown color instead of jet black. It will still be delicious, just not as visually striking.
2. My frosting is too runny. What did I do wrong?
This is the most common issue. It usually happens if you used spreadable cream cheese (which has a higher water content) or if your butter and cream cheese were too soft. Try chilling the frosting bowl in the fridge for 15-20 minutes, then re-whipping it.
3. Can I make these cupcakes ahead of time?
Absolutely! You can bake the cupcakes up to two days in advance. Store them in an airtight container at room temperature. Wait to frost them until the day you plan to serve them for the best presentation.
4. Why did my cupcakes sink in the middle?
This can happen if the oven door was opened too early (before the structure set) or if the batter was overmixed. It can also happen if your baking soda is old and not active. Make sure your baking soda is fresh.
5. How do I get a really intense black color?
Using high-quality black cocoa powder is the key. Also, make sure you use the white vinegar. The acid in the vinegar and the buttermilk helps the cocoa powder react and darken. Do not skip it!
Conclusion
So, there you have it. My little accident that turned into a Halloween legend. These rich black velvet cupcakes are more than just a spooky treat; they are a testament to the fact that sometimes the best things come from a little bit of panic and a lot of hope. They are incredibly simple to make, but they look like you spent hours on them. That’s the kind of magic we all need in our lives, isn’t it?
I really hope you give them a try. Don’t be afraid to make them your own—add some sprinkles, a different frosting, or just enjoy them plain. The joy is in the making and the sharing. I’d love to see how yours turn out! Drop a comment below and tell me about your Halloween baking adventures, or share a photo of your creation. Happy baking, and have a wonderfully spooky Halloween!
Pin This Recipe!
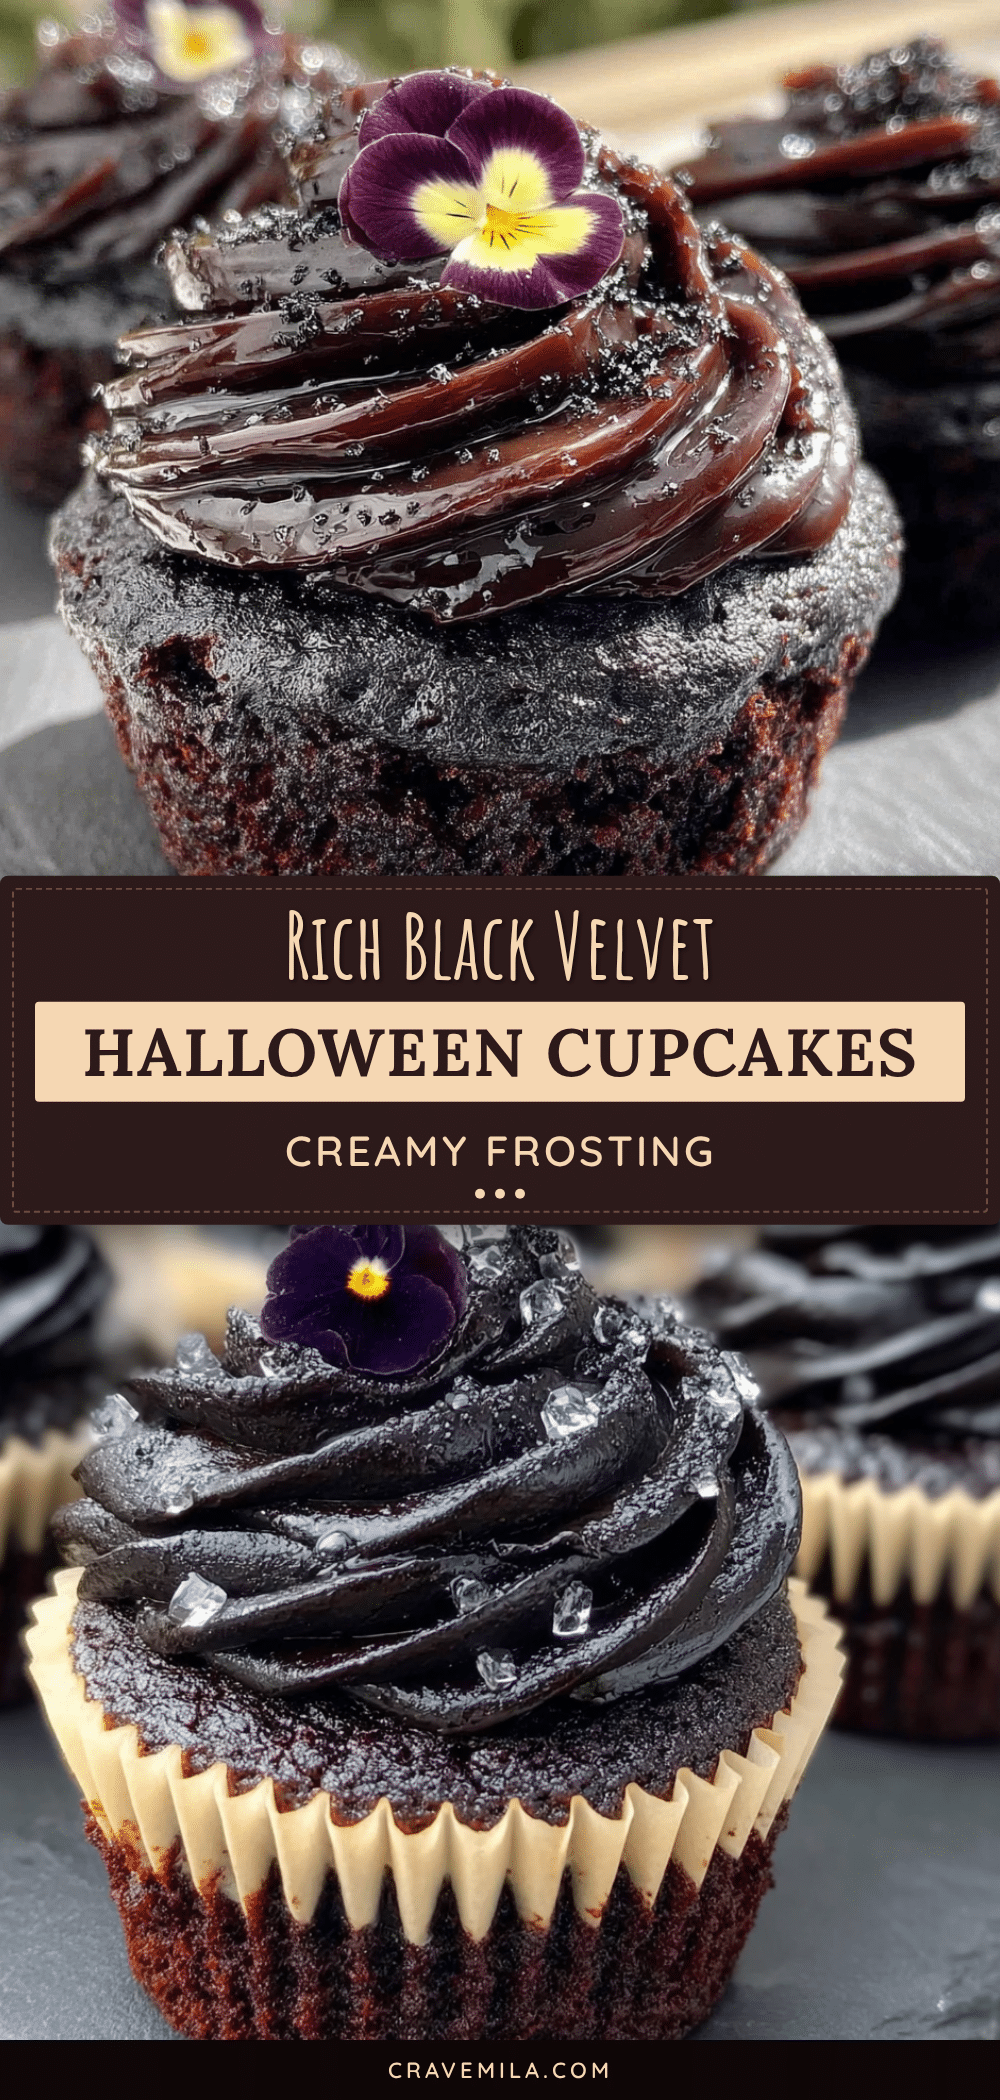
Rich Black Velvet Halloween Cupcakes Recipe
Deep, dark, and incredibly moist black velvet cupcakes with a creamy cream cheese frosting. This foolproof recipe is perfect for Halloween and delivers a rich, Oreo-like flavor that will impress everyone.
- Prep Time: 15 minutes
- Cook Time: 20 minutes
- Total Time: 35 minutes
- Yield: 12 cupcakes 1x
- Category: Dessert
- Cuisine: American
Ingredients
- 1 ½ cups (190g) all-purpose flour
- ½ cup (50g) black cocoa powder
- 1 cup (200g) granulated sugar
- 1 tsp baking soda
- ½ tsp salt
- 1 cup (240ml) buttermilk
- ½ cup (120ml) vegetable oil
- 2 large eggs, room temperature
- 2 tsp vanilla extract
- 1 tsp white vinegar
- 8 oz (226g) cream cheese, softened
- ½ cup (113g) unsalted butter, softened
- 3 cups (360g) powdered sugar
- 1 tsp vanilla extract (for frosting)
- Pinch of salt (for frosting)
Instructions
- Preheat oven to 350°F (175°C). Line a 12-cup muffin tin with paper liners.
- In a large bowl, whisk together flour, black cocoa powder, sugar, baking soda, and salt until well combined.
- In a separate bowl, whisk together buttermilk, vegetable oil, eggs, vanilla extract, and white vinegar until frothy.
- Pour wet ingredients into dry ingredients. Mix with a hand mixer on low speed or a whisk until just combined. Do not overmix; a few lumps are fine. Batter will be thin and deep grey.
- Divide batter evenly among the 12 liners, filling each about ⅔ full.
- Bake for 18-20 minutes, or until a toothpick inserted into the center comes out clean or with a few moist crumbs. Cool in pan for 5 minutes, then transfer to a wire rack to cool completely.
- For the frosting: In a large bowl, beat softened cream cheese and butter on medium speed until smooth and creamy, about 2 minutes.
- Gradually add powdered sugar, one cup at a time, mixing on low speed. Add vanilla and salt, then beat on medium-high for 2-3 minutes until light and fluffy.
- Once cupcakes are completely cool, pipe or spread frosting onto each cupcake. Decorate as desired.
Notes
For best results, use room temperature ingredients. Do not overmix the batter. Use the toothpick test to check doneness since the dark batter makes visual cues difficult. If frosting is too runny, chill for 15 minutes before piping. Store frosted cupcakes in the refrigerator for up to 4 days.
Nutrition
- Serving Size: 1 cupcake
- Calories: 380
- Sugar: 32
- Sodium: 280
- Fat: 22
- Saturated Fat: 10
- Carbohydrates: 45
- Fiber: 2
- Protein: 4
Keywords: black velvet cupcakes, Halloween cupcakes, black cocoa cupcakes, cream cheese frosting, spooky desserts, easy Halloween recipe