Sheryl wasn’t trying to impress anyone. I’d stopped by her place to grab a book I’d lent her months ago, and the smell of butter and vanilla hit me before I even got through the screen door. She was standing at her kitchen counter, these tiny little cheesecake bites cooling on a wire rack, and she just shrugged when I asked what they were. “Oh, just something I threw together for the neighborhood meeting tonight.” Threw together. I mean, I’d been standing there for maybe ten seconds and I already knew I wasn’t leaving without that recipe. She handed me one, still slightly warm, and honestly, the first bite was a whole moment. The creamy filling, the buttery crust, that little burst of blueberry on top—it was the kind of thing you’d expect from a fancy bakery, not from a friend’s kitchen on a random Tuesday. Maybe you’ve been there, where someone makes something so good it almost feels unfair they didn’t make a bigger deal about it. That’s this recipe. I’ve made these Mini Blueberry Cheesecake Bites for every gathering since that day, and they never last long. They’re the reason I’m never asked to bring a salad to parties anymore.
Why You’ll Love This Recipe
These Mini Blueberry Cheesecake Bites are the perfect dessert for a crowd. After testing this recipe at least a dozen times—and watching them disappear at potlucks, birthday parties, and casual get-togethers—I can honestly say they deliver every single time. Here is why you are going to love them as much as I do:
- Quick & Easy: These come together in about 30 minutes of active prep time. No water bath, no complicated steps, no stress.
- Simple Ingredients: You likely have most of these in your pantry already. No fancy grocery store runs required.
- Perfect for a Crowd: This recipe makes 24 mini cheesecakes, which is just right for a party, a bake sale, or a holiday gathering.
- Crowd-Pleaser: I have yet to meet someone who doesn’t love these. Kids go for the blueberry topping, adults love the creamy texture.
- Unbelievably Delicious: The combination of the buttery graham cracker crust, the smooth and tangy cheesecake filling, and the sweet blueberry topping is pure comfort food magic.
What makes this recipe different from the rest? It is the perfect ratio of crust to filling to topping. I spent a lot of time getting that balance right so every single bite has a little bit of everything. Plus, the mini size means you can enjoy one (or two) without feeling like you overdid it. This is the kind of dessert that makes you close your eyes after the first bite—it is that good.
What Ingredients You Will Need
This recipe uses simple, wholesome ingredients to create a dessert that tastes anything but basic. The magic is in the quality of what you use, so here is what you need and why it matters.
For the Crust
- Graham cracker crumbs, 1 ½ cups (180g) – You can buy pre-made crumbs or crush your own. I prefer the texture of homemade crumbs, but store-bought works perfectly fine too.
- Unsalted butter, melted, 6 tablespoons (85g) – This binds the crumbs together and adds richness. I always use unsalted butter to control the salt level.
- Granulated sugar, 2 tablespoons (25g) – Just a little sweetness to balance the buttery crumbs.
- Salt, a pinch – It sounds weird, but a tiny pinch of salt in the crust makes the cheesecake filling taste even creamier.
For the Cheesecake Filling
- Full-fat cream cheese, 16 ounces (452g), softened – This is non-negotiable. Use the block-style cream cheese, not the spreadable kind in a tub. Let it sit on the counter for at least 30 minutes before you start.
- Granulated sugar, ½ cup (100g) – Sweetens the filling without making it overly sugary.
- Sour cream, ¼ cup (60g) – This is my secret ingredient. It adds a subtle tang and makes the filling incredibly smooth.
- Vanilla extract, 1 teaspoon – Pure vanilla extract makes a difference here. I recommend Nielsen-Massey or Rodelle for the best flavor.
- Large eggs, 2, room temperature – Room temperature eggs blend into the cream cheese much more smoothly, preventing lumps.
For the Blueberry Topping
- Fresh or frozen blueberries, 1 cup (150g) – Both work great. If using frozen, do not thaw them first.
- Granulated sugar, ¼ cup (50g) – Helps the berries break down and creates a light syrup.
- Lemon juice, 1 tablespoon (15ml) – Freshly squeezed is best. It brightens the flavor of the blueberries.
- Cornstarch, 1 teaspoon – This thickens the topping so it sets nicely on the cheesecakes.
- Water, 2 tablespoons (30ml) – Helps the cornstarch dissolve without clumps.
Equipment Needed
You do not need a lot of fancy equipment for these Mini Blueberry Cheesecake Bites, which is part of why I love them. Here is what you will need:
- Mini muffin pans (two 12-cup pans) – This recipe makes exactly 24 mini cheesecakes. If you only have one pan, you can bake them in batches. Let the pan cool completely before filling it again.
- Paper mini muffin liners – These are a lifesaver. They make removing the cheesecakes so easy and keep the pans clean. I prefer the foil-lined ones for extra stability.
- Mixing bowls (medium and large) – One for the crust, one for the filling.
- Electric hand mixer or stand mixer – A hand mixer works perfectly. You just need something to get the cream cheese smooth.
- Small saucepan – For making the blueberry topping.
- Spatula – A rubber spatula is best for scraping down the sides of the bowl.
- Measuring cups and spoons – Accuracy matters in baking, even for mini things.
- Cookie scoop or small spoon – A small cookie scoop (about 1 tablespoon) makes filling the muffin cups neat and fast.
If you do not have mini muffin pans, you can use a regular 12-cup muffin pan and make jumbo versions. Just increase the baking time by about 5 to 7 minutes.
Preparation Method
Let me walk you through this step by step. I have made these Mini Blueberry Cheesecake Bites so many times that I have the process down to a science. Here is how to do it:
- Preheat your oven to 325°F (160°C). Line your mini muffin pans with the paper liners. This is a small step, but it makes a huge difference later. Trust me, you do not want to be wrestling stuck cheesecakes out of the pan.
- Make the crust. In a medium bowl, combine the graham cracker crumbs, melted butter, granulated sugar, and a pinch of salt. Stir with a fork until the mixture looks like wet sand and holds together when you press it between your fingers. It should not be dry and crumbly.
- Press the crust into the liners. Drop about 1 tablespoon of the crust mixture into each liner. Use the bottom of a small shot glass or a mini tart shaper to press it down firmly and evenly. This is important—if the crust is too loose, it will fall apart when you try to eat the cheesecake. Press it until it is compact and flat.
- Bake the crusts. Place the pans in the oven and bake for 5 minutes. They should be just slightly golden around the edges. Remove from the oven and set aside to cool while you make the filling. Leave the oven on.
- Make the cheesecake filling. In a large mixing bowl, beat the softened cream cheese with an electric mixer on medium speed until it is completely smooth and there are no lumps. This takes about 2 minutes. Scrape down the sides and bottom of the bowl with a spatula. Add the granulated sugar and beat for another minute until well combined.
- Add the sour cream and vanilla. Beat in the sour cream and vanilla extract on low speed until just combined. Do not overmix at this stage.
- Add the eggs one at a time. Crack one egg into the bowl and beat on low speed until it is fully incorporated. Scrape the bowl again. Add the second egg and beat again until just combined. The batter should be smooth and creamy. Overmixing at this point can incorporate too much air, which can cause the cheesecakes to crack as they bake.
- Fill the crusts. Spoon the cheesecake filling into each crust, filling them almost to the top. A small cookie scoop works perfectly here. The filling will puff up a little as it bakes, so leave just a tiny bit of space at the top.
- Bake the cheesecakes. Place the pans in the oven and bake for 14 to 16 minutes. The edges should look set, but the centers will still jiggle slightly when you gently shake the pan. That is perfectly fine. They will continue to set as they cool. Do not overbake them, or they will be dry.
- Cool completely. Let the pans cool on a wire rack for about 20 minutes. Then carefully transfer the cheesecakes (still in their liners) to a plate or baking sheet and refrigerate for at least 2 hours. This is the hardest part, I know, but it is essential. Cold cheesecake is the best cheesecake.
- Make the blueberry topping. While the cheesecakes are chilling, make the topping. In a small saucepan, combine the blueberries, granulated sugar, and lemon juice. In a separate small bowl, whisk together the cornstarch and water until smooth. Add this slurry to the saucepan.
- Cook the topping. Place the saucepan over medium heat and stir gently. The mixture will start to bubble and thicken after about 5 minutes. Let it simmer for 1 to 2 minutes, stirring constantly, until the blueberries have softened and the sauce is glossy. Remove from heat and let it cool to room temperature. It will thicken more as it cools.
- Top the cheesecakes. Once the cheesecakes are fully chilled and the topping is cool, spoon a small amount of the blueberry mixture onto each mini cheesecake. A little goes a long way. Return them to the refrigerator for at least 30 minutes to let the topping set.
Cooking Tips & Techniques
I have made a few mistakes with these Mini Blueberry Cheesecake Bites over the years, so let me save you the trouble. Here are my best tips:
- Room temperature ingredients are crucial. Cold cream cheese will leave you with a lumpy batter. Set it out at least 30 minutes before you start. Same goes for the eggs. If you forget, you can place the cream cheese (still wrapped) in a bowl of warm water for 10 minutes.
- Do not overmix the batter. Once the eggs go in, mix on low speed and only until everything is combined. Too much air in the batter can cause the cheesecakes to puff up and then collapse, leaving cracks on the surface.
- Let them cool slowly. After baking, let the cheesecakes sit in the pan on the counter for 20 minutes before moving them to the fridge. This gradual cooling prevents sudden temperature changes that can also cause cracking.
- Make the topping ahead. The blueberry topping can be made a day in advance and stored in the fridge. Just let it come to room temperature before spooning it onto the cheesecakes.
- Use a piping bag for the filling. If you want to be extra neat, you can transfer the cheesecake batter to a piping bag and pipe it into the crusts. It makes the process faster and less messy. I do this when I am making them for a big party.
- Freeze them for later. These cheesecakes freeze beautifully. Freeze them without the topping for up to 3 months. Add the fresh blueberry topping after they thaw.
Variations & Adaptations
One of the best things about this recipe is how easy it is to change it up. Here are some of my favorite variations:
- Lemon Blueberry Cheesecake Bites: Add 1 tablespoon of lemon zest to the cheesecake filling along with the vanilla extract. The lemon and blueberry are a classic combination that tastes like summer.
- Gluten-Free Version: Substitute the graham cracker crumbs with gluten-free graham crackers or crushed gluten-free vanilla cookies. The rest of the ingredients are naturally gluten-free.
- Strawberry Topping: Swap the blueberries for strawberries. Use the same amount of chopped fresh or frozen strawberries, and cook them with the sugar, lemon juice, and cornstarch until they break down into a chunky sauce.
- Chocolate Crust: Replace the graham crackers with chocolate wafer cookies or crushed Oreos (filling removed). This gives the cheesecakes a rich, chocolatey base that pairs beautifully with the blueberry topping.
- Keto-Friendly Option: Use a low-carb sweetener like erythritol in both the crust and the filling. For the crust, substitute almond flour and melted butter. The blueberry topping can be made with a sugar substitute as well.
I tried the lemon version last summer for a barbecue, and it was a huge hit. The bright citrus flavor cuts through the richness of the cheesecake perfectly. It is now my go-to for warm-weather gatherings.
Serving & Storage Suggestions
These Mini Blueberry Cheesecake Bites are best served cold, straight from the refrigerator. The texture is firmer, the flavors are more pronounced, and they just feel more refreshing. Here is how I like to serve them:
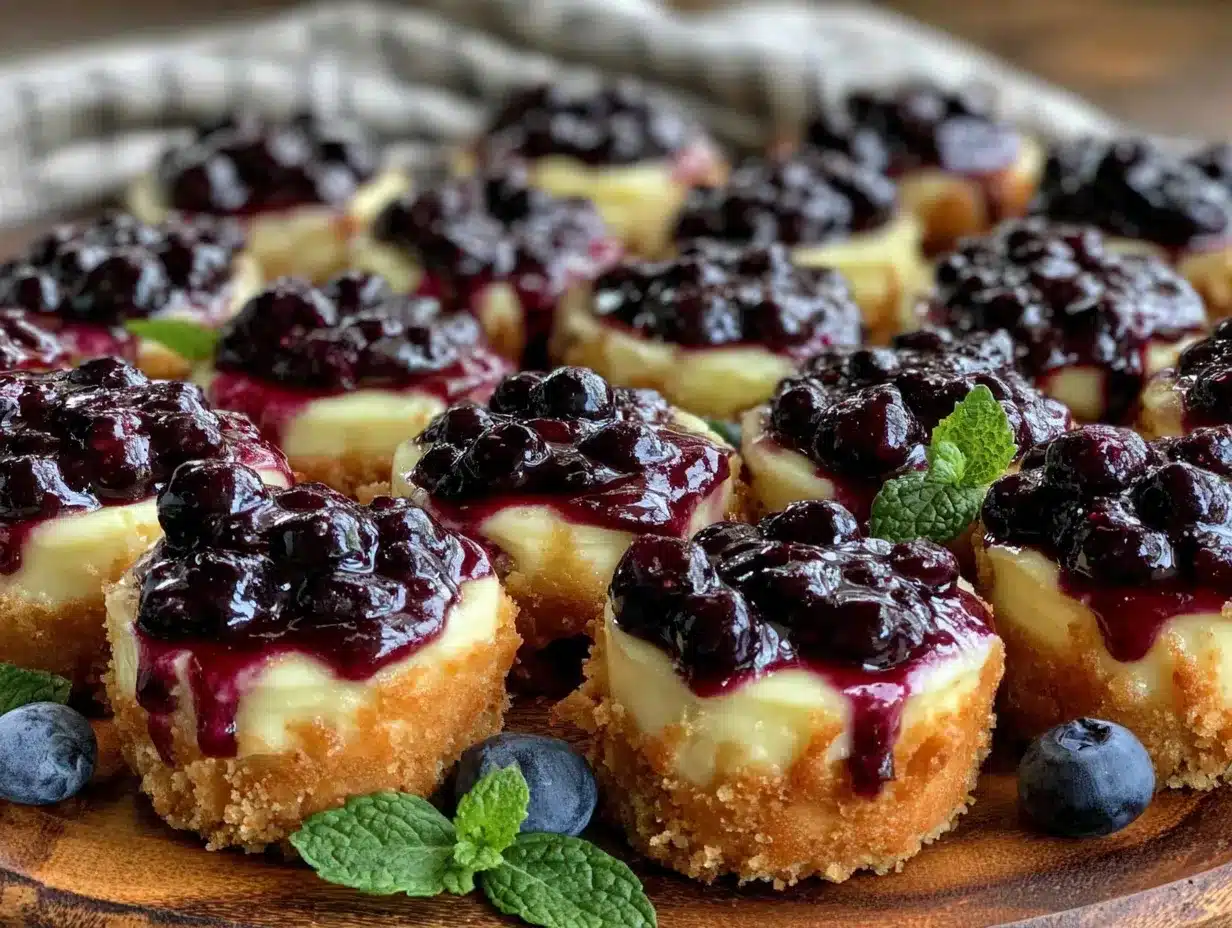
- Presentation: Arrange them on a large white platter or a tiered cake stand. The contrast between the golden crust, the creamy white filling, and the deep purple topping looks beautiful. Garnish with a few fresh blueberries and a sprig of mint for a pop of color.
- Complementary Dishes: These pair wonderfully with fresh fruit, a dollop of whipped cream, or a dusting of powdered sugar. For a dessert spread, serve them alongside chocolate truffles or fresh fruit skewers.
- Beverage Pairings: A cup of hot coffee or a glass of cold milk is perfect. For a fancier option, try them with a dessert wine like a late-harvest Riesling or a sparkling Moscato.
- Storage: Store the cheesecakes in an airtight container in the refrigerator for up to 5 days. I recommend keeping the topping separate if you are storing them for more than a day, as it can make the cheesecakes a bit soggy over time. If you have already topped them, they are still fine for 2 to 3 days.
- Freezing: To freeze, place the cheesecakes (without topping) on a baking sheet and freeze for 1 hour until solid. Then transfer them to a freezer-safe bag or container. They will keep for up to 3 months. Thaw them in the refrigerator overnight before adding the topping and serving.
- Reheating: These are meant to be served cold, so no reheating is needed. If you want a slightly softer texture, let them sit at room temperature for 10 minutes before serving.
The flavors actually develop and deepen after a day in the fridge. I sometimes think they taste even better on day two.
Nutritional Information & Benefits
Here is an approximate nutritional breakdown for one Mini Blueberry Cheesecake Bite (based on 24 servings):
- Calories: 145
- Fat: 9g
- Carbohydrates: 14g
- Protein: 3g
- Sugar: 10g
- Sodium: 95mg
Blueberries are packed with antioxidants, particularly anthocyanins, which are great for heart health and brain function. The cream cheese provides a good amount of calcium and protein, though it is also higher in fat, so moderation is key. This recipe is not exactly health food, but it is a treat that uses real, whole ingredients. For a slightly lighter version, you can use reduced-fat cream cheese and Greek yogurt in place of the sour cream. The texture will be a little less rich, but still delicious.
Please note that these values are estimates and can vary based on the specific brands and ingredients you use. If you have specific dietary concerns, I recommend calculating the nutritional information based on your exact ingredients.
Frequently Asked Questions
Can I use a different fruit for the topping?
Absolutely. Raspberries, blackberries, chopped strawberries, or even diced peaches work wonderfully. Just adjust the sugar to taste, as some fruits are sweeter than others. The cooking time may vary slightly depending on the fruit’s water content.
Why did my cheesecake filling crack?
This usually happens from overmixing the batter or overbaking the cheesecakes. Make sure you mix on low speed once the eggs are added, and take the cheesecakes out of the oven when the centers are still slightly jiggly. They will firm up as they cool.
Can I make these without a mixer?
Yes, but it takes more elbow grease. Make sure your cream cheese is very soft, and use a wooden spoon to beat it until smooth. A whisk can also work for the final mixing. It is doable, just a bit more work.
How do I prevent the crust from sticking to the pan?
Using paper mini muffin liners is the best way to avoid this. If you do not have liners, you can grease the muffin cups thoroughly with butter or non-stick spray. Let the cheesecakes cool completely in the pan before trying to remove them.
Can I double this recipe?
Yes, this recipe doubles beautifully. Just make sure you have enough mini muffin pans to bake them all at once, or bake them in batches. If baking in batches, let the pans cool completely before filling them again to prevent the crust from melting prematurely.
Conclusion
These Mini Blueberry Cheesecake Bites are everything a crowd-pleasing dessert should be—easy to make, beautiful to look at, and absolutely delicious to eat. They have become my signature dish for gatherings, and I love seeing people’s faces light up when they take that first bite. The best part is how customizable they are. You can swap the fruit, change the crust, or adjust the sweetness to your liking. They are forgiving, reliable, and always a hit. I hope you give them a try for your next party, potluck, or family dinner. And when you do, I would love to hear how they turned out. Drop a comment below and let me know what variation you tried, or share a photo of your creation. Happy baking, my friend. You have got this.
Pin This Recipe!
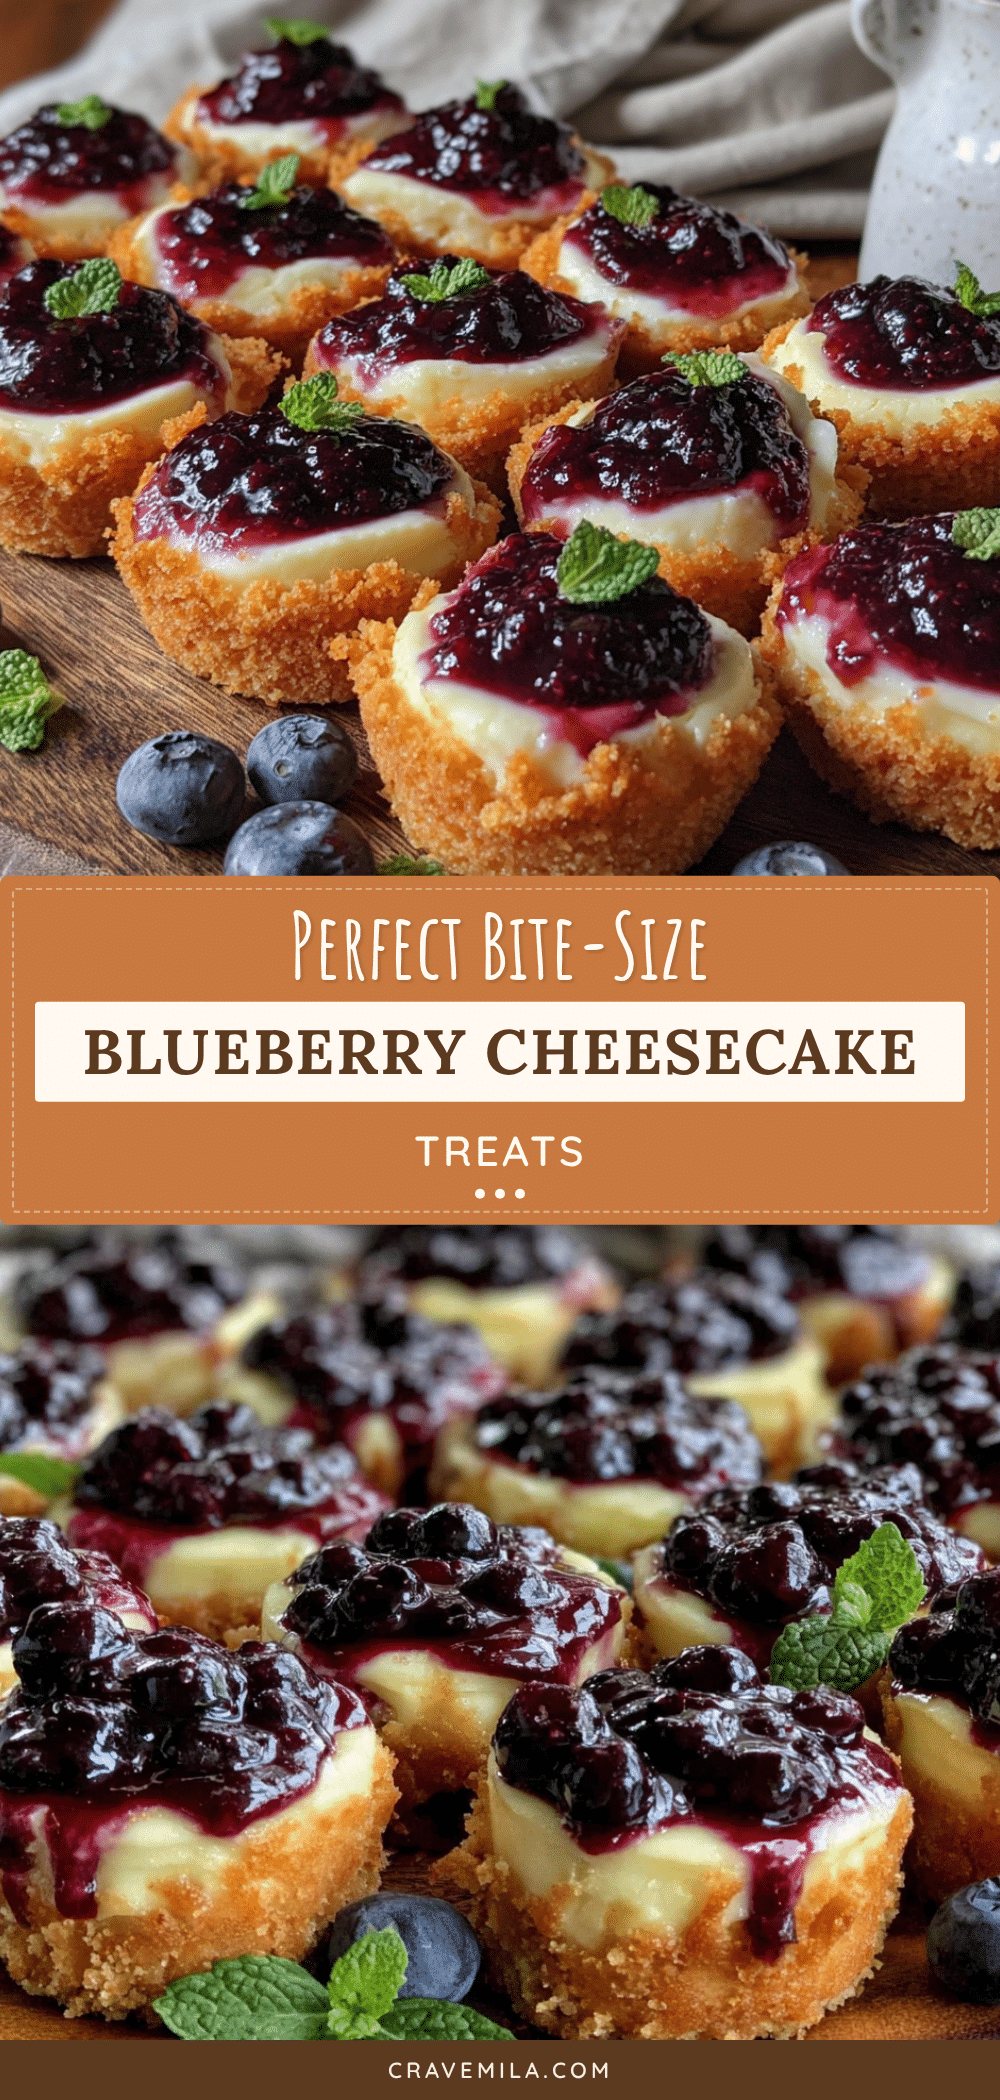
Perfect Mini Blueberry Cheesecake Bites Easy Crowd Dessert

These Mini Blueberry Cheesecake Bites are the perfect dessert for a crowd. They come together in about 30 minutes of active prep time and feature a buttery graham cracker crust, smooth and tangy cheesecake filling, and a sweet blueberry topping.
- Prep Time: 30 minutes
- Cook Time: 20 minutes
- Total Time: 2 hours 50 minutes (includes chilling)
- Yield: 24 servings 1x
- Category: Dessert
- Cuisine: American
Ingredients
- 1 ½ cups (180g) graham cracker crumbs
- 6 tablespoons (85g) unsalted butter, melted
- 2 tablespoons (25g) granulated sugar
- Pinch of salt
- 16 ounces (452g) full-fat cream cheese, softened
- ½ cup (100g) granulated sugar
- ¼ cup (60g) sour cream
- 1 teaspoon vanilla extract
- 2 large eggs, room temperature
- 1 cup (150g) fresh or frozen blueberries
- ¼ cup (50g) granulated sugar
- 1 tablespoon (15ml) lemon juice
- 1 teaspoon cornstarch
- 2 tablespoons (30ml) water
Instructions
- Preheat your oven to 325°F (160°C). Line your mini muffin pans with paper liners.
- Make the crust: In a medium bowl, combine graham cracker crumbs, melted butter, granulated sugar, and a pinch of salt. Stir until the mixture looks like wet sand and holds together when pressed.
- Press the crust into the liners: Drop about 1 tablespoon of the crust mixture into each liner. Use the bottom of a small shot glass or a mini tart shaper to press it down firmly and evenly.
- Bake the crusts: Place the pans in the oven and bake for 5 minutes until just slightly golden around the edges. Remove from the oven and set aside to cool. Leave the oven on.
- Make the cheesecake filling: In a large mixing bowl, beat the softened cream cheese with an electric mixer on medium speed until completely smooth, about 2 minutes. Scrape down the sides and bottom of the bowl. Add the granulated sugar and beat for another minute until well combined.
- Add the sour cream and vanilla: Beat in the sour cream and vanilla extract on low speed until just combined. Do not overmix.
- Add the eggs one at a time: Crack one egg into the bowl and beat on low speed until fully incorporated. Scrape the bowl. Add the second egg and beat again until just combined. The batter should be smooth and creamy.
- Fill the crusts: Spoon the cheesecake filling into each crust, filling them almost to the top. A small cookie scoop works perfectly.
- Bake the cheesecakes: Place the pans in the oven and bake for 14 to 16 minutes. The edges should look set, but the centers will still jiggle slightly when you gently shake the pan.
- Cool completely: Let the pans cool on a wire rack for about 20 minutes. Then carefully transfer the cheesecakes (still in their liners) to a plate or baking sheet and refrigerate for at least 2 hours.
- Make the blueberry topping: While the cheesecakes are chilling, in a small saucepan combine the blueberries, granulated sugar, and lemon juice. In a separate small bowl, whisk together the cornstarch and water until smooth. Add this slurry to the saucepan.
- Cook the topping: Place the saucepan over medium heat and stir gently. The mixture will start to bubble and thicken after about 5 minutes. Let it simmer for 1 to 2 minutes, stirring constantly, until the blueberries have softened and the sauce is glossy. Remove from heat and let it cool to room temperature.
- Top the cheesecakes: Once the cheesecakes are fully chilled and the topping is cool, spoon a small amount of the blueberry mixture onto each mini cheesecake. Return them to the refrigerator for at least 30 minutes to let the topping set.
Notes
Room temperature ingredients are crucial for a smooth batter. Do not overmix the batter once eggs are added to prevent cracking. Let cheesecakes cool slowly to avoid cracking. The blueberry topping can be made a day in advance. These cheesecakes freeze beautifully without the topping for up to 3 months.
Nutrition
- Serving Size: 1 mini cheesecake bi
- Calories: 145
- Sugar: 10
- Sodium: 95
- Fat: 9
- Saturated Fat: 5
- Carbohydrates: 14
- Protein: 3
Keywords: mini cheesecake, blueberry cheesecake, mini blueberry cheesecake bites, easy dessert, crowd dessert, party dessert, mini cheesecake bites



