There used to be a tiny bakery tucked between a laundromat and a thrift store on the corner of Elm and 5th that made the most incredible black velvet cupcakes. When they closed their doors two Halloweens ago—just a handwritten sign taped to the window saying “Thanks for the memories”—I honestly felt a little pang of loss. After seven tries—including one batch that turned out more gray than black and another that tasted suspiciously like charcoal—I finally got it. These Perfect Black Velvet Halloween Cupcakes with Orange Frosting are my love letter to that little bakery, and let me tell you, they’re even better than I remembered. The crumb is tender, the color is properly dramatic, and that orange frosting? It’s the kind of bright, creamy topping that makes you close your eyes after the first bite. Maybe you’ve had a recipe haunt you like that—the one you just had to get right.
Why You’ll Love This Recipe
These aren’t just another Halloween dessert. I’ve tested this recipe more times than I care to admit, and here’s what makes it stand out from every other spooky cupcake out there.
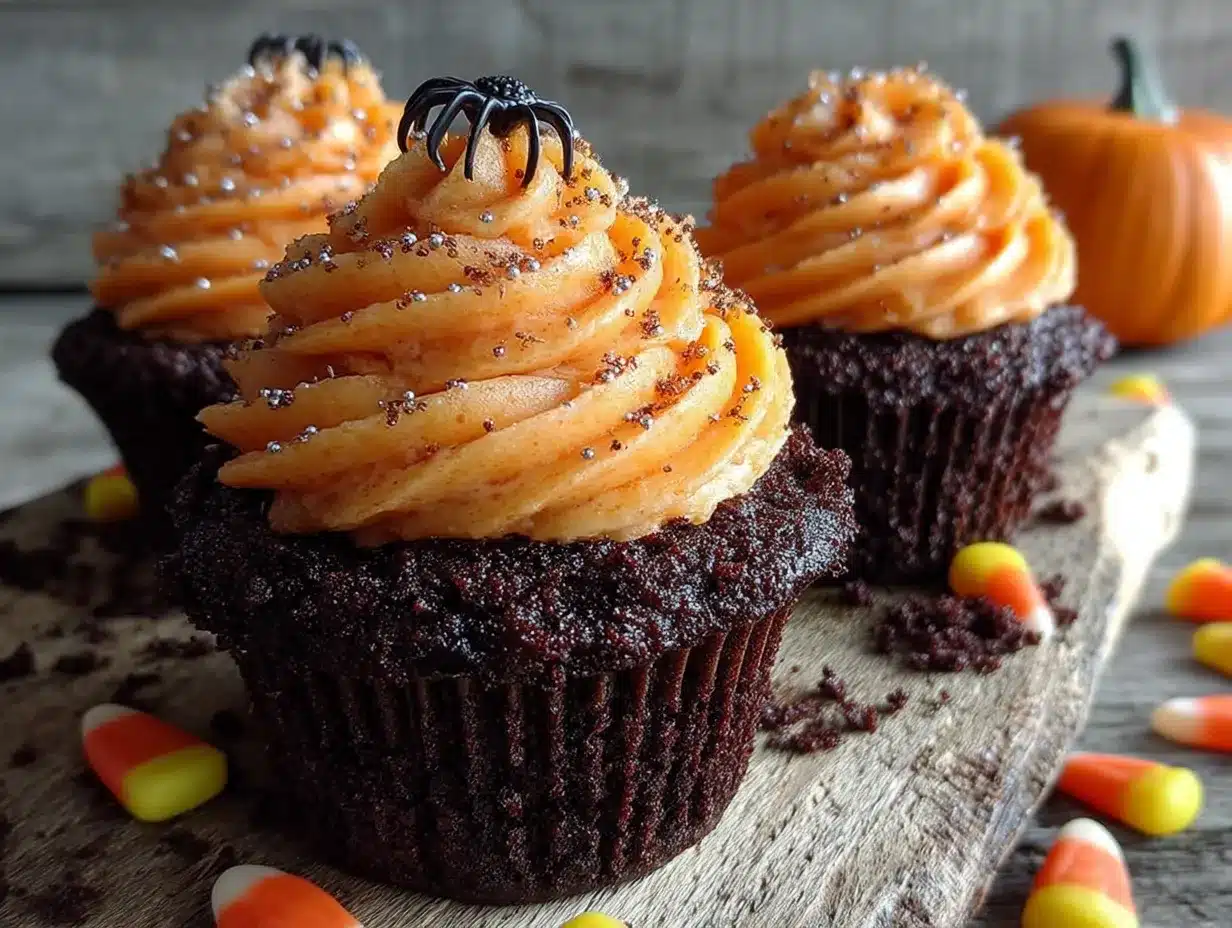
- Perfectly Dark Color : No artificial coloring needed—just a clever combination of cocoa powder and black cocoa that gives you that dramatic velvet look without any weird aftertaste.
- Incredibly Moist Texture : The buttermilk and oil work together to create a crumb that stays soft for days, not dry and crumbly like some velvet cakes I’ve had.
- Bold Orange Flavor : The frosting uses real orange zest and a splash of juice, so it tastes like fresh citrus, not that artificial candy flavor.
- Simple Ingredients : You probably have most of these in your pantry already—no hunting down specialty stores for obscure items.
- Perfect for Halloween Parties : These cupcakes are total showstoppers at any gathering, and they’re easy to transport without falling apart.
- Kid-Friendly to Make : The steps are straightforward enough that little hands can help with mixing and decorating.
What really sets this recipe apart is the balance. The black cocoa gives a subtle Oreo-like flavor, while the orange frosting cuts through with brightness. It’s not just a gimmick—it’s genuinely delicious. I mean, I’ve made these for non-Halloween events and people still rave about them. That’s when you know you’ve got something special.
What Ingredients You Will Need
This recipe uses simple, wholesome ingredients to deliver that dramatic black velvet color and tender crumb without any artificial nonsense. Most of these are pantry staples, so you can whip these up on a whim.
For the Cupcakes
- All-purpose flour , 1 ½ cups (190g) — gives the cupcakes structure without making them tough
- Black cocoa powder , ½ cup (45g) — this is the secret to that deep, dark color; I recommend Rodelle or King Arthur brands for the best results
- Granulated sugar , 1 cup (200g) — adds sweetness and helps with browning
- Baking soda , 1 teaspoon — helps the cupcakes rise properly
- Salt , ½ teaspoon — balances the sweetness and enhances the cocoa flavor
- Vegetable oil , ½ cup (120ml) — keeps the crumb incredibly moist; you can also use canola or melted coconut oil
- Buttermilk , 1 cup (240ml) — adds tanginess and reacts with the baking soda for a tender texture (add 1 tablespoon vinegar to regular milk if you don’t have buttermilk)
- Large eggs , 2, at room temperature — helps bind everything together; cold eggs can make the batter seize
- Vanilla extract , 2 teaspoons — rounds out the chocolate flavor beautifully
- White vinegar , 1 teaspoon — sounds weird, but it reacts with the cocoa to deepen the color even more
For the Orange Frosting
- Unsalted butter , 1 cup (226g), softened — use good quality butter here, it makes a difference in texture
- Powdered sugar , 3 ½ cups (440g), sifted — sifting prevents lumps in your frosting
- Fresh orange zest , 2 tablespoons — from about 2 large oranges; don’t skip this, it’s where the real flavor lives
- Fresh orange juice , 3 tablespoons — adds brightness and thins the frosting to the right consistency
- Vanilla extract , 1 teaspoon — just a touch to round things out
- Salt , a pinch — cuts the sweetness and makes the orange flavor pop
For Decoration
- Black sprinkles or edible glitter — optional, but they add a fun spooky touch
- Orange food coloring — a drop if you want the frosting extra vibrant (I usually skip it, but it’s your call)
Equipment Needed
You don’t need a fancy bakery setup for these. Here’s what I use every time I make this recipe.
- Muffin tin — standard 12-cup size works perfectly; I’ve had good luck with the non-stick Wilton pans
- Paper liners — black or orange ones make the presentation pop, but plain white works too
- Mixing bowls — at least two medium bowls for wet and dry ingredients
- Electric mixer — hand mixer or stand mixer both work; you can whisk by hand but your arm will get a workout
- Wire rack — for cooling the cupcakes completely before frosting
- Piping bag — with a star tip for that bakery-style swirl; a zip-top bag with the corner snipped works in a pinch
- Measuring cups and spoons — precise measurements matter here, especially for the cocoa powder
If you don’t have a piping bag, honestly, you can just spread the frosting with a spatula. They won’t look as fancy, but they’ll taste exactly the same. I’ve done it both ways and nobody complained.
Preparation Method
Let’s get to the fun part. I’ve broken this down so even if you’re new to baking, you’ll feel confident.
- Preheat your oven to 350°F (175°C) and line your muffin tin with paper liners. This is one of those steps you don’t want to skip—the oven needs to be fully hot before the batter goes in.
- In a medium bowl, whisk together the flour, black cocoa powder, baking soda, and salt. Make sure there are no lumps in the cocoa powder—I’ve learned this the hard way. Sift it if you need to.
- In a large bowl, beat the sugar and oil together until well combined, about 1 minute. The mixture will look grainy, and that’s totally normal.
- Add the eggs one at a time, beating well after each addition. Then stir in the vanilla extract. The batter will start to look smoother now.
- Alternate adding the dry ingredients and the buttermilk, starting and ending with the dry ingredients. Mix until just combined—overmixing will make the cupcakes tough. I usually do three additions of dry and two of buttermilk.
- Stir in the white vinegar. This is where the magic happens—the batter will start to darken right before your eyes. Give it a few gentle folds until the color is uniform.
- Divide the batter evenly among the 12 liners, filling each about ⅔ full. An ice cream scoop works great for this and keeps things mess-free.
- Bake for 18-22 minutes, or until a toothpick inserted in the center comes out with just a few moist crumbs. The tops should spring back when lightly touched. Don’t overbake—dry velvet cake is a tragedy.
- Let the cupcakes cool in the pan for 5 minutes, then transfer to a wire rack to cool completely. This is important—frosting warm cupcakes will turn into a melty mess.
- While the cupcakes cool, make the frosting. Beat the softened butter until creamy, about 2 minutes. Gradually add the powdered sugar, then the orange zest, orange juice, vanilla, and salt. Beat for another 2-3 minutes until light and fluffy.
- Once the cupcakes are completely cool, pipe or spread the frosting on top. Add black sprinkles or edible glitter if you’re feeling extra festive.
Cooking Tips & Techniques
I’ve messed up this recipe more times than I’d like to admit, so let me save you some trouble.
Don’t skip the vinegar. I know it sounds odd, but the vinegar reacts with the cocoa powder to deepen the color dramatically. The first time I made these without it, they came out a sad, muddy gray. Never again.
Room temperature ingredients matter. Cold eggs and cold buttermilk can make your batter seize up, which leads to dense cupcakes. Take everything out of the fridge about 30 minutes before you start. I usually set my eggs in a bowl of warm water for 5 minutes if I forget.
Watch your baking time closely. Every oven runs differently. My old oven would bake these in exactly 19 minutes, but my new one takes 21. Start checking at 18 minutes—your toothpick should come out with moist crumbs, not wet batter.
Let them cool completely. This is the hardest part, I know. But if you frost these even slightly warm, your beautiful orange buttercream will slide right off. I’ve made that mistake on a batch I was rushing for a party, and let’s just say they looked more like Halloween horror than Halloween fun.
Toast your orange zest. This is a little trick I picked up from a pastry chef friend. Spread the zest on a paper towel and microwave for 10 seconds. It releases the oils and makes the orange flavor even more intense.
Variations & Adaptations
One of the best things about this recipe is how flexible it is. Here are some ways I’ve tweaked it over the years.
Gluten-Free Version : Swap the all-purpose flour for a 1:1 gluten-free baking blend. I’ve used Bob’s Red Mill with great results. Add an extra tablespoon of buttermilk since gluten-free flours tend to absorb more moisture.
Dairy-Free Adaptation : Use a dairy-free butter stick (not margarine) and replace the buttermilk with almond milk mixed with a tablespoon of lemon juice. The texture will be slightly less tender, but still delicious.
Spice It Up : Add ½ teaspoon of cinnamon and a pinch of cayenne pepper to the dry ingredients. The warmth pairs beautifully with the orange frosting. I made this version for a Halloween party and people couldn’t stop talking about it.
Cupcake Pops : Crumble leftover cupcakes (if you have any) and mix with a few tablespoons of frosting. Roll into balls, dip in black candy coating, and you’ve got adorable black velvet cake pops.
Mini Cupcakes : Use a mini muffin tin and bake for 10-12 minutes instead. Perfect for parties where people want to try multiple desserts. You’ll get about 36 minis from this recipe.
Serving & Storage Suggestions
These cupcakes are best served at room temperature, which lets the frosting soften to that perfect creamy texture. Arrange them on a black or orange platter for maximum Halloween vibes.
For a truly stunning presentation, I like to add a small candy spider or a chocolate bat on top of each cupcake. It takes about 30 seconds per cupcake but makes them look professionally done.
Storage : Keep unfrosted cupcakes in an airtight container at room temperature for up to 3 days. Frosted cupcakes should be stored in the refrigerator, but bring them to room temperature for about 30 minutes before serving. The frosting will firm up in the fridge, which actually makes them easier to transport.
Freezing : You can freeze the unfrosted cupcakes for up to 3 months. Wrap each one tightly in plastic wrap, then place them in a freezer bag. Thaw at room temperature before frosting. The frosting itself doesn’t freeze well, so make it fresh.
One thing I’ve noticed—these cupcakes actually taste better the next day. The flavors meld together overnight, and the texture stays incredibly moist. So if you’re planning for a party, make them a day ahead.
Nutritional Information & Benefits
Let’s be real—these are cupcakes, not health food. But here’s the breakdown so you know what you’re working with.
| Nutrient | Per Cupcake (with frosting) |
|---|---|
| Calories | 385 |
| Total Fat | 18g |
| Saturated Fat | 9g |
| Cholesterol | 65mg |
| Sodium | 220mg |
| Total Carbohydrates | 54g |
| Dietary Fiber | 2g |
| Sugars | 40g |
| Protein | 4g |
On the plus side, black cocoa powder is rich in antioxidants (the same ones found in dark chocolate), and the orange zest provides a nice dose of vitamin C. The buttermilk adds calcium and probiotics. But honestly, these are a treat—enjoy them in moderation and savor every bite.
If you’re watching your sugar intake, you can reduce the sugar in the frosting by a quarter cup without sacrificing too much texture. The cupcakes themselves need the full amount for proper structure.
Frequently Asked Questions
Can I use regular cocoa powder instead of black cocoa?
You can, but the color won’t be as dramatic. Regular cocoa gives a brown color, while black cocoa creates that deep, dark velvet look. If you’re set on the black color, I’d recommend ordering black cocoa online—it’s worth the extra step.
Why did my cupcakes turn out gray instead of black?
This usually happens when the cocoa powder isn’t measured correctly or the vinegar is skipped. Make sure you’re using black cocoa specifically, and don’t skip that teaspoon of vinegar. Also, check that your baking soda is fresh—old baking soda won’t react properly.
Can I make these cupcakes ahead of time?
Absolutely. Bake the cupcakes up to two days in advance and store them in an airtight container at room temperature. Make the frosting the day you plan to serve them for the best texture. Or freeze the unfrosted cupcakes for up to three months.
How do I get that dramatic orange color in the frosting?
Fresh orange zest gives a beautiful natural color, but if you want it extra vibrant, add a drop of orange gel food coloring. Start with a tiny amount—you can always add more, but you can’t take it out. I usually skip the coloring and let the zest do the work.
My frosting is too runny. What did I do wrong?
This usually means the butter was too soft or you added too much orange juice. Pop the frosting in the fridge for 15-20 minutes to firm up, then re-whip it. If it’s still too thin, add a few more tablespoons of powdered sugar until it reaches the right consistency.
Conclusion
These Perfect Black Velvet Halloween Cupcakes with Orange Frosting are more than just a pretty face—they’re genuinely delicious, with a tender crumb and bright citrus flavor that keeps people coming back for seconds. I’ve made them for Halloween parties, fall gatherings, and even just because it was Tuesday, and they never disappoint. The best part is how customizable they are—you can make them gluten-free, dairy-free, or spice them up however you like. I’d love to hear how yours turn out. Drop a comment below and let me know if you tried any fun variations, or share a photo of your spooky creations. Happy baking, and don’t forget to save a couple for yourself before the crowd gets to them!
Pin This Recipe!
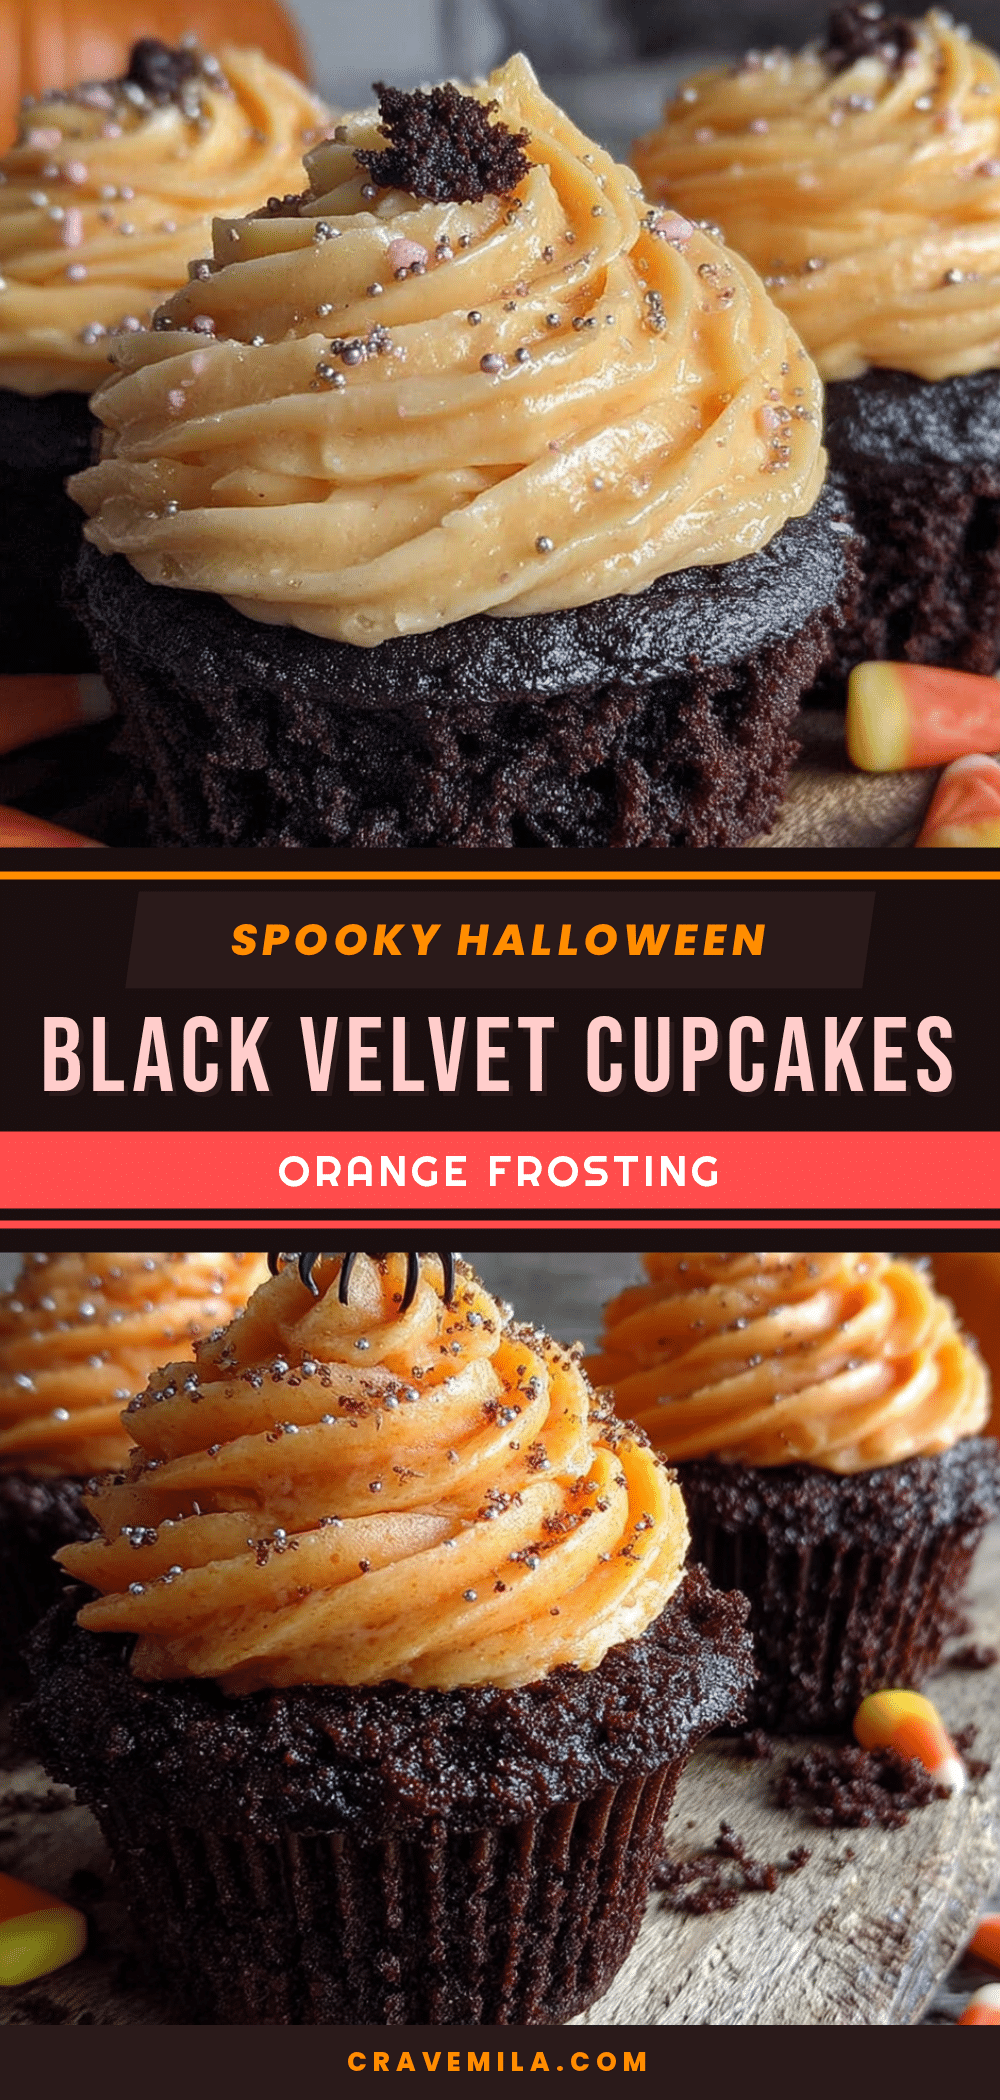
Perfect Black Velvet Halloween Cupcakes
These Perfect Black Velvet Halloween Cupcakes with Orange Frosting are a love letter to a beloved bakery, featuring a tender, dramatically dark crumb and a bright, creamy citrus topping. They’re the ultimate spooky treat that’s as delicious as it is visually stunning.
- Prep Time: 20 minutes
- Cook Time: 20 minutes
- Total Time: 40 minutes
- Yield: 12 cupcakes 1x
- Category: Dessert
- Cuisine: American
Ingredients
- 1 ½ cups (190g) all-purpose flour
- ½ cup (45g) black cocoa powder
- 1 cup (200g) granulated sugar
- 1 teaspoon baking soda
- ½ teaspoon salt
- ½ cup (120ml) vegetable oil
- 1 cup (240ml) buttermilk
- 2 large eggs, at room temperature
- 2 teaspoons vanilla extract
- 1 teaspoon white vinegar
- 1 cup (226g) unsalted butter, softened
- 3 ½ cups (440g) powdered sugar, sifted
- 2 tablespoons fresh orange zest
- 3 tablespoons fresh orange juice
- 1 teaspoon vanilla extract
- a pinch of salt
- Black sprinkles or edible glitter (optional)
- Orange food coloring (optional)
Instructions
- Preheat your oven to 350°F (175°C) and line your muffin tin with paper liners.
- In a medium bowl, whisk together the flour, black cocoa powder, baking soda, and salt.
- In a large bowl, beat the sugar and oil together until well combined, about 1 minute.
- Add the eggs one at a time, beating well after each addition. Then stir in the vanilla extract.
- Alternate adding the dry ingredients and the buttermilk, starting and ending with the dry ingredients. Mix until just combined.
- Stir in the white vinegar until the color is uniform.
- Divide the batter evenly among the 12 liners, filling each about ⅔ full.
- Bake for 18-22 minutes, or until a toothpick inserted in the center comes out with just a few moist crumbs.
- Let the cupcakes cool in the pan for 5 minutes, then transfer to a wire rack to cool completely.
- While the cupcakes cool, make the frosting: Beat the softened butter until creamy, about 2 minutes. Gradually add the powdered sugar, then the orange zest, orange juice, vanilla, and salt. Beat for another 2-3 minutes until light and fluffy.
- Once the cupcakes are completely cool, pipe or spread the frosting on top. Add black sprinkles or edible glitter if desired.
Notes
Don’t skip the vinegar—it deepens the color. Room temperature ingredients are crucial for a tender crumb. Check cupcakes at 18 minutes to avoid overbaking. Cool completely before frosting to prevent melting. For extra orange flavor, toast the zest in the microwave for 10 seconds.
Nutrition
- Serving Size: 1 cupcake
- Calories: 385
- Sugar: 40
- Sodium: 220
- Fat: 18
- Saturated Fat: 9
- Carbohydrates: 54
- Fiber: 2
- Protein: 4
Keywords: black velvet cupcakes, Halloween cupcakes, orange frosting, black cocoa, spooky desserts, fall baking, velvet cake



