“Why can’t you just toss the garlic and red pepper in whole and call it a day?” my friend asked one evening as we stood surrounded by cucumbers, jars, and brine. I started to explain why that wouldn’t work — then stopped. Honestly, her instinct was spot on.
That night, I abandoned my usual overcomplicated dill pickle routine and embraced a simpler, spicier method that turned out to be a game-changer. The way the garlic mingled with the red pepper flakes in the refrigerator gave the pickles a kick and depth I hadn’t quite captured before. I mean, I’ve been making pickles for years, but this version? It’s got a freshness and boldness that honestly surprised me.
Maybe you’ve been there—stuck in a loop of the same old pickle recipe, wondering if homemade can be both easy and exciting. These Flavorful Spicy Refrigerator Dill Pickles with Garlic and Red Pepper are exactly that. They’re quick to prep, zingy with heat, and have just the right garlicky punch to keep you reaching for another bite. Plus, the method is forgiving, so even if you’re a beginner, you’ll get great results.
I should mention, the first time I made these, I forgot to tighten the jar lids properly (classic me), and the brine spilled all over the counter. But the pickles? They were perfect. That little kitchen mess didn’t stop me from coming back to this recipe again and again. It’s become my go-to when I want something tangy, spicy, and homemade without spending hours in the kitchen.
Why You’ll Love This Recipe
After testing countless pickle recipes in my kitchen, this spicy refrigerator dill pickle recipe stands out for so many reasons. Here’s why it’s won a permanent spot in my rotation:
- Quick & Easy: Ready to eat in just 24 hours, making it perfect for last-minute cravings or weeknight snacks.
- Simple Ingredients: Uses basic pantry staples and fresh cucumbers, no special trips to the store required.
- Perfect for Summer Gatherings: These pickles add a spicy punch to BBQs, picnics, and casual get-togethers.
- Crowd-Pleaser: Kids might squint at the heat, but adults love the bold garlic and pepper combo.
- Unbelievably Delicious: The crisp cucumbers soak up the spicy, garlicky brine for a snack that’s crunchy, tangy, and satisfying.
This isn’t just another dill pickle recipe. The secret is in letting the garlic and red pepper develop flavors in the brine overnight, giving you a vibrant pickle that’s spicy but balanced. I also love that it’s a refrigerator pickle—no waiting weeks or worrying about canning safety. You get fantastic flavor fast.
Honestly, this recipe makes me close my eyes after the first bite. It’s that kind of pickle that feels like a hug for your taste buds—comforting but with a little kick. Perfect for anyone looking to add some excitement to their homemade pickle game.
What Ingredients You Will Need
This recipe relies on simple, fresh ingredients that come together to create a punchy, flavorful brine. Most are pantry staples, and a few tips on selection can help you get the best results.
- Fresh cucumbers: About 2 pounds (900 g) of pickling cucumbers, firm and fresh. I usually grab medium-sized cucumbers from my local farmers’ market for the best crunch.
- Garlic cloves: 4-5 large cloves, peeled and sliced thinly. The garlic adds a pungent, savory note that’s essential here.
- Red pepper flakes: 1-2 teaspoons, depending on your heat preference. I like McCormick brand for consistent heat.
- Dill: About 4-5 sprigs of fresh dill or 2 teaspoons of dried dill. Fresh dill gives the pickles a bright, herby flavor.
- White vinegar: 1 cup (240 ml). Use a standard white distilled vinegar for that classic pickle tang.
- Water: 1 cup (240 ml), to balance the vinegar’s acidity.
- Salt: 1 tablespoon of kosher salt or pickling salt. Avoid iodized salt to keep the brine clear and clean-tasting.
- Optional: 1 teaspoon black peppercorns for an extra layer of warmth, or a pinch of sugar if you prefer a subtle sweetness.
Feel free to swap out white vinegar for apple cider vinegar if you want a fruitier note, and if you’re gluten-free, check your red pepper flakes for any additives. I usually stick with this lineup because it hits the right balance of heat, tang, and freshness.
Equipment Needed
- Glass jars with airtight lids: Quart-sized jars work great for this amount. Mason jars are perfect and easy to seal.
- Sharp knife and cutting board: For slicing cucumbers and garlic thinly.
- Mixing bowl: To toss cucumbers with salt before packing the jars.
- Measuring cups and spoons: For precise vinegar, water, and seasoning amounts.
- Small saucepan: To warm the brine ingredients, which helps the salt dissolve.
If you don’t have mason jars, any clean, food-safe glass container with a tight lid will do. I’ve used repurposed jam jars in a pinch, though the wider mouth of a mason jar makes packing easier.
Pro tip: Before each use, check your jar lids for any rust or damage to prevent leaks. I keep a small brush handy to clean jar rims for a perfect seal.
Preparation Method
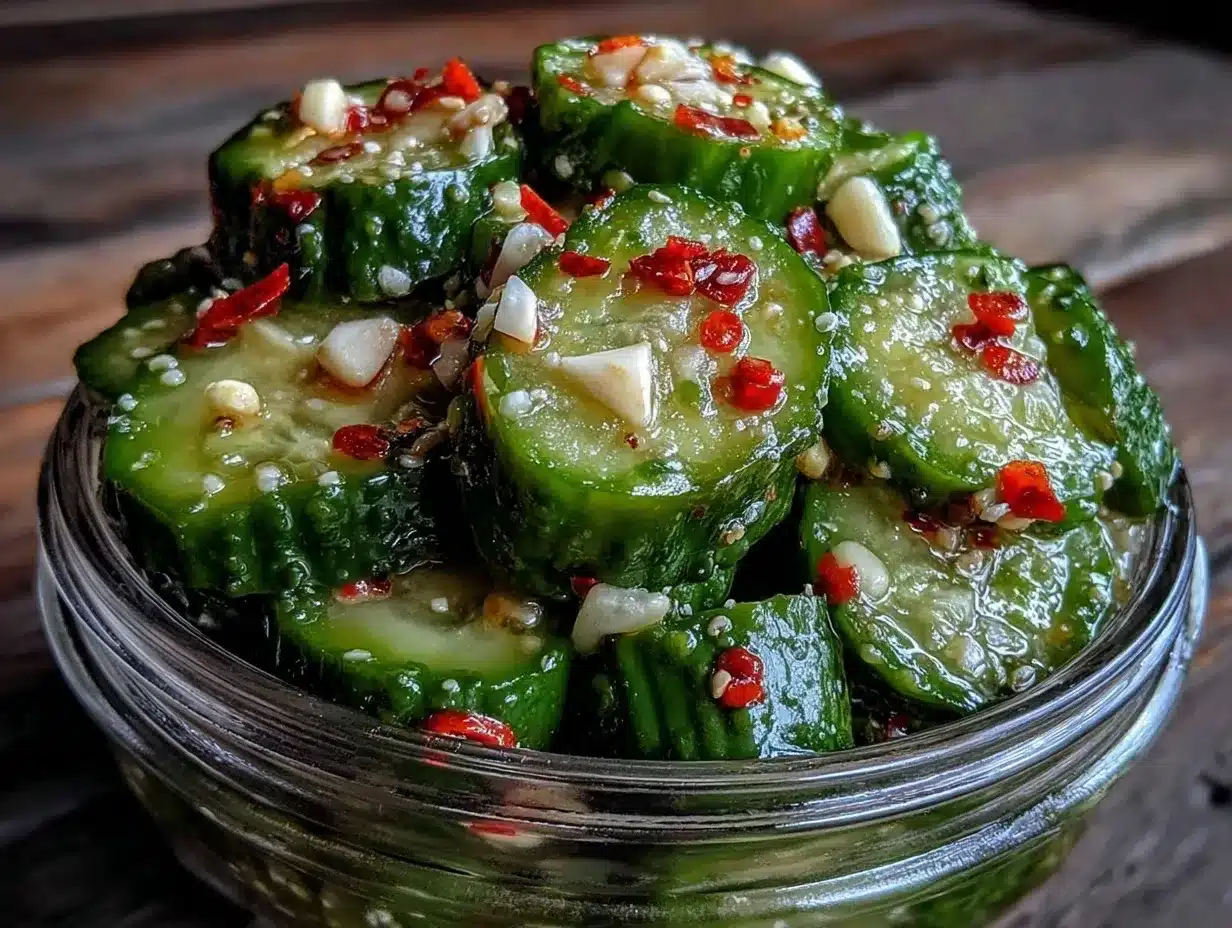
- Prepare the cucumbers: Wash and dry the cucumbers thoroughly. Slice off the blossom ends to prevent softening. Cut them into spears or ¼-inch (6 mm) thick rounds, depending on your preference. This step should take about 10 minutes.
- Salt the cucumbers: Place the cucumber slices in a large mixing bowl. Add 1 tablespoon kosher salt and toss well to coat. Let this sit for 30 minutes to draw out excess moisture. You’ll notice the cucumbers start to release water — that’s exactly what you want.
- Make the brine: In a small saucepan, combine 1 cup (240 ml) white vinegar, 1 cup (240 ml) water, and the salt. Warm over medium heat, stirring until the salt dissolves completely. Remove from heat and let cool to room temperature.
- Pack the jars: Drain the cucumbers slightly but keep some of the liquid they released. Layer cucumber slices, garlic slices, dill sprigs, and red pepper flakes evenly into your jars. If using, add black peppercorns here too. Fill the jars almost to the top but don’t pack too tightly.
- Pour the brine: Pour the cooled brine over the cucumbers, leaving about ½ inch (1.25 cm) of headspace. Make sure all cucumber pieces are submerged. Seal the jars tightly.
- Refrigerate: Place jars in the refrigerator for at least 24 hours before tasting. The flavor will intensify over the next few days.
Keep in mind, if you want crunchier pickles, slice thicker and don’t leave them salted too long. Also, shaking the jar gently once or twice during the first day helps distribute the garlic and pepper flavors.
Cooking Tips & Techniques
Making refrigerator pickles is pretty forgiving, but a few tricks can make them even better:
- Use fresh cucumbers: Older cucumbers tend to get mushy. Firm, freshly picked ones will give you that satisfying crunch.
- Don’t skip salting: Salting draws out moisture and keeps pickles crisp. I learned this the hard way after a batch turned soggy without it.
- Slice garlic thin: Thin slices infuse flavor faster without overpowering the brine.
- Adjust the heat: Start with 1 teaspoon of red pepper flakes if you’re unsure. You can always add more in your next batch once you know your spice tolerance.
- Keep the brine cool: Always pour cooled brine over the cucumbers to preserve their crunch.
One time, I poured hot brine over the cucumbers and ended up with soft pickles. Lesson learned! Also, don’t overfill the jars — leave a little breathing room for the flavors to mingle and develop.
Variations & Adaptations
Want to switch things up? Here are a few ways to customize this recipe:
- Low-sodium version: Reduce salt to ½ tablespoon and extend refrigeration time slightly to compensate for flavor development.
- Different heat sources: Swap red pepper flakes for sliced fresh jalapeños or a touch of cayenne powder for a different spicy profile.
- Herb variations: Try adding fresh thyme or oregano with the dill for a herby twist.
- Vinegar swaps: Use apple cider vinegar for a milder, fruitier flavor or white wine vinegar for a subtle depth.
- Dairy-free creamy dip pairing: Serve these spicy pickles alongside a cooling coconut yogurt-based dip to balance the heat.
I personally tried adding a teaspoon of smoked paprika once, which gave the pickles a lovely smoky undertone that I still crave. Feel free to experiment—this recipe is a fantastic base for your own signature pickles.
Serving & Storage Suggestions
These pickles are best served cold straight from the refrigerator. They make a crunchy, spicy snack on their own or a zesty addition to sandwiches and burgers.
Pair them with creamy dishes like potato salad or alongside grilled meats to cut through rich flavors. They’re also fantastic chopped and stirred into tuna or egg salad for an extra punch.
Store your pickles in the refrigerator for up to 3 weeks. The flavor deepens over time, but after two weeks the cucumbers might soften a bit. If you want to keep them crisp longer, consume within 10 days.
To reheat gently, you can bring them to room temperature or briefly warm in a covered dish—though I usually prefer them chilled. Just remember, the spicy garlic flavor intensifies as they sit, so taste as you go.
Nutritional Information & Benefits
These spicy refrigerator dill pickles are low in calories, roughly 10-15 calories per serving (about 3 spears or 4 slices). They’re fat-free and low-carb, making them a great snack for many dietary preferences.
The garlic adds not just flavor but also antioxidants and potential immune support. Dill contributes vitamins A and C, while the vinegar may help with digestion and blood sugar control.
Keep in mind, the sodium content is moderate due to the salt in the brine, so it’s best to enjoy in moderation if you’re watching your salt intake.
Overall, these pickles offer a healthy, flavorful way to enjoy a crunchy snack that’s both satisfying and nourishing.
Conclusion
If you’re looking to add a bright, spicy twist to your homemade pickles, this Flavorful Spicy Refrigerator Dill Pickles recipe with garlic and red pepper is a must-try. It’s simple to make, packed with bold flavors, and perfect for anyone who loves a little heat paired with classic dill punch.
Don’t be afraid to tweak the spice level or herbs to match your taste. I love how versatile this recipe is—every batch feels a bit like a new experiment that turns out delicious. Honestly, it’s one of those recipes I keep coming back to when I want something easy with a kick.
Give it a go, and let me know how it turns out for you! If you try your own variations or have tips, I’d love to hear about them in the comments below. Happy pickling!
FAQs About Flavorful Spicy Refrigerator Dill Pickles
- How long do refrigerator pickles last? They stay fresh for up to 3 weeks in the fridge, but are best eaten within 10-14 days for maximum crunch.
- Can I use regular cucumbers instead of pickling cucumbers? Yes, but pickling cucumbers tend to be firmer and less watery, which helps keep pickles crisp.
- How spicy are these pickles? The heat is moderate and adjustable by the amount of red pepper flakes you add. Start small if you’re sensitive to spice.
- Do I need to boil the brine? You only need to warm it enough to dissolve salt, then cool before pouring over cucumbers.
- Can I use dried dill instead of fresh? Yes, use about half the amount of dried dill since it’s more concentrated than fresh.
Pin This Recipe!
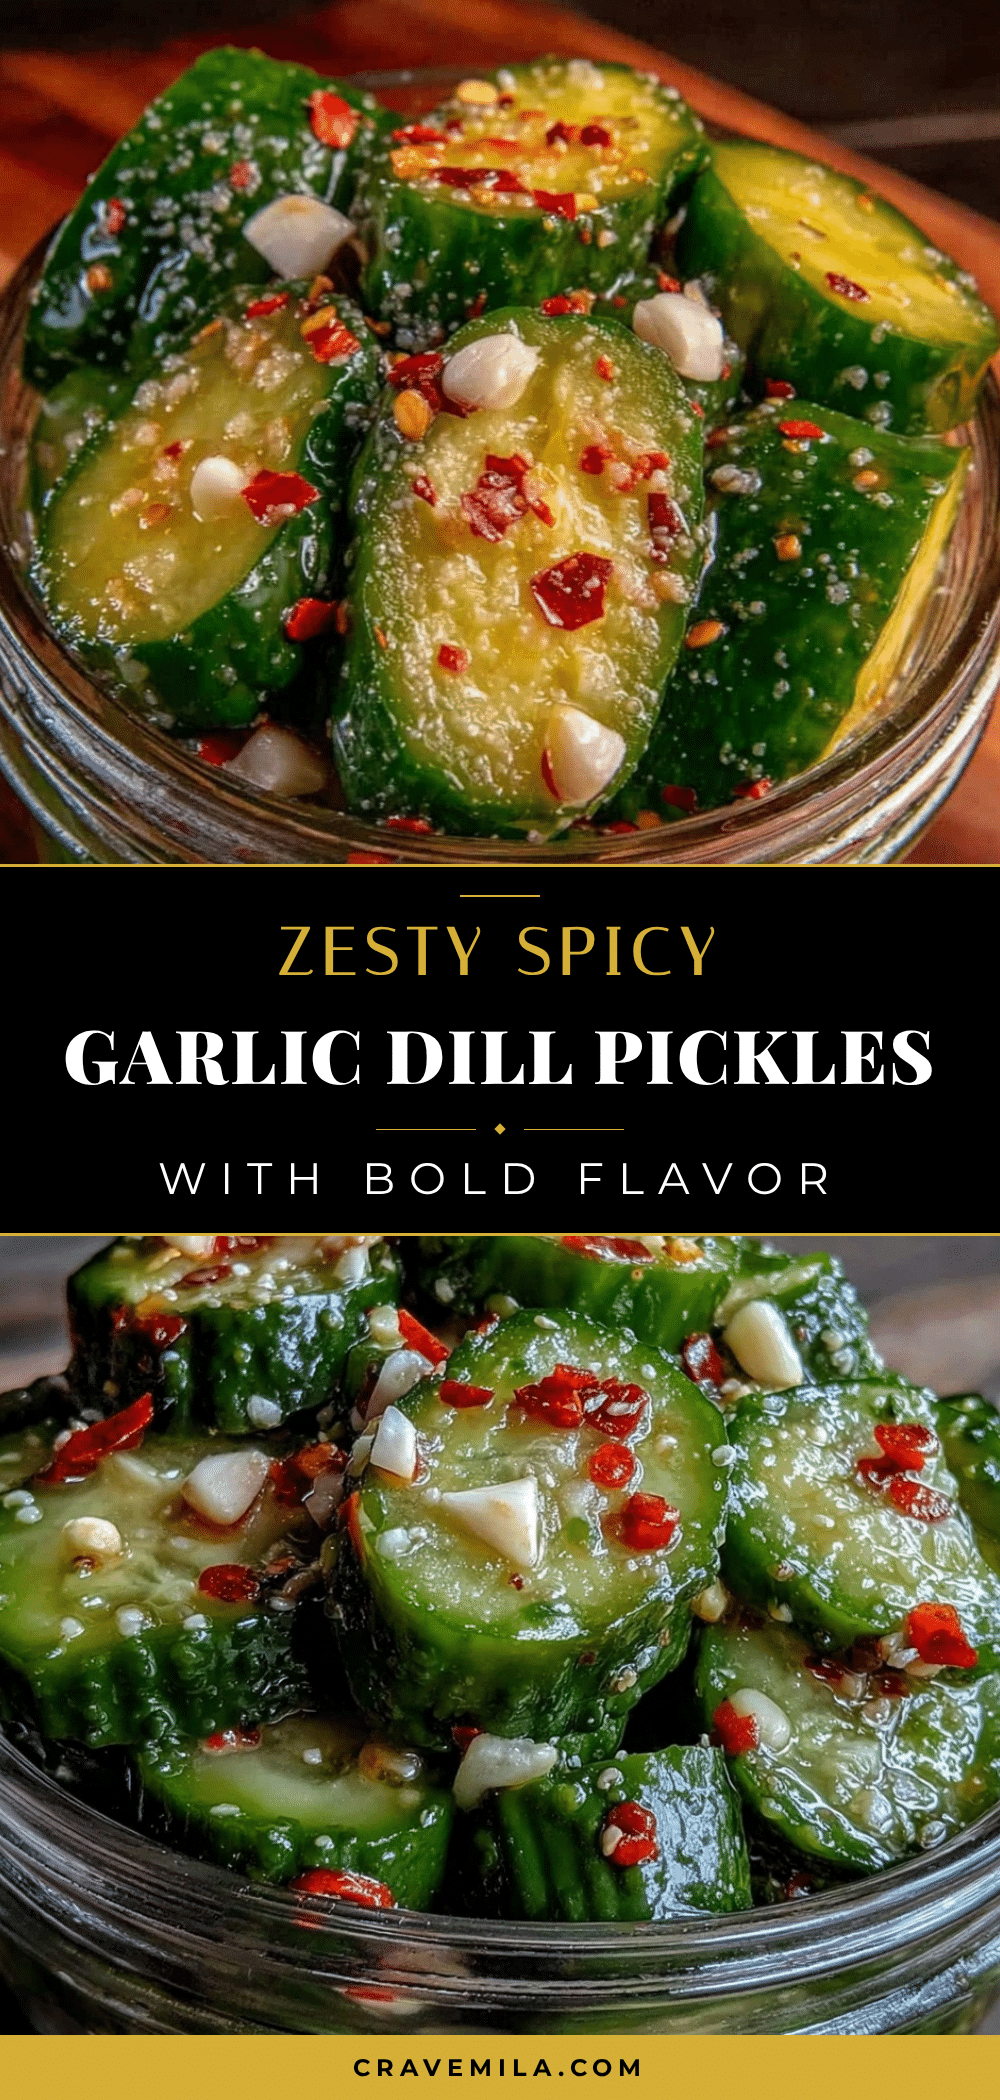
Flavorful Spicy Refrigerator Dill Pickles Recipe with Garlic and Red Pepper Easy and Homemade
A quick and easy spicy refrigerator dill pickle recipe featuring garlic and red pepper flakes for a bold, tangy, and crunchy snack ready in 24 hours.
- Prep Time: 10 minutes
- Cook Time: 10 minutes
- Total Time: 24 hours 20 minutes
- Yield: 4 servings 1x
- Category: Snack
- Cuisine: American
Ingredients
- 2 pounds pickling cucumbers (about 900 g), firm and fresh
- 4–5 large garlic cloves, peeled and sliced thinly
- 1–2 teaspoons red pepper flakes, depending on heat preference
- 4–5 sprigs fresh dill or 2 teaspoons dried dill
- 1 cup (240 ml) white distilled vinegar
- 1 cup (240 ml) water
- 1 tablespoon kosher salt or pickling salt
- Optional: 1 teaspoon black peppercorns
- Optional: pinch of sugar
Instructions
- Wash and dry the cucumbers thoroughly. Slice off the blossom ends to prevent softening. Cut into spears or 1/4-inch (6 mm) thick rounds, depending on preference.
- Place cucumber slices in a large mixing bowl. Add 1 tablespoon kosher salt and toss well to coat. Let sit for 30 minutes to draw out excess moisture.
- In a small saucepan, combine 1 cup white vinegar, 1 cup water, and salt. Warm over medium heat, stirring until salt dissolves. Remove from heat and cool to room temperature.
- Drain cucumbers slightly but keep some liquid. Layer cucumber slices, garlic slices, dill sprigs, and red pepper flakes evenly into jars. Add black peppercorns if using.
- Pour cooled brine over cucumbers, leaving about 1/2 inch (1.25 cm) headspace. Ensure cucumbers are submerged. Seal jars tightly.
- Place jars in refrigerator for at least 24 hours before tasting. Flavor intensifies over next few days.
Notes
Use fresh, firm cucumbers for best crunch. Salt cucumbers to draw out moisture and keep pickles crisp. Pour cooled brine to preserve texture. Adjust red pepper flakes to control heat. Shake jars gently once or twice during the first day to distribute flavors. Store pickles in refrigerator up to 3 weeks; best consumed within 10-14 days for maximum crunch.
Nutrition
- Serving Size: About 3 spears or 4
- Calories: 1015
- Sugar: 1
- Carbohydrates: 2
- Fiber: 0.5
Keywords: spicy pickles, refrigerator pickles, dill pickles, garlic pickles, homemade pickles, easy pickles, quick pickles, red pepper flakes, pickling cucumbers