My sister asked why I couldn’t just dump the caramel sauce on top of the apples instead of layering it in some complicated way. I started to explain that it would get absorbed and make the oat crumble soggy—then stopped. Honestly, I had no real proof it wouldn’t work. So I shrugged, handed her the spatula, and let her drizzle it right over the apples before the crumble went on. The result was a salty-sweet ribbon of caramel that soaked into the fruit and stayed perfectly gooey under that golden oat topping. I stood there with a fork in my hand, eating a corner piece, feeling like I’d been overcomplicating this recipe for years. That was a Tuesday night, by the way—the kind where you just want something warm and sweet without a sink full of dishes. Maybe you’ve been there, staring at a recipe and wondering if all those steps are actually necessary. This bar is proof that sometimes the shortcut is the secret.
These Easy Salted Caramel Apple Bars with Oat Crumble came from that moment of letting go. I mean, I’d been building layers and chilling things and fussing over caramel consistency. But my sister’s instinct—just pour and bake—turned out to be exactly right. The oats stay crunchy on top, the apples turn jammy and soft underneath, and that caramel sauce creates little pockets of sweetness throughout. It’s the kind of dessert that feels fancy but takes about fifteen minutes of active work. You don’t need a mixer or a pastry blender or any of that. Just a bowl, a pan, and a willingness to trust the process.
I keep making these bars because they remind me that cooking doesn’t have to be a performance. Sometimes the best thing you can do is listen to the person who hasn’t read a single recipe blog in their life and just wants to eat something good. These bars are forgiving, flexible, and honestly better the next day—if they last that long.
Why You’ll Love This Recipe
After testing this recipe about six times (my coworkers are very patient), I can tell you exactly why these bars are worth your time. They hit that perfect balance between a crumbly oat topping and soft, caramel-coated apples without any fussy techniques.
- Quick & Easy: From start to oven in about 20 minutes. No chilling, no rolling, no complicated steps.
- Simple Ingredients: You probably have oats, flour, butter, and apples in your kitchen right now. The caramel sauce is just sugar, cream, butter, and salt—all pantry basics.
- Perfect for Weeknights: This is the kind of dessert you can throw together after dinner while the coffee is brewing. It bakes in 35 minutes and fills your whole kitchen with that cozy apple-cinnamon smell.
- Crowd-Pleaser: I brought these to a potluck and watched someone eat three pieces standing up by the snack table. Kids love them, adults love them, and they work for breakfast the next morning if you’re that kind of person (I am).
- Unbelievably Delicious: The texture is what gets me—crunchy oat topping, soft apples, and that ribbon of salted caramel that turns into little chewy pockets. It’s like an apple crisp and a granola bar had a perfect baby.
What makes this version different from other apple bars is the caramel distribution. Most recipes have you mix caramel into the apples or drizzle it on top after baking. But pouring it right over the apples before the crumble lets it sink into the fruit while the oats stay crisp. It’s a small change that makes a big difference—the caramel infuses the apples instead of just sitting on top. I learned that from my sister’s stubbornness, and now I can’t go back.
These bars are comfort food at its most practical. They’re warm, buttery, and just salty enough to keep you reaching for another bite. And honestly? They make your kitchen smell like a bakery without any of the stress.
What Ingredients You Will Need
This recipe uses simple, wholesome ingredients to deliver that deep apple-caramel flavor without any complicated shopping. Most of these are staples you probably already have, and I’ve included notes on substitutions where they work well.
For the Oat Crumble Base and Topping
- Rolled oats – 1 ½ cups (135g). Use old-fashioned rolled oats, not quick oats. Quick oats will turn mushy and won’t give you that crunchy texture. I prefer Bob’s Red Mill for consistent results.
- All-purpose flour – 1 cup (120g). Spoon and level your flour—don’t scoop straight from the bag or you’ll end up with dry, crumbly bars.
- Brown sugar – ½ cup (100g), packed. Light or dark both work, but dark brown sugar adds a deeper molasses flavor that pairs beautifully with the caramel.
- Unsalted butter – ½ cup (113g), melted and slightly cooled. Salted butter works if that’s all you have—just reduce the added salt by ¼ teaspoon.
- Ground cinnamon – 1 teaspoon. Fresh cinnamon makes a difference here. If yours has been in the cabinet for two years, it’s time to replace it.
- Salt – ¼ teaspoon. Just a pinch to balance the sweetness.
For the Apple Filling
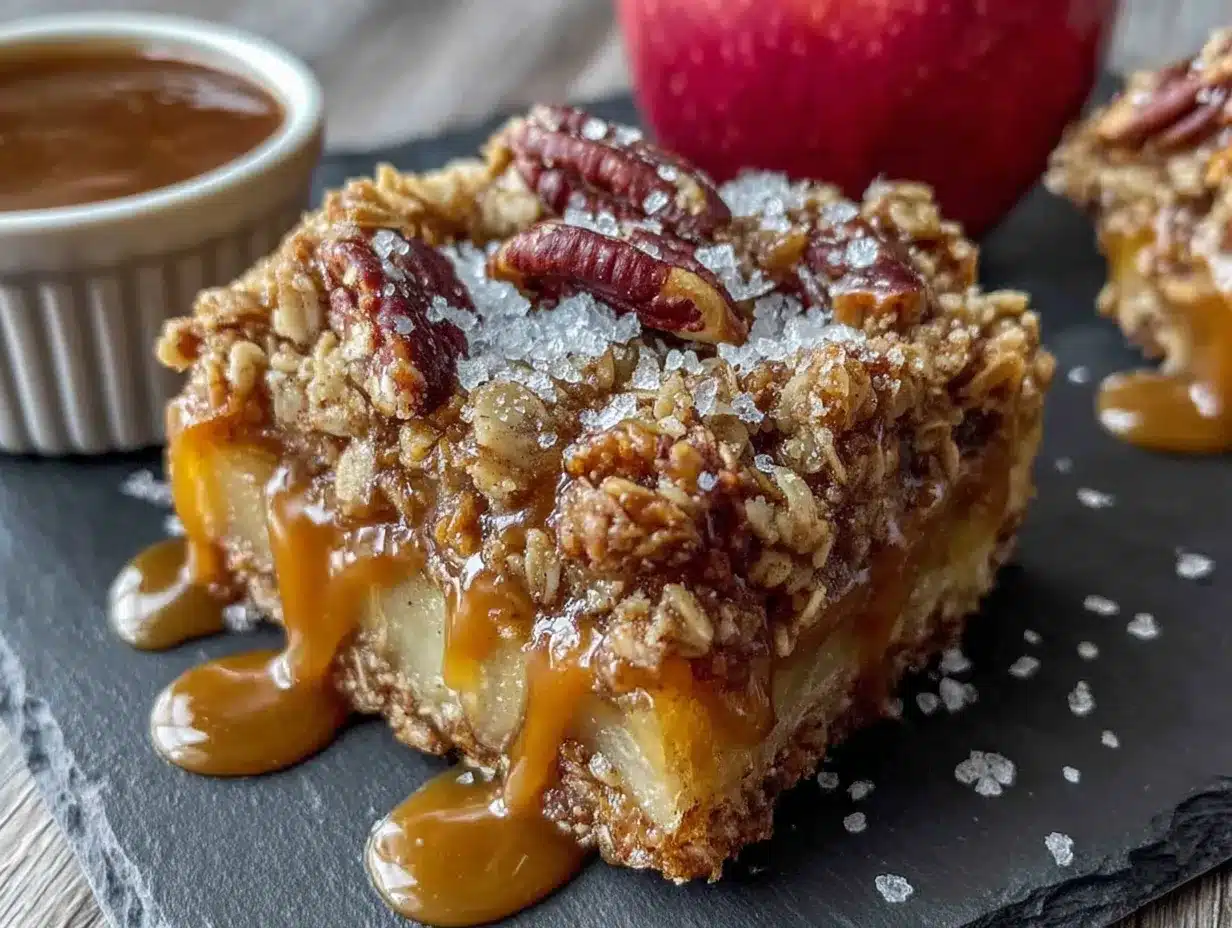
- Apples – 3 medium (about 450g). You want firm, slightly tart apples that hold their shape during baking. Honeycrisp, Granny Smith, or Braeburn are my go-to choices. Avoid Red Delicious—they turn into mush.
- Granulated sugar – 2 tablespoons (25g). Just enough to coax the juices out of the apples without making them overly sweet.
- Lemon juice – 1 tablespoon (15ml). This prevents the apples from browning and adds a subtle brightness that cuts through the richness.
- Cornstarch – 1 tablespoon (8g). This thickens the apple juices so your bars aren’t watery. Arrowroot powder works as a substitute.
For the Salted Caramel Sauce
- Granulated sugar – ½ cup (100g). Regular white sugar is best here—brown sugar can crystallize unpredictably.
- Heavy cream – ¼ cup (60ml), at room temperature. Cold cream will seize the caramel and create lumps. Let it sit out for 10 minutes before you start.
- Unsalted butter – 2 tablespoons (28g), cut into small pieces.
- Flaky sea salt – ½ teaspoon, plus more for sprinkling on top. Maldon is my favorite for that delicate crunch.
Equipment Needed
You don’t need a fancy kitchen to make these bars. Here’s what you’ll actually use:
- 8×8-inch baking pan – A 9×9 works too, but your bars will be slightly thinner and may bake a few minutes faster. Line it with parchment paper for easy lifting—trust me on this one.
- Medium saucepan – For making the caramel. A light-colored pan helps you see the color change so you don’t burn the sugar.
- Mixing bowls – Two medium bowls: one for the oat crumble and one for the apples.
- Whisk and spatula – A whisk for the caramel and a rubber spatula for folding everything together.
- Sharp knife and cutting board – For dicing the apples. A dull knife will crush them and release too much juice.
- Parchment paper – Not wax paper. Wax paper will melt in the oven and make a mess you’ll be scraping off for days.
If you don’t have a saucepan with a light interior, just watch the sugar carefully—it goes from golden to burnt fast. I learned that the hard way on a Wednesday night when I was trying to multitask and ended up with a pan full of blackened sugar that smelled like regret.
Preparation Method
Let’s get these bars into your oven. The whole process takes about 20 minutes of active work, and most of that is just stirring and layering.
- Preheat your oven to 350°F (175°C). Line your 8×8 pan with parchment paper, leaving some overhang on two sides. This creates handles so you can lift the bars out after baking.
- Make the oat crumble. In a medium bowl, stir together the rolled oats, flour, brown sugar, cinnamon, and salt. Pour in the melted butter and mix with a spatula until everything is moistened and clumps together. The mixture should look like wet sand with some larger chunks. Set aside about ¾ cup of this mixture for the topping.
- Prepare the apples. Peel, core, and dice your apples into ½-inch cubes. You want them small enough to soften during baking but large enough to retain some texture. Toss the diced apples with granulated sugar, lemon juice, and cornstarch until evenly coated. Let them sit while you make the caramel— this gives the sugar time to draw out some juice.
- Make the salted caramel sauce. In a medium saucepan over medium heat, spread the ½ cup granulated sugar in an even layer. Let it melt without stirring—just swirl the pan occasionally. This takes about 5-7 minutes. Once the sugar turns a deep amber color (like a copper penny), remove the pan from heat. Carefully whisk in the room-temperature cream—it will bubble up violently, so stand back. Whisk until smooth, then add the butter pieces and whisk until melted. Stir in the flaky sea salt. Let it cool for 2-3 minutes—it will thicken slightly.
- Assemble the bars. Press the remaining oat crumble mixture (the larger portion) evenly into the bottom of your prepared pan. Use your fingers or the bottom of a glass to compact it firmly. A loose base will crumble when you try to cut the bars later.
- Add the apples. Spread the diced apples evenly over the oat base. Don’t worry about making it perfect—just get them in an even layer.
- Pour the caramel. Drizzle the salted caramel sauce over the apples. Don’t pour it all in one spot—move the pan around so it distributes evenly. Some caramel will sink between the apples, and that’s exactly what you want.
- Add the topping. Sprinkle the reserved oat crumble over the caramel and apples. Don’t press it down—leave it loose so it bakes into crunchy clusters.
- Bake. Place the pan on the middle rack and bake for 32-35 minutes. The topping should be golden brown and the edges should be bubbly. If the top is browning too quickly after 25 minutes, tent loosely with foil for the remaining time.
- Cool completely. This is the hardest part. Let the bars cool in the pan for at least 2 hours. Warm bars will fall apart when you try to cut them. If you can wait overnight, the flavors meld and the texture firms up beautifully.
Cooking Tips & Techniques
After making these bars more times than I care to count, here are the things I wish someone had told me from the start.
Don’t skip the cornstarch on the apples. I made a batch without it once because I was out, and the bars were swimming in apple juice. The cornstarch thickens the liquid into a syrupy coating that stays in the bars instead of pooling on the plate. If you’re using very juicy apples like McIntosh, add an extra teaspoon of cornstarch.
Watch your caramel like a hawk. The difference between perfect amber and burnt sugar is about 30 seconds. I ruined my first batch because I walked away to answer a text. Now I stand right there and watch it like it’s about to run away. When the sugar turns the color of a new penny, pull it off the heat immediately. The residual heat will continue cooking it for another few seconds.
Let the caramel cool slightly before pouring. If you pour boiling-hot caramel over the apples, it can make them mushy and release too much liquid. A 2-3 minute rest allows the caramel to thicken just enough that it coats the apples instead of soaking straight through to the bottom.
Press that base firmly. I cannot stress this enough. A loose oat base will crumble into a pile of rubble when you try to cut squares. Use the bottom of a measuring cup or a flat glass to really pack it down. Think of it like making a graham cracker crust—you want it compact and solid.
Use a sharp knife for cutting. Run your knife under hot water, wipe it dry, then slice. Clean the blade between cuts. This gives you clean edges instead of ragged, crumbly ones. I learned this after serving what looked like apple bar rubble to my book club.
Variations & Adaptations
These bars are surprisingly flexible. Here are some ways to make them your own:
Gluten-Free Version: Swap the all-purpose flour with a 1:1 gluten-free baking flour blend. Bob’s Red Mill and King Arthur both make reliable options. Make sure your oats are certified gluten-free if you’re sensitive—regular oats are often processed near wheat.
Dairy-Free Version: Use a plant-based butter stick (not tub margarine) and full-fat coconut cream instead of heavy cream. The caramel will have a slight coconut flavor, which actually pairs nicely with the apples. Miyoko’s salted butter is my favorite for baking.
Nutty Twist: Add ½ cup of chopped pecans or walnuts to the oat crumble topping. Toast them first in a dry pan for 3-4 minutes to bring out their flavor. I made this version for Thanksgiving and it disappeared before the pie.
Spiced Variation: Add ¼ teaspoon of cardamom and a pinch of nutmeg to the oat crumble. Cardamom and apple are a classic combination that feels a little more sophisticated. It’s subtle but people notice.
Berry-Apple Combo: Swap one of the apples for ½ cup of fresh or frozen raspberries. The tartness of the berries cuts through the caramel sweetness beautifully. If using frozen berries, don’t thaw them first—just toss them in with the apples.
Individual Servings: Press the oat base into a lined muffin tin instead of a square pan. Fill each cup with apples and caramel, then top with crumble. Bake for 18-20 minutes. These are perfect for portion control or packing in lunchboxes.
Serving & Storage Suggestions
These bars are wonderful at room temperature, but I actually prefer them slightly warm. Pop an individual square in the microwave for 10-12 seconds—it softens the apples and makes the caramel a little gooey without melting the oat topping.
For serving, a scoop of vanilla ice cream is the obvious choice, but a dollop of lightly sweetened whipped cream works too. If you’re feeling fancy, drizzle a little extra caramel sauce over the top and sprinkle with more flaky salt. The contrast of cold ice cream and warm bar is honestly one of life’s simple pleasures.
Storage: Keep the bars in an airtight container at room temperature for up to 3 days. After that, move them to the refrigerator for up to a week. Layer parchment paper between any stacked bars to prevent the oat topping from sticking.
Freezing: These bars freeze beautifully. Wrap individual squares tightly in plastic wrap, then place them in a freezer-safe bag. They’ll keep for up to 3 months. To thaw, let them sit at room temperature for about 30 minutes, or pop them in a 300°F oven for 8-10 minutes.
Flavor Development: Here’s something interesting—these bars actually taste better the day after baking. The caramel continues to soak into the apples and the oat topping softens slightly while staying crunchy on top. If you can resist eating them the first day, you’ll be rewarded with a more cohesive bar on day two.
Nutritional Information & Benefits
These are dessert bars, so let’s be real about what we’re working with. But they do have some redeeming qualities worth mentioning.
Estimated per bar (makes 9 servings): Calories: 320 | Fat: 16g | Carbohydrates: 44g | Fiber: 3g | Sugar: 28g | Protein: 4g | Sodium: 180mg
Apples are a good source of fiber and vitamin C, especially if you leave the peel on (though I peel mine for texture). Oats provide soluble fiber that supports heart health and helps keep you full. The cinnamon adds anti-inflammatory benefits and may help regulate blood sugar.
Dietary considerations: This recipe contains gluten, dairy, and tree nuts (if you add the pecan variation). For a gluten-free option, see the variations section. For a dairy-free option, use plant-based butter and coconut cream. The bars are egg-free as written, which makes them a good option for those with egg allergies.
My perspective: I don’t pretend these are health food, but I feel better about eating a piece of this than a store-bought granola bar loaded with preservatives and corn syrup. At least I know exactly what went into them, and the fiber from the oats and apples keeps me satisfied with one square instead of reaching for a second.
Conclusion
These Easy Salted Caramel Apple Bars with Oat Crumble are the kind of recipe that makes you look like a hero with almost no effort. The oat base is buttery and crunchy, the apples turn soft and jammy, and that ribbon of salted caramel running through the middle is pure magic. My sister’s suggestion to just pour the caramel on top turned out to be the best decision I never would have made on my own.
I love this recipe because it’s forgiving. You can use different apples, swap the flour, add nuts, or double the caramel—it still works. It’s the kind of dessert that adapts to what you have and still tastes like you planned it all along. Whether you’re making it for a weeknight treat, a holiday gathering, or just because you bought too many apples at the farmers market, these bars deliver every time.
I’d love to hear how yours turn out. Did you add nuts? Use a different fruit? Forget the salt and regret it? Drop a comment below and let me know. And if you’re looking for another apple recipe to use up the rest of that bag, my easy apple crisp is a classic for a reason. Happy baking, friends—your kitchen is about to smell incredible.
Frequently Asked Questions
Can I use store-bought caramel sauce instead of making my own?
Yes, but the texture and flavor won’t be the same. Store-bought caramel sauce is usually thinner and sweeter, so your bars may be runnier. If you’re short on time, use ½ cup of high-quality jarred caramel and skip the salt—most brands are already salted.
Why did my oat crumble turn out soggy?
This usually happens for one of three reasons: your apples were too juicy and you skipped the cornstarch, you didn’t press the base firmly enough, or you cut the bars while they were still warm. Let them cool completely (2+ hours) and make sure your apples are coated in cornstarch before baking.
Can I make these bars ahead of time?
Absolutely. In fact, they’re better the next day. Bake them, cool completely, cover tightly, and store at room temperature. They’ll keep for up to 3 days. You can also freeze the unbaked bars—assemble everything in the pan, wrap well, and freeze for up to 3 months. Bake straight from frozen, adding 10-15 minutes to the baking time.
What’s the best apple for this recipe?
Honeycrisp is my top choice—it holds its shape, has the perfect sweet-tart balance, and doesn’t release too much liquid. Granny Smith is a close second if you prefer a tarter flavor. Avoid Red Delicious, Gala, and McIntosh—they break down too much and make your bars mushy.
How do I get clean, neat squares when cutting?
Patience is key. Let the bars cool completely—at least 2 hours at room temperature or 1 hour in the fridge. Use a long, sharp knife and run it under hot water between cuts. Wipe the blade dry before each slice. For the cleanest edges, chill the whole pan in the fridge for 30 minutes before cutting.
Pin This Recipe!
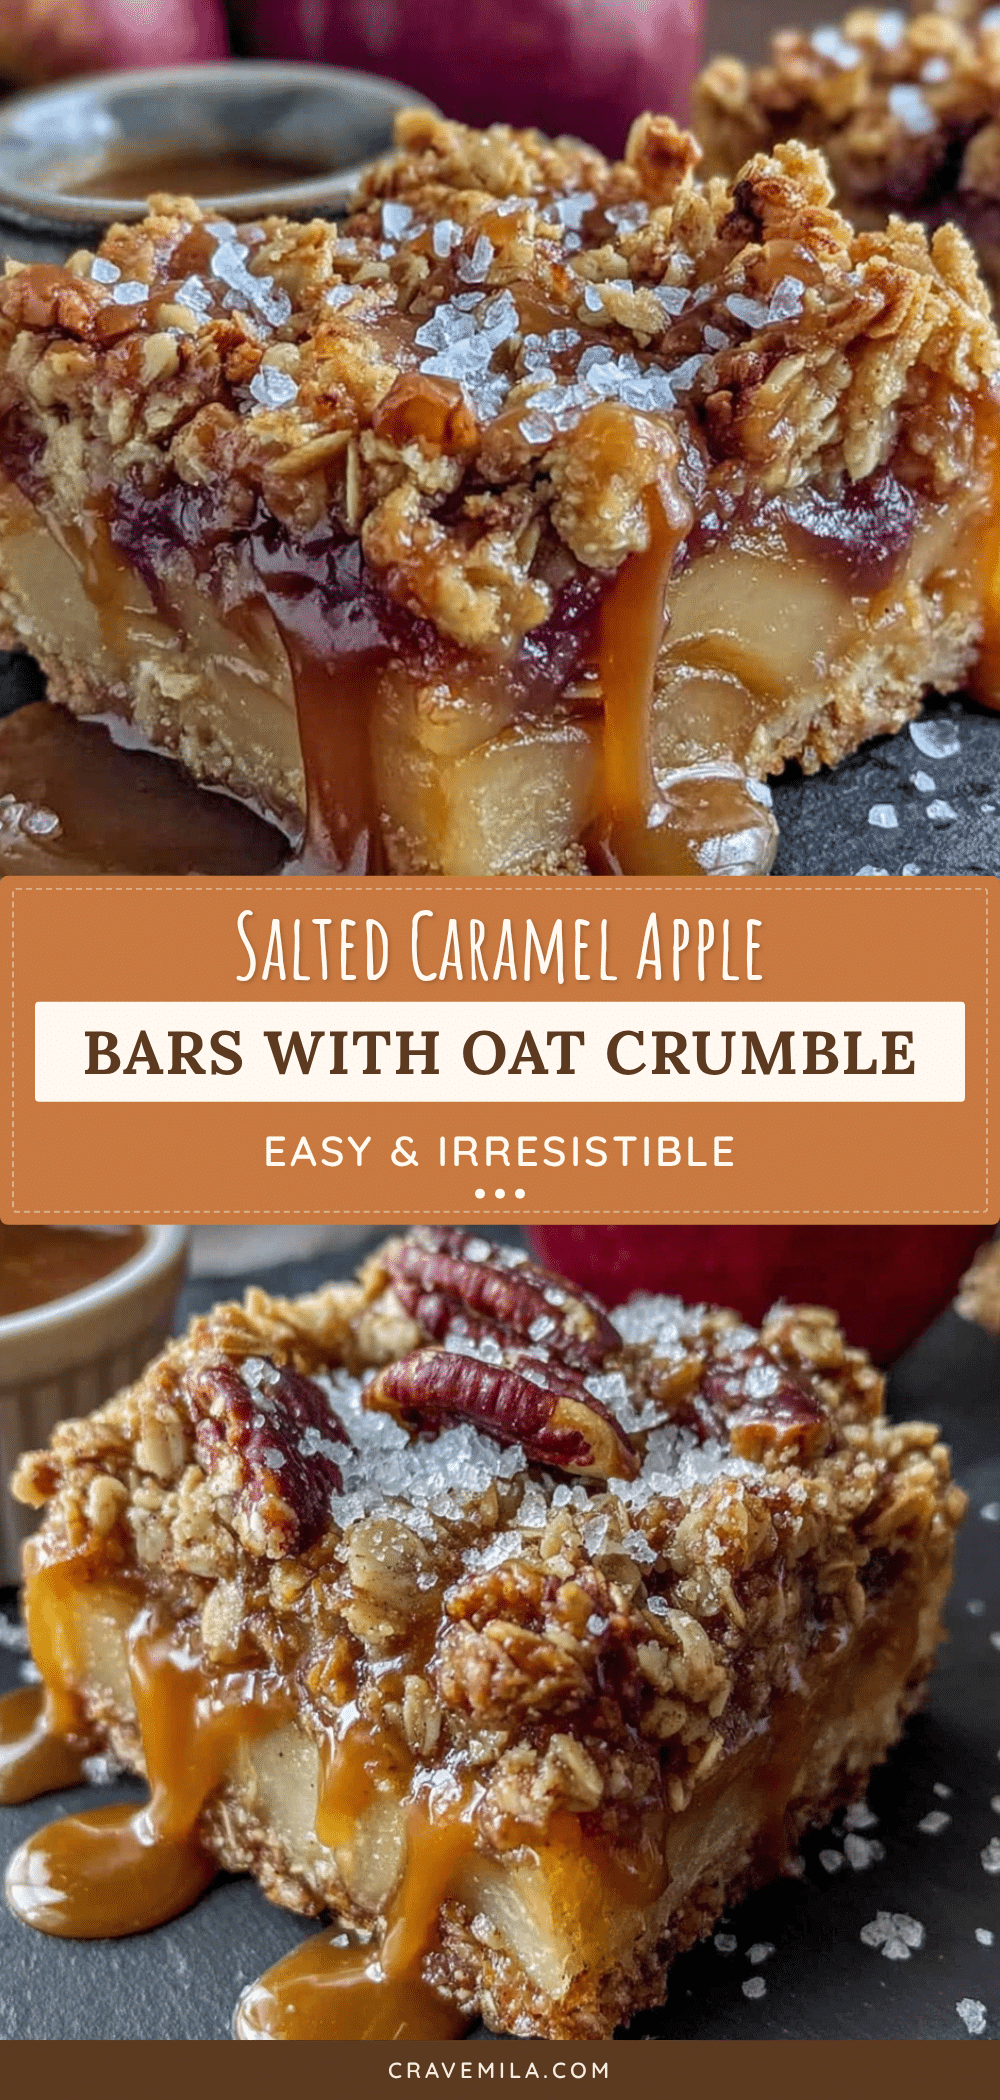
Easy Salted Caramel Apple Bars with Oat Crumble

These Easy Salted Caramel Apple Bars with Oat Crumble feature a buttery oat base, soft caramel-coated apples, and a ribbon of salted caramel that creates little pockets of sweetness throughout. A quick and forgiving dessert that comes together in about 20 minutes of active work.
- Prep Time: 20 minutes
- Cook Time: 35 minutes
- Total Time: 2 hours 55 minutes (includes cooling)
- Yield: 9 servings 1x
- Category: Dessert
- Cuisine: American
Ingredients
- 1 ½ cups (135g) rolled oats
- 1 cup (120g) all-purpose flour
- ½ cup (100g) packed brown sugar
- ½ cup (113g) unsalted butter, melted and slightly cooled
- 1 teaspoon ground cinnamon
- ¼ teaspoon salt
- 3 medium apples (about 450g), peeled, cored, and diced into ½-inch cubes
- 2 tablespoons (25g) granulated sugar
- 1 tablespoon (15ml) lemon juice
- 1 tablespoon (8g) cornstarch
- ½ cup (100g) granulated sugar (for caramel)
- ¼ cup (60ml) heavy cream, at room temperature
- 2 tablespoons (28g) unsalted butter, cut into small pieces
- ½ teaspoon flaky sea salt, plus more for sprinkling
Instructions
- Preheat your oven to 350°F (175°C). Line an 8×8-inch baking pan with parchment paper, leaving overhang on two sides.
- Make the oat crumble: In a medium bowl, stir together rolled oats, flour, brown sugar, cinnamon, and salt. Pour in melted butter and mix until moistened and clumpy. Set aside about ¾ cup of this mixture for the topping.
- Prepare the apples: Toss diced apples with granulated sugar, lemon juice, and cornstarch until evenly coated. Let sit while you make the caramel.
- Make the salted caramel sauce: In a medium saucepan over medium heat, spread ½ cup granulated sugar in an even layer. Let it melt without stirring, swirling the pan occasionally, until deep amber (about 5-7 minutes). Remove from heat, carefully whisk in room-temperature cream (it will bubble), then whisk in butter pieces until melted. Stir in flaky sea salt. Let cool for 2-3 minutes.
- Assemble the bars: Press the larger portion of oat crumble evenly into the bottom of the prepared pan, compacting firmly.
- Spread the diced apples evenly over the oat base.
- Drizzle the salted caramel sauce evenly over the apples.
- Sprinkle the reserved oat crumble over the caramel and apples. Do not press down.
- Bake on the middle rack for 32-35 minutes, until topping is golden brown and edges are bubbly. If browning too quickly after 25 minutes, tent loosely with foil.
- Cool completely in the pan for at least 2 hours before cutting. For clean squares, chill in the fridge for 30 minutes before slicing.
Notes
For best results, let bars cool completely before cutting. They taste even better the next day. Store in an airtight container at room temperature for up to 3 days, or refrigerate for up to a week. Freeze individual squares wrapped in plastic wrap for up to 3 months.
Nutrition
- Serving Size: 1 bar
- Calories: 320
- Sugar: 28
- Sodium: 180
- Fat: 16
- Saturated Fat: 10
- Carbohydrates: 44
- Fiber: 3
- Protein: 4
Keywords: apple bars, salted caramel, oat crumble, easy dessert, fall baking, apple dessert, caramel apple bars



