I was supposed to be making granola bars. That was the plan, anyway. I had the oats measured, the honey ready, and I was feeling pretty good about myself—getting organized, prepping snacks for the week ahead like some kind of super organized adult. Then I realized my oven was completely dead. Just… nothing. No heat, no beep, no life. And I had already mixed everything together in a big bowl, standing there with a sticky spoon, staring at a pile of oat mixture that needed baking.
Honestly, I almost just threw the whole thing out. It was one of those moments where you just want to give up and order takeout. But I had already made a mess, and my toddler was watching me from his high chair, covered in flour he’d somehow gotten into. So I started pressing the mixture into a pan, thinking maybe I could just fridge-set it and call it a day. I grabbed some peanut butter I had sitting out, threw in a handful of chocolate chips, and started rolling little balls with my hands. It felt ridiculous at first. These were not granola bars. These were little messy orbs of desperation.
But then I tried one. And honestly? I sat down right there on the kitchen floor and ate three more. They were chewy, sweet, and somehow exactly what I needed. No oven required, no fuss, and they came together in maybe five minutes. My husband walked in and asked if I was okay, sitting on the floor eating from a bowl. I just handed him one. He didn’t say much after that—just reached for another.
These no-bake protein balls have become my go-to for busy mornings, afternoon slumps, and everything in between. They started as a mistake, but now I make them on purpose every single week. Maybe you’ve been there too—staring at ingredients, realizing your plan fell apart, and needing something quick that still feels like a win. This recipe is that win. It’s the kind of snack that makes you feel like you’ve got your life together, even when you’re eating it standing over the kitchen sink.
Why You’ll Love This Recipe
Let me tell you why these easy no-bake protein balls have earned a permanent spot in my fridge. After testing about six different versions (some were too dry, some fell apart, one was so sticky it glued my fingers together), I finally nailed the perfect balance. This recipe is the one I keep coming back to, and I think you’ll feel the same way.
- Quick & Easy: You can make these in under 5 minutes. No kidding. Mix, roll, eat. That’s it.
- Simple Ingredients: You probably already have everything in your pantry. Oats, peanut butter, honey, chocolate chips—basic stuff.
- Perfect for Busy Days: Great for pre-workout fuel, after-school snacks, or when you need something to grab on your way out the door.
- Crowd-Pleaser: My kids devour these. My neighbor asked for the recipe after I brought some over. Even my picky uncle liked them.
- Unbelievably Delicious: The texture is soft and chewy, the chocolate melts in your mouth, and the oats give it that hearty, satisfying feel.
What makes this version different from all the other protein ball recipes out there? It’s the ratio. I spent way too much time tweaking the wet-to-dry ingredient balance so these balls hold together without being sticky or falling apart. They’re not too sweet, not too bland—just right. Plus, they’re no-bake, which means you don’t have to heat up your kitchen or wait forever. You can literally make them while your coffee brews.
This recipe is the kind that makes you close your eyes after the first bite. It’s comfort food reimagined—healthier, faster, but with the same soul-soothing satisfaction. Perfect for impressing guests without stress, or turning a simple snack into something memorable. Honestly, once you try these, you’ll wonder why you ever bought store-bought protein balls.
What Ingredients You Will Need
This recipe uses simple, wholesome ingredients to deliver bold flavor and satisfying texture without the fuss. Most of these are pantry staples, so you probably don’t need to make a special trip to the store.
- Rolled oats (old-fashioned oats work best for texture; quick oats can get mushy)
- Creamy peanut butter (natural peanut butter with no added sugar works great; just stir it well before using)
- Honey (adds natural sweetness and helps bind everything together; maple syrup works too)
- Mini chocolate chips (I prefer semi-sweet for balance, but milk chocolate or dark chocolate both work)
- Ground flaxseed (adds fiber and omega-3s; you can skip it or use chia seeds instead)
- Vanilla extract (just a splash for warmth and depth of flavor)
- Pinch of salt (enhances all the flavors; don’t skip this even if your peanut butter is salted)
I recommend using a brand like Bob’s Red Mill for the oats and flaxseed—they’re consistent and high-quality. For peanut butter, I really like Justin’s because it’s smooth and doesn’t separate too much. But honestly, any brand you have on hand will work fine.
If you want to switch things up, here are some easy substitutions:
- Nut-free option: Use sunflower seed butter or tahini instead of peanut butter
- Gluten-free: Make sure to use certified gluten-free oats
- Lower sugar: Use sugar-free chocolate chips or reduce the honey to 2 tablespoons
- Extra protein: Add a scoop of your favorite protein powder (you might need an extra tablespoon of liquid)
For seasonal variations, try swapping the chocolate chips for dried cranberries and white chocolate in winter, or use freeze-dried strawberries in summer. The base recipe stays the same, so feel free to get creative!
Equipment Needed
You don’t need much for this recipe, which is part of the beauty. Here’s what you’ll need:
- Large mixing bowl (any size works, but bigger is easier for mixing without spilling)
- Measuring cups and spoons (for accuracy, especially with the peanut butter and honey)
- Rubber spatula or wooden spoon (for mixing everything together)
- Baking sheet or plate (to hold the rolled balls while they chill)
- Parchment paper (optional but helpful for easy cleanup)
- Cookie scoop or tablespoon (for uniform-sized balls; you can use your hands too)
If you don’t have a cookie scoop, just use a regular tablespoon. I’ve used my hands for years and honestly, it’s faster. Just wet your hands slightly so the mixture doesn’t stick. For the mixing bowl, I prefer a glass or ceramic one because the mixture doesn’t slide around as much. But plastic or metal works fine too.
One tip: if you’re using a very sticky peanut butter, lightly oil your hands before rolling. It makes the process so much smoother. And if you don’t have parchment paper, you can just put the balls directly on a clean plate. No big deal.
Preparation Method
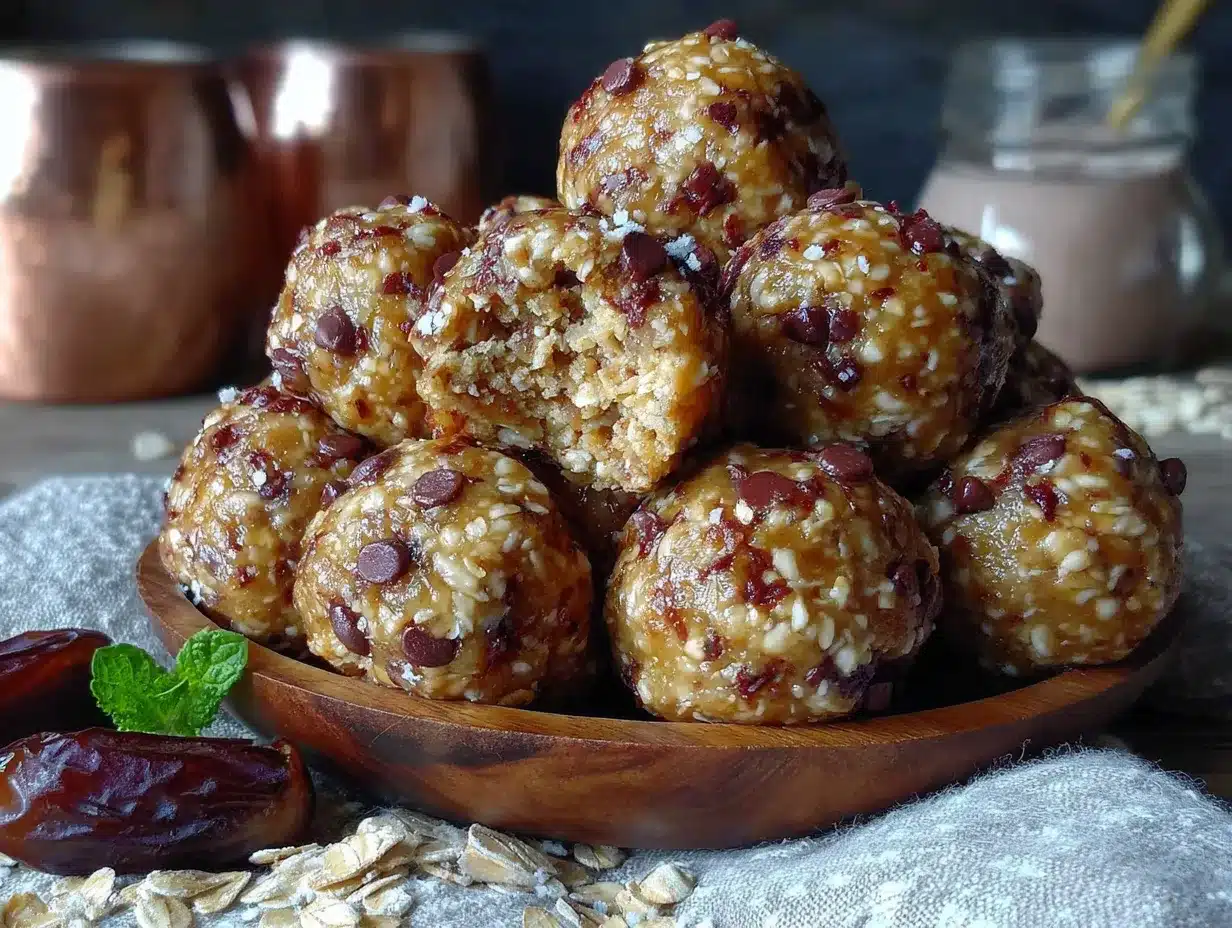
- Combine the dry ingredients. In a large mixing bowl, add 1 cup (90g) rolled oats, 2 tablespoons (14g) ground flaxseed, and a pinch of salt. Stir them together with a spatula so everything is evenly distributed. This takes about 30 seconds.
- Add the wet ingredients. Add 1/2 cup (128g) creamy peanut butter, 1/4 cup (85g) honey, and 1/2 teaspoon vanilla extract to the bowl. Don’t mix yet—just dump them on top of the dry ingredients.
- Mix everything together. Use your spatula to stir everything until it forms a thick, cohesive dough. Start by folding the peanut butter into the oats, then keep mixing until no dry spots remain. This should take about 1-2 minutes. The mixture will look crumbly at first, then come together as you keep stirring. If it seems too dry, add a teaspoon of water or more honey. If it’s too sticky, add a tablespoon more oats.
- Fold in the chocolate chips. Add 1/3 cup (60g) mini chocolate chips to the mixture. Fold them in gently so they’re evenly distributed. Don’t overmix or the chocolate might melt from the warmth of your hands.
- Chill the mixture (optional but recommended). Pop the bowl in the fridge for 10-15 minutes. This makes the mixture easier to handle and helps the balls hold their shape better. If you’re in a hurry, you can skip this step—just know the balls will be a bit softer.
- Roll into balls. Scoop out about 1 tablespoon of the mixture (about 15g) and roll it between your palms to form a smooth ball. Place each ball on a baking sheet or plate lined with parchment paper. Repeat until all the mixture is used. You should get about 14-16 balls depending on size.
- Set and chill. Place the baking sheet in the fridge for at least 30 minutes to let the balls firm up. This step is important—it helps them hold their shape and gives them that perfect chewy texture. If you can’t wait, you can eat one right away, but they’re much better after chilling.
Pro tip: If the mixture starts sticking to your hands while rolling, just rinse your hands with cold water and dry them off. The moisture helps prevent sticking. Also, don’t worry if the balls aren’t perfectly round—they’ll taste the same either way.
Cooking Tips & Techniques
After making these no-bake protein balls about twenty times (not exaggerating), I’ve picked up a few tricks that make a real difference. Let me share them so you don’t have to learn the hard way.
First, the texture check. The mixture should hold together when you squeeze it in your fist. If it crumbles apart, add a little more peanut butter or honey. If it’s too sticky, add more oats. I’ve messed this up more times than I care to admit, and it’s always because I didn’t trust my instincts. Trust the squeeze test.
Second, don’t overmix. I know it’s tempting to keep stirring until everything is perfectly combined, but overmixing can make the balls dense and tough. Just mix until no dry spots remain and the chocolate chips are evenly distributed. That’s enough.
Third, chill before rolling. This was a game-changer for me. I used to roll the balls right after mixing, and they were always sticky and messy. Now I chill the mixture for 10-15 minutes first, and it’s so much easier. The peanut butter firms up slightly, and the oats absorb some moisture, making the mixture more manageable.
Fourth, use a cookie scoop for uniform size. I know I said you can use your hands, but if you want all your balls to be the same size (which helps with even chilling and consistent nutrition), a small cookie scoop is worth it. Mine is about 1 tablespoon, and it works perfectly.
Fifth, store them properly. These balls need to stay in the fridge. If you leave them out at room temperature, they’ll get soft and lose their shape. I learned this the hard way when I left a batch on the counter overnight and came back to a puddle of oats and chocolate. Not pretty.
One more thing: if you’re making these for a party or a gathering, roll them a day ahead. The flavors actually meld together and get better after 24 hours in the fridge. They’re good fresh, but they’re amazing the next day.
Variations & Adaptations
One of the best things about this recipe is how flexible it is. I’ve tried quite a few variations over the months, and here are some of my favorites:
Chocolate Peanut Butter Dream: Add 1 tablespoon of cocoa powder to the dry ingredients and use milk chocolate chips instead of semi-sweet. It tastes like a Reese’s cup in ball form. My kids beg for this version.
Tropical Twist: Swap the chocolate chips for dried mango pieces and shredded coconut. Use macadamia nut butter instead of peanut butter for a tropical vibe. This one is perfect for summer.
Vegan Version: Use maple syrup instead of honey, and choose dairy-free chocolate chips. The texture comes out slightly different—a bit softer—but still delicious. I’ve made this for vegan friends and they loved it.
High-Protein Boost: Add 1 scoop (about 30g) of vanilla or chocolate protein powder. You’ll need to add an extra tablespoon of peanut butter or a splash of milk to keep the mixture from getting too dry. This version is great for post-workout snacking.
Spiced Apple Cinnamon: Replace the chocolate chips with dried apple pieces and add 1/2 teaspoon cinnamon and a pinch of nutmeg. This tastes like fall in a bite. I make this version when the weather gets chilly.
Nut-Free School Snack: Use sunflower seed butter and omit the flaxseed (or use chia seeds instead). Make sure your oats are certified gluten-free if needed. This version is safe for nut-free classrooms and lunchboxes.
I once tried a version with dried cherries and white chocolate chips, and honestly, it was incredible. The tartness of the cherries balanced the sweetness perfectly. Don’t be afraid to experiment—the base recipe is forgiving enough to handle all kinds of additions.
Serving & Storage Suggestions
These protein balls are best served cold, straight from the fridge. The texture is firm but chewy, and the chocolate chips have a satisfying snap. I like to grab one (or three) when I need a quick energy boost in the afternoon. They’re also great pre-workout fuel—eat one about 30 minutes before exercise for sustained energy.
For a pretty presentation, arrange the balls on a small platter or in a mason jar. Sprinkle a few extra chocolate chips on top for visual appeal. They’re perfect for parties, brunches, or as a healthy treat for kids’ lunchboxes. I’ve even brought them to potlucks, and they always disappear fast.
Storage Instructions:
- Refrigerator: Store in an airtight container for up to 1 week. They’ll stay fresh and firm.
- Freezer: Place the balls in a single layer on a baking sheet and freeze for 1 hour. Then transfer to a freezer-safe bag or container. They’ll keep for up to 3 months. Thaw in the fridge overnight or eat them frozen (they’re like ice cream bites!).
- Room temperature: Not recommended for more than a few hours. They get soft and lose their shape.
Reheating: You don’t really need to reheat these, but if you want a softer texture, let them sit at room temperature for 5-10 minutes before eating. I sometimes microwave one for 10 seconds in the winter—it’s like a warm, melty treat.
One thing I’ve noticed: the flavors get better after a day or two in the fridge. The oats absorb more moisture, the peanut butter mellows out, and everything comes together beautifully. So don’t be afraid to make a batch ahead of time.
Nutritional Information & Benefits
Here’s the approximate nutritional breakdown per ball (based on 15 balls per batch):
- Calories: 120-140
- Protein: 4-5g
- Carbohydrates: 14-16g
- Fiber: 2-3g
- Sugar: 8-10g
- Fat: 6-8g
These numbers will vary depending on your exact ingredients, but this gives you a general idea. The oats provide complex carbohydrates for sustained energy, while the peanut butter adds healthy fats and protein. Flaxseed is packed with omega-3 fatty acids and fiber, which are great for heart health and digestion.
I love that these protein balls are naturally sweetened with honey instead of refined sugar. They satisfy my sweet tooth without the crash. Plus, they’re gluten-free if you use certified oats, and you can easily make them vegan with a few simple swaps.
One thing to note: these are not low-calorie snacks, but they’re nutrient-dense and satisfying. One or two balls are usually enough to curb hunger and give you a boost. I personally find them much more filling than a granola bar or a piece of fruit.
Potential allergens: peanuts, oats (gluten), and dairy (chocolate chips). Check your labels if you have sensitivities.
Conclusion
These easy no-bake protein balls have become a staple in my kitchen for good reason. They’re quick, simple, and incredibly satisfying. Whether you need a post-workout snack, a lunchbox treat, or just something to get you through the afternoon slump, these little bites deliver every time.
I love how forgiving this recipe is. You can tweak it based on what you have in your pantry, adjust the sweetness to your liking, and experiment with different add-ins. It’s the kind of recipe that feels like a win every single time—no oven required, no complicated steps, just pure, delicious simplicity.
I’d love to hear how your batch turns out! Did you try any fun variations? Did your kids love them as much as mine do? Drop a comment below and let me know. And if you share a photo on Pinterest or Instagram, tag me—I love seeing your creations. Happy rolling, friends!
Frequently Asked Questions
Can I use quick oats instead of rolled oats?
Yes, you can use quick oats, but the texture will be softer and less chewy. Rolled oats give the best texture for protein balls. If you only have quick oats, reduce the mixing time slightly to avoid them getting mushy.
How long do these protein balls last in the fridge?
They stay fresh in an airtight container in the fridge for up to 1 week. I usually make a batch on Sunday and grab them throughout the week. They rarely last that long in my house, though!
Can I freeze these protein balls?
Absolutely! Freeze them in a single layer on a baking sheet for an hour, then transfer to a freezer bag. They’ll keep for up to 3 months. You can eat them frozen or thaw them in the fridge overnight.
Why are my protein balls too dry?
If your mixture is too dry, add a little more peanut butter or honey, one teaspoon at a time. The dryness usually happens if the peanut butter is too thick or if you added too many oats. Don’t worry—it’s an easy fix.
Can I make these without peanut butter?
Yes! Substitute with almond butter, cashew butter, sunflower seed butter, or tahini. Just keep in mind that different nut butters have different consistencies, so you might need to adjust the amount slightly. Sunflower seed butter tends to be runnier, so use a bit less.
Pin This Recipe!
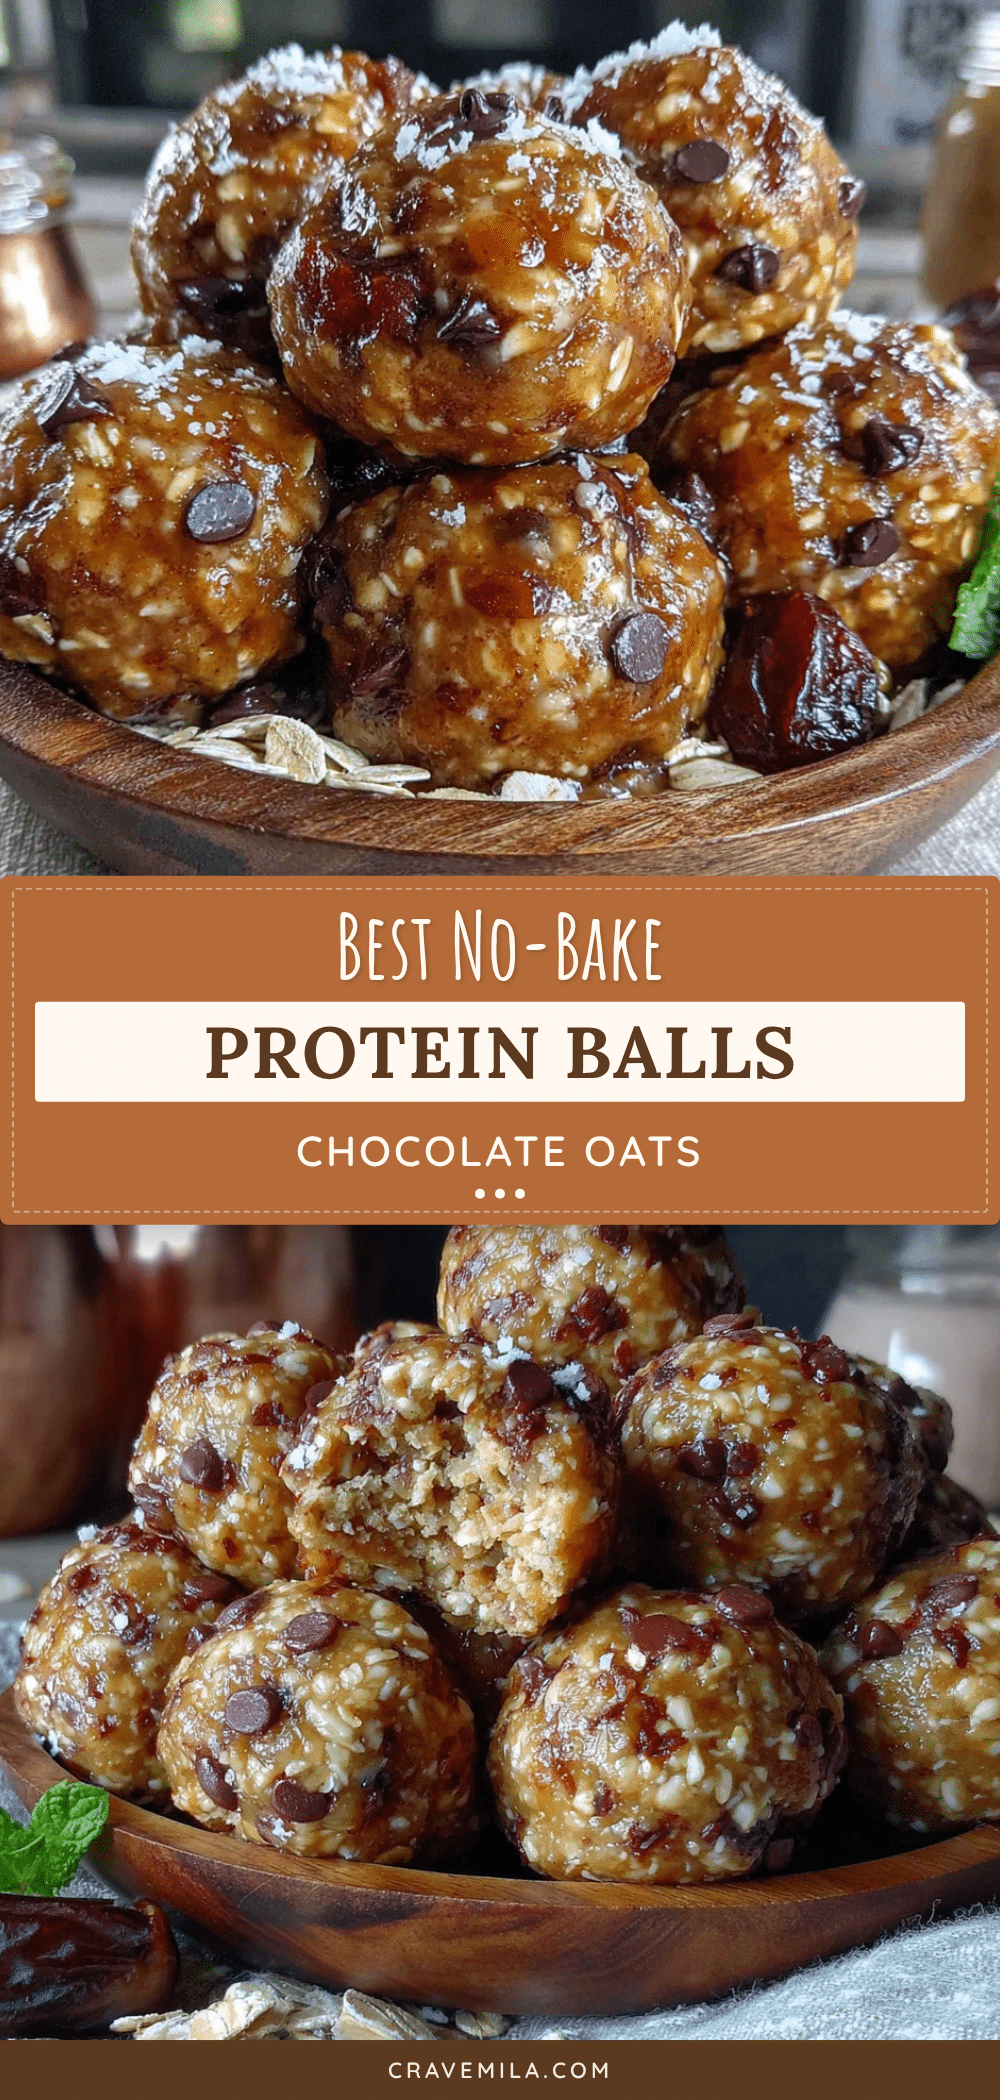
Easy No-Bake Protein Balls: Best 5-Minute Oatmeal Treat
These no-bake protein balls are a quick, easy, and delicious snack made with simple pantry ingredients. Perfect for busy mornings, afternoon slumps, or pre-workout fuel, they come together in just 5 minutes with no oven required.
- Prep Time: 5 minutes
- Cook Time: 0 minutes
- Total Time: 45 minutes (includes chilling time)
- Yield: 14-16 balls 1x
- Category: Snack
- Cuisine: American
Ingredients
- 1 cup (90g) rolled oats
- 2 tablespoons (14g) ground flaxseed
- Pinch of salt
- 1/2 cup (128g) creamy peanut butter
- 1/4 cup (85g) honey
- 1/2 teaspoon vanilla extract
- 1/3 cup (60g) mini chocolate chips
Instructions
- Combine the dry ingredients: In a large mixing bowl, add rolled oats, ground flaxseed, and a pinch of salt. Stir together with a spatula until evenly distributed.
- Add the wet ingredients: Add creamy peanut butter, honey, and vanilla extract to the bowl. Do not mix yet.
- Mix everything together: Use a spatula to stir until a thick, cohesive dough forms. Start by folding the peanut butter into the oats, then keep mixing until no dry spots remain. If too dry, add a teaspoon of water or more honey. If too sticky, add a tablespoon more oats.
- Fold in the chocolate chips: Add mini chocolate chips to the mixture and fold gently until evenly distributed.
- Chill the mixture (optional but recommended): Place the bowl in the fridge for 10-15 minutes to make the mixture easier to handle.
- Roll into balls: Scoop out about 1 tablespoon (15g) of the mixture and roll between your palms to form a smooth ball. Place each ball on a baking sheet or plate lined with parchment paper. Repeat until all mixture is used (about 14-16 balls).
- Set and chill: Place the baking sheet in the fridge for at least 30 minutes to let the balls firm up before serving.
Notes
Chill the mixture before rolling for easier handling. If mixture sticks to hands, rinse hands with cold water and dry. Store in an airtight container in the fridge for up to 1 week, or freeze for up to 3 months. Flavors improve after 24 hours in the fridge.
Nutrition
- Serving Size: 1 ball
- Calories: 120140
- Sugar: 810
- Sodium: 5080
- Fat: 68
- Saturated Fat: 1.52
- Carbohydrates: 1416
- Fiber: 23
- Protein: 45
Keywords: no-bake protein balls, easy protein balls, 5-minute snack, oatmeal protein balls, healthy snack, no-bake snack, peanut butter protein balls



