The neighborhood block party was in six hours and I’d completely forgotten. Everyone else would be bringing elaborate dishes they’d probably spent all weekend perfecting. My neighbor Sarah was famous for her seven-layer dip, and the guy next door always grilled things that made the whole street smell amazing. I had a box of vanilla wafers, some bananas turning spotty on my counter, and a carton of heavy cream that was about to expire. Not exactly the makings of a showstopper.
I stood in my kitchen, honestly panicking a little. You know that feeling when you want to bring something good but you’ve got nothing? I mean, I couldn’t show up with a store-bought pie. That would be embarrassing. Then I remembered this creamy no-bake banana pudding icebox cake my aunt used to throw together when we were kids. She called it her “emergency dessert” and it always disappeared fast. I had everything I needed, or close enough. I raided my pantry, found some sweetened condensed milk I’d bought for another recipe, and got to work.
Let me tell you, I was layering those vanilla wafers and banana slices like my life depended on it. I made a mess—dripped pudding on the counter, used a bowl that was slightly too small, and had to fish a banana peel out of the batter. But somehow, by the time the party started, I had this beautiful, creamy creation sitting in my fridge. It was the underdog of the dessert table. And honestly? It won. People went back for seconds, asked for the recipe, and Sarah even said it was better than her dip. This creamy no-bake banana pudding icebox cake became my go-to from that day on. It’s the recipe that saves you when you need it most, and it tastes like pure comfort.
Why You’ll Love This Recipe
This isn’t just another banana pudding recipe. I’ve tested this creamy no-bake banana pudding icebox cake about a dozen times to get the texture just right. The layers need to set perfectly, the bananas need to stay creamy without turning brown, and the whole thing needs to taste like it took hours of work. It doesn’t. That’s the beauty of it.
- Quick & Easy: You can put this together in about 20 minutes. No baking, no complicated techniques, no stress. Just layer and chill.
- Simple Ingredients: You probably have most of these in your kitchen right now. Bananas, vanilla wafers, cream cheese, sweetened condensed milk—nothing fancy required.
- Perfect for Any Occasion: Potlucks, summer barbecues, holiday dinners, or just a Tuesday night when you need something sweet. This recipe shows up and delivers every time.
- Crowd-Pleaser: I’ve brought this to family gatherings, office parties, and neighborhood events. It gets rave reviews from kids, adults, and even picky eaters.
- Unbelievably Delicious: The combination of creamy pudding, soft bananas, and slightly crunchy vanilla wafers is pure magic. Each bite has that perfect texture contrast that keeps you coming back.
What makes this creamy no-bake banana pudding icebox cake different from the rest? It’s the method. I blend the cream cheese and sweetened condensed milk until it’s silky smooth before folding in the whipped cream. That extra step makes the filling incredibly light and fluffy, not dense or heavy. Plus, I use a trick of slightly under-ripe bananas so they hold their shape better in the layers. Trust me, these little details make a big difference.
This recipe is the kind that makes you close your eyes after the first bite. It’s comfort food at its finest—creamy, sweet, and nostalgic. Perfect for impressing guests without any stress, or turning a simple evening into something special.
What Ingredients You Will Need
This creamy no-bake banana pudding icebox cake uses simple, wholesome ingredients to deliver that rich, satisfying flavor. Most of these are pantry staples, so you might not even need a grocery trip.
- For the pudding layer:
- 1 (8-ounce) package cream cheese, softened (I prefer Philadelphia for its consistent creaminess)
- 1 (14-ounce) can sweetened condensed milk
- 1 (3.4-ounce) box instant vanilla pudding mix (Jell-O brand works great)
- 2 cups cold whole milk (adds richness, but 2% works too)
- 1 teaspoon vanilla extract (pure vanilla, not imitation, for best flavor)
- For the whipped cream:
- 2 cups heavy whipping cream (cold)
- 3 tablespoons powdered sugar
- 1 teaspoon vanilla extract
- For the layers:
- 1 (12-ounce) box vanilla wafers (Nilla Wafers are my go-to)
- 4-5 ripe but firm bananas, sliced into ¼-inch rounds (look for bananas that are yellow with just a few brown spots)
- For garnish:
- Extra vanilla wafers, crushed
- Banana slices (tossed in a little lemon juice to prevent browning)
- Optional: drizzle of caramel sauce or chocolate shavings
When selecting bananas, go for ones that are ripe but still firm. Overly soft bananas will turn mushy and make the layers messy. If you only have very ripe bananas, use them for the filling and choose firmer ones for the visible layers. For the cream cheese, make sure it’s truly softened to room temperature—cold cream cheese will leave lumps in your pudding. I learned that the hard way during my first attempt.
If you need substitutions, use dairy-free cream cheese and coconut cream for the whipped cream to make this dairy-free. For a gluten-free version, check that your vanilla wafers are certified gluten-free—some brands offer them. You can also use gluten-free graham crackers as a substitute for the wafers.
Equipment Needed
You don’t need fancy gadgets for this creamy no-bake banana pudding icebox cake, which is part of its charm. Here’s what you’ll need:
- 9×13-inch baking dish: This is the perfect size for layering. A glass dish lets you see the beautiful layers. I use a Pyrex dish that I’ve had for years.
- Electric mixer: A hand mixer or stand mixer works. You need to whip the cream and beat the cream cheese mixture until smooth. A whisk and some elbow grease will work, but it takes longer.
- Large mixing bowls: You’ll need at least two—one for the pudding mixture and one for the whipped cream.
- Spatula: A rubber spatula is perfect for folding the whipped cream into the pudding without deflating it.
- Sharp knife and cutting board: For slicing bananas evenly. A serrated knife works best for clean cuts.
- Measuring cups and spoons: For accurate measurements, especially for the milk and vanilla.
If you don’t have an electric mixer, you can whip the cream by hand with a whisk—it just takes about 5-7 minutes of vigorous whisking. I’ve done it before when my mixer was broken, and it’s a good arm workout. For the baking dish, a 9×9-inch square dish works if you want thicker layers, but you’ll need to adjust the layering slightly. A trifle bowl is also a fun option for a more dramatic presentation.
Keep your equipment clean and dry. Any moisture can affect how the pudding sets. I always dry my bowls thoroughly before starting.
Preparation Method
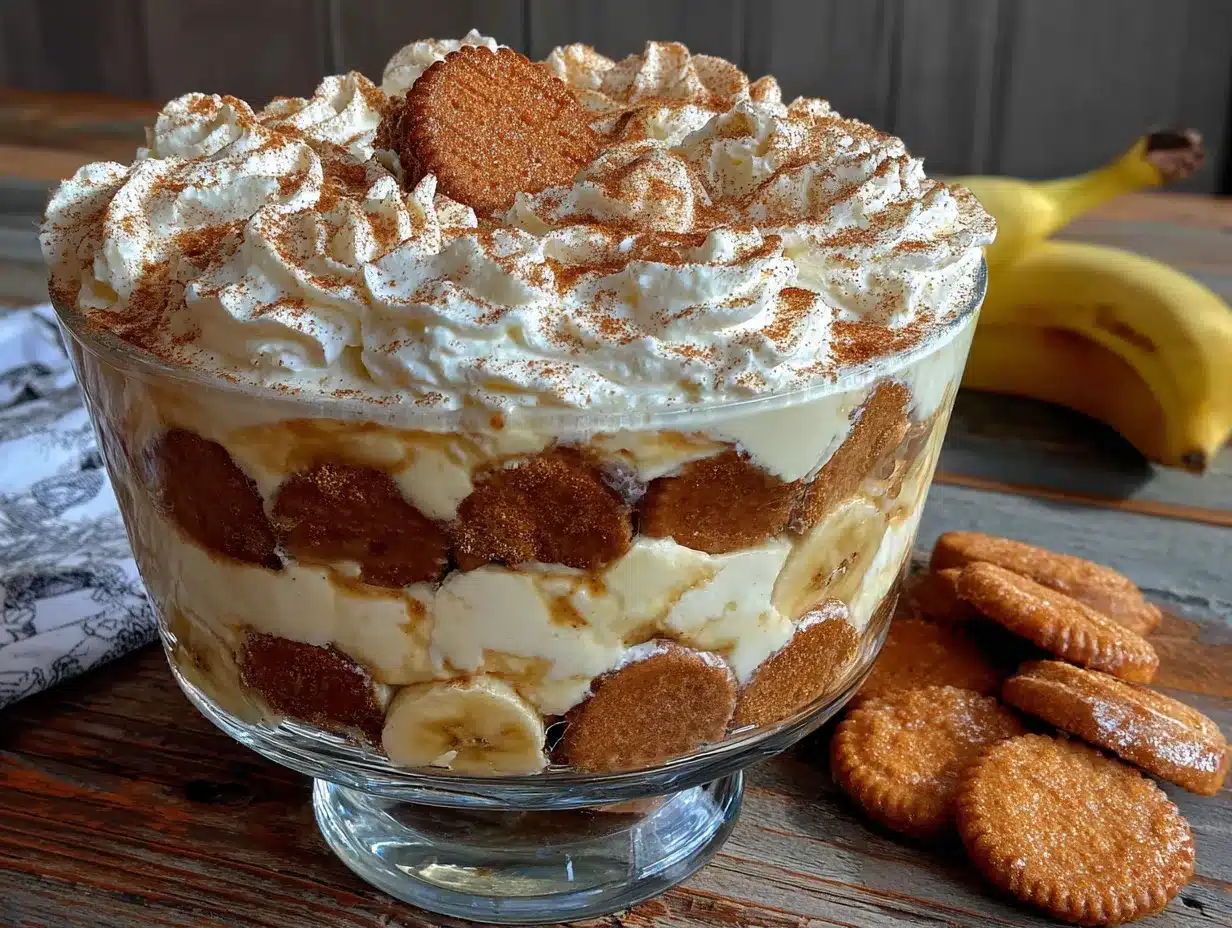
Making this creamy no-bake banana pudding icebox cake is straightforward, but following the steps carefully ensures perfect layers every time.
- Make the whipped cream: In a large chilled bowl, combine 2 cups cold heavy whipping cream, 3 tablespoons powdered sugar, and 1 teaspoon vanilla extract. Beat with an electric mixer on medium-high speed until stiff peaks form. This takes about 3-4 minutes. You’ll know it’s ready when you lift the beaters and the cream holds its shape without drooping. Set this aside in the refrigerator while you prepare the pudding.
- Prepare the cream cheese mixture: In another large bowl, beat the softened 8 ounces cream cheese with an electric mixer on medium speed until smooth and creamy, about 2 minutes. Scrape down the sides of the bowl. Add the 14-ounce can of sweetened condensed milk and beat until fully combined and smooth. The mixture should be thick and glossy.
- Make the pudding: In a separate bowl, whisk together the 3.4-ounce box of instant vanilla pudding mix and 2 cups cold whole milk. Whisk for about 2 minutes until the pudding thickens. It will be quite thin at first, then suddenly thicken. Add 1 teaspoon vanilla extract and stir. Let it sit for 2 minutes to fully set.
- Combine the mixtures: Pour the prepared pudding into the cream cheese mixture. Beat on low speed until just combined. Be careful not to overmix—you want it smooth but not runny. Scrape down the sides again.
- Fold in the whipped cream: Remove the whipped cream from the refrigerator. Gently fold half of it into the pudding mixture using a rubber spatula. Use a gentle cutting and folding motion—don’t stir vigorously or you’ll deflate the cream. Once mostly combined, add the remaining whipped cream and fold until no white streaks remain. The mixture should be light, airy, and creamy.
- Layer the cake: Spread a thin layer of the pudding mixture (about 1 cup) on the bottom of your 9×13-inch baking dish. This helps the bottom layer of wafers stay in place. Arrange a single layer of vanilla wafers over the pudding, covering the bottom completely. You can break some wafers to fill gaps.
- Add bananas: Arrange a layer of sliced bananas over the wafers. Use about half the banana slices. Make sure they’re in a single layer, slightly overlapping if needed.
- Add more pudding: Spread half of the remaining pudding mixture evenly over the bananas. Use a spatula to smooth it to the edges.
- Repeat layers: Add another layer of vanilla wafers, followed by the remaining banana slices. Spread the remaining pudding mixture on top, smoothing it evenly.
- Top with whipped cream: Spread the reserved whipped cream (you should have about 1 cup left) over the top layer. Use a spatula to create swirls or smooth it flat. Crush a handful of vanilla wafers and sprinkle them over the top. Add a few fresh banana slices if desired, tossing them in lemon juice first to prevent browning.
- Chill: Cover the dish with plastic wrap or foil and refrigerate for at least 6 hours, but overnight is best. The wafers need time to soften and absorb the pudding, creating that cake-like texture. Don’t rush this step—it’s what makes it an icebox cake.
A few sensory cues to watch for: When you fold the whipped cream into the pudding, the mixture should feel light and billowy, like a cloud. The bananas should look bright yellow, not brown or mushy. After chilling, the top should be firm to the touch, and when you cut into it, the layers should hold together without sliding apart.
One tip I learned from a failed attempt: If your pudding mixture seems too thin after folding in the whipped cream, it might be because the cream cheese wasn’t fully softened or the pudding didn’t set long enough. Let it sit for 5 minutes before layering—it will thicken as it rests.
Cooking Tips & Techniques
Over the years, I’ve made this creamy no-bake banana pudding icebox cake more times than I can count. Here are the lessons I’ve learned, some of them the hard way.
Don’t skip softening the cream cheese. I once tried to rush this step and ended up with lumpy pudding. Cold cream cheese won’t blend smoothly with the condensed milk, leaving white flecks throughout. Let it sit on the counter for at least 30 minutes before starting. If you’re in a hurry, cut it into small cubes and let them sit for 15 minutes.
Use cold cream for whipping. Heavy cream whips best when it’s very cold, straight from the refrigerator. If your kitchen is warm, chill the bowl and beaters too. Warm cream won’t hold stiff peaks and can turn into butter if overbeaten. I learned this when I tried making it on a hot summer day without chilling anything—the cream never thickened properly.
Layer strategically. The bottom layer of pudding is crucial—it keeps the wafers from sliding around. Also, make sure your banana slices are all about the same thickness so they soften evenly. I aim for ¼-inch slices, not too thin or too thick. Too thin and they disappear into the pudding; too thick and they stay crunchy.
Let it chill fully. This is non-negotiable. The wafers need at least 6 hours to soften into that cake-like texture. If you cut into it too early, you’ll get crunchy wafers and runny pudding. Overnight is ideal—the flavors meld together beautifully. I always make this the day before I need it.
Multitask wisely. While the cream cheese softens, slice the bananas and line up your wafers. While the whipped cream chills, make the pudding. This keeps the process moving without feeling rushed. I usually start the cream cheese softening first, then prep everything else while it sits.
A common mistake: Overmixing the pudding mixture after adding the whipped cream. Fold gently and stop as soon as it’s combined. Overmixing deflates the air, making the filling dense instead of light and fluffy. Trust me, I’ve ruined a few batches this way.
Variations & Adaptations
This creamy no-bake banana pudding icebox cake is wonderfully adaptable. Here are some variations I’ve tried and loved.
Chocolate Banana Version: Swap the vanilla pudding mix for chocolate pudding mix. Add a layer of chocolate shavings between the banana layers. The combination of chocolate and banana is classic for a reason. I made this for a friend’s birthday and it was devoured in minutes.
Strawberry Banana Twist: Replace half the banana slices with fresh strawberries. Use strawberry pudding mix instead of vanilla. The tartness of the strawberries balances the sweetness of the pudding perfectly. This is my go-to summer version when strawberries are in season.
Peanut Butter Banana: Add ½ cup creamy peanut butter to the cream cheese mixture before adding the condensed milk. Beat until smooth. The peanut butter adds a rich, nutty flavor that pairs beautifully with banana. My kids beg for this version.
Dairy-Free Adaptation: Use dairy-free cream cheese, coconut cream for the whipped cream, and almond milk for the pudding. Check that your vanilla wafers are dairy-free. The texture will be slightly different but still delicious. I’ve made this for friends with dairy allergies and they loved it.
Individual Servings: Instead of a large dish, layer the ingredients in small mason jars or dessert cups. This is perfect for parties or portion control. Each jar gets about 3-4 layers. They’re also great for gifting—just add a lid and a ribbon.
Gluten-Free Option: Use certified gluten-free vanilla wafers or gluten-free graham crackers. The rest of the ingredients are naturally gluten-free. I’ve tested this with gluten-free wafers and the texture is almost identical.
If you’re feeling adventurous, try adding a layer of toasted coconut flakes or a drizzle of caramel sauce between the layers. I once added a sprinkle of cinnamon to the pudding mixture and it gave the whole cake a warm, cozy flavor—perfect for fall.
Serving & Storage Suggestions
This creamy no-bake banana pudding icebox cake is best served cold, straight from the refrigerator. The texture is perfect when it’s fully chilled—firm enough to slice cleanly but still creamy and luscious.
Serving: Use a sharp knife to cut clean slices. Wipe the knife between cuts for neat edges. Serve on chilled plates for the best experience. I like to add a dollop of extra whipped cream and a sprinkle of crushed vanilla wafers on top for presentation. A drizzle of caramel sauce or a few fresh banana slices also looks beautiful.
Complementary dishes: This dessert pairs wonderfully with fresh berries, a cup of coffee, or a glass of cold milk. For a summer gathering, serve it alongside grilled fruit or a light fruit salad. The creaminess of the cake balances well with tart or tangy sides.
Storage: Cover the dish tightly with plastic wrap or foil and store in the refrigerator. It will keep for up to 3 days. The bananas will continue to soften and may brown slightly over time, but the flavor remains delicious. I actually think it tastes even better on day two—the flavors meld together more.
Freezing: You can freeze this cake for up to 1 month. Wrap the dish tightly in plastic wrap, then a layer of foil. Thaw overnight in the refrigerator before serving. The texture will be slightly softer after freezing, but it’s still tasty. I don’t recommend freezing if you plan to serve it to guests—fresh is always better.
Reheating: This is a no-bake dessert meant to be served cold, so no reheating needed. If you prefer a slightly softer texture, let it sit at room temperature for 10-15 minutes before serving. But honestly, it’s best straight from the fridge.
One note: The longer this cake sits, the softer the wafers become. Some people love that cake-like texture, while others prefer a bit of crunch. If you want crunchier wafers, serve it after 4-6 hours of chilling instead of overnight. I personally love the soft, melt-in-your-mouth texture after a full day in the fridge.
Nutritional Information & Benefits
While this creamy no-bake banana pudding icebox cake is definitely a treat, it does offer some nutritional benefits thanks to its key ingredients.
| Nutrient | Per Serving (1/12 of cake) |
|---|---|
| Calories | 410 |
| Total Fat | 24g |
| Saturated Fat | 14g |
| Cholesterol | 75mg |
| Sodium | 280mg |
| Total Carbohydrates | 46g |
| Dietary Fiber | 1g |
| Sugars | 32g |
| Protein | 5g |
| Potassium | 280mg |
Bananas are a great source of potassium, which supports heart health and muscle function. They also provide vitamin B6 and vitamin C. The dairy ingredients offer calcium and protein, which are important for bone health. The heavy cream and cream cheese add richness, but they also provide fat-soluble vitamins like vitamin A.
This recipe contains dairy, gluten (from the vanilla wafers), and eggs (if using certain pudding mixes—check the label). For a lighter version, use reduced-fat cream cheese, skim milk, and light whipped topping instead of homemade whipped cream. You can also reduce the sugar by using sugar-free pudding mix.
I personally see this as a special occasion dessert—something to enjoy in moderation. It’s not an everyday treat, but when you do have it, savor every bite. Life is about balance, right?
Conclusion
This creamy no-bake banana pudding icebox cake has become a staple in my kitchen for good reason. It’s simple, reliable, and absolutely delicious. Whether you’re bringing it to a party, serving it for a family dinner, or just treating yourself on a quiet evening, it never disappoints.
I love how forgiving this recipe is. You can customize it, adapt it, and make it your own. Swap the bananas for strawberries, add chocolate, or make it dairy-free—it always turns out great. The first time I made it, I was nervous about the layers and the chilling time. But now, it’s my go-to dessert for almost any occasion.
I’d love to hear how yours turns out! Leave a comment below and let me know if you tried any variations. Share your photos on social media and tag me—I love seeing your creations. And if you have any questions, just ask. Happy cooking, and enjoy every creamy, banana-filled bite!
Frequently Asked Questions
Can I make this recipe ahead of time?
Absolutely! In fact, this creamy no-bake banana pudding icebox cake tastes better when made a day ahead. The wafers have more time to soften, and the flavors meld together beautifully. Just cover it tightly and refrigerate for up to 24 hours before serving.
Can I use low-fat or skim milk instead of whole milk?
Yes, you can use 2% or skim milk, but the pudding will be slightly less rich and creamy. Whole milk gives the best texture and flavor. If you use a lower-fat milk, the pudding might be a bit thinner, so let it set for an extra 2-3 minutes before layering.
Why did my bananas turn brown?
Bananas naturally oxidize and turn brown when exposed to air. To prevent this, toss the sliced bananas in a little lemon juice or pineapple juice before layering. This adds a slight tang but keeps them looking fresh. Also, make sure your bananas are ripe but firm—overly ripe bananas brown faster.
Can I use store-bought whipped topping instead of homemade?
Yes, you can substitute 4 cups of thawed frozen whipped topping (like Cool Whip) for the homemade whipped cream. The texture will be slightly different—lighter and less rich—but it still works well. If you’re short on time, this is a perfectly good shortcut.
How do I get clean slices when serving?
Use a sharp knife and wipe it clean between each cut. Chilling the cake for at least 6 hours (overnight is better) helps the layers hold together. For the cleanest slices, run the knife under hot water, dry it, then cut. Repeat this for each slice.
Pin This Recipe!
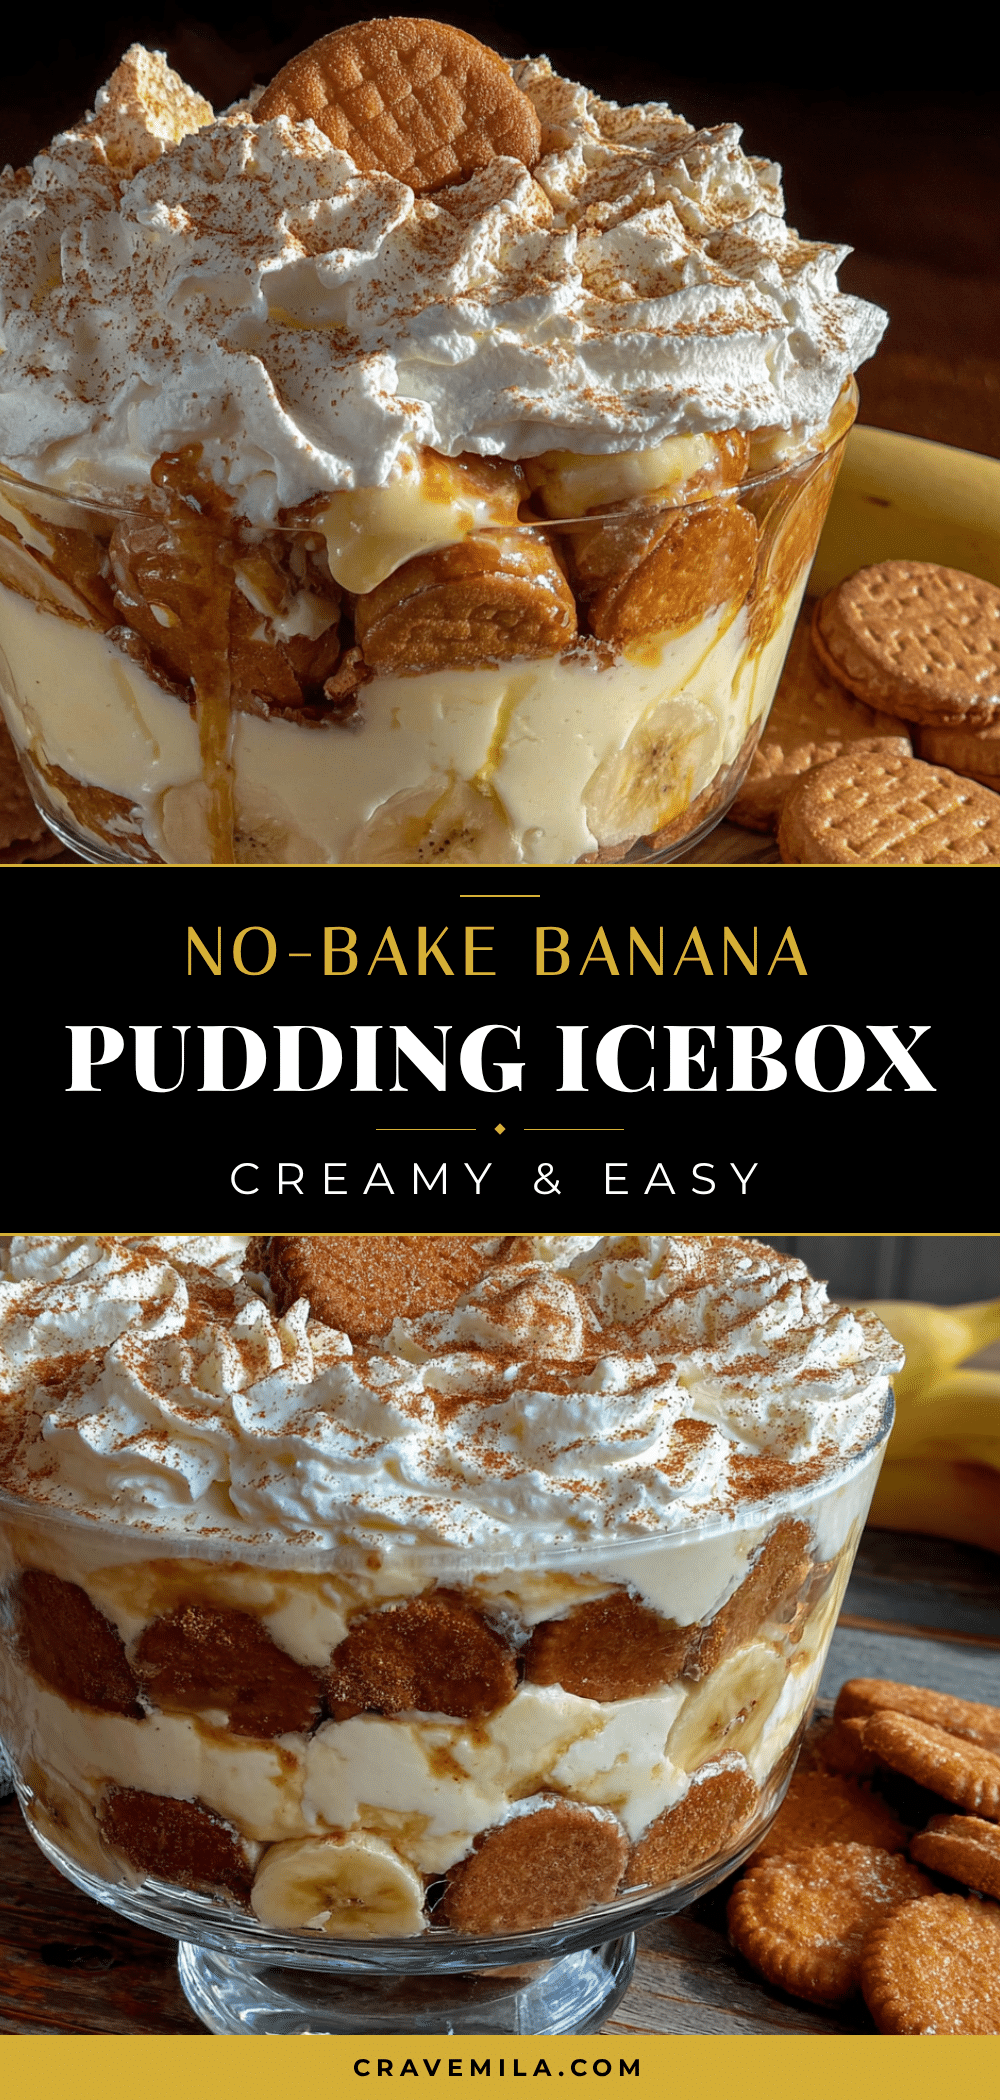
Easy No-Bake Banana Pudding Icebox Cake

A creamy, no-bake dessert made with layers of vanilla wafers, fresh bananas, and a light pudding-whipped cream filling. Perfect for potlucks, parties, or any occasion when you need a quick, crowd-pleasing treat.
- Prep Time: 20 minutes
- Cook Time: 0 minutes
- Total Time: 6 hours 20 minutes (includes chilling)
- Yield: 12 servings 1x
- Category: Dessert
- Cuisine: American
Ingredients
- 1 (8-ounce) package cream cheese, softened
- 1 (14-ounce) can sweetened condensed milk
- 1 (3.4-ounce) box instant vanilla pudding mix
- 2 cups cold whole milk
- 1 teaspoon vanilla extract (for pudding)
- 2 cups heavy whipping cream, cold
- 3 tablespoons powdered sugar
- 1 teaspoon vanilla extract (for whipped cream)
- 1 (12-ounce) box vanilla wafers
- 4–5 ripe but firm bananas, sliced into ¼-inch rounds
- Extra vanilla wafers, crushed (for garnish)
- Banana slices (tossed in lemon juice, for garnish)
- Optional: caramel sauce or chocolate shavings (for garnish)
Instructions
- Make the whipped cream: In a large chilled bowl, combine 2 cups cold heavy whipping cream, 3 tablespoons powdered sugar, and 1 teaspoon vanilla extract. Beat with an electric mixer on medium-high speed until stiff peaks form, about 3-4 minutes. Set aside in the refrigerator.
- Prepare the cream cheese mixture: In another large bowl, beat the softened 8 ounces cream cheese with an electric mixer on medium speed until smooth and creamy, about 2 minutes. Scrape down the sides. Add the 14-ounce can of sweetened condensed milk and beat until fully combined and smooth.
- Make the pudding: In a separate bowl, whisk together the 3.4-ounce box of instant vanilla pudding mix and 2 cups cold whole milk. Whisk for about 2 minutes until the pudding thickens. Add 1 teaspoon vanilla extract and stir. Let it sit for 2 minutes to fully set.
- Combine the mixtures: Pour the prepared pudding into the cream cheese mixture. Beat on low speed until just combined. Scrape down the sides.
- Fold in the whipped cream: Remove the whipped cream from the refrigerator. Gently fold half of it into the pudding mixture using a rubber spatula. Once mostly combined, add the remaining whipped cream and fold until no white streaks remain.
- Layer the cake: Spread a thin layer of the pudding mixture (about 1 cup) on the bottom of a 9×13-inch baking dish. Arrange a single layer of vanilla wafers over the pudding, covering the bottom completely. Break some wafers to fill gaps.
- Add bananas: Arrange a layer of sliced bananas over the wafers, using about half the banana slices.
- Add more pudding: Spread half of the remaining pudding mixture evenly over the bananas.
- Repeat layers: Add another layer of vanilla wafers, followed by the remaining banana slices. Spread the remaining pudding mixture on top, smoothing it evenly.
- Top with whipped cream: Spread the reserved whipped cream (about 1 cup) over the top layer. Crush a handful of vanilla wafers and sprinkle over the top. Add a few fresh banana slices if desired, tossed in lemon juice to prevent browning.
- Chill: Cover the dish with plastic wrap or foil and refrigerate for at least 6 hours, but overnight is best.
Notes
For best results, use ripe but firm bananas. Soften cream cheese to room temperature to avoid lumps. Chill overnight for the best texture. To prevent banana browning, toss slices in lemon juice. For a dairy-free version, use dairy-free cream cheese, coconut cream, and almond milk.
Nutrition
- Serving Size: 1 slice (1/12 of cak
- Calories: 410
- Sugar: 32
- Sodium: 280
- Fat: 24
- Saturated Fat: 14
- Carbohydrates: 46
- Fiber: 1
- Protein: 5
Keywords: no-bake dessert, banana pudding, icebox cake, easy dessert, potluck dessert, summer dessert, creamy dessert



