I was standing in my kitchen last Tuesday, staring into the fridge with that familiar 5 PM dread—you know the feeling. Ground beef was thawing on the counter, a half-used bag of shredded cheddar was staring back at me, and my rice cooker sat empty. My brain was too tired for anything complicated, but my family was too hungry for anything half-hearted. That’s when the idea hit me—not a memory exactly, but more like a craving for something I hadn’t made in years. A one-skillet meal that my college roommate’s mom used to throw together when we’d crash their Sunday dinners. She called it “emergency dinner,” and honestly, I never asked for the recipe. I just watched her cook it from memory, and that night, standing in my own kitchen, I tried to pull it back. The smell of beef browning with onions, the way the rice soaked up all that savory goodness, and that blanket of melted cheese on top—it was like my taste buds were trying to remember something my brain had forgotten.
The first attempt was, let me tell you, a bit of a disaster. I added too much water, the rice turned mushy, and the cheese sort of sank into a sad, greasy puddle. But I was determined. I mean, I could almost taste what it was supposed to be. So I tried again the next week—less water, better timing, and a trick I learned about layering the cheese so it actually melts into a golden crust instead of disappearing. By the third try, my husband walked in and said, “What is that smell? It smells like… home.” And that’s when I knew I had it. This Easy Cheesy Ground Beef & Rice Skillet isn’t just a recipe—it’s the kind of meal that saves your evening, fills your kitchen with comfort, and makes everyone at the table go quiet for a few minutes (the good kind of quiet). Maybe you’ve been there, standing in your kitchen with nothing planned and a hungry family waiting. This one’s for those nights.
Why You’ll Love This Recipe
Let me be honest with you—I’ve tested this Easy Cheesy Ground Beef & Rice Skillet more times than I care to admit. And every single time, it delivers. Here’s why this recipe is different from every other ground beef and rice dish you’ve tried:
- Ready in 30 Minutes Flat: From the moment you turn on the stove to the second you’re scooping it onto plates, it’s half an hour. No fancy techniques, no complicated steps—just dinner, fast.
- Pantry-Friendly Ingredients: You probably already have ground beef in the freezer, rice in the cupboard, and cheese in the fridge. No special grocery runs required. I love recipes that work with what you’ve got.
- One Skillet, Zero Fuss: Everything cooks in a single pan. That means less cleanup, less stress, and more time actually sitting down to eat. My kind of cooking, honestly.
- Kid-Approved and Crowd-Pleasing: My picky eater nephew devoured this and asked for seconds. It’s cheesy, savory, and satisfying—everything a family dinner should be.
- Budget-Friendly Comfort: Ground beef and rice are affordable staples. This meal stretches your grocery budget without skimping on flavor. It’s comfort food that makes sense for real life.
What makes this version stand out from the rest? It’s all about the technique. Instead of cooking the rice separately and mixing it in at the end (which usually turns into a mushy mess), I’ve perfected the method of cooking the rice right in the skillet with the beef and broth. The rice absorbs all those savory flavors as it cooks, and the cheese gets stirred in at just the right moment so it melts into a creamy, dreamy texture without turning greasy. I also add a pinch of smoked paprika and a splash of Worcestershire sauce—two little ingredients that make a huge difference. This isn’t just another ground beef recipe. It’s the one you’ll come back to again and again. Trust me on this.
What Ingredients You Will Need
This recipe uses simple, wholesome ingredients that come together to create something truly special. Most of these are pantry staples, which is exactly what you want on a busy weeknight.
- Ground Beef (1 lb / 450 g): I recommend using 80/20 ground beef for the best flavor. The slight fat content adds richness and keeps the meat juicy. If you prefer leaner meat (like 90/10), add a tablespoon of olive oil to prevent dryness.
- Long-Grain White Rice (1 cup / 200 g): This is my go-to for this recipe. Long-grain rice holds its shape beautifully and doesn’t get sticky. Basmati or jasmine work great too. Avoid short-grain rice here—it tends to clump.
- Yellow Onion (1 medium, diced): Onion adds a savory base note that’s essential. I like yellow onion for its balanced sweetness, but white onion works in a pinch.
- Garlic (3 cloves, minced): Fresh garlic is non-negotiable here. That jarred stuff? It just doesn’t compare. Trust me, the fresh stuff makes a real difference.
- Beef Broth (2 cups / 480 ml): This is where the flavor magic happens. Use low-sodium broth so you can control the salt level. I recommend Swanson or Kitchen Basics for consistent results.
- Canned Diced Tomatoes (1 can, 14.5 oz / 410 g, undrained): These add moisture, acidity, and a little texture. Fire-roasted diced tomatoes add an extra layer of flavor if you have them on hand.
- Shredded Cheddar Cheese (1.5 cups / 170 g): Sharp cheddar is my personal favorite—it melts beautifully and has a bold flavor. Pre-shredded cheese works, but freshly shredded melts even better because it doesn’t have anti-caking agents.
- Worcestershire Sauce (1 tablespoon): This is my secret weapon. It adds depth and umami that makes the beef taste richer. Don’t skip it!
- Smoked Paprika (1 teaspoon): This adds a subtle smokiness that takes the dish from good to “what did you put in this?”
- Dried Oregano (1/2 teaspoon): A little Italian-inspired warmth that complements the tomatoes beautifully.
- Salt and Black Pepper (to taste): Season as you go. I usually start with 1/2 teaspoon of salt and 1/4 teaspoon of pepper, then adjust at the end.
- Optional Garnishes: Chopped fresh parsley, sliced green onions, or a dollop of sour cream add a fresh finish.
Equipment Needed
You don’t need a fancy kitchen to make this Easy Cheesy Ground Beef & Rice Skillet. Here’s what you’ll need:
- Large Skillet or Deep Pan (12-inch / 30 cm with a lid): A heavy-bottomed skillet works best for even heat distribution. I use my trusty cast-iron skillet, but a stainless steel or non-stick pan works just fine. If you don’t have a lid, a sheet of aluminum foil works in a pinch.
- Wooden Spoon or Spatula: For breaking up the ground beef as it cooks. A flat-edged wooden spoon is my favorite because it scrapes up all those flavorful browned bits from the bottom.
- Measuring Cups and Spoons: Accuracy matters, especially with the rice-to-liquid ratio. Eyeballing it can lead to mushy or undercooked rice.
- Cheese Grater (if shredding your own cheese): Freshly shredded cheese melts so much better. I know it’s an extra step, but it’s worth it.
- Cutting Board and Knife: For dicing the onion and mincing the garlic.
That’s it—nothing fancy, nothing specialized. If you have these basics, you’re ready to go.
Preparation Method
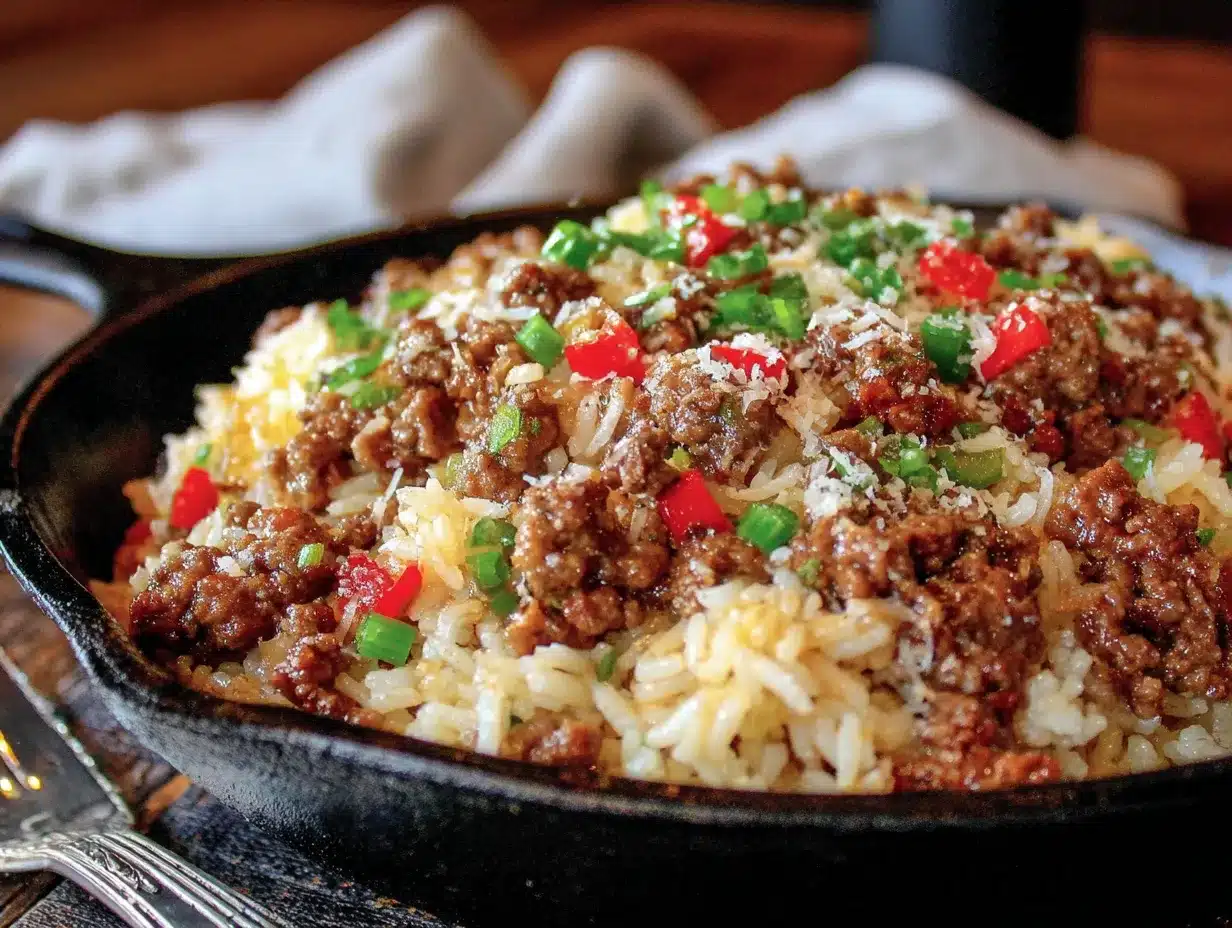
Alright, let’s get cooking! Follow these steps carefully, and you’ll have a perfect skillet dinner in about 30 minutes.
- Brown the Beef (5 minutes): Heat your large skillet over medium-high heat. Add the ground beef and break it apart with your wooden spoon. Cook for 4-5 minutes, stirring occasionally, until the beef is browned and no longer pink. Don’t drain all the fat—leave about a tablespoon in the pan for flavor. If you’re using very lean beef, add a tablespoon of oil.
- Sauté the Aromatics (2 minutes): Reduce the heat to medium. Add the diced onion to the skillet and cook for about 2 minutes, until it softens and becomes translucent. Stir in the minced garlic and cook for another 30 seconds—just until fragrant. Be careful not to burn the garlic; it turns bitter quickly.
- Add the Seasonings (30 seconds): Sprinkle the smoked paprika, dried oregano, salt, and black pepper over the beef mixture. Stir everything together and let it cook for about 30 seconds. This toasts the spices and wakes up their flavors.
- Add the Rice and Liquids (1 minute): Pour in the uncooked rice, followed by the beef broth and the undrained can of diced tomatoes. Stir everything together, making sure to scrape up any browned bits from the bottom of the pan. Those bits are pure flavor!
- Bring to a Boil, Then Simmer (18-20 minutes): Increase the heat to high and bring the mixture to a boil. Once it’s bubbling, reduce the heat to low, cover the skillet with a tight-fitting lid, and let it simmer for 18-20 minutes. Do NOT lift the lid during this time—the steam is what cooks the rice perfectly. Set a timer and walk away.
- Check the Rice (1 minute): After 18 minutes, remove the lid and check the rice. It should be tender and have absorbed most of the liquid. If the rice is still a bit firm and there’s still liquid, cover and cook for another 2-3 minutes. If the rice is tender but there’s excess liquid, uncover and let it cook for a minute or two to evaporate.
- Add the Cheese (2 minutes): Sprinkle the shredded cheddar cheese evenly over the top of the skillet. Remove the pan from the heat, cover it again, and let it sit for 2 minutes. The residual heat will melt the cheese into a beautiful, gooey layer.
- Rest and Serve (2 minutes): Let the skillet rest, uncovered, for about 2 minutes before serving. This allows the flavors to settle and the cheese to set slightly. Garnish with fresh parsley or sliced green onions if you like. Scoop into bowls and enjoy!
Cooking Tips & Techniques
I’ve made this Easy Cheesy Ground Beef & Rice Skillet more times than I can count, and I’ve learned a few things along the way. Here are my best tips to ensure success every single time:
Don’t Skip the Worcestershire Sauce. I know it seems like a small thing, but that tablespoon of Worcestershire adds a savory depth that makes the beef taste like it’s been simmering for hours. It’s one of those ingredients that makes people ask, “What’s in this?”
Toast the Rice for Extra Flavor. Here’s a pro tip I picked up from a chef friend: after you add the rice to the skillet, stir it around for about a minute before adding the liquid. Toasting the grains in the beef fat gives them a nutty flavor that takes this dish to another level. I do this every time now.
Resist the Urge to Stir. Once you’ve added the liquid and brought it to a boil, cover the pan and leave it alone. Every time you lift the lid, you release steam, and that steam is what cooks the rice. I learned this the hard way after making a few batches of crunchy, undercooked rice.
Use a Timer, Not Your Gut. Set a timer for 18 minutes and don’t touch the lid until it goes off. If your rice is still a little firm at 18 minutes, give it 2 more minutes. Every stove is different, so adjust accordingly.
Layer the Cheese the Right Way. Instead of stirring the cheese into the hot mixture (which can make it greasy), sprinkle it evenly over the top and let the residual heat do the work. This creates a beautiful, even melt without the oil separation.
Let It Rest Before Serving. I know you’re hungry, but giving the skillet 2 minutes off the heat before serving allows the rice to absorb any remaining liquid and the cheese to set just enough so it doesn’t slide off your spoon.
Variations & Adaptations
One of the best things about this Easy Cheesy Ground Beef & Rice Skillet is how adaptable it is. Here are some of my favorite variations:
Mexican-Inspired Version: Swap the oregano for ground cumin and chili powder. Use fire-roasted diced tomatoes and add a can of drained black beans. Top with shredded pepper jack cheese and a squeeze of lime juice. Serve with tortilla chips on the side. I made this version for a taco Tuesday twist, and it was a huge hit.
Italian-Inspired Version: Replace the smoked paprika with dried basil and add a teaspoon of Italian seasoning. Use crushed tomatoes instead of diced for a smoother texture. Stir in a handful of fresh spinach at the end, just until wilted. Top with mozzarella and Parmesan instead of cheddar. Honestly, this version tastes like deconstructed lasagna without all the work.
Vegetarian Version: Substitute the ground beef with two cans of drained and rinsed black beans or a bag of frozen meatless crumbles. Use vegetable broth instead of beef broth. The cooking time stays the same. I’ve tested this for my vegetarian sister-in-law, and she said it was “dangerously good.”
Low-Carb / Keto Version: Replace the white rice with cauliflower rice. Skip the canned tomatoes (or use a small amount) and increase the broth to 1 cup. The cooking time drops to about 10 minutes since cauliflower rice cooks much faster. Top with extra cheese for a satisfying, low-carb meal.
Spicy Version: Add a diced jalapeño along with the onion, and stir in 1/2 teaspoon of red pepper flakes with the spices. Use pepper jack cheese instead of cheddar. This one has a nice kick without being overwhelming—perfect for those who like a little heat.
Serving & Storage Suggestions
This Easy Cheesy Ground Beef & Rice Skillet is incredibly versatile when it comes to serving and storing. Here’s everything you need to know:
Serving Suggestions: Serve this dish hot, straight from the skillet. It’s a complete meal on its own, but it pairs beautifully with a simple side salad dressed with lemon vinaigrette or a side of steamed green beans. If you want to stretch it further, serve it with warm tortillas or crusty bread for scooping up every last bit. A dollop of sour cream or a sprinkle of fresh cilantro adds a nice finishing touch.
Storage Instructions: Store leftovers in an airtight container in the refrigerator for up to 4 days. The flavors actually deepen overnight, making this one of those rare dishes that tastes even better the next day. I often make a double batch on purpose just for leftovers.
Freezing Instructions: This recipe freezes beautifully. Let the skillet cool completely, then transfer the mixture to a freezer-safe container or zip-top bag. It will keep for up to 3 months. To thaw, place it in the refrigerator overnight.
Reheating Tips: Reheat individual portions in the microwave for 1-2 minutes, stirring halfway through. For larger portions, reheat in a skillet over medium-low heat with a splash of broth or water to restore moisture. Stir occasionally until heated through. The cheese will re-melt beautifully. Avoid reheating on high heat, as it can dry out the rice.
How Flavors Develop: Here’s something I love about this dish—the flavors meld and deepen as it sits. The rice absorbs even more of the savory broth, and the spices become more pronounced. Leftovers often taste more complex than the first serving. It’s like the dish keeps getting better even after it’s cooked.
Nutritional Information & Benefits
Here’s an approximate nutritional breakdown for one serving (based on 6 servings):
- Calories: 420-450
- Protein: 28-30g
- Carbohydrates: 35-38g
- Fat: 18-20g
- Fiber: 2-3g
- Iron: 20% of Daily Value
- Calcium: 25% of Daily Value
Health Benefits: This meal is packed with protein from the ground beef and cheese, which helps keep you full and satisfied. The rice provides energy-rich carbohydrates, while the tomatoes add a dose of vitamin C and antioxidants like lycopene. The onions and garlic contribute immune-boosting compounds. It’s a balanced meal that fuels your body without feeling heavy.
Dietary Considerations: This recipe is naturally gluten-free (just double-check your Worcestershire sauce and broth labels). For a lower-sodium version, use low-sodium broth and reduce the added salt. For a dairy-free version, use a dairy-free cheese alternative and skip the cheese topping—or use a sprinkle of nutritional yeast for a cheesy flavor without the dairy.
Allergen Note: This recipe contains dairy (cheese) and gluten (if using standard Worcestershire sauce). Always check labels if cooking for someone with allergies.
Conclusion
This Easy Cheesy Ground Beef & Rice Skillet has become a staple in my kitchen for a reason—it’s fast, forgiving, and always delicious. Whether you’re feeding a hungry family on a busy weeknight or just need something comforting after a long day, this recipe delivers every single time. The best part? It’s completely customizable. Add your favorite vegetables, swap the cheese, or spice it up—make it your own. That’s what cooking is all about, honestly.
I’d love to hear how this recipe turns out for you! Did you try a variation? Did your kids go back for seconds? Drop a comment below and let me know. And if you loved it, share it with a friend who needs a new weeknight dinner idea. Happy cooking, friend—you’ve got this!
Frequently Asked Questions
Can I use brown rice instead of white rice?
Yes, but you’ll need to adjust the cooking time and liquid. Brown rice typically requires about 40-45 minutes to cook and needs about 1/2 cup more liquid. I recommend cooking the brown rice separately and adding it at the end for best results.
Can I make this recipe in advance?
Absolutely! This dish is great for meal prep. Cook it completely, let it cool, and store it in the refrigerator for up to 4 days. The flavors actually get better overnight. Reheat in a skillet or microwave with a splash of broth.
Can I freeze this dish?
Yes, it freezes wonderfully. Let the skillet cool completely, then transfer to a freezer-safe container. It will keep for up to 3 months. Thaw in the refrigerator overnight and reheat gently on the stovetop or in the microwave.
What can I use instead of ground beef?
Ground turkey, ground chicken, or ground pork all work beautifully. For a vegetarian option, use two cans of drained black beans or a bag of frozen meatless crumbles. Adjust the cooking time as needed for your protein choice.
Why is my rice mushy or undercooked?
Mushy rice usually means too much liquid or overcooking. Stick to the 1 cup rice to 2 cups broth ratio. Undercooked rice usually means the heat was too low or the lid was lifted too often. Make sure your skillet has a tight-fitting lid and don’t peek during the 18-minute simmer.
Pin This Recipe!
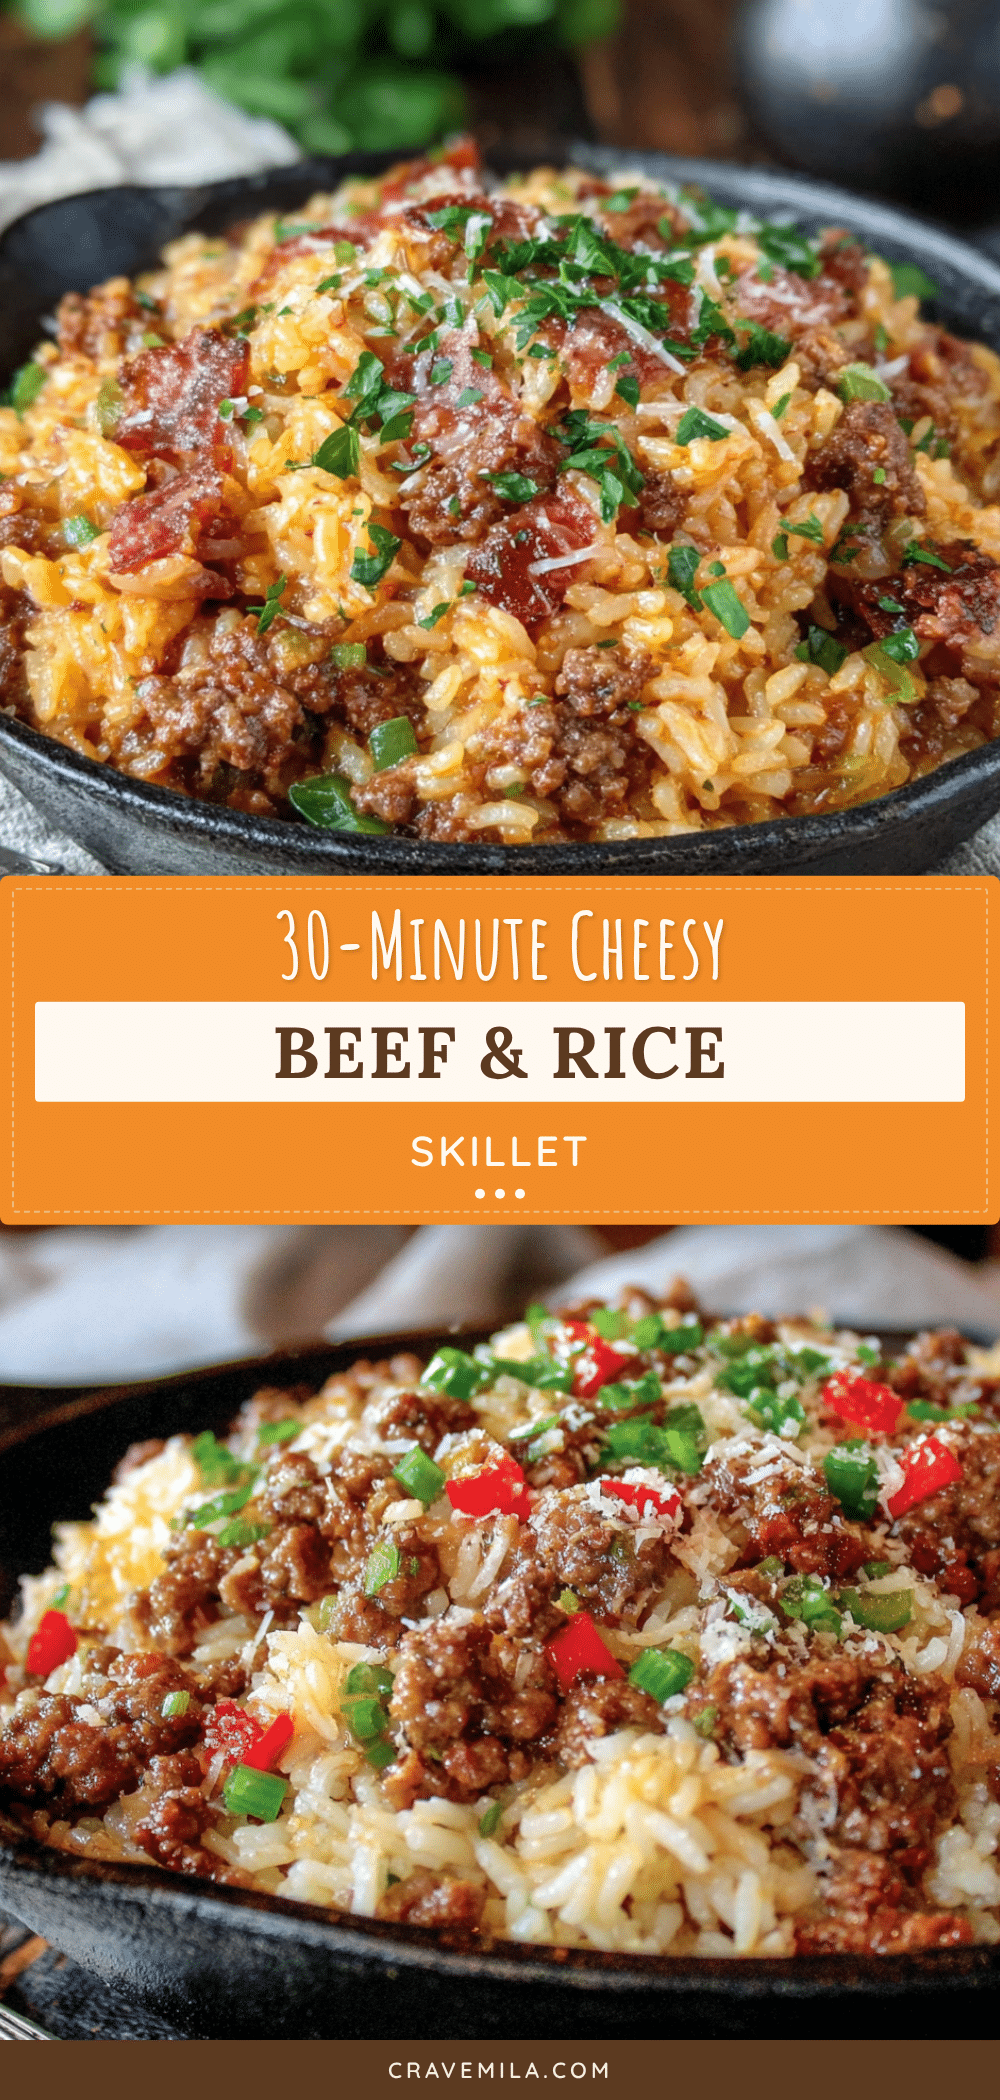
Easy Cheesy Ground Beef & Rice Skillet: Best 30-Minute Dinner

A quick and comforting one-skillet meal with ground beef, rice, and melted cheddar cheese, ready in just 30 minutes. Perfect for busy weeknights.
- Prep Time: 10 minutes
- Cook Time: 20 minutes
- Total Time: 30 minutes
- Yield: 6 servings 1x
- Category: Main Course
- Cuisine: American
Ingredients
- 1 lb (450 g) ground beef (80/20 recommended)
- 1 cup (200 g) long-grain white rice
- 1 medium yellow onion, diced
- 3 cloves garlic, minced
- 2 cups (480 ml) low-sodium beef broth
- 1 can (14.5 oz / 410 g) diced tomatoes, undrained
- 1.5 cups (170 g) shredded sharp cheddar cheese
- 1 tablespoon Worcestershire sauce
- 1 teaspoon smoked paprika
- 1/2 teaspoon dried oregano
- Salt and black pepper to taste
- Optional garnishes: chopped fresh parsley, sliced green onions, sour cream
Instructions
- Brown the Beef: Heat a large skillet over medium-high heat. Add ground beef and cook for 4-5 minutes, breaking it apart, until browned. Leave about 1 tablespoon of fat in the pan.
- Sauté the Aromatics: Reduce heat to medium. Add diced onion and cook for 2 minutes until softened. Add minced garlic and cook for 30 seconds until fragrant.
- Add the Seasonings: Sprinkle smoked paprika, dried oregano, salt, and pepper over the beef mixture. Stir and cook for 30 seconds.
- Add the Rice and Liquids: Pour in uncooked rice, beef broth, and undrained diced tomatoes. Stir, scraping up browned bits from the bottom.
- Bring to a Boil, Then Simmer: Increase heat to high and bring to a boil. Reduce heat to low, cover tightly, and simmer for 18-20 minutes. Do not lift the lid.
- Check the Rice: After 18 minutes, remove lid and check rice. If still firm with liquid, cover and cook 2-3 more minutes. If tender with excess liquid, uncover and cook 1-2 minutes to evaporate.
- Add the Cheese: Sprinkle shredded cheddar evenly over the top. Remove from heat, cover, and let sit for 2 minutes to melt.
- Rest and Serve: Let skillet rest uncovered for 2 minutes. Garnish as desired and serve hot.
Notes
For best results, use freshly shredded cheese and do not lift the lid during simmering. Toasting the rice in the beef fat for 1 minute before adding liquid adds extra flavor. Leftovers keep in the refrigerator for up to 4 days and freeze for up to 3 months.
Nutrition
- Serving Size: 1 serving (about 1.5
- Calories: 435
- Sugar: 4
- Sodium: 680
- Fat: 19
- Saturated Fat: 9
- Carbohydrates: 36
- Fiber: 2.5
- Protein: 29
Keywords: ground beef, rice, skillet dinner, cheesy, 30-minute meal, weeknight dinner, comfort food



