My neighbor, Mrs. Gutierrez, watched me trying to juggle a bag of groceries and my then-toddler’s sippy cup that had somehow rolled under my car. She didn’t say anything at first. Then she just appeared with a plastic container, lifted the lid, and said, “For the little one. It’s just popcorn and candy.” Inside was this gorgeous, streaky bark—white, orange, and yellow—that looked like Halloween had melted into a pan. I honestly thought she’d spent hours on it. She laughed. “It’s the easiest thing you make all season. Five minutes of work, I swear.”
That was three autumns ago, and I have not stopped making her recipe since. I’ve tweaked it a bit—added more salt, swapped in my favorite candy corn brand, figured out the trick to keeping the popcorn from getting chewy—but the spirit of it is all her. It’s the kind of recipe that feels like a secret weapon. You know that feeling when you need a treat for a school party, a quick offering for unexpected guests, or just something to munch on while the kids watch “It’s the Great Pumpkin, Charlie Brown” for the 47th time? This is it.
Let me tell you, I messed up the first batch I made on my own. I used microwave popcorn that was too buttery, and the whole thing turned into a soggy, greasy mess. Mrs. Gutierrez found me staring at the pan, defeated. She just patted my shoulder and said, “Plain popcorn, mija. Always plain.” That tiny piece of advice changed everything. This recipe is forgiving, but it does have its little rules. Once you know them, you’ll be making this bark on repeat all October long. Honestly, it’s become my go-to for everything from Halloween parties to lazy Sunday afternoons when the house smells like fall and everyone is craving something sweet.
Why You’ll Love This Recipe
I’ve tested this recipe more times than I care to admit, and I can tell you with full confidence: this is the one. It’s the kind of treat that disappears before you even get a chance to put it in a bowl. Here’s why it works so well for busy families.
- Quick & Easy: You are looking at about 10 minutes of active prep time. Seriously. Melt, stir, spread, chill. That’s it. Perfect for those after-school snack emergencies or last-minute bake sale requests.
- Simple Ingredients: You only need five things, and you probably already have three of them in your pantry. No weird specialty items or trips to three different stores.
- Perfect for Fall Gatherings: Halloween parties, pumpkin carving nights, trunk-or-treat events, or just a cozy movie night at home. This bark fits every occasion.
- Crowd-Pleaser: My kids fight over the pieces with extra candy corn on top. My husband sneaks pieces from the container in the fridge. It gets rave reviews from everyone, from toddlers to grandparents.
- Unbelievably Delicious: The combination of salty popcorn, sweet white chocolate, and chewy candy corn is pure magic. The texture is what gets you—crunchy, creamy, and chewy all at once.
What makes this recipe different from all the other versions out there? It’s the ratio. Most recipes use way too much chocolate, which makes the bark heavy and cloying. I’ve dialed it in so the white chocolate is just a thin, crackly shell that holds the popcorn and candy together without overwhelming either one. And the pinch of salt? That’s the secret. It cuts the sweetness and makes you want to eat just one more piece. Then another. It’s comfort food reimagined—faster, simpler, but with the same soul-soothing satisfaction. Perfect for impressing a classroom of kids without breaking a sweat, or turning a regular Tuesday into something a little bit special.
What Ingredients You Will Need
This recipe uses simple, pantry-friendly ingredients to deliver big flavor and satisfying crunch without any fuss. Most of these are things you might already have on hand, especially if you’ve done any fall baking recently.
- 8 cups plain popped popcorn (about 1/3 cup unpopped kernels, or one 3-ounce bag of plain microwave popcorn) — Make sure it’s plain! No butter, no salt added. You want a clean canvas here. I personally prefer popping my own kernels in an air popper because it gives the most even texture, but a plain bag of microwave popcorn works perfectly in a pinch.
- 12 ounces white chocolate melting wafers or white chocolate chips (I recommend Ghirardelli white chocolate melting wafers for the smoothest melt and best flavor. If you use standard white chocolate chips, add 1 teaspoon of coconut oil to help them melt smoothly.)
- 1 ½ cups candy corn (about half of a standard 16-ounce bag) — Use your favorite brand. Brach’s is the classic, but store brands work just fine. I actually prefer the slightly softer texture of generic candy corn for this recipe.
- ½ cup candy pumpkins (optional, but highly recommended) — These add a fun pop of orange color and a slightly different texture. My kids call them “the squishy ones” and they fight over them.
- ¼ teaspoon flaky sea salt (like Maldon) — This is non-negotiable in my kitchen. The flaky salt adds little bursts of savory goodness that make the sweetness sing. If you only have fine table salt, use just a pinch—you don’t want it to be salty, just balanced.
Ingredient Selection Tips: For the popcorn, avoid anything labeled “extra butter” or “movie theater style.” The excess oil will prevent the chocolate from adhering properly. If you are using microwave popcorn, look for the “natural” or “light” versions. For the white chocolate, real white chocolate (which contains cocoa butter) will give you a creamier result than candy melts or almond bark. However, candy melts are more forgiving and less likely to seize, so they are a great option for beginners or for making this recipe with kids.
Substitution Guidance: Need a dairy-free option? Use dairy-free white chocolate chips or vegan candy melts. The texture will be slightly different, but the flavor will still be fantastic. You can also swap the candy corn for chopped peanut butter cups or M&Ms for a different seasonal twist, though it won’t be quite as Halloween-themed.
Equipment Needed
You don’t need any fancy kitchen gadgets for this recipe, which is part of its charm. Here’s what you’ll need:
- Large rimmed baking sheet (half-sheet pan, about 13×18 inches) — This gives you enough room to spread the bark in a thin, even layer. If you only have a smaller pan, just work in batches.
- Parchment paper or a silicone baking mat — Absolutely essential for easy removal. The bark will stick to a bare pan. I’ve made that mistake, and I spent 20 minutes chiseling candy off the pan. Not fun.
- Large mixing bowl — Big enough to hold all the popcorn without spilling. I use my biggest stainless steel bowl.
- Microwave-safe bowl — For melting the white chocolate. A glass measuring cup works great because the spout makes pouring easier.
- Rubber spatula — For stirring the chocolate and gently folding everything together. A silicone spatula is best because it won’t scratch your bowls.
- Optional but helpful: An air popper for the popcorn, though a microwave works fine. Also, a kitchen scale if you want to be precise about the measurements, though I usually just eyeball it at this point.
Budget-friendly tip: You don’t need an expensive baking sheet. A basic aluminum half-sheet pan from the grocery store costs about $10 and will last for years. Just line it with parchment paper, and you’re good to go.
Preparation Method
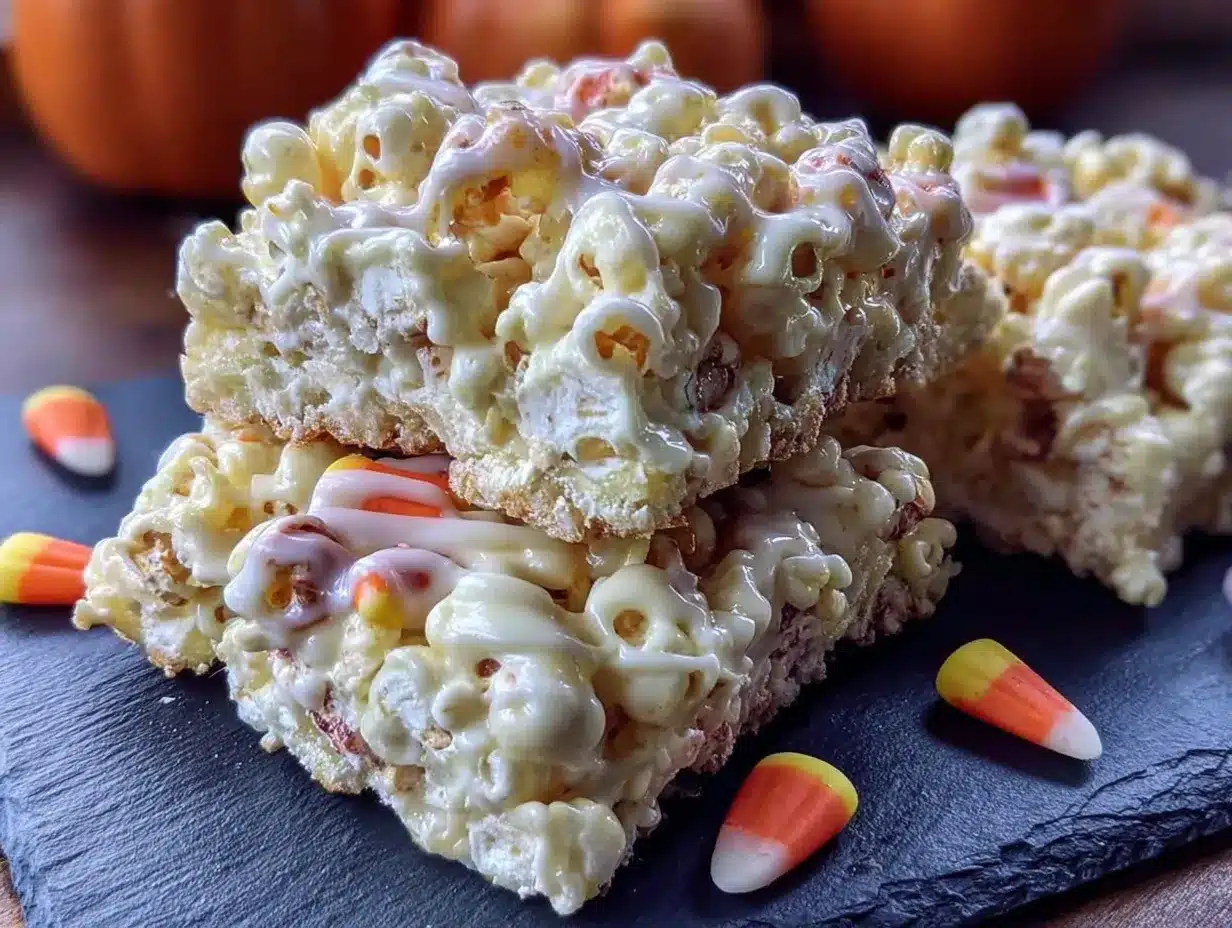
Alright, let’s get to the fun part. This comes together so fast that I recommend having all your ingredients measured and ready before you start. Trust me on this—once the chocolate is melted, you need to move quickly.
- Prep your pan. Line your large rimmed baking sheet with parchment paper or a silicone baking mat. Make sure the paper comes up the sides a bit to catch any stray chocolate. Set this aside within arm’s reach.
- Pop your popcorn. If you are using an air popper, pop about 1/3 cup of kernels. If you are using microwave popcorn, pop one 3-ounce bag of plain popcorn. Here’s the important part: pick out any unpopped kernels. You do not want anyone cracking a tooth on a hard kernel. I also like to pick out the really tiny, half-popped pieces because they tend to get lost in the chocolate. You should end up with about 8 cups of fluffy popcorn. Transfer it to your large mixing bowl.
- Melt the white chocolate. Place your white chocolate wafers or chips in a microwave-safe bowl. Microwave in 30-second intervals, stirring thoroughly after each interval. White chocolate is finicky—it can go from smooth to grainy in seconds. Stop heating as soon as most of the chips are melted and the residual heat will take care of the rest. If the chocolate seems too thick, stir in 1 teaspoon of coconut oil or vegetable shortening. It should be smooth, glossy, and pourable.
- Combine the popcorn and chocolate. Pour the melted white chocolate over the popcorn in the bowl. Using your rubber spatula, gently fold everything together. Work from the bottom up, trying to coat as many popcorn pieces as possible. Don’t overmix, or the popcorn will start to break. You want some pieces fully coated and some with just a drizzle. The uneven coating is what makes homemade bark look so charming.
- Spread the mixture onto the pan. Scrape the popcorn-chocolate mixture onto your prepared baking sheet. Use the spatula to spread it into an even layer, about ½ to ¾ inch thick. Don’t press it down too hard—you want some airiness. If the chocolate starts to set up before you’ve finished spreading, don’t panic. Just work quickly and accept that it will have a more rustic look.
- Add the candy corn and pumpkins. While the chocolate is still wet, sprinkle the candy corn and candy pumpkins evenly over the top. Press them down gently so they stick. This is the step where my kids always “help,” which means I end up with a few pieces that are buried under a mountain of candy corn. I’ve learned to embrace the chaos.
- Sprinkle with salt. This is the moment that makes the whole thing sing. Sprinkle the flaky sea salt evenly over the top. Don’t skip this! The salt is what keeps the bark from being one-note sweet.
- Chill until set. Place the baking sheet in the refrigerator for at least 30 minutes, or until the chocolate is completely firm and set. If you are in a hurry, you can pop it in the freezer for 15 minutes, but keep an eye on it—you don’t want the chocolate to get too cold and brittle.
- Break into pieces. Once the bark is fully set, lift the parchment paper out of the pan. Peel the bark away from the paper and break it into irregular pieces. Don’t worry about making them uniform—rustic, jagged pieces are part of the charm. I like to leave some pieces big (perfect for snacking) and some small (great for topping ice cream or cupcakes).
Sensory Cue: When the chocolate is properly melted, it should flow like thick cream off the spatula. When you spread the mixture on the pan, you should hear a faint crackling sound as the chocolate settles. And when you break the finished bark, it should snap cleanly with a satisfying crunch—not bend or feel soft.
Cooking Tips & Techniques
I have made this recipe at least two dozen times, and I’ve learned a few things the hard way. Let me save you some trouble.
The biggest mistake people make is using buttered popcorn. I know it’s tempting to grab the bag of movie theater butter flavor from the pantry, but the oil prevents the chocolate from sticking. You end up with chocolate sliding off the popcorn in sad little sheets. Always use plain, unbuttered popcorn. If all you have is buttered popcorn, you can try to salvage it by spreading it on a baking sheet and drying it out in a 250°F oven for 5 minutes, but honestly, it’s better to just start fresh.
White chocolate is temperamental. It hates moisture and high heat. If even a single drop of water gets into your melting bowl, the chocolate will seize into a grainy, clumpy mess. Make sure your bowl is completely dry. Also, don’t rush the melting process. Low and slow is the way to go. I once tried to melt white chocolate on high power and ended up with a scorched, lumpy disaster that smelled like burnt milk. Not my finest moment.
Timing is everything. Have your popcorn measured and your candy corn ready before you start melting the chocolate. Once that chocolate is melted, you have a limited window to work before it starts to set. If you are making this with kids, I recommend having all the ingredients pre-measured in little bowls. It makes the process smoother and keeps little hands from grabbing handfuls of candy corn before it goes on the bark (not that I would know anything about that).
For the crispiest bark, let it come to room temperature before serving. Right out of the fridge, the chocolate is very hard and the popcorn can seem a bit stale. Let it sit on the counter for 5-10 minutes, and the texture will be perfect—crisp popcorn, snappy chocolate, and chewy candy corn.
Variations & Adaptations
One of the best things about this recipe is how easy it is to customize. Here are some of my favorite variations.
- Chocolate Lover’s Version: Swap the white chocolate for semi-sweet or milk chocolate chips. The combination of dark chocolate and candy corn is surprisingly good—the bitterness of the chocolate balances the sugary candy. My husband prefers this version, and he’s not usually a candy corn fan.
- Fall Harvest Mix: Add ½ cup of dried cranberries and ½ cup of roasted, salted pecans along with the candy corn. The tartness of the cranberries and the crunch of the pecans make this feel more sophisticated. I brought this version to a Friendsgiving potluck, and it was gone in 10 minutes.
- Peanut Butter Swirl: Drizzle ¼ cup of melted peanut butter over the top of the bark before it sets. Use a knife to swirl it through the white chocolate. The peanut butter adds a savory, salty note that pairs beautifully with the candy corn. This is my personal favorite for movie nights.
- Dietary Adaptation: For a gluten-free version, just make sure your candy corn is certified gluten-free (most brands are, but it’s worth checking the label). For a vegan version, use dairy-free white chocolate and check that your candy corn doesn’t contain gelatin. Some brands do, so read the ingredients carefully.
- Seasonal Twist: This same technique works for any holiday. Swap the candy corn for red and green M&Ms at Christmas, pastel candy melts for Easter, or red, white, and blue sprinkles for the Fourth of July. The popcorn base stays the same, which makes it a year-round recipe in my house.
Serving & Storage Suggestions
This bark is best served at room temperature, after it has sat out for about 10 minutes. The texture is just right—the chocolate snaps when you bite into it, the popcorn is crisp, and the candy corn is pleasantly chewy. I like to arrange the pieces on a platter or in a wide, shallow bowl for snacking. It’s also fantastic crumbled over vanilla ice cream or stirred into a bowl of plain yogurt for a sweet treat.
For Halloween parties, I like to package individual pieces in little cellophane bags tied with orange and black ribbon. They make great party favors or classroom treats. My kids’ teachers have started requesting this specifically for class parties, which tells you something.
Storage: Store the bark in an airtight container at room temperature for up to 5 days. If your kitchen is warm or humid, you can store it in the refrigerator, but let it come to room temperature before serving to avoid condensation making the popcorn soggy. I do not recommend freezing this bark—the popcorn can get stale and the candy corn can become hard and unpleasantly chewy after thawing.
Flavor Development: Honestly, this bark is best within the first two days. The popcorn stays crisp, and the chocolate is snappy. After that, the popcorn starts to absorb moisture from the candy corn and the chocolate, and it loses some of its crunch. It’s still perfectly edible and delicious, just not as texturally perfect. If you have leftovers after a few days, I recommend crumbling it up and using it as a topping for ice cream sundaes or milkshakes.
Nutritional Information & Benefits
Let’s be real—this is a treat, not a health food. But knowing what’s in it can help you enjoy it mindfully. Here’s the approximate nutritional breakdown for a 1-cup serving (about the size of a generous handful).
| Nutrient | Amount Per Serving |
|---|---|
| Calories | 280 |
| Total Fat | 14g |
| Saturated Fat | 8g |
| Carbohydrates | 38g |
| Sugar | 28g |
| Protein | 3g |
| Sodium | 120mg |
On the plus side, popcorn is a whole grain and contains fiber, which helps with digestion and keeps you feeling full. White chocolate does contain some calcium and a small amount of protein from the milk solids. Candy corn is essentially sugar and corn syrup, so it’s mostly empty calories—but hey, it’s Halloween. A little bit of sugar never hurt anyone, especially when it brings this much joy.
Dietary Considerations: This recipe contains dairy (from the white chocolate) and may contain traces of soy and nuts depending on the brands you use. It is naturally gluten-free as long as all ingredients are certified gluten-free. It is not suitable for a vegan diet unless you use dairy-free chocolate and check the candy corn for gelatin.
Conclusion
This easy candy corn popcorn bark has become a staple in my fall rotation for good reason. It’s fast, it’s forgiving, and it makes people happy. Every time I make it, I think of Mrs. Gutierrez and her simple generosity, handing a container of candy over the fence like it was nothing. But it wasn’t nothing. It was a recipe that would become a tradition in my own kitchen, one that my kids now associate with crisp autumn afternoons and the smell of chocolate melting in the microwave.
I hope you give this recipe a try, and I hope you make it your own. Add more salt if you like things savory. Throw in some pretzels for extra crunch. Use dark chocolate if you’re not a white chocolate fan. The beauty of this bark is that it’s a template, not a rigid formula. It wants to be customized.
When you make it, I’d love to hear how it turned out. Did your kids help? Did you add something unexpected? Did you manage to resist eating the entire pan in one sitting? (I certainly didn’t.) Drop a comment below and let me know. And if you share a photo on Pinterest or Instagram, tag me—I love seeing your creations. Happy snacking, friends!
Frequently Asked Questions
Can I use microwave popcorn for this recipe?
Yes, you can! Just make sure you use a plain or lightly salted variety. Avoid anything labeled “extra butter” or “movie theater style,” as the excess oil will prevent the chocolate from sticking properly. If all you have is buttered popcorn, you can try drying it out in a 250°F oven for 5 minutes before using.
Why did my white chocolate seize up?
White chocolate is very sensitive to moisture and heat. If even a tiny drop of water gets into the melting bowl, the chocolate can seize and become grainy. Always make sure your bowl is completely dry. Also, avoid overheating the chocolate—melt it in 30-second intervals and stir thoroughly between each one. If it does seize, you can try stirring in a teaspoon of vegetable oil or shortening to smooth it out.
How do I keep the popcorn from getting soggy?
The key is to work quickly and not overmix. Once the chocolate is melted, fold it into the popcorn just until combined. Overmixing can break the popcorn and release moisture. Also, make sure your popcorn is fully cooled before you add the chocolate. If it’s still warm, the steam can make the popcorn chewy.
Can I make this recipe ahead of time?
Absolutely! This bark stores well at room temperature in an airtight container for up to 5 days. However, it’s best within the first 2 days when the popcorn is still crisp. If you are making it for a party, I recommend making it no more than 2 days in advance for the best texture.
Is this recipe safe for people with nut allergies?
This recipe itself does not contain nuts, but you need to check the labels on your ingredients. Some brands of white chocolate are processed in facilities that also handle tree nuts and peanuts. Candy corn is typically nut-free, but it’s always worth verifying. If you are serving this to someone with a severe nut allergy, use certified nut-free ingredients to be safe.
Pin This Recipe!
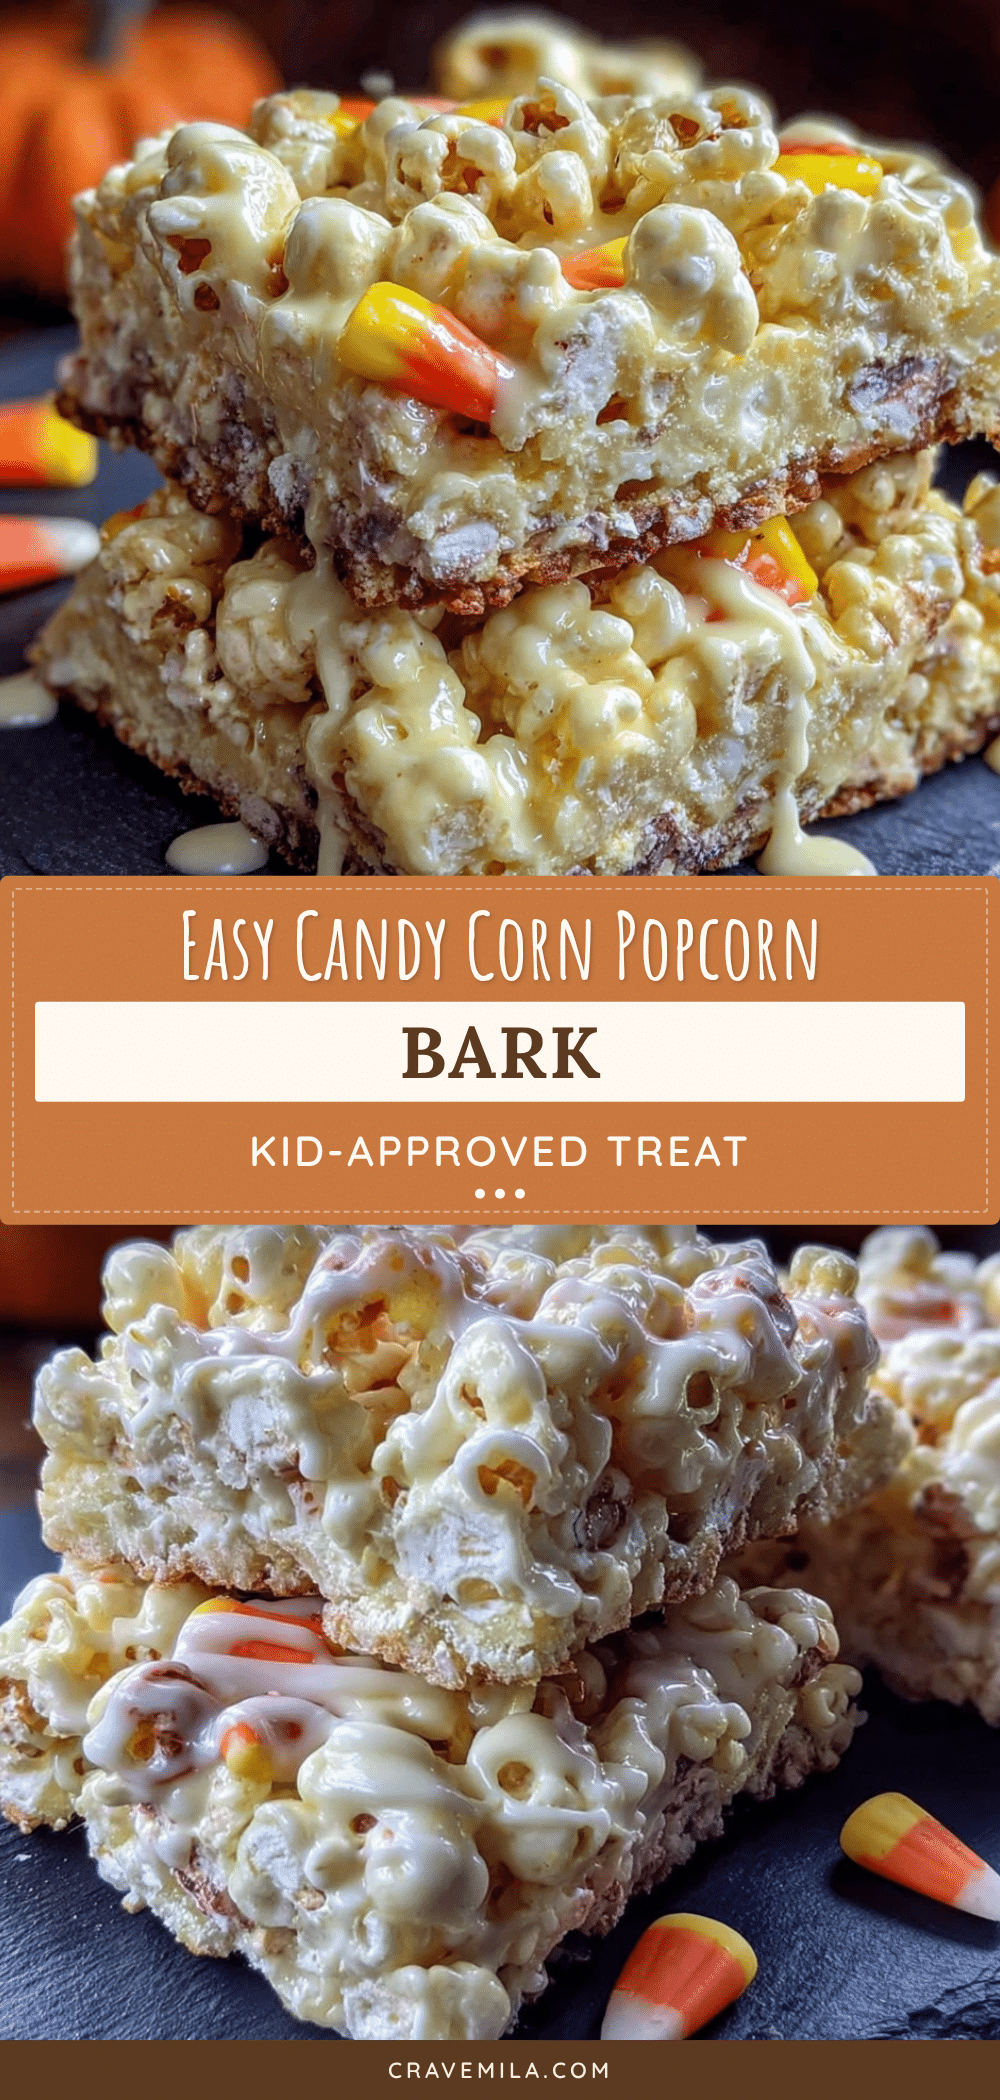
Easy Candy Corn Popcorn Bark Recipe: Best Fall Treat

This easy candy corn popcorn bark is a quick, five-ingredient treat that combines salty popcorn, sweet white chocolate, and chewy candy corn. Perfect for Halloween parties, school events, or cozy fall movie nights, it comes together in just 10 minutes of active prep.
- Prep Time: 10 minutes
- Cook Time: 0 minutes
- Total Time: 40 minutes (includes 30 minutes chilling)
- Yield: 8 servings 1x
- Category: Dessert
- Cuisine: American
Ingredients
- 8 cups plain popped popcorn (about 1/3 cup unpopped kernels or one 3-ounce bag of plain microwave popcorn)
- 12 ounces white chocolate melting wafers or white chocolate chips (e.g., Ghirardelli; add 1 teaspoon coconut oil if using standard chips)
- 1 ½ cups candy corn (about half of a 16-ounce bag)
- ½ cup candy pumpkins (optional but recommended)
- ¼ teaspoon flaky sea salt (e.g., Maldon)
Instructions
- Line a large rimmed baking sheet (13×18 inches) with parchment paper or a silicone baking mat.
- Pop the popcorn using an air popper or microwave. Remove any unpopped kernels and tiny pieces. Transfer 8 cups of popcorn to a large mixing bowl.
- Melt the white chocolate in a microwave-safe bowl in 30-second intervals, stirring after each, until smooth and glossy. If too thick, stir in 1 teaspoon coconut oil or vegetable shortening.
- Pour the melted white chocolate over the popcorn and gently fold with a rubber spatula until evenly coated. Do not overmix.
- Spread the mixture onto the prepared baking sheet in an even layer about ½ to ¾ inch thick. Do not press too hard.
- While the chocolate is still wet, sprinkle the candy corn and candy pumpkins evenly over the top. Gently press them in.
- Sprinkle the flaky sea salt evenly over the top.
- Refrigerate for at least 30 minutes (or freeze for 15 minutes) until the chocolate is completely firm.
- Lift the parchment paper out of the pan, peel the bark away, and break into irregular pieces. Serve at room temperature for best texture.
Notes
Use plain, unbuttered popcorn to ensure the chocolate sticks. White chocolate is sensitive to moisture and heat; melt slowly and keep all utensils dry. For best texture, let the bark sit at room temperature for 5-10 minutes before serving. Store in an airtight container at room temperature for up to 5 days (best within 2 days).
Nutrition
- Serving Size: 1 cup (generous hand
- Calories: 280
- Sugar: 28
- Sodium: 120
- Fat: 14
- Saturated Fat: 8
- Carbohydrates: 38
- Fiber: 1
- Protein: 3
Keywords: candy corn popcorn bark, easy fall treat, Halloween popcorn bark, white chocolate popcorn bark, quick dessert



