My nephew asked me why I couldn’t just mix everything together with my hands. I started to explain why that wouldn’t work — then stopped. He was seven, and honestly, he had a point.
I was making my usual cheese ball for a Super Bowl party, following the same fussy steps I’d used for years. I’d soften the cream cheese perfectly, fold in the ingredients gently, chill it for exactly the right amount of time. It worked fine, but it took forever. My nephew watched me struggle with a wooden spoon, getting cream cheese stuck to everything in sight, and asked the question that stopped me cold. I couldn’t think of a good reason not to just use my hands.
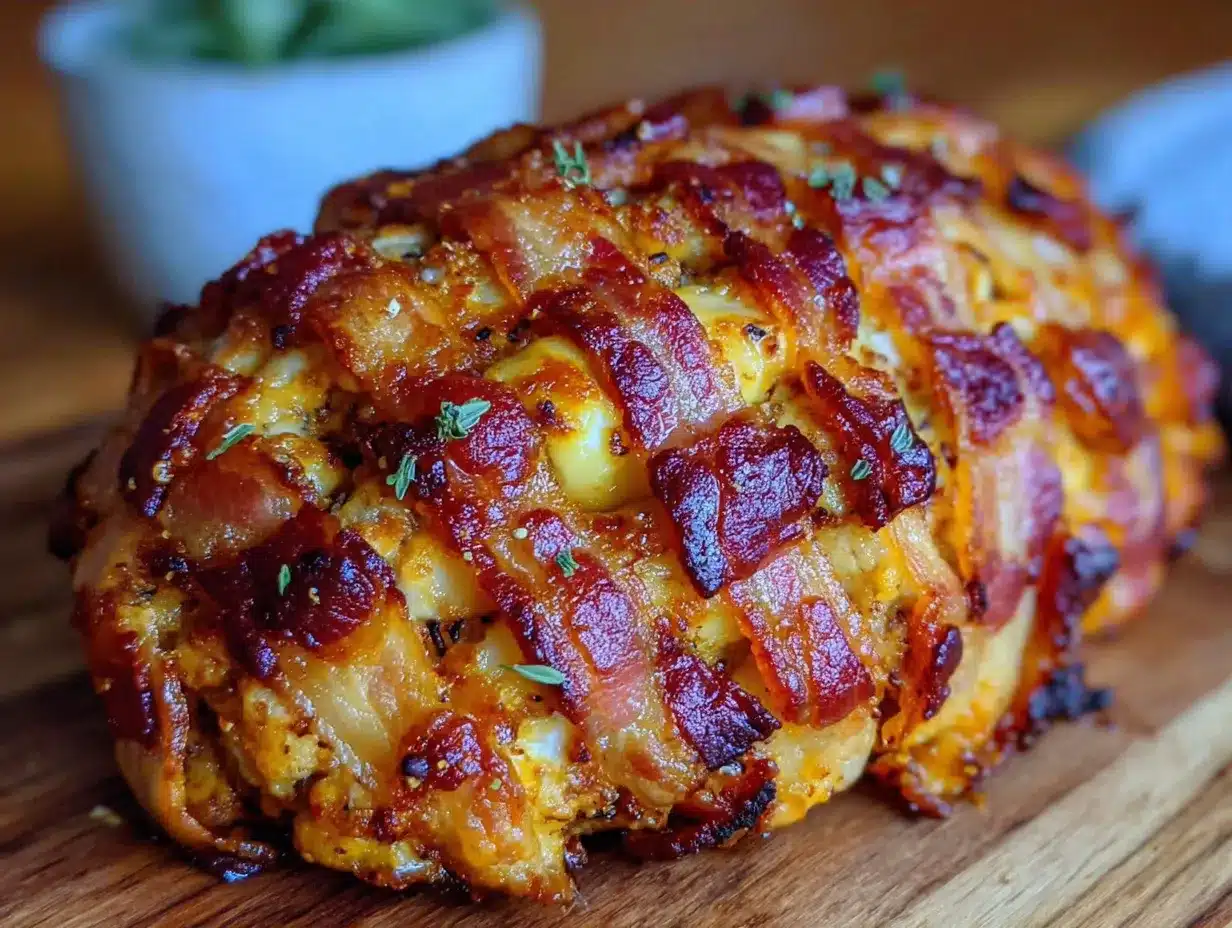
So I did. And you know what? It worked better. Faster, cleaner, and the texture was somehow more uniform. I felt a little ridiculous, honestly. Here I was, the person who writes about cooking, getting schooled by a kid who eats chicken nuggets shaped like dinosaurs. But that cheese ball was the best one I’d ever made. I tweaked it over the next few weeks, turning it into a football shape for game day, adding bacon because everything is better with bacon, and now this easy bacon football cheese ball is my go-to party trick. It’s the recipe that taught me to stop overcomplicating things.
Why You’ll Love This Recipe
Let me tell you why this recipe is different from every other cheese ball you’ve seen. I tested this thing six times before I got it right. Six times. My neighbors started calling it “cheese ball Tuesday” and I’m not even kidding. But every single batch taught me something, and the final version is worth every bit of that trial and error.
- Quick & Easy: You can make this in under 15 minutes of active prep time. Seriously. Mix, shape, chill, and you’re done. Perfect for those last-minute party invites where you need to show up with something impressive.
- Simple Ingredients: Everything comes from a regular grocery store. No weird specialty items, no trips to three different shops. You probably already have most of this stuff in your fridge.
- Perfect for Game Day: It’s shaped like a football. Need I say more? It’s the centerpiece of any Super Bowl spread, tailgate party, or football-watching gathering.
- Crowd-Pleaser: I’ve brought this to parties where people swore they didn’t like cheese balls, and they came back for seconds. The bacon does something magical here.
- Unbelievably Delicious: The combination of creamy, crunchy, salty, and savory is next-level comfort food. You’ll catch yourself sneaking bites straight from the fridge.
I used to think cheese balls were fussy and outdated. Something your grandmother made that nobody actually wanted to eat. But this version changed my mind completely. It’s got that perfect balance of flavors, and the texture is so smooth you’ll wonder why you ever bothered with store-bought dips. Plus, shaping it like a football makes people smile before they even taste it.
What Ingredients You Will Need
This recipe uses simple, everyday ingredients to create something that tastes way fancier than it is. Most of these are probably already in your kitchen, which makes this perfect for those “I need to bring something to a party tonight” moments.
- 16 oz cream cheese, softened — Use full-fat for the best texture. I prefer Philadelphia brand, but any block-style cream cheese works. Let it sit on the counter for at least 30 minutes before starting.
- 1 cup sharp cheddar cheese, shredded — Shred it yourself from a block. The pre-shredded stuff has anti-caking agents that make the texture grainy. Trust me on this one.
- 1/2 cup cooked bacon, crumbled — About 8 strips. I like thick-cut bacon for the extra crunch. You can use pre-cooked bacon in a pinch, but fresh-cooked tastes so much better.
- 1/4 cup green onions, finely chopped — Both the white and green parts work here. They add color and a mild onion flavor that balances the richness.
- 1 tablespoon Worcestershire sauce — This adds that savory depth that makes people ask “what’s in this?” It’s the secret ingredient.
- 1 teaspoon garlic powder — Not fresh garlic, which can be too sharp. Garlic powder blends in smoothly.
- 1/2 teaspoon onion powder — Adds background flavor without being overpowering.
- 1/4 teaspoon black pepper — Freshly ground is best, but pre-ground works fine.
- 1/4 cup pecans, finely chopped — For coating the outside. You can substitute walnuts or almonds if you prefer. Toast them lightly for extra flavor.
- Additional bacon bits for decoration — To create the football laces. Set aside a few nice-looking pieces before you crumble the rest.
- Crackers or vegetables for serving — I like buttery crackers, but pretzels, celery sticks, or cucumber rounds all work great.
You might notice there’s no salt in this recipe. That’s intentional. The bacon, cheese, and Worcestershire sauce all add plenty of saltiness on their own. I learned that the hard way after ruining my first batch by adding salt. It was practically inedible.
Equipment Needed
You don’t need anything fancy for this recipe. I’ve made this in a tiny apartment kitchen and in a full-sized kitchen, and it works the same either way.
- Large mixing bowl — Any bowl big enough to get your hands in. I use a ceramic one, but glass or metal works fine.
- Electric hand mixer or stand mixer — You can mix by hand, but the mixer makes the cream cheese perfectly smooth. I’ve done both, and the mixer version is noticeably creamier.
- Rubber spatula — For scraping every last bit of goodness from the bowl. Don’t skip this step.
- Plastic wrap — To wrap the cheese ball while it chills. Press it right against the surface to prevent a skin from forming.
- Parchment paper or wax paper — Makes shaping the football so much easier. The cheese ball won’t stick to it.
- Sharp knife — For cutting the bacon into the laces design. A dull knife will just smash the cheese.
- Serving platter or board — Something football-shaped or at least large enough to hold the cheese ball and crackers.
If you don’t have a mixer, you can totally do this by hand. Just make sure your cream cheese is really soft, and use a sturdy spoon. Your arm might get a workout, but the result is the same.
Preparation Method
- Soften the cream cheese. Take it out of the fridge at least 30 minutes before you start. If you’re in a hurry, cut it into cubes and let it sit for 15 minutes. Don’t microwave it — I’ve done that, and it gets weirdly grainy and separates.
- Cook the bacon. I like to bake mine at 400°F for about 15-18 minutes on a parchment-lined sheet pan. It cooks evenly and doesn’t splatter everywhere. Let it cool completely, then crumble it into small pieces. Set aside about 2 tablespoons for the laces decoration.
- Shred the cheddar cheese. Grate it from a block using the large holes of a box grater. You want about 1 cup packed. Freshly shredded cheese melts into the cream cheese much better than the pre-shredded stuff.
- Mix the base. In your large mixing bowl, beat the softened cream cheese with an electric mixer on medium speed until it’s smooth and fluffy. This takes about 2 minutes. Scrape down the sides of the bowl with your spatula.
- Add the flavorings. Add the shredded cheddar, crumbled bacon (except the reserved bits), green onions, Worcestershire sauce, garlic powder, onion powder, and black pepper. Mix on low speed until everything is just combined. Don’t overmix, or the cheese ball gets too soft to shape.
- Chill the mixture. Scrape the mixture onto a large piece of plastic wrap. Shape it into a rough ball, then wrap it tightly. Refrigerate for at least 2 hours, or up to overnight. This step is crucial — the mixture needs to be firm enough to shape into a football.
- Shape the football. Unwrap the chilled cheese mixture and place it on a piece of parchment paper. Using your hands, shape it into a football form. It should be about 7 inches long and 4 inches wide at the center. Don’t worry if it’s not perfect — you’ll smooth it out as you go.
- Add the coating. Spread the chopped pecans on a flat plate. Gently roll the football-shaped cheese ball in the pecans, pressing lightly so they stick. Cover the entire surface except for the area where you’ll add the laces.
- Create the laces. Take your reserved bacon bits and arrange them in two parallel lines down the center of the football, with small perpendicular pieces to look like laces. Use the tip of a knife to gently press them into the cheese so they stay put.
- Final chill. Place the finished cheese ball back in the refrigerator for at least 30 minutes before serving. This helps everything set and makes it easier to slice into.
Your cheese ball should be firm but scoopable when it’s ready. If it’s too hard, let it sit at room temperature for 10 minutes before serving. If it’s too soft, it needs more chilling time.
Cooking Tips & Techniques
I’ve made a lot of mistakes with cheese balls so you don’t have to. Here are the things I wish someone had told me before I started.
Don’t skip the softening step. I know it’s tempting to rush, but cold cream cheese doesn’t mix well. You’ll end up with lumpy bits that never smooth out. Let it sit out for a full 30 minutes, and your mixer will thank you.
Toast your pecans. This is a game-changer. Spread them on a baking sheet at 350°F for about 5-7 minutes, until they smell nutty and toasty. Let them cool completely before using. The flavor difference is night and day.
Wet your hands slightly. When shaping the cheese ball, damp hands keep the mixture from sticking to you. It’s a trick I learned from making meatballs, and it works perfectly here. Just don’t use too much water, or you’ll make the cheese soggy.
Work quickly when coating. Once the pecans start sticking, they’ll keep sticking. Roll the cheese ball in the nuts right after shaping it, while it’s still cold but not frozen. If it gets too warm, pop it back in the fridge for 15 minutes.
Make it ahead of time. This cheese ball actually gets better after a day in the fridge. The flavors meld together, and the texture becomes even creamier. I usually make mine the day before a party and just add the pecan coating right before serving.
I once forgot to chill the mixture before shaping it. Let me tell you, trying to form a football out of room-temperature cheese mixture is like trying to sculpt with pudding. It just oozes everywhere. Learn from my mistake and be patient with the chilling steps.
Variations & Adaptations
One of the best things about this recipe is how easy it is to change up. I’ve made so many versions of this cheese ball over the years, and they’ve all been delicious in their own way.
Spicy Football Cheese Ball: Add 1-2 tablespoons of finely chopped pickled jalapeños and a dash of cayenne pepper to the mixture. The heat cuts through the creaminess beautifully. I made this version for a friend who loves spicy food, and she said it was the best thing I’d ever brought to a party.
Vegetarian Version: Skip the bacon and add 1/2 cup of finely chopped sun-dried tomatoes and 1/4 cup of chopped fresh herbs like parsley and chives. The umami from the tomatoes replaces the bacon flavor surprisingly well.
Nut-Free Coating: If you’re serving this at a school event or somewhere with nut allergies, replace the pecans with crushed pretzels or everything bagel seasoning. Both give a great crunchy texture without the nuts.
Smoked Gouda Twist: Replace the sharp cheddar with smoked gouda for a completely different flavor profile. The smokiness pairs amazingly with the bacon. I tried this on a whim one day and now it’s my second favorite version.
Make it a Dip: If you don’t want to bother with shaping, just serve the mixture in a bowl. It works perfectly as a dip and takes half the time. I’ve done this for casual gatherings where nobody cares about presentation.
Feel free to experiment with different cheeses too. Pepper jack adds a nice kick, while white cheddar gives a milder, creamier result. The beauty of this recipe is that it’s forgiving — you can pretty much swap any ingredient for something similar and it’ll still turn out great.
Serving & Storage Suggestions
This cheese ball is best served cold, straight from the fridge. Let it sit at room temperature for about 10-15 minutes before serving so it softens slightly and becomes easier to spread. Any longer than that, and it might get too soft to hold its football shape.
I like to serve it on a wooden board or a platter surrounded by an assortment of crackers. Buttery crackers like Ritz or Club crackers are my favorite, but wheat thins, pretzel crisps, and even sliced baguette all work well. For a low-carb option, serve with celery sticks, cucumber rounds, or bell pepper strips.
This cheese ball pairs beautifully with other game day snacks. I’ve served it alongside buffalo wings, veggie platters, and even chili. It’s also great with a crisp white wine or a light beer. The creaminess balances out spicier foods perfectly.
Storage: Wrap the cheese ball tightly in plastic wrap and store it in the refrigerator for up to 5 days. The flavors actually improve after a day or two. Don’t freeze it — the texture gets weird and watery when thawed.
Leftover cheese ball is amazing spread on toast for breakfast, stirred into scrambled eggs, or melted into mac and cheese. I’ve even used it as a filling for stuffed mushrooms. Get creative with your leftovers.
If you’re making this for a party, I recommend making it a day ahead and adding the pecan coating just before serving. The coating stays crunchier that way, and the cheese ball has time to develop all those wonderful flavors.
Nutritional Information & Benefits
Let’s be real — this is not health food. But it’s a party appetizer, and sometimes you just need to enjoy the moment. That said, there are a few redeeming qualities worth mentioning.
| Nutrient | Amount per serving (2 tablespoons) |
|---|---|
| Calories | 120 |
| Total Fat | 11g |
| Saturated Fat | 6g |
| Cholesterol | 30mg |
| Sodium | 180mg |
| Total Carbohydrates | 2g |
| Protein | 5g |
The cream cheese provides a good amount of calcium, and the bacon adds protein. The pecans are packed with healthy fats and antioxidants. Plus, the green onions give you a little vitamin K. It’s not a salad, but it’s not terrible for you either.
If you’re watching your sodium intake, you can use low-sodium bacon and reduced-fat cream cheese. The texture won’t be quite as rich, but it’ll still be delicious. For a dairy-free version, use plant-based cream cheese and nutritional yeast instead of cheddar.
I personally believe in balance. I eat healthy most of the time, but when game day rolls around, I’m all in on the cheese ball. Life’s too short to skip the good stuff.
Conclusion
This easy bacon football cheese ball has become my signature party dish, and I’m not even sorry about it. It’s the recipe that taught me to trust a seven-year-old’s instincts and stop overcomplicating things in the kitchen. Sometimes the simplest approach really is the best.
I hope you give this recipe a try. Don’t stress about making the football shape perfect — honestly, even a lopsided cheese ball tastes amazing. And if you forget the laces, just call it a “rustic football” and nobody will know the difference.
I’d love to hear how yours turns out. Did you add any fun variations? Did your guests fight over the last bite? Drop a comment below and let me know. And if you’re looking for more game day inspiration, check out my crispy garlic chicken recipe — it’s another crowd-pleaser that disappears fast.
Happy cooking, and remember: when in doubt, add more bacon.
Frequently Asked Questions
Can I make this cheese ball ahead of time?
Absolutely. You can make it up to 5 days in advance. Just wrap it tightly in plastic wrap and refrigerate. Add the pecan coating right before serving for the best texture.
Can I use pre-shredded cheese?
You can, but I don’t recommend it. Pre-shredded cheese has anti-caking agents that make the cheese ball grainy. Shredding your own cheese takes two extra minutes and makes a huge difference in texture.
How do I make this gluten-free?
This recipe is naturally gluten-free as long as you check your Worcestershire sauce label. Some brands contain gluten, so look for a certified gluten-free version. Serve with gluten-free crackers or vegetable sticks.
Can I freeze the cheese ball?
I don’t recommend it. Freezing changes the texture of cream cheese, making it grainy and watery when thawed. Stick to refrigerating it for the best results.
What if I don’t have pecans for the coating?
No problem at all. You can use crushed pretzels, chopped walnuts, sliced almonds, or even crushed bacon bits. Everything bagel seasoning is another great option that adds tons of flavor.
Pin This Recipe!
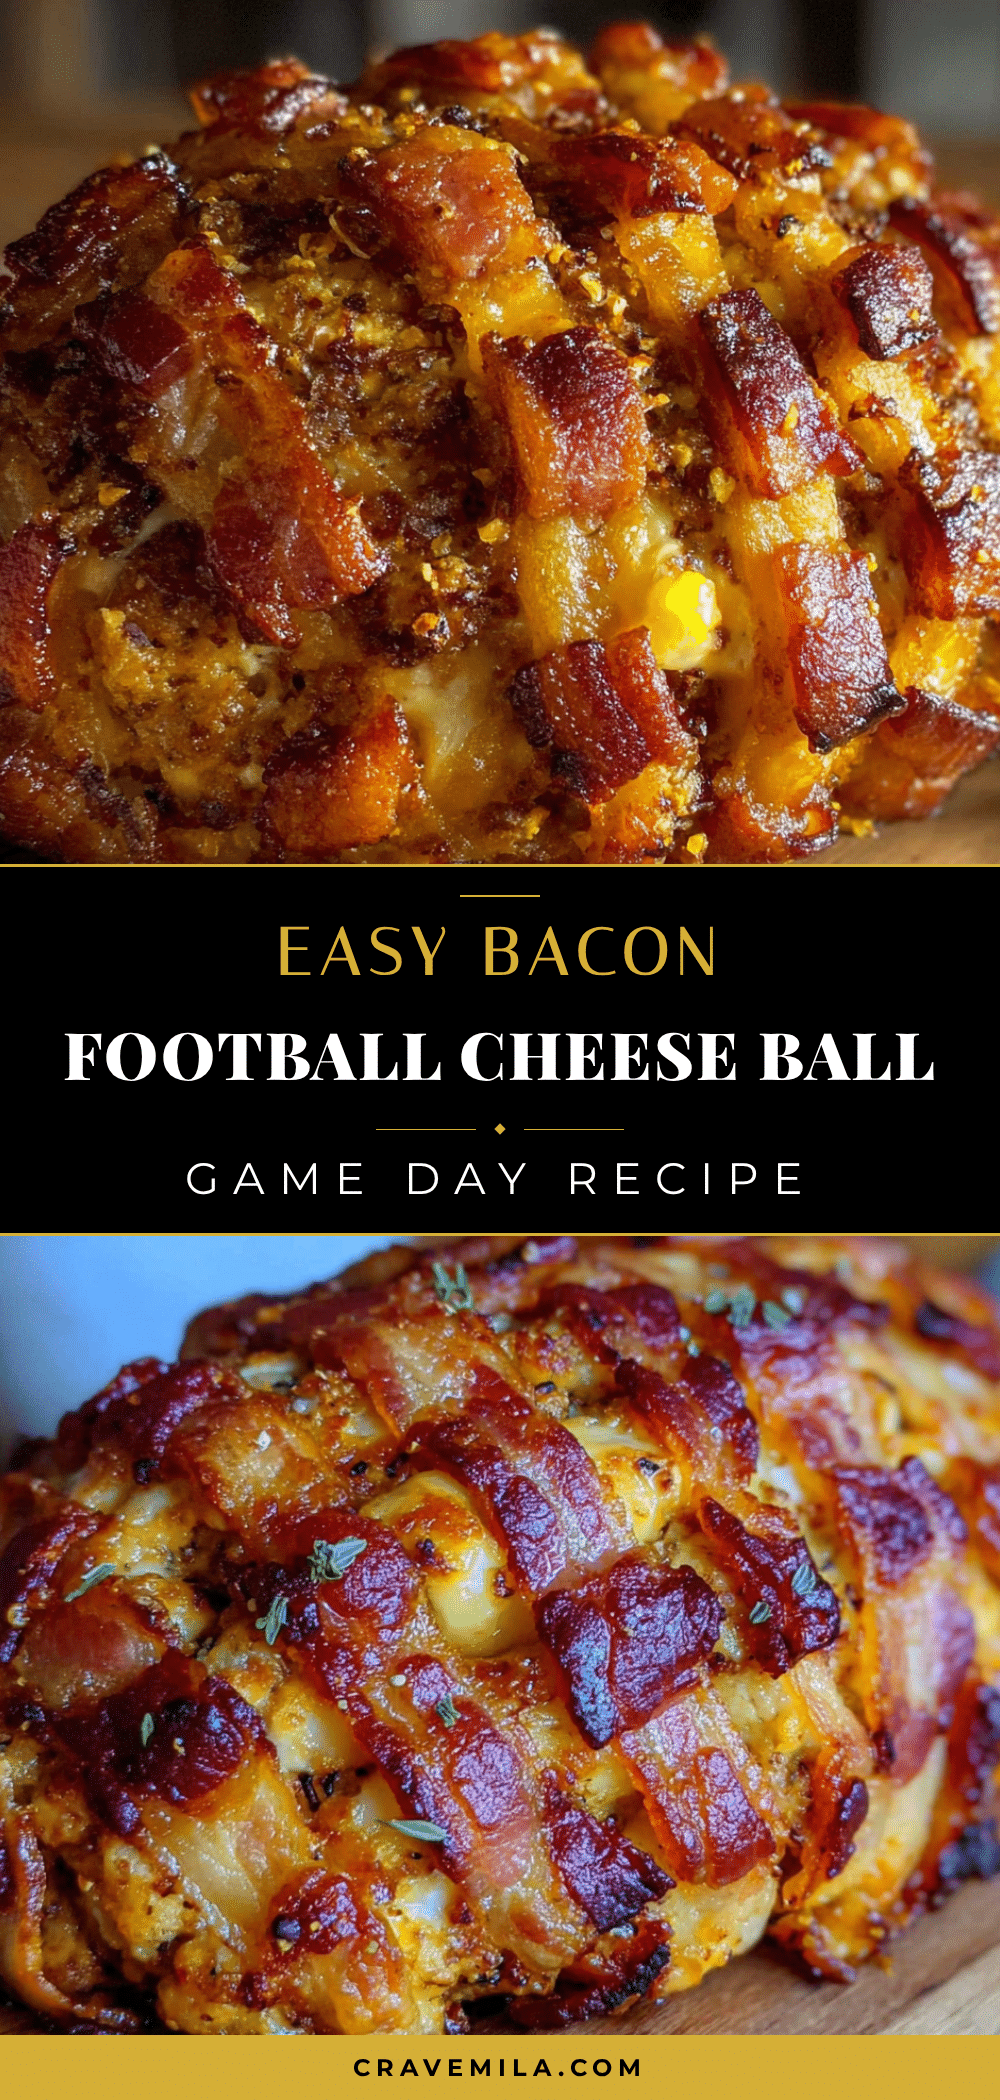
Easy Bacon Football Cheese Ball Recipe
This easy bacon football cheese ball is the perfect game day appetizer. Creamy, crunchy, and shaped like a football, it’s a crowd-pleaser that comes together in minutes.
- Prep Time: 15 minutes
- Cook Time: 18 minutes
- Total Time: 2 hours 33 minutes (includes chilling)
- Yield: 16 servings 1x
- Category: Appetizer
- Cuisine: American
Ingredients
- 16 oz cream cheese, softened
- 1 cup sharp cheddar cheese, shredded
- 1/2 cup cooked bacon, crumbled (about 8 strips)
- 1/4 cup green onions, finely chopped
- 1 tablespoon Worcestershire sauce
- 1 teaspoon garlic powder
- 1/2 teaspoon onion powder
- 1/4 teaspoon black pepper
- 1/4 cup pecans, finely chopped
- Additional bacon bits for decoration
- Crackers or vegetables for serving
Instructions
- Soften the cream cheese: Take it out of the fridge at least 30 minutes before starting. If in a hurry, cut into cubes and let sit for 15 minutes. Do not microwave.
- Cook the bacon: Bake at 400°F for 15-18 minutes on a parchment-lined sheet pan. Let cool completely, then crumble into small pieces. Set aside about 2 tablespoons for the laces decoration.
- Shred the cheddar cheese: Grate from a block using the large holes of a box grater to get about 1 cup packed.
- Mix the base: In a large mixing bowl, beat the softened cream cheese with an electric mixer on medium speed until smooth and fluffy, about 2 minutes. Scrape down the sides.
- Add the flavorings: Add shredded cheddar, crumbled bacon (except reserved bits), green onions, Worcestershire sauce, garlic powder, onion powder, and black pepper. Mix on low speed until just combined. Do not overmix.
- Chill the mixture: Scrape onto a large piece of plastic wrap, shape into a rough ball, wrap tightly, and refrigerate for at least 2 hours or up to overnight.
- Shape the football: Unwrap the chilled mixture and place on parchment paper. Shape into a football form about 7 inches long and 4 inches wide at the center.
- Add the coating: Spread chopped pecans on a flat plate. Gently roll the football-shaped cheese ball in the pecans, pressing lightly so they stick. Cover entire surface except for the laces area.
- Create the laces: Arrange reserved bacon bits in two parallel lines down the center with small perpendicular pieces to look like laces. Use the tip of a knife to gently press them into the cheese.
- Final chill: Place the finished cheese ball back in the refrigerator for at least 30 minutes before serving.
Notes
Don’t skip the softening step for cream cheese. Toast pecans at 350°F for 5-7 minutes for extra flavor. Wet your hands slightly when shaping to prevent sticking. Make ahead up to 5 days; add pecan coating just before serving. Do not freeze.
Nutrition
- Serving Size: 2 tablespoons
- Calories: 120
- Sugar: 1
- Sodium: 180
- Fat: 11
- Saturated Fat: 6
- Carbohydrates: 2
- Protein: 5
Keywords: cheese ball, bacon, football, game day, Super Bowl, appetizer, party food



