The woman at the community garden saw me staring at a pile of discarded pumpkin guts last October. I was helping clean up after the harvest festival, and honestly, I had no idea what to do with all those slippery seeds sliding around in a five-gallon bucket. She didn’t say anything at first. She just walked over to her plot, pulled a few limes from a basket, and handed them to me with this little knowing smile. “Rinse them good,” she told me. “Let them dry on a towel overnight. Then you’ll see what they can become.” That was it. No formal lesson, no recipe card. Just a lime and a piece of advice from a stranger who became a familiar face every Saturday morning after that.
I went home that evening feeling a little silly, honestly. I mean, I had a bucket of wet seeds and two limes. What was I supposed to do, make a salad? But I followed her instructions. I rinsed them, spread them out on an old kitchen towel, and let them sit overnight. The next day, I roasted them with salt and a little chili powder I had in the cupboard. They were good. But it took me about four more batches—and a few failed experiments—to figure out the chili lime salt situation. The first time I added lime zest before roasting, it burned and turned bitter. The second time, I used too much chili and my eyes were watering. You know how it goes. You learn by messing up.
Now, this cozy roasted pumpkin seeds with chili lime salt recipe is something I make every single time I carve a pumpkin. It’s not just about the seeds themselves—it’s about that moment when you pull them out of the oven and the whole kitchen smells like toasted warmth and citrus. Maybe you’ve been there, standing over a hot baking sheet, burning your fingers because you just can’t wait. That’s the feeling I wanted to bottle up and share with you.
So here it is. My version of that garden lady’s gift, tweaked and tested until it felt just right. Cozy, crunchy, a little spicy, and a whole lot of comfort.
Why You’ll Love This Recipe
Let me tell you, this isn’t your average pumpkin seed recipe. I have made so many batches over the years—salty ones, sweet ones, ones that were somehow both soggy and burnt at the same time—and this version is the one I keep coming back to. Here is why I think you will love it too.
- Quick & Easy : From start to finish, this recipe takes about 15 minutes of active time. The oven does most of the work. Perfect for those evenings when you just carved a pumpkin and need a snack right now.
- Simple Ingredients : You probably already have salt, chili powder, and limes in your kitchen. The seeds are free if you just carved a pumpkin. No fancy grocery trips needed.
- Perfect for Cozy Evenings : This is the snack you want when the weather turns cool and you are curled up on the couch with a blanket. It is warm, crunchy, and deeply satisfying.
- Crowd-Pleaser : I brought a bowl of these to a Halloween party last year, and they were gone in ten minutes. Kids and adults both go for them. Something about that chili lime combo just works.
- Unbelievably Delicious : The texture is what gets me. When you get the roasting time just right, the seeds turn golden and crunchy without being hard. The chili lime salt clings to every crevice, and you get this burst of bright, spicy flavor with each bite.
What makes this recipe different from all the others out there? It is the method. I learned the hard way that you cannot just toss wet seeds in seasoning and hope for the best. You have to dry them first. You have to use fresh lime zest—not bottled juice—and you have to add it after roasting so it stays bright and fragrant. I also tested the salt-to-chili ratio about six times before I landed on the perfect balance. Not too spicy, not too salty. Just right.
This recipe is comfort food in its purest form. It is the kind of snack that makes you close your eyes after the first bite. It is cozy, it is nostalgic, and it has a little kick that wakes you right up. Perfect for impressing guests without any stress, or just treating yourself after a long day.
What Ingredients You Will Need
This recipe uses simple, wholesome ingredients to deliver big flavor and satisfying crunch. Most of these are pantry staples, and the seeds themselves come straight from your pumpkin carving session. Here is everything you need and a few notes on how to pick the best ones.
- Fresh pumpkin seeds (about 1 cup, scooped straight from a medium pumpkin): Look for seeds that are plump and not too dried out. If you buy them pre-packaged from the store, that works too, but fresh seeds from a carving pumpkin have a better texture. I usually use seeds from a sugar pumpkin or a standard carving pumpkin—both work great.
- Olive oil (1 tablespoon, plus a little extra for the pan): Use a good quality extra virgin olive oil if you have it. It adds a subtle fruity flavor that pairs beautifully with the lime. You can also use melted coconut oil or avocado oil if that is what you have on hand.
- Fresh lime zest (from 1 medium lime): This is non-negotiable. Do not use bottled lime zest or dried lime powder. The fresh zest gives you that bright, citrusy aroma that makes this recipe special. I recommend using a microplane for the finest zest—it distributes more evenly.
- Fresh lime juice (1 teaspoon, from the same lime): Just a tiny splash to wake up the flavors. Do not overdo it, or the seeds will get soggy.
- Chili powder (1/2 teaspoon, or adjust to your spice preference): I use a standard ancho chili powder for mild heat and smoky depth. If you want more kick, try chipotle powder or cayenne. Start with less—you can always add more, but you cannot take it out.
- Sea salt (1/2 teaspoon, flaky or fine): I prefer flaky sea salt like Maldon because it sticks to the seeds better and gives you little bursts of saltiness. Fine salt works too, just use a little less so it does not get too salty.
- Optional: Garlic powder (1/4 teaspoon): This is my secret addition. It adds a savory depth that makes the chili lime pop even more. Totally optional, but highly recommended.
- Optional: Cumin (1/8 teaspoon): A tiny pinch adds an earthy warmth that feels extra cozy on a cold evening. I add it about half the time, depending on my mood.
I recommend buying organic limes if you can find them, since you are using the zest. Conventional limes are often waxed, and while you can wash them well, organic ones just taste cleaner. As for the chili powder, I personally like the brand Simply Organic for its consistent quality. But honestly, any chili powder you have in your spice drawer will work.
If you want to make this recipe your own, here are a few easy substitutions. Swap the chili powder for smoked paprika if you prefer a milder, smokier flavor. Use lemon zest instead of lime for a brighter, less tart profile. And if you are watching your sodium, reduce the salt to 1/4 teaspoon and add a pinch of black pepper for depth.
Equipment Needed
You do not need much for this recipe, which is part of the beauty. Here is what you will need to get those perfect crunchy seeds.
- Baking sheet (rimmed, standard half-sheet size): A rimmed baking sheet keeps the seeds from rolling off. I use a Nordic Ware sheet pan because it heats evenly and does not warp. If you only have a non-stick pan, that works too.
- Parchment paper (optional but helpful): Lining the pan makes cleanup a breeze. The seeds can stick a little without it, especially if you use a lot of lime juice.
- Mixing bowl (medium size): Any bowl works. I use a glass mixing bowl so I can see if all the seeds are coated evenly.
- Microplane or fine grater : This is essential for getting that fine lime zest. A regular box grater works too, but the zest will be chunkier.
- Colander : For rinsing the seeds after scooping them out of the pumpkin. A fine-mesh colander is best so the small seeds do not fall through.
- Kitchen towel : For drying the seeds. Do not use paper towels—they stick to the wet seeds and leave lint. A clean cotton kitchen towel is perfect.
- Spatula : For stirring the seeds halfway through roasting. A silicone spatula is gentle on the seeds and easy to clean.
If you do not have a microplane, you can use the smallest holes on a box grater. It takes a little more effort, but it works. And if you do not have a rimmed baking sheet, a flat cookie sheet will do—just be careful not to let the seeds roll off when you stir them.
One tip I learned the hard way: do not use a non-stick baking sheet without parchment paper. The seeds can leave a residue that is tough to scrub off. Parchment paper saves you a lot of elbow grease.
Preparation Method
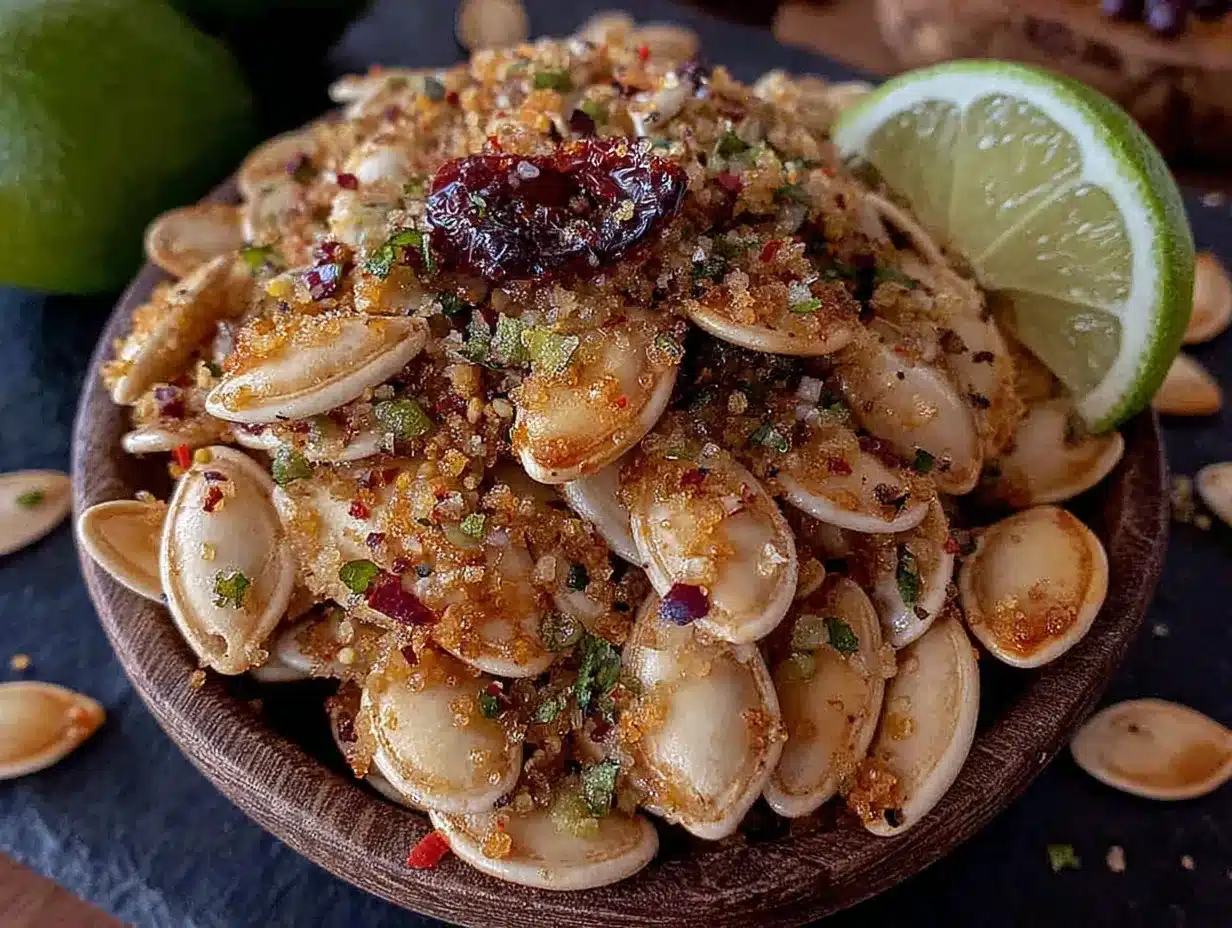
Alright, let us get to the good part. Here is exactly how to make these cozy roasted pumpkin seeds with chili lime salt, step by step. I have included all the little details that make the difference between okay seeds and unforgettable seeds.
- Preheat your oven to 325°F (163°C). While the oven is heating up, line your baking sheet with parchment paper for easy cleanup. The moderate temperature is key here—too hot, and the seeds will burn on the outside before they get crunchy on the inside.
- Scoop and rinse the seeds. If you are using fresh pumpkin seeds, separate them from the stringy pulp as best you can. Place them in a colander and rinse under cool running water, rubbing them gently with your fingers to remove any remaining pulp. Do not worry if a few bits of pumpkin flesh stick—they will add flavor and toast up nicely.
- Dry the seeds thoroughly. This step is crucial. Spread the rinsed seeds on a clean kitchen towel and pat them dry. Let them sit for about 10 minutes while you prepare the seasoning. If the seeds are even a little damp, they will steam instead of roast, and you will end up with chewy seeds instead of crunchy ones. I have made this mistake more times than I care to admit.
- Make the chili lime salt. In a small bowl, combine the chili powder, sea salt, and optional garlic powder and cumin. Use a fork to mix them together so the spices are evenly distributed. Set this aside for now.
- Toss the seeds with oil. Place the dried seeds in your mixing bowl. Drizzle the olive oil over them and toss with a spatula until every seed is lightly coated. The oil helps the seasoning stick and promotes even browning.
- Spread the seeds on the baking sheet. Pour the oiled seeds onto the prepared baking sheet and spread them into a single layer. Make sure no seeds are stacked on top of each other. If they are crowded, they will steam instead of roast. Use your spatula to nudge them into an even layer.
- Roast for 10 minutes. Place the baking sheet in the preheated oven and set a timer for 10 minutes. Halfway through (at the 5-minute mark), pull the sheet out and give the seeds a stir with your spatula. This ensures even browning. You will start to smell them toasting—that is a good sign.
- Check for doneness. After 10 minutes, the seeds should be lightly golden and fragrant. They will continue to crisp up as they cool, so do not over-roast them. If they are still pale and soft, give them another 2-3 minutes. Every oven runs a little differently, so trust your senses more than the timer.
- Season immediately. As soon as the seeds come out of the oven, transfer them back to the mixing bowl. While they are still hot, sprinkle the chili lime salt mixture over them and toss gently. The heat helps the seasoning stick. Then, using your microplane, zest the lime directly over the seeds and add the teaspoon of lime juice. Toss once more.
- Let them cool completely. Spread the seasoned seeds back onto the baking sheet in a single layer and let them cool for at least 15 minutes. Do not skip this step. As they cool, they will transform from slightly soft to perfectly crunchy. I know it is hard to wait, but trust me on this.
- Taste and adjust. Once cooled, give the seeds a taste. Need more salt? Sprinkle a tiny pinch. Want more heat? Add a dash of chili powder. This is your moment to dial it in exactly how you like it.
One more thing: if you notice the seeds are not as crunchy as you hoped after cooling, you can pop them back in a 300°F (150°C) oven for 5 minutes. Let them cool again, and they should crisp right up. I have done this rescue mission many times, and it works like a charm.
Cooking Tips & Techniques
Over the years, I have learned a few tricks that make this recipe foolproof. Let me share them so you do not have to make the same mistakes I did.
The biggest mistake people make is roasting wet seeds. I cannot stress this enough. Wet seeds steam instead of roast, and you end up with a chewy, sad snack. Take the extra 10 minutes to dry them thoroughly. Spread them on a towel and let them air dry while you preheat the oven. Your future self will thank you.
Another common issue is burning the lime zest. I learned this one the hard way. If you add the zest before roasting, it turns brown and bitter. Always add the zest after the seeds come out of the oven, while they are still warm. The heat releases the essential oils in the zest without cooking it, giving you that bright, fresh citrus flavor.
Timing is everything. Every oven is a little different, so start checking your seeds at the 8-minute mark. They go from perfectly golden to burnt very quickly. I usually set a timer for 8 minutes, check them, and then add time in 2-minute increments if needed. The seeds should be light golden brown and smell toasty. They will not be fully crunchy until they cool, so do not wait for them to feel hard in the oven.
Multitasking strategy : While the seeds are roasting, zest your lime and mix your chili lime salt. That way, everything is ready to go the second the seeds come out of the oven. You want to season them while they are still hot so the flavors stick.
For consistent results every time : Use the same brand of chili powder and salt until you find a combination you love. I have noticed that different brands have different saltiness and heat levels, so once you find a winner, stick with it. And always taste before serving—a tiny adjustment can make a big difference.
One last thing: do not be afraid to double the recipe. These seeds disappear fast, and having extra on hand for the week is never a bad idea. Just use two baking sheets and rotate them halfway through roasting.
Variations & Adaptations
This chili lime salt is just the beginning. Over the years, I have experimented with all kinds of flavor combinations, and here are a few of my favorites. Feel free to get creative and make this recipe your own.
Sweet and Spicy : Add 1 tablespoon of brown sugar to the chili lime salt mixture before tossing. The sugar caramelizes slightly as the seeds cool, giving you a sweet heat that is absolutely addictive. I made this version for a fall movie night, and my friends fought over the last handful.
Smoky Chipotle : Swap the regular chili powder for chipotle powder. It adds a deep, smoky heat that pairs beautifully with the lime. Start with 1/4 teaspoon and add more if you like it hot. This version is perfect for game day snacking.
Garlic and Herb : Omit the chili powder and add 1/2 teaspoon garlic powder, 1/2 teaspoon dried rosemary (crushed), and 1/4 teaspoon black pepper. Keep the lime zest and salt. This is a more savory, elegant version that goes great with cocktails or a cheese board.
Dietary adaptations : This recipe is naturally gluten-free, dairy-free, and vegan. If you are on a low-sodium diet, reduce the salt to 1/4 teaspoon and add extra lime zest for flavor. For a nut-free option, you are already good to go—pumpkin seeds are seeds, not nuts.
Different cooking methods : If you do not want to turn on the oven, you can make these in an air fryer. Set it to 300°F (150°C) and cook for 8-10 minutes, shaking the basket halfway through. The timing is shorter, so keep a close eye on them. You can also toast them in a dry skillet over medium heat for about 5 minutes, stirring constantly, but the oven method gives the most even results.
My personal favorite variation is the sweet and spicy one. I discovered it by accident when I was trying to use up some leftover brown sugar, and now I make it almost as often as the original. Something about the combination of heat, citrus, and sweetness just hits different on a cold evening.
Serving & Storage Suggestions
These seeds are best served at room temperature, right after they have cooled completely. I like to pile them into a small wooden bowl and set them on the coffee table for grazing. They are perfect for snacking while watching a movie, or as a crunchy topping for soups and salads.
Serving ideas : Sprinkle a handful over a bowl of butternut squash soup for a textural contrast. Use them as a topping for roasted vegetables or grain bowls. Or just eat them straight out of the bowl with a cold beer or a hot cup of tea. They pair beautifully with both.
Storage : Store leftover seeds in an airtight container at room temperature for up to 2 weeks. Do not refrigerate them—the moisture in the fridge can make them lose their crunch. If they start to soften, you can re-crisp them in a 300°F (150°C) oven for 5 minutes.
Freezer instructions : These seeds freeze surprisingly well. Place them in a freezer-safe bag or container and freeze for up to 3 months. To serve, let them come to room temperature on the counter for about 30 minutes. If they seem a little soft, pop them in the oven for a few minutes to re-crisp.
One thing I have noticed is that the flavors actually develop over time. The chili and lime mellow out and meld together after a day or two. So if you can resist eating them all at once, the second-day seeds are even better. I know that is a big ask, but it is true.
Nutritional Information & Benefits
Pumpkin seeds are a nutritional powerhouse, and this recipe keeps them healthy without sacrificing flavor. Here is a rough estimate of what you are getting in a 1/4-cup serving.
- Calories : Approximately 150-170
- Protein : 8-10 grams
- Healthy Fats : 12-14 grams (mostly unsaturated)
- Fiber : 2-3 grams
- Carbohydrates : 4-6 grams
- Sodium : 150-200 mg (varies based on salt used)
Pumpkin seeds are rich in magnesium, zinc, and iron. Magnesium supports muscle function and sleep, zinc is great for immune health, and iron helps carry oxygen through your body. The chili powder adds a small amount of vitamin A and capsaicin, which may boost metabolism slightly. And the lime zest provides a tiny hit of vitamin C and antioxidants.
This recipe is naturally gluten-free, dairy-free, and vegan. It is also low in sugar, making it a great snack for anyone watching their sugar intake. The main allergen to note is that pumpkin seeds are seeds, so if you have a seed allergy, this recipe is not for you.
From a wellness perspective, I love that this snack feels indulgent but is actually packed with nutrients. It is the kind of thing you can feel good about munching on while curled up on the couch. No guilt, just pure cozy satisfaction.
Conclusion
So there you have it. My cozy roasted pumpkin seeds with chili lime salt, born from a chance encounter at a community garden and perfected through many, many batches. This recipe is more than just a snack—it is a little ritual. It is the smell of fall in your kitchen, the warmth of a shared bowl, and the satisfaction of making something delicious from what most people throw away.
I hope you give this recipe a try and make it your own. Maybe you will add extra chili, or swap the lime for lemon, or discover a new variation I have not thought of yet. That is the beauty of cooking—it is always evolving. And I would love to hear about your version.
Drop a comment below and let me know how your seeds turned out. Did you try a different spice blend? Did you burn the first batch like I did? Share your wins and your learning moments. And if you loved this recipe, share it with a friend who needs a little cozy snack in their life. Happy roasting, my friend.
Frequently Asked Questions
Can I use store-bought pumpkin seeds instead of fresh ones?
Absolutely. If you do not have a pumpkin to carve, you can use raw, unsalted pumpkin seeds from the store. Just skip the rinsing and drying steps, and go straight to tossing them with oil and roasting. The cooking time may be slightly shorter since store-bought seeds are already dry, so start checking them at 7 minutes.
How do I get the seeds extra crunchy?
The key to extra crunch is drying the seeds thoroughly before roasting and letting them cool completely after. If they are still not crunchy enough, you can roast them for an additional 2-3 minutes at 300°F (150°C). Just watch them closely so they do not burn.
Can I make this recipe without oil?
Yes, you can dry-roast the seeds without oil. They will still get crunchy, but the seasoning may not stick as well. To help the chili lime salt adhere, try spraying the seeds with a little cooking spray or tossing them with a teaspoon of lime juice before adding the seasoning.
How long do these seeds stay fresh?
Stored in an airtight container at room temperature, these seeds stay fresh and crunchy for up to 2 weeks. If they start to soften, just re-crisp them in a 300°F (150°C) oven for 5 minutes. I do not recommend refrigerating them, as the moisture can make them lose their crunch.
Can I use bottled lime juice instead of fresh?
I really do not recommend it. Bottled lime juice has a flat, slightly bitter taste that does not compare to fresh lime. The fresh zest is especially important—it provides the bright, citrusy aroma that makes this recipe special. A fresh lime costs less than a dollar and makes a world of difference.
Pin This Recipe!
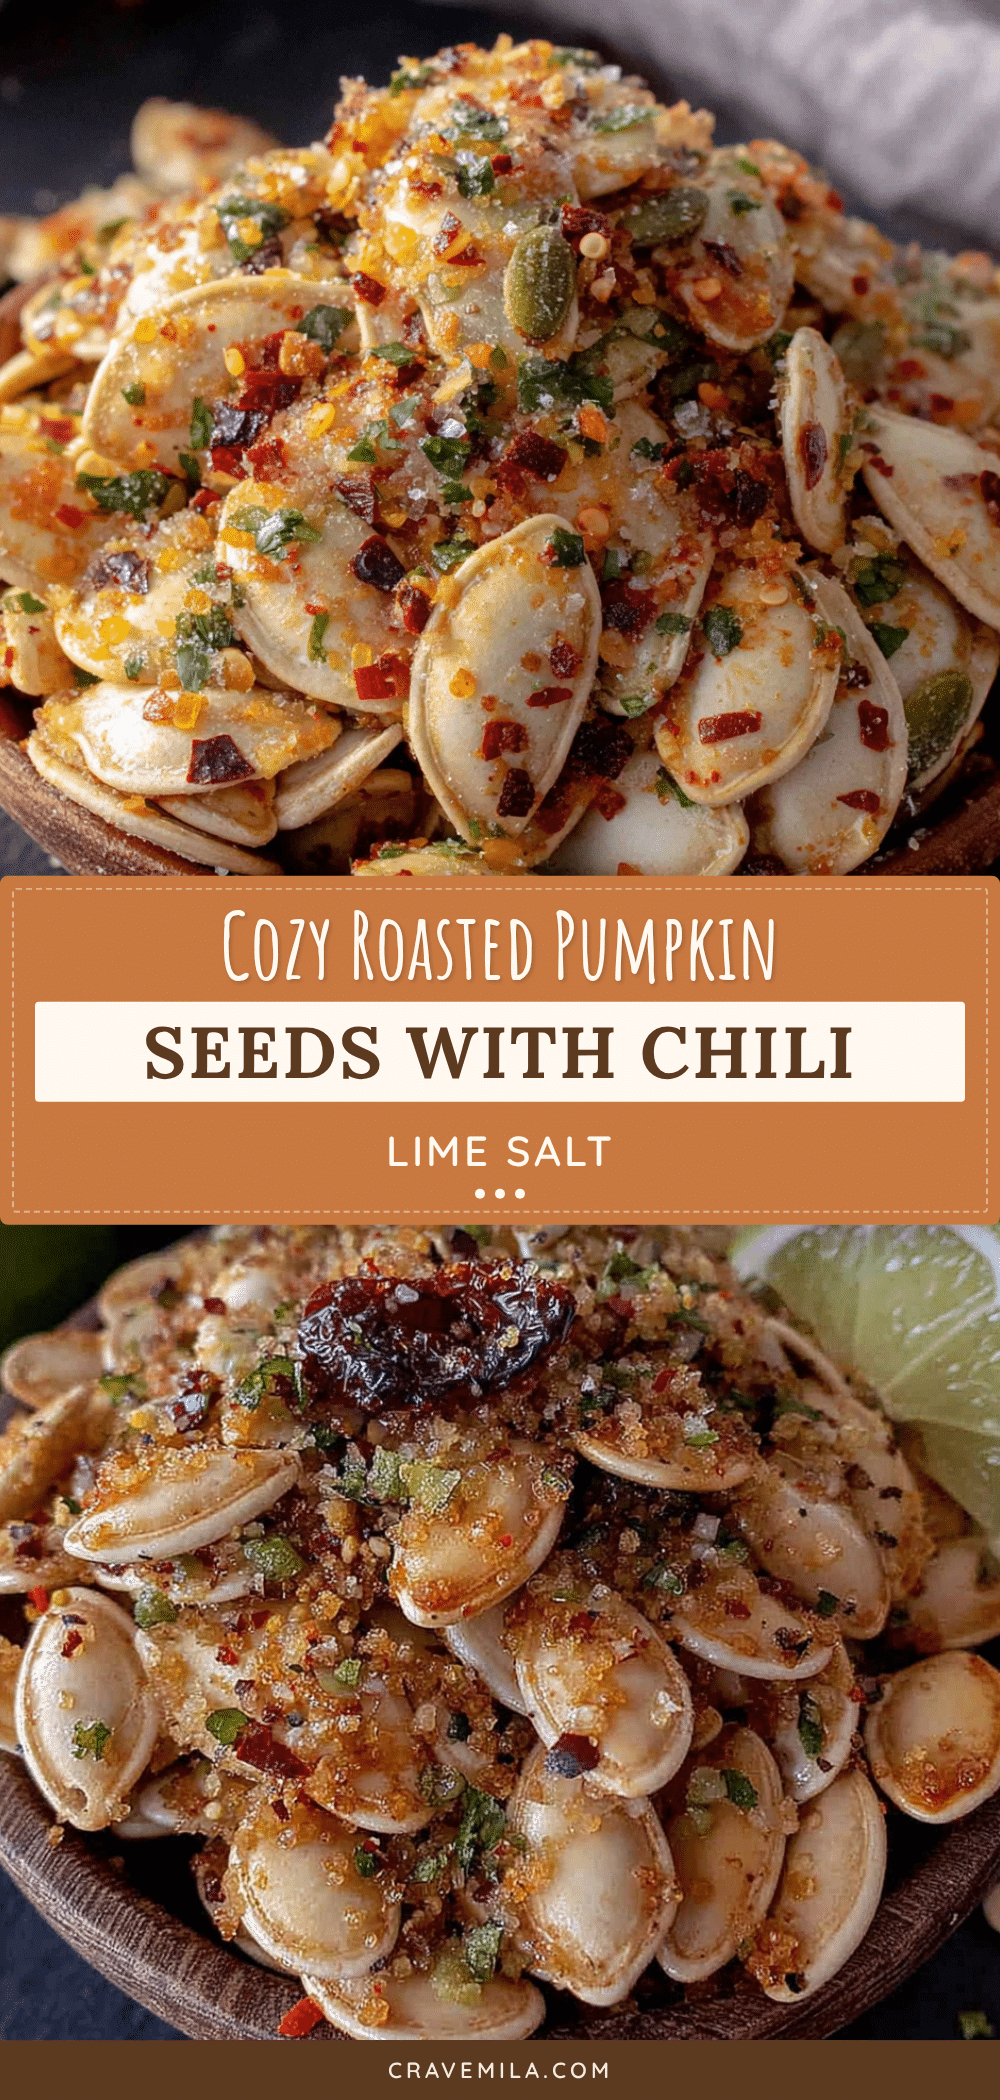
Easy 15-Minute Roasted Pumpkin Seeds with Chili Lime Salt

Crunchy, spicy, and citrusy roasted pumpkin seeds made with fresh lime zest and chili powder. A quick and easy snack perfect for cozy fall evenings.
- Prep Time: 15 minutes
- Cook Time: 10 minutes
- Total Time: 25 minutes
- Yield: 4 servings 1x
- Category: Snack
- Cuisine: American
Ingredients
- 1 cup fresh pumpkin seeds (scooped from a medium pumpkin)
- 1 tablespoon olive oil (plus extra for the pan)
- Fresh lime zest (from 1 medium lime)
- 1 teaspoon fresh lime juice
- 1/2 teaspoon chili powder
- 1/2 teaspoon sea salt (flaky or fine)
- 1/4 teaspoon garlic powder (optional)
- 1/8 teaspoon cumin (optional)
Instructions
- Preheat your oven to 325°F (163°C). Line a rimmed baking sheet with parchment paper.
- Scoop and rinse the seeds: Separate seeds from pumpkin pulp, rinse in a colander under cool water, and remove any remaining pulp.
- Dry the seeds thoroughly: Spread rinsed seeds on a clean kitchen towel and pat dry. Let them sit for about 10 minutes.
- Make the chili lime salt: In a small bowl, combine chili powder, sea salt, and optional garlic powder and cumin. Mix well.
- Toss the seeds with oil: Place dried seeds in a mixing bowl, drizzle with olive oil, and toss until evenly coated.
- Spread seeds on the baking sheet in a single layer.
- Roast for 10 minutes, stirring halfway through (at the 5-minute mark).
- Check for doneness: Seeds should be lightly golden and fragrant. If still pale, roast for another 2-3 minutes.
- Season immediately: Transfer hot seeds back to the mixing bowl. Sprinkle with chili lime salt mixture and toss. Zest lime directly over seeds and add lime juice. Toss again.
- Let them cool completely on the baking sheet for at least 15 minutes.
- Taste and adjust seasoning if needed.
Notes
Dry seeds thoroughly before roasting to ensure crunchiness. Add lime zest after roasting to prevent bitterness. For extra crunch, let seeds cool completely before serving.
Nutrition
- Serving Size: 1/4 cup
- Calories: 160
- Sugar: 1
- Sodium: 175
- Fat: 13
- Saturated Fat: 2
- Carbohydrates: 5
- Fiber: 2
- Protein: 9
Keywords: roasted pumpkin seeds, chili lime, fall snack, easy recipe, healthy snack, pumpkin seeds