This was supposed to be a simple chicken quesadilla for a Tuesday night. You know the kind—shred some leftover rotisserie, grab a bag of shredded cheese, and call it dinner. But my refrigerator had other plans. The chicken was still frozen solid (I forgot to take it out that morning, honestly), and I was already running late because I’d spent twenty minutes looking for my car keys, which were in my hand the whole time. So I stood there, staring into the open fridge, feeling that familiar pinch of defeat. I had tortillas, I had cheese, and I had a bag of Roma tomatoes that were about two days past their prime. That’s when I just started chopping. No plan, no recipe book, just a knife and a grumpy attitude. I sliced the tomatoes, diced an onion that made my eyes water, and threw in a jalapeño without even tasting it first. The quesadilla was just cheese—crisped up in a dry pan because I couldn’t find the butter. I dipped the first triangle into that chunky, messy salsa, and let me tell you, I actually laughed out loud. It was better than anything I’d planned. That burnt-orange sunset of a salsa and those shatteringly crisp tortillas became my new favorite thing. I’ve made them every week since, and honestly, they remind me that sometimes the best recipes come from the days when everything goes wrong.
Why You’ll Love This Recipe
These crispy cheese quesadilla dippers are the kind of snack that makes you wonder why you ever bothered with complicated appetizers. I’ve tested this method about a dozen times now, and I can tell you with confidence—it works every single time.
- Quick & Easy : From start to finish, you’re looking at about 20 minutes. Perfect for those evenings when you need something satisfying fast.
- Simple Ingredients : You probably have everything in your kitchen right now. No fancy cheeses or exotic spices required.
- Perfect for Game Day or Snack Time : These dippers disappear fast at parties, but they’re also great for a solo movie night.
- Crowd-Pleaser : I’ve served these to picky kids and food-snob adults, and both groups went back for thirds.
- Unbelievably Crispy : The secret is in the technique—dry pan, medium heat, and patience. The cheese gets all lacy and golden on the edges.
What makes these different from every other quesadilla recipe out there? It’s the way the cheese hits the pan directly. You’re not just melting cheese inside a tortilla—you’re letting it crisp up on the outside, creating this incredible texture that regular quesadillas just don’t have. Plus, the fresh homemade salsa is a game-changer. It’s chunky, bright, and a little bit spicy, and it cuts through all that rich, melty cheese perfectly.
This recipe isn’t just good—it’s the kind of snack that makes you close your eyes after the first bite. It’s comfort food reimagined: faster, crispier, and with the same soul-soothing satisfaction. Perfect for impressing guests without stress, or turning a simple Tuesday night into something memorable.
What Ingredients You Will Need
This recipe uses simple, wholesome ingredients to deliver bold flavor and satisfying texture without the fuss. Most of these are pantry staples, which makes this even better for those last-minute cravings.
For the Crispy Cheese Quesadilla Dippers
- 8 small flour tortillas (I prefer Mission brand for their flexibility, but corn tortillas work too)
- 3 cups shredded Mexican blend cheese (or use a mix of Monterey Jack and sharp cheddar)
- 2 tablespoons unsalted butter, melted (optional, but adds richness if you’re not going dry-pan)
- ½ teaspoon garlic powder
- ½ teaspoon smoked paprika (adds a subtle smokiness)
- ¼ teaspoon salt
For the Fresh Homemade Salsa
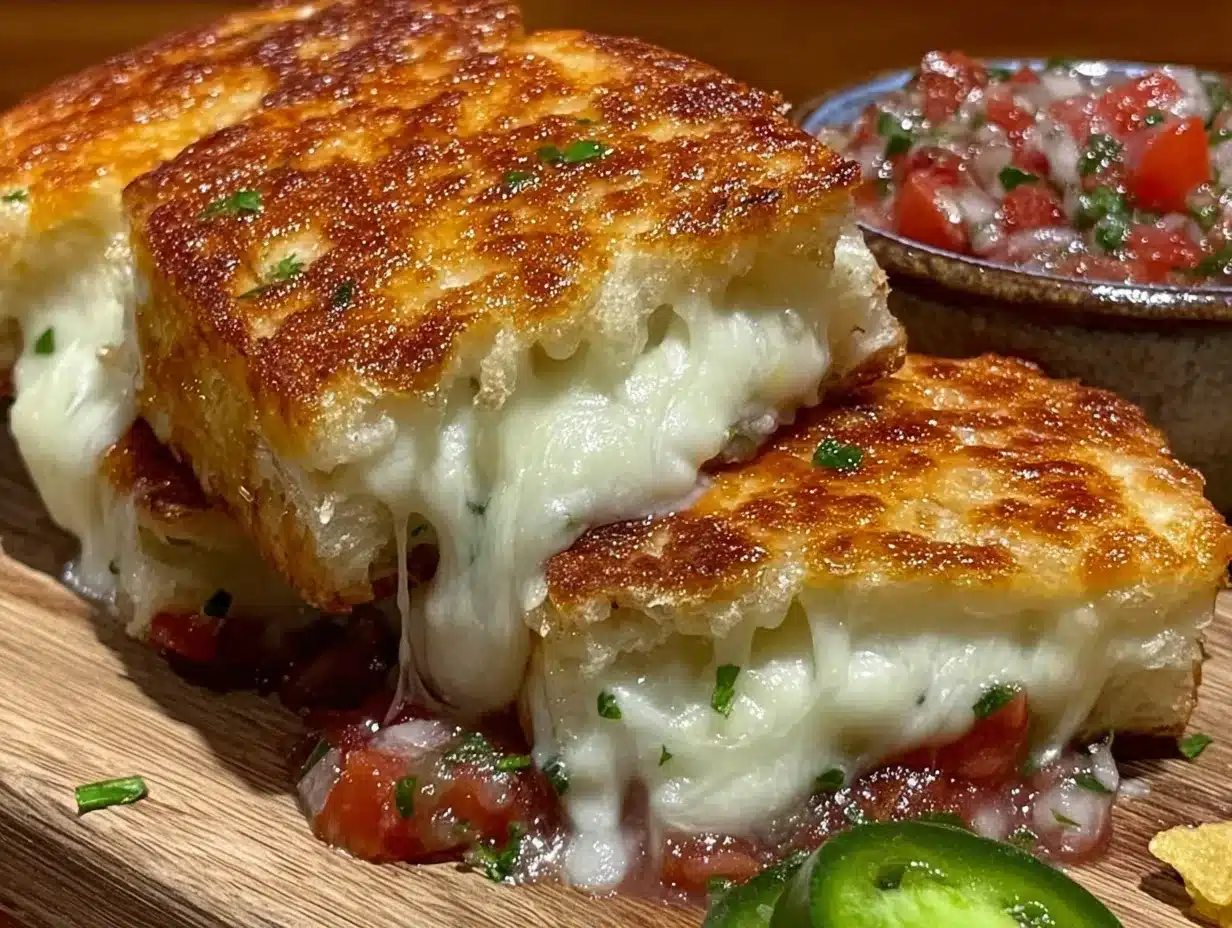
- 4 medium Roma tomatoes, diced (about 2 cups)
- ½ cup red onion, finely diced
- 1 jalapeño, seeds removed and minced (leave seeds in for extra heat)
- ¼ cup fresh cilantro, chopped
- 2 tablespoons fresh lime juice (about 1 lime)
- 1 clove garlic, minced
- ½ teaspoon salt
- ¼ teaspoon black pepper
- ¼ teaspoon cumin (optional, but I love the warmth it adds)
For the salsa, I recommend using Roma tomatoes because they’re meaty and less watery, which keeps your salsa from getting soupy. If you can find vine-ripened tomatoes in summer, even better. For the cheese, I’ve tried pre-shredded and freshly shredded, and honestly, freshly shredded melts more smoothly because it doesn’t have anti-caking agents. But on a busy night, pre-shredded works just fine—I’ve used it plenty of times without issues.
If you want a milder salsa, use half a jalapeño or swap in a poblano pepper. For a fruitier twist, add half a diced mango or some diced pineapple—it’s amazing with the crispy cheese.
Equipment Needed
You don’t need much for this recipe, which is part of its charm. Here’s what you’ll want on hand:
- A large non-stick skillet or cast-iron pan (I use my old cast-iron for the best crisp, but non-stick is easier for beginners)
- A sharp chef’s knife and cutting board for the salsa
- A mixing bowl for the salsa
- A spatula (preferably a thin metal one for flipping)
- A small bowl for the seasoning mix
- A pastry brush if you’re using melted butter
- A pizza cutter or sharp knife for cutting the quesadillas into dippers
If you don’t have a cast-iron pan, don’t worry. I’ve made these in a non-stick skillet plenty of times, and they come out perfectly crispy. Just make sure your pan is fully preheated before you add the tortillas. One thing I learned the hard way—don’t use a pan that’s too small. You want enough room for the tortilla to lay flat without folding up on the edges. My 10-inch skillet works perfectly for one quesadilla at a time.
Preparation Method
Let’s get cooking. This comes together fast, so I like to have everything prepped and ready before I turn on the stove.
- Make the fresh salsa first. In a medium mixing bowl, combine the diced Roma tomatoes, finely diced red onion, minced jalapeño, chopped cilantro, fresh lime juice, minced garlic, salt, pepper, and cumin if using. Stir everything together gently. Taste it and adjust the salt or lime juice to your preference. Set the salsa aside to let the flavors meld while you make the quesadillas. The salsa should be chunky and bright—if it looks watery, drain off a little liquid before serving.
- Prepare the seasoning mix. In a small bowl, combine the garlic powder, smoked paprika, and salt. Stir it together and set it nearby.
- Heat your pan. Place your skillet over medium heat and let it warm up for about 2 minutes. You want it hot but not smoking. If you’re using butter, brush a light layer onto one side of each tortilla now.
- Start the first quesadilla. Place one tortilla in the hot, dry pan (or buttered side down if using butter). Immediately sprinkle about ⅓ cup of shredded cheese evenly over the entire tortilla, making sure some cheese reaches the edges—that’s what creates the crispy, lacy border. Sprinkle a pinch of the seasoning mix over the cheese.
- Top with the second tortilla. Place another tortilla on top of the cheese and press down gently with your spatula. Let it cook for 2-3 minutes, or until the bottom is golden brown and crispy. You’ll see the cheese starting to bubble and brown at the edges—that’s your cue.
- Flip carefully. Slide your spatula under the quesadilla and flip it in one confident motion. Don’t worry if a little cheese escapes—that just adds to the crispy bits. Cook for another 2-3 minutes until the second side is golden and the cheese is fully melted.
- Repeat with remaining tortillas. Continue making quesadillas with the remaining tortillas and cheese. You should get 4 quesadillas total from this recipe.
- Cut into dippers. Let each quesadilla rest on a cutting board for about 30 seconds before cutting. Use a pizza cutter or sharp knife to slice each quesadilla into 6-8 triangle-shaped dippers. The resting time helps the cheese set slightly so it doesn’t all ooze out when you cut.
- Serve immediately. Arrange the dippers on a platter with the fresh salsa in a bowl for dipping. They’re best eaten warm, when the cheese is still stretchy and the tortilla is at its crispiest.
One thing I’ve learned—don’t overcrowd the pan. Cook one quesadilla at a time for the best results. If you try to rush and use high heat, the outside will burn before the cheese melts. Medium heat and patience are your friends here.
Cooking Tips & Techniques
I’ve made my share of soggy, sad quesadillas, so let me save you the trouble. Here are the things I wish someone had told me earlier.
The dry pan method is non-negotiable for maximum crisp. I know it feels wrong not to butter the pan, but trust me on this. A dry, preheated pan creates steam that crisps the tortilla without making it greasy. If you want extra richness, brush a thin layer of melted butter on the outside of the tortilla before cooking, but skip adding oil or butter to the pan itself.
Let the cheese hit the pan. This is the game-changer. Don’t just put cheese inside the tortilla—let some of it spread out onto the hot pan surface. That cheese will crisp up into these lacy, golden bits that are honestly the best part. When you flip the quesadilla, that crispy cheese melts into the other side and creates this incredible texture.
Don’t skip the resting time. I know you’re hungry, but cutting into a quesadilla right off the pan is a recipe for a cheesy mess. Let it sit for 30-60 seconds. The cheese firms up just enough that it stays inside the dippers instead of ending up all over your plate.
For the salsa, let it sit. The flavors need about 10-15 minutes to get to know each other. If you can make the salsa first and let it rest while you cook the quesadillas, you’ll be rewarded with a much more cohesive flavor. I’ve made the mistake of serving it immediately, and it just tastes like separate ingredients instead of a unified salsa.
One mistake I still make sometimes—using too much cheese. I know, it sounds impossible, but if you overload the quesadilla, it becomes difficult to flip and the cheese oozes out everywhere. Stick to about ⅓ cup per quesadilla. It’s plenty.
Variations & Adaptations
This recipe is incredibly flexible, and I’ve tried quite a few variations over the months. Here are some of my favorites:
- Spicy Black Bean Version : Add ¼ cup of drained and rinsed black beans to each quesadilla along with the cheese. The beans add protein and a creamy texture that pairs beautifully with the crispy exterior. I make this version when I want something a little more filling.
- Breakfast Quesadilla Dippers : Swap the Mexican blend cheese for cheddar and add a scrambled egg and some crumbled breakfast sausage inside each quesadilla. Serve with a side of sour cream instead of salsa. This has saved many a lazy Sunday morning in my house.
- Gluten-Free Option : Use corn tortillas instead of flour. Corn tortillas get extra crispy and have a wonderful corn flavor that works great with the salsa. Just be careful when flipping because they’re more delicate. I recommend using two corn tortillas per quesadilla for structure.
- Mango Habanero Salsa Variation : Add one diced ripe mango to the salsa and swap the jalapeño for half a habanero pepper (seeds removed unless you want serious heat). The sweetness of the mango balances the habanero’s fire beautifully.
- Cheese Swap : Try using all pepper jack for a spicier kick, or use a mix of mozzarella and parmesan for a different flavor profile. I once made these with leftover brie and apple slices inside—not traditional, but absolutely delicious.
Serving & Storage Suggestions
These crispy cheese quesadilla dippers are best served fresh and hot, right after you cut them. The contrast between the warm, melty cheese and the cool, chunky salsa is truly something special. I like to arrange them on a wooden board or a large white platter with the salsa in a small bowl in the center. A sprinkle of extra cilantro on top makes them look extra pretty.
For a full meal, I serve these with a simple side salad dressed with lime vinaigrette, or alongside a bowl of black bean soup. They’re also fantastic with guacamole and sour cream for dipping—basically, turn it into a full Tex-Mex spread.
Storage: If you have leftovers (which rarely happens in my house), let the quesadilla dippers cool completely, then store them in an airtight container in the refrigerator for up to 3 days. The salsa will keep for 2-3 days in the fridge, but it’s best within the first 24 hours.
Reheating: The key to restoring crispiness is to avoid the microwave at all costs. Instead, reheat the dippers in a dry skillet over medium heat for about 1-2 minutes per side, or pop them in a 375°F oven for 5-7 minutes. An air fryer works great too—3 minutes at 350°F does the trick. The salsa should be served cold or at room temperature, so no reheating needed there.
I’ve noticed that the salsa actually gets better after a day in the fridge—the flavors meld together and mellow out. So if you’re planning ahead, make the salsa a day in advance for maximum flavor.
Nutritional Information & Benefits
Here’s the approximate nutritional breakdown for one serving (about 4 dippers with ¼ cup of salsa):
| Nutrient | Amount |
|---|---|
| Calories | 320 |
| Total Fat | 18g |
| Saturated Fat | 10g |
| Cholesterol | 45mg |
| Sodium | 620mg |
| Total Carbohydrates | 28g |
| Dietary Fiber | 3g |
| Sugars | 4g |
| Protein | 14g |
The fresh salsa is packed with vitamin C from the tomatoes and lime juice, and the jalapeño contains capsaicin, which has anti-inflammatory properties. The cheese provides calcium and protein, making this a more balanced snack than you might expect. If you’re watching your sodium, you can reduce the salt in both the salsa and the seasoning mix.
This recipe is vegetarian as written, and can easily be made gluten-free by using corn tortillas. It’s not low-carb due to the tortillas, but you can use low-carb tortillas if that’s a concern. The main allergens here are dairy and gluten, so keep that in mind for any guests with sensitivities.
Conclusion
These crispy cheese quesadilla dippers with fresh homemade salsa have become my go-to recipe for so many occasions. They’re the thing I make when I need a quick snack, when friends show up unexpectedly, or when I just want something that feels a little bit special without a lot of effort. The contrast between the shatteringly crisp tortilla, the gooey melted cheese, and that bright, chunky salsa is honestly hard to beat.
I hope you give these a try, and I hope you make them your own. Maybe you’ll add some black beans, or use pepper jack cheese, or throw a mango into the salsa. That’s the beauty of a simple recipe like this—it’s a starting point, not a rulebook. Let me know how they turn out for you. Did you try a fun variation? Did the dry pan method work as well for you as it did for me? Drop a comment below and share your experience. I love hearing about your kitchen adventures, especially the happy accidents.
Happy cooking, and remember—sometimes the best recipes come from the days when everything goes wrong.
Frequently Asked Questions
Can I use pre-shredded cheese for this recipe?
Yes, absolutely. Freshly shredded cheese melts more smoothly because it doesn’t have anti-caking agents, but pre-shredded cheese works perfectly fine. I’ve used both, and the difference is minimal for this recipe. Just make sure you’re using a good melting cheese like Monterey Jack, cheddar, or a Mexican blend.
How do I keep the quesadillas from getting soggy?
The key is to cook them in a dry, preheated pan over medium heat. Don’t add oil or butter to the pan. Also, make sure your salsa isn’t too watery—drain off any excess liquid from the tomatoes before mixing. Serve the salsa on the side rather than on top of the dippers to keep them crispy.
Can I make the salsa ahead of time?
Definitely. In fact, I recommend it. The salsa tastes even better after sitting in the fridge for a few hours or overnight because the flavors have time to meld. Just store it in an airtight container and give it a stir before serving. It will keep for 2-3 days in the refrigerator.
What other dipping sauces go well with these dippers?
Besides the fresh salsa, these are amazing with sour cream, guacamole, or a simple crema made from Greek yogurt and lime juice. I also love them with a smoky chipotle ranch dressing. Honestly, any dip you’d serve with tortilla chips works beautifully here.
Can I make these in the oven instead of on the stovetop?
Yes, you can. Preheat your oven to 400°F, assemble the quesadillas on a baking sheet, and bake for 8-10 minutes, flipping halfway through. They won’t get quite as crispy as the stovetop method, but it’s a great hands-off option if you’re making a large batch for a party. Just keep an eye on them so they don’t burn.
Pin This Recipe!
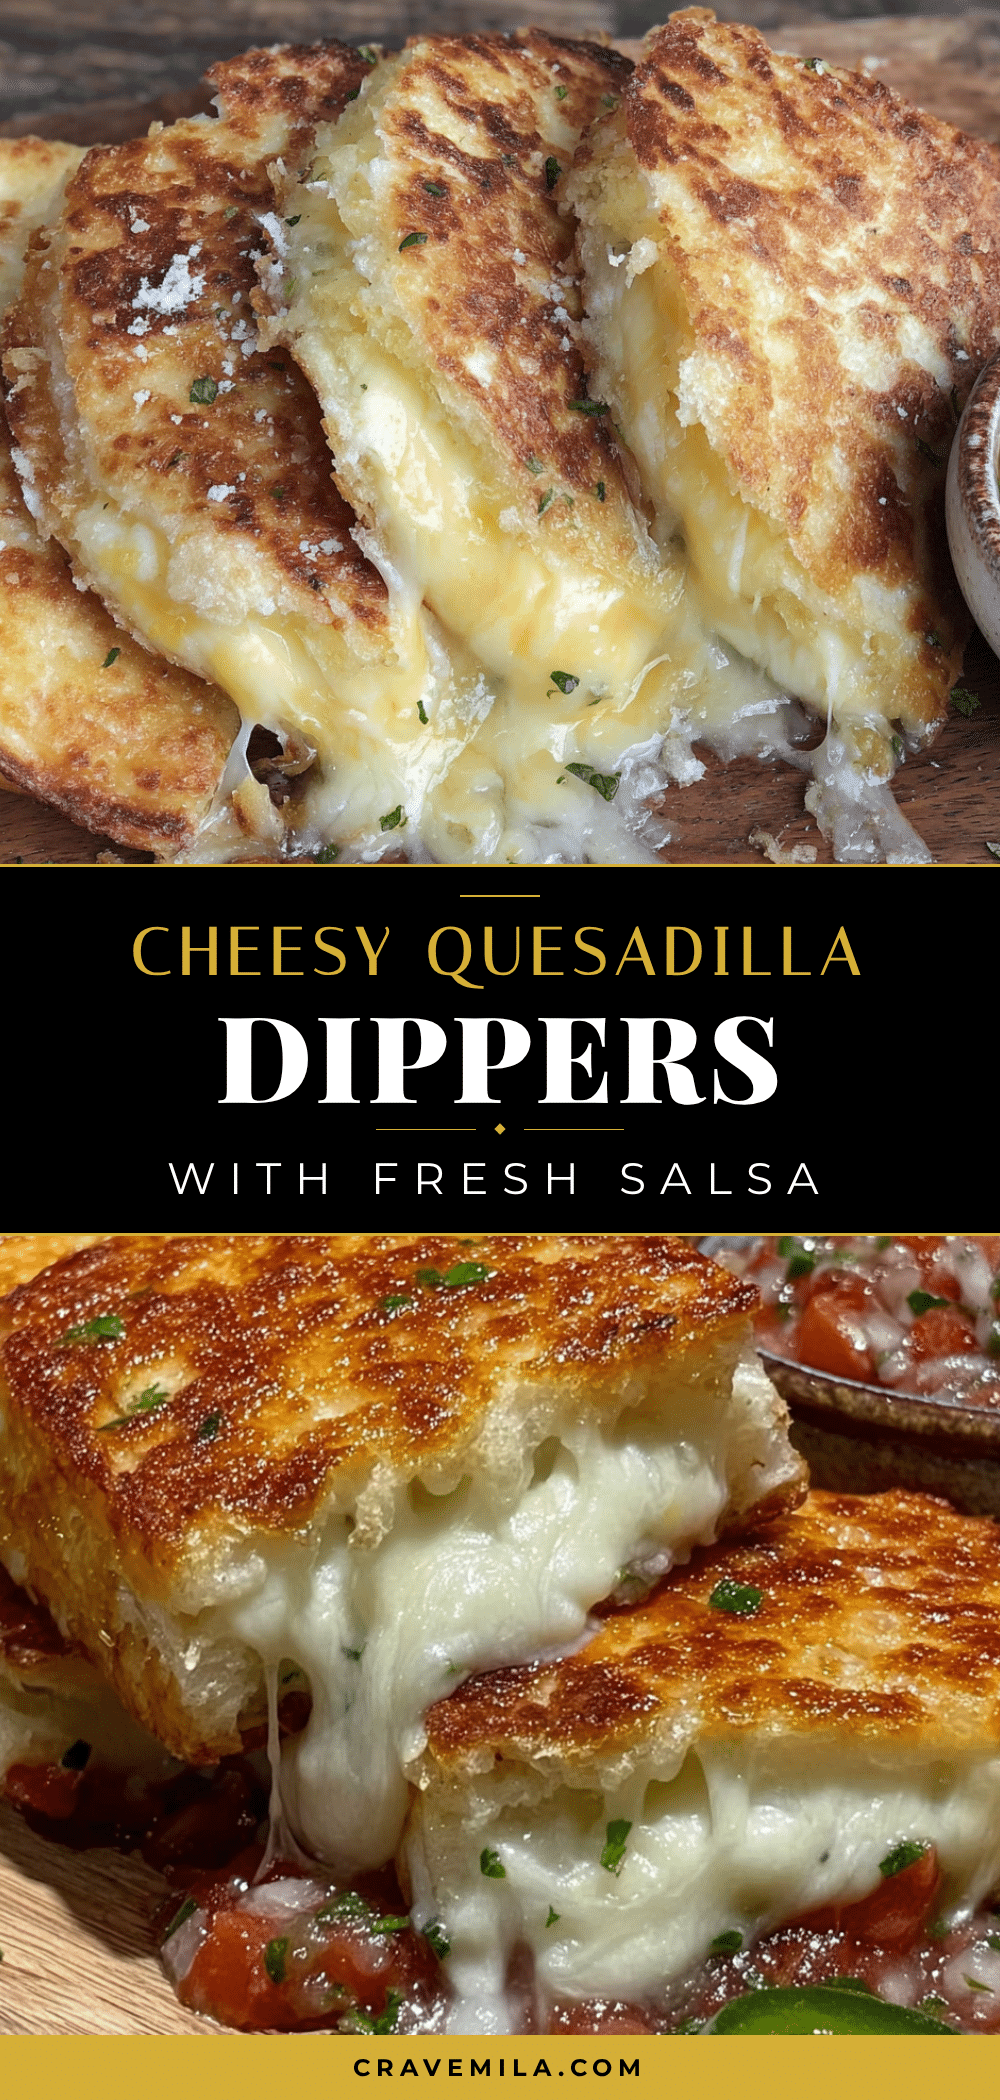
Crispy Cheese Quesadilla Dippers with Easy Homemade Salsa

These crispy cheese quesadilla dippers are the perfect quick snack or appetizer, featuring shatteringly crisp tortillas and gooey melted cheese, paired with a bright, chunky homemade salsa. Ready in just 20 minutes, they’re a crowd-pleaser for game day or a simple Tuesday night.
- Prep Time: 10 minutes
- Cook Time: 10 minutes
- Total Time: 20 minutes
- Yield: 4 servings 1x
- Category: Appetizer
- Cuisine: Mexican
Ingredients
- 8 small flour tortillas (Mission brand recommended)
- 3 cups shredded Mexican blend cheese (or mix of Monterey Jack and sharp cheddar)
- 2 tablespoons unsalted butter, melted (optional)
- ½ teaspoon garlic powder
- ½ teaspoon smoked paprika
- ¼ teaspoon salt
- 4 medium Roma tomatoes, diced (about 2 cups)
- ½ cup red onion, finely diced
- 1 jalapeño, seeds removed and minced
- ¼ cup fresh cilantro, chopped
- 2 tablespoons fresh lime juice (about 1 lime)
- 1 clove garlic, minced
- ½ teaspoon salt
- ¼ teaspoon black pepper
- ¼ teaspoon cumin (optional)
Instructions
- Make the fresh salsa first. In a medium mixing bowl, combine the diced Roma tomatoes, finely diced red onion, minced jalapeño, chopped cilantro, fresh lime juice, minced garlic, salt, pepper, and cumin if using. Stir together gently. Taste and adjust salt or lime juice to preference. Set aside to let flavors meld.
- Prepare the seasoning mix. In a small bowl, combine the garlic powder, smoked paprika, and salt. Stir together and set aside.
- Heat your skillet over medium heat for about 2 minutes until hot but not smoking. If using butter, brush a light layer onto one side of each tortilla now.
- Place one tortilla in the hot, dry pan (or buttered side down if using butter). Immediately sprinkle about ⅓ cup of shredded cheese evenly over the entire tortilla, making sure some cheese reaches the edges. Sprinkle a pinch of the seasoning mix over the cheese.
- Top with a second tortilla and press down gently with a spatula. Cook for 2-3 minutes, until the bottom is golden brown and crispy, with cheese bubbling at the edges.
- Flip carefully using a spatula. Cook for another 2-3 minutes until the second side is golden and the cheese is fully melted.
- Repeat with remaining tortillas to make 4 quesadillas total.
- Let each quesadilla rest on a cutting board for about 30 seconds before cutting. Use a pizza cutter or sharp knife to slice each quesadilla into 6-8 triangle-shaped dippers.
- Serve immediately with the fresh salsa for dipping.
Notes
For maximum crisp, use a dry pan (no oil or butter in the pan). Let some cheese hit the pan to create lacy, crispy edges. Let quesadillas rest 30-60 seconds before cutting to prevent cheese from oozing out. Salsa can be made a day ahead for better flavor. For gluten-free, use corn tortillas.
Nutrition
- Serving Size: 4 dippers with ¼ cup
- Calories: 320
- Sugar: 4
- Sodium: 620
- Fat: 18
- Saturated Fat: 10
- Carbohydrates: 28
- Fiber: 3
- Protein: 14
Keywords: quesadilla, cheese quesadilla, crispy quesadilla, homemade salsa, easy appetizer, game day snack, vegetarian



