The cookie swap was in twelve hours and I’d completely forgotten. Everyone else would be bringing those elaborate, multi-day affairs — you know the ones. Layers of caramel, fancy sea salt flakes, chilled dough that had been resting for 24 hours. I had a half-stick of butter that had been sitting on the counter since breakfast, one egg, and about twenty minutes before I needed to leave for my daughter’s school concert. Honestly, I almost just grabbed a store-bought package on the way out. But something about that felt wrong, especially when I knew my neighbor Karen would be there with her legendary browned butter cookies that she spends an entire weekend perfecting.
So I did what any reasonable person in a panic would do. I opened my pantry, stared at the flour, and decided to make the smallest batch of chocolate chip cookies I could possibly justify. Just six. Enough to bring something, not enough to feel embarrassed if they turned out terrible. I mean, the math was simple — smaller batch meant less room for disaster, right?
The kitchen was a mess by the time I finished. Flour on my sweater, a smear of butter on my phone screen, and I’d used the wrong measuring cup for the brown sugar (packed it in a 1/4 cup instead of the 1/3 cup the recipe called for). I almost scrapped the whole thing. But the timer went off, the kitchen smelled like vanilla and butter, and those six little cookies came out looking exactly like the ones from my childhood — golden edges, soft centers, chocolate puddles on top. I let them cool on the counter while I rushed off to the concert, completely forgetting to taste one.
At the swap the next morning, I set my sad little plate of six cookies next to Karen’s elaborate display. People grabbed one out of politeness, I think. But then they went back for another. And another. Someone asked me for the recipe before noon. That’s when I realized — sometimes the simplest thing, the one you almost didn’t bother making, is the one that sticks. Maybe you’ve been there, showing up with something you thought was too plain, only to watch it disappear first. That’s this cookie. It’s not fancy. It’s just really, really good.
Why You’ll Love This Recipe
Let me tell you why this little recipe has become my secret weapon. It’s not because it’s complicated or uses fancy ingredients — quite the opposite, actually. This is the recipe I turn to when I need something warm and comforting without all the fuss.
- Quick & Easy : From start to finish, you’re looking at about 25 minutes. No chilling the dough, no waiting around. Just mix, scoop, bake, and eat. Perfect for those evenings when a cookie craving hits out of nowhere.
- Simple Ingredients : You probably have everything in your kitchen right now. Butter, sugar, an egg, flour, vanilla, chocolate chips. That’s it. No trips to the specialty grocery store, no hunting down obscure ingredients.
- Perfect for Cozy Evenings : This is the cookie you make when you’re curled up on the couch, it’s raining outside, and you just want something warm and sweet. Six cookies is exactly the right amount for one person or two people sharing.
- Crowd-Pleaser : I’ve brought these to potlucks, work gatherings, and family dinners. Every single time, people ask for the recipe. They can’t believe something so simple tastes this good.
- Unbelievably Delicious : The texture is spot-on — crispy edges with soft, chewy centers. The chocolate gets all melty and pools on top. It’s comfort food at its finest.
What makes this recipe different from all the others? It’s the ratios, honestly. I’ve tested this batch size more times than I care to admit. Too much butter and they spread into flat puddles. Too little sugar and they’re dry. This version hits that sweet spot where everything just works. It’s the kind of cookie that makes you close your eyes after the first bite, not because it’s fancy, but because it tastes exactly like what you wanted.
This isn’t just a cookie recipe. It’s a little moment of warmth on a cold day, a small victory when you need one, a reminder that good things don’t have to be complicated. It’s comfort food reimagined — simpler, faster, but with the same soul-soothing satisfaction.
What Ingredients You Will Need
This recipe uses simple, everyday ingredients to deliver that classic chocolate chip cookie experience. Nothing fancy, nothing hard to find — just the basics done right.
- 4 tablespoons unsalted butter, softened — The butter needs to be at room temperature, not melted. I usually take it out of the fridge about 30 minutes before I start. If you’re in a hurry, you can microwave it for 10 seconds, but be careful not to melt it. I prefer unsalted so I can control the salt level, but salted butter works too — just skip the added salt in the recipe.
- 1/4 cup granulated sugar — White sugar gives the cookies that slight crispness on the edges. It also helps with spreading, so don’t skip it.
- 1/4 cup packed light brown sugar — This is where the magic happens. Brown sugar adds moisture and that deep, caramel-like flavor. Pack it firmly into your measuring cup — don’t just scoop it loosely. The molasses in brown sugar is what makes the centers soft and chewy.
- 1 large egg yolk — Just the yolk, not the whole egg. This is important! Using only the yolk gives you a richer, more tender cookie without making the dough too wet. Save the egg white for scrambled eggs tomorrow morning.
- 1/2 teaspoon vanilla extract — Pure vanilla extract makes a difference here. I’ve tried imitation vanilla and it works in a pinch, but the pure stuff really shines in a small batch where every flavor counts. My go-to is Nielsen-Massey, but any good brand works.
- 3/4 cup all-purpose flour — Spoon and level your flour — don’t scoop directly with the measuring cup. Scooping packs the flour down and you’ll end up with dry cookies. I use Gold Medal unbleached all-purpose flour for consistent results.
- 1/4 teaspoon baking soda — This helps the cookies spread just enough and gives them a little lift. Make sure your baking soda isn’t old — test it by dropping a bit in vinegar; if it fizzes, it’s good.
- 1/4 teaspoon salt — Salt balances the sweetness and enhances the chocolate flavor. I use fine sea salt for baking. If you’re using salted butter, reduce this to just a pinch.
- 1/3 cup semi-sweet chocolate chips — Use good quality chips here. I love Ghirardelli semi-sweet chips for their rich flavor and how they melt into little pools. You can also chop up a chocolate bar for bigger, more irregular chunks. Dark chocolate, milk chocolate, or even white chocolate all work — just adjust based on your preference.
For the flaky sea salt topping (optional but highly recommended): a pinch of flaky sea salt like Maldon or Fleur de Sel. Just a tiny sprinkle right when the cookies come out of the oven. It sounds fancy, but it’s actually a game-changer. The salt crystals hit your tongue first, then the sweetness follows. Trust me on this one.
Equipment Needed
You don’t need a professional bakery setup for these cookies. Here’s what you’ll need:
- Mixing bowls — One medium bowl for the wet ingredients, one small bowl for the dry ingredients. I use glass or ceramic bowls because they don’t retain smells or stains.
- Electric hand mixer or wooden spoon — A hand mixer makes creaming the butter and sugar easier, but a good old-fashioned wooden spoon works perfectly too. I actually prefer the spoon on days when I want to feel more connected to what I’m making.
- Measuring cups and spoons — Accurate measurements matter in a small batch. Use dry measuring cups for flour and sugar, and a liquid measuring cup if you ever need to measure milk or water.
- Baking sheet — A standard half-sheet pan works great. No need to grease it — the butter in the dough will prevent sticking.
- Parchment paper or silicone baking mat — Parchment paper makes cleanup a breeze and helps the cookies bake evenly. Silicone mats are reusable and work just as well.
- Cookie scoop or tablespoon — A 1.5-tablespoon cookie scoop gives you perfectly uniform cookies. If you don’t have one, just use a regular tablespoon and round the dough with your hands.
- Cooling rack — Letting the cookies cool on a rack prevents soggy bottoms. If you don’t have one, a clean cutting board works in a pinch.
That’s it. Nothing fancy, nothing expensive. Most of this stuff is probably already in your kitchen drawers.
Preparation Method
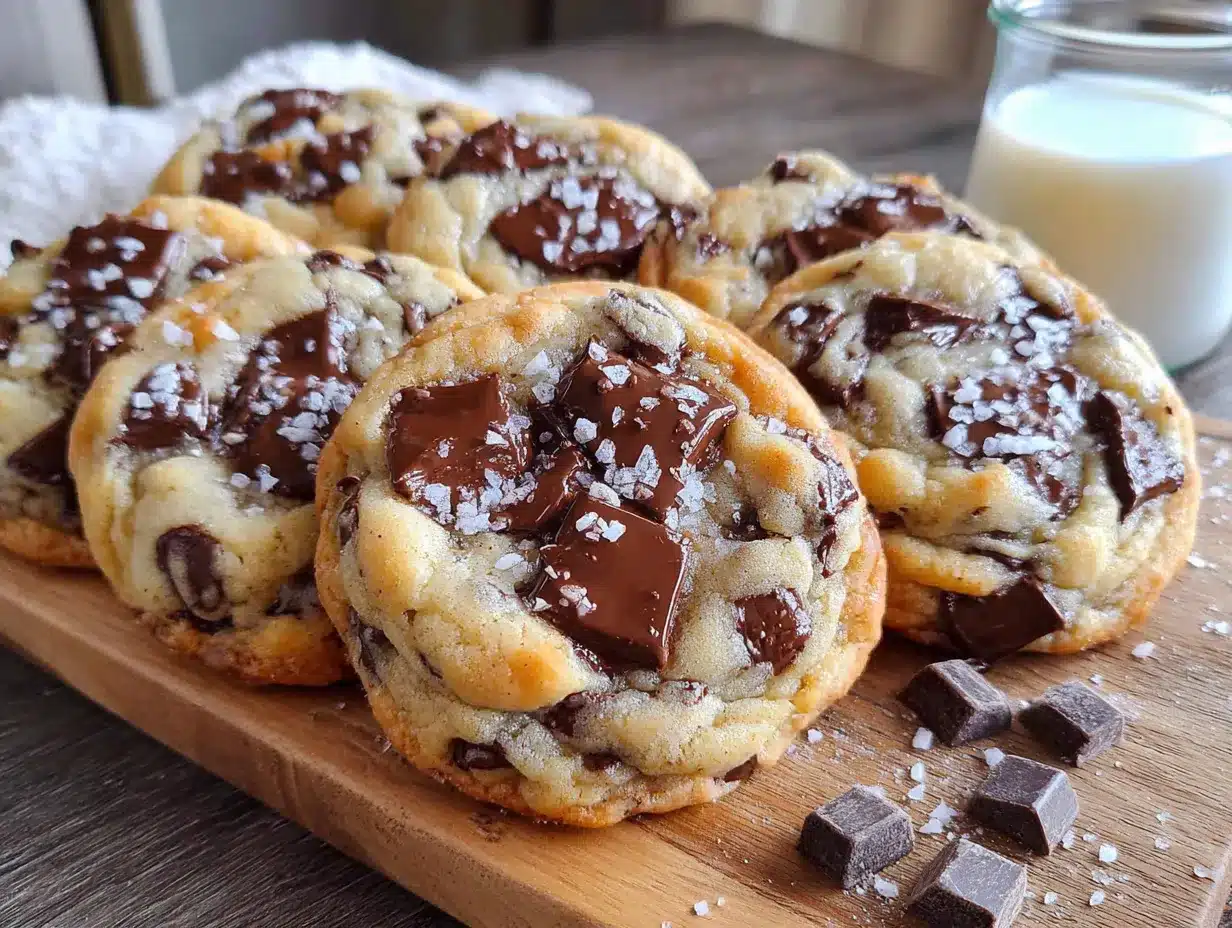
Let’s get baking! This whole process takes about 25 minutes from start to finish.
- Preheat your oven to 350°F (175°C). Line a baking sheet with parchment paper or a silicone mat. Getting the oven hot before you start mixing ensures even baking.
- Cream the butter and sugars together. In a medium bowl, combine the softened butter, granulated sugar, and brown sugar. Beat with a hand mixer on medium speed for about 2 minutes, or beat vigorously with a wooden spoon for about 3 minutes. You’re looking for a light, fluffy texture — the mixture should look pale and slightly increased in volume. Scrape down the sides of the bowl with a spatula halfway through.
- Add the egg yolk and vanilla. Drop in just the egg yolk (remember, no egg white!) and the vanilla extract. Mix on low speed or stir until just combined. Don’t overmix here — you just want the yolk and vanilla incorporated. The mixture might look a little curdled at this point, which is totally normal.
- Whisk the dry ingredients separately. In a small bowl, whisk together the flour, baking soda, and salt. Whisking aerates the flour and distributes the leavening agents evenly. This step matters more than you think — nobody wants a pocket of baking soda in their cookie.
- Combine wet and dry ingredients. Add the flour mixture to the butter mixture in two additions, mixing on low speed or stirring gently after each addition. Stop as soon as the flour disappears. Overmixing at this stage develops gluten and makes tough cookies. The dough should be soft and slightly sticky but not wet.
- Fold in the chocolate chips. Add the chocolate chips and fold them in with a spatula or wooden spoon. Just a few turns — you want the chips distributed evenly without overworking the dough. If you’re feeling fancy, reserve a few chips to press onto the tops of the dough balls before baking. This gives you those beautiful chocolate puddles on top.
- Scoop and shape the dough. Use a 1.5-tablespoon cookie scoop or a regular tablespoon to portion out 6 equal mounds of dough. Roll each mound into a ball between your palms. Place them on the prepared baking sheet, spacing them about 2 inches apart. These cookies will spread, but with only 6 on a standard sheet, you’ll have plenty of room.
- Bake for 10-12 minutes. Pop the sheet into the preheated oven and bake until the edges are golden brown and the centers look slightly underdone and puffy. The tops should be set but still soft to the touch. At 10 minutes, they’ll be softer and chewier. At 12 minutes, they’ll be crispier. I usually aim for 11 minutes — that’s my sweet spot.
- Cool on the baking sheet for 5 minutes. This is crucial! The cookies need this time to finish setting up. If you try to move them right away, they’ll fall apart. The residual heat from the pan continues to bake the centers while the edges firm up.
- Transfer to a cooling rack. After 5 minutes, use a spatula to move the cookies to a wire rack. If you’re using the flaky sea salt, sprinkle a tiny pinch on each cookie right now while they’re still warm. Let them cool completely if you can resist — though I fully support eating one warm with a glass of cold milk.
A quick note: if your cookies spread too much, your butter was too soft or your oven wasn’t hot enough. If they didn’t spread enough, your flour was overmeasured or your butter wasn’t soft enough. Every oven is different, so keep an eye on them the first time you bake this recipe.
Cooking Tips & Techniques
I’ve made these cookies probably fifty times now, and I’ve learned a few things along the way. Let me share what works.
Room temperature butter is non-negotiable. I learned this the hard way when I tried to use cold butter straight from the fridge. The dough was lumpy, the cookies didn’t spread evenly, and the texture was all wrong. Take the butter out 30 minutes before you start. If you forget, cut it into small cubes and let it sit for 15 minutes — that speeds things up without melting it.
Don’t skip the brown sugar. I once ran out of brown sugar and used all white sugar instead. The cookies were flat, crispy, and lacked that deep, caramel flavor. Brown sugar is what gives these cookies their soft, chewy centers. If you’re in a pinch, you can make your own brown sugar by mixing 1/4 cup white sugar with 1 tablespoon molasses.
Chill the dough if you have time. I know I said no chilling needed, and that’s true. But if you have an extra 30 minutes, popping the dough balls in the fridge before baking gives you thicker, chewier cookies. The cold butter takes longer to melt in the oven, which means less spreading. It’s not necessary, but it’s a nice trick when you want that bakery-style look.
Use a cookie scoop for even sizing. Uniform cookies bake evenly. If some are bigger than others, the small ones will burn while the big ones are still raw. A cookie scoop is a small investment that pays off every time. Mine cost about five dollars and I use it constantly.
Watch the edges, not the center. The biggest mistake people make is overbaking cookies. Take them out when the edges are golden and the centers still look slightly underdone. They’ll continue cooking on the hot pan for those 5 minutes you leave them there. If you wait until the centers look done, you’ll have crunchy, dry cookies.
Rotate the pan halfway through. Most ovens have hot spots. Halfway through baking, spin the pan 180 degrees. This ensures even browning across all six cookies. I forgot to do this once and ended up with three perfect cookies and three that were slightly burnt on one side.
Variations & Adaptations
One of the best things about this recipe is how easy it is to change up. Here are some variations I’ve tried and loved.
Double Chocolate Chip Cookies: Replace 2 tablespoons of the flour with unsweetened cocoa powder. Use dark chocolate chips instead of semi-sweet. The result is a rich, fudgy cookie that tastes like a brownie in cookie form. My kids go crazy for these.
Gluten-Free Version: Substitute the all-purpose flour with a good gluten-free flour blend that contains xanthan gum. I’ve had great results with Bob’s Red Mill 1-to-1 Baking Flour. The texture is slightly more delicate, but the flavor is spot-on. Let the dough rest for 10 minutes after mixing to allow the flour to hydrate properly.
Vegan Adaptation: Use vegan butter (I like Earth Balance) and replace the egg yolk with 1 tablespoon of aquafaba (the liquid from a can of chickpeas) mixed with 1 teaspoon of cornstarch. The cookies won’t be quite as rich, but they’re surprisingly good. Use dairy-free chocolate chips to keep it fully vegan.
Add-In Variations: Swap the chocolate chips for white chocolate and dried cranberries for a festive twist. Or use butterscotch chips for a completely different flavor profile. Chopped nuts like pecans or walnuts add great texture — just add 1/4 cup along with the chips. I once made a batch with crushed pretzels mixed in and it was incredible — salty and sweet all at once.
Brown Butter Version: For a nuttier, more sophisticated flavor, brown the butter before using it. Melt the 4 tablespoons of butter in a small saucepan over medium heat. Cook, swirling occasionally, until it turns golden brown and smells nutty — about 3-4 minutes. Let it cool completely before using. The cookies will have a deeper, almost toffee-like flavor. This is my personal favorite variation when I want to impress someone.
Serving & Storage Suggestions
These cookies are best enjoyed warm, but they’re pretty amazing at room temperature too.
Serving Temperature: Warm cookies are unbeatable. If you’re serving them fresh from the oven, let them cool on the pan for just 5 minutes — they’ll still be warm in the center but firm enough to hold. For room temperature cookies, let them cool completely on a rack. I love serving them with a tall glass of cold milk, a cup of hot coffee, or a mug of spiced chai tea.
Presentation Ideas: Arrange the cookies on a small plate or a wooden board. A sprinkle of flaky sea salt on top adds visual appeal and that professional touch. For a cozy presentation, serve them in a small basket lined with a cloth napkin. If you’re gifting them, stack them in a mason jar or a small tin with a ribbon.
Storage Instructions: Store leftover cookies in an airtight container at room temperature. They’ll stay fresh for up to 3 days. To keep them soft, add a slice of bread to the container — the cookies will absorb the moisture from the bread. Replace the bread slice every day if you’re storing them longer.
Freezing Instructions: These cookies freeze beautifully. You can freeze the baked cookies in a freezer-safe bag for up to 3 months. Thaw at room temperature for about 30 minutes. For fresh-baked cookies anytime, freeze the dough balls instead. Scoop the dough into balls, place them on a baking sheet, and freeze until solid. Transfer to a freezer bag. When you’re ready to bake, just add 2-3 minutes to the baking time — no need to thaw.
Reheating Tips: To revive a day-old cookie, pop it in the microwave for 10 seconds. It’ll be warm and soft again. For that just-baked crisp edge, reheat in a 300°F oven for 3-4 minutes. The flavor actually improves after a day — the sugars settle and the chocolate mellows out.
Nutritional Information & Benefits
Let’s be real — these are cookies, not health food. But knowing what’s in them helps you enjoy them mindfully.
Per cookie (based on 6 cookies): approximately 220 calories, 11g fat, 29g carbohydrates, 3g protein, 18g sugar, 1g fiber. These values will vary based on the specific ingredients you use, especially the type of chocolate chips.
Ingredient Benefits: The butter provides vitamin A and healthy fats. The egg yolk is rich in choline, which supports brain health. Dark chocolate (if you use dark chocolate chips) contains antioxidants called flavonoids that may support heart health. The brown sugar gives you a quick energy boost, though it’s best enjoyed in moderation.
Dietary Considerations: This recipe contains gluten, dairy, and eggs. For gluten-free, use a quality gluten-free flour blend. For dairy-free, use vegan butter and dairy-free chocolate chips. For egg-free, use a flax egg (1 tablespoon ground flaxseed mixed with 3 tablespoons water, let sit for 5 minutes).
Portion Control: The beauty of a small batch is built-in portion control. Six cookies is enough to satisfy a craving without having a whole batch staring at you from the counter. I love that I can make exactly what I need and no more.
Conclusion
This small-batch chocolate chip cookie recipe has become a staple in my kitchen for good reason. It’s the recipe I turn to when I need something warm and comforting without spending hours in the kitchen. It’s the recipe that saved me at that cookie swap, and it’s the recipe that’s saved countless evenings since then.
What I love most about these cookies is how adaptable they are. You can make them exactly as written, or you can play around with different add-ins and variations. They’re forgiving, they’re fast, and they deliver that nostalgic chocolate chip cookie experience every single time. Honestly, I don’t think I’ll ever go back to making full batches again. Six cookies is the perfect amount — enough to share, but just enough to keep for yourself too.
I’d love to hear how these turn out for you! Drop a comment below and let me know if you tried any variations, or if you have a favorite way to enjoy them. Share this recipe with someone who needs a little comfort today, and don’t forget to pin it for later. Happy baking, friend — you’ve got this.
Frequently Asked Questions
Can I use margarine instead of butter?
You can, but the texture won’t be the same. Margarine has a higher water content than butter, which can make the cookies spread more and become greasy. Butter gives you that rich flavor and perfect texture. If you’re in a pinch, use a high-quality baking stick margarine with at least 80% fat content.
Why did my cookies turn out flat?
Flat cookies usually mean your butter was too soft or melted. Make sure your butter is softened but still cool to the touch. Another common culprit is overmixing the dough after adding the flour, which develops too much gluten. Also, check that your baking soda is fresh — old baking soda won’t give the cookies enough lift.
Can I double this recipe?
Absolutely! To make 12 cookies, simply double all the ingredients. Use a whole egg instead of just the yolk (since you’ll have two yolks from the doubled recipe, you can use one whole egg instead). The baking time might increase by a minute or two if you’re baking a full sheet of 12 cookies.
How do I get that bakery-style look with chocolate on top?
Reserve about a tablespoon of chocolate chips before folding them into the dough. After you scoop and shape the dough balls, press a few of those reserved chips onto the tops. When the cookies bake and spread, those chips stay on top, creating those beautiful chocolate puddles you see in bakery windows.
Can I make the dough ahead of time?
Yes! You can prepare the dough, scoop it into balls, and refrigerate them for up to 48 hours. Cover the dough balls with plastic wrap to prevent them from drying out. You can also freeze the dough balls for up to 3 months. Bake from frozen, adding 2-3 minutes to the baking time.
Pin This Recipe!
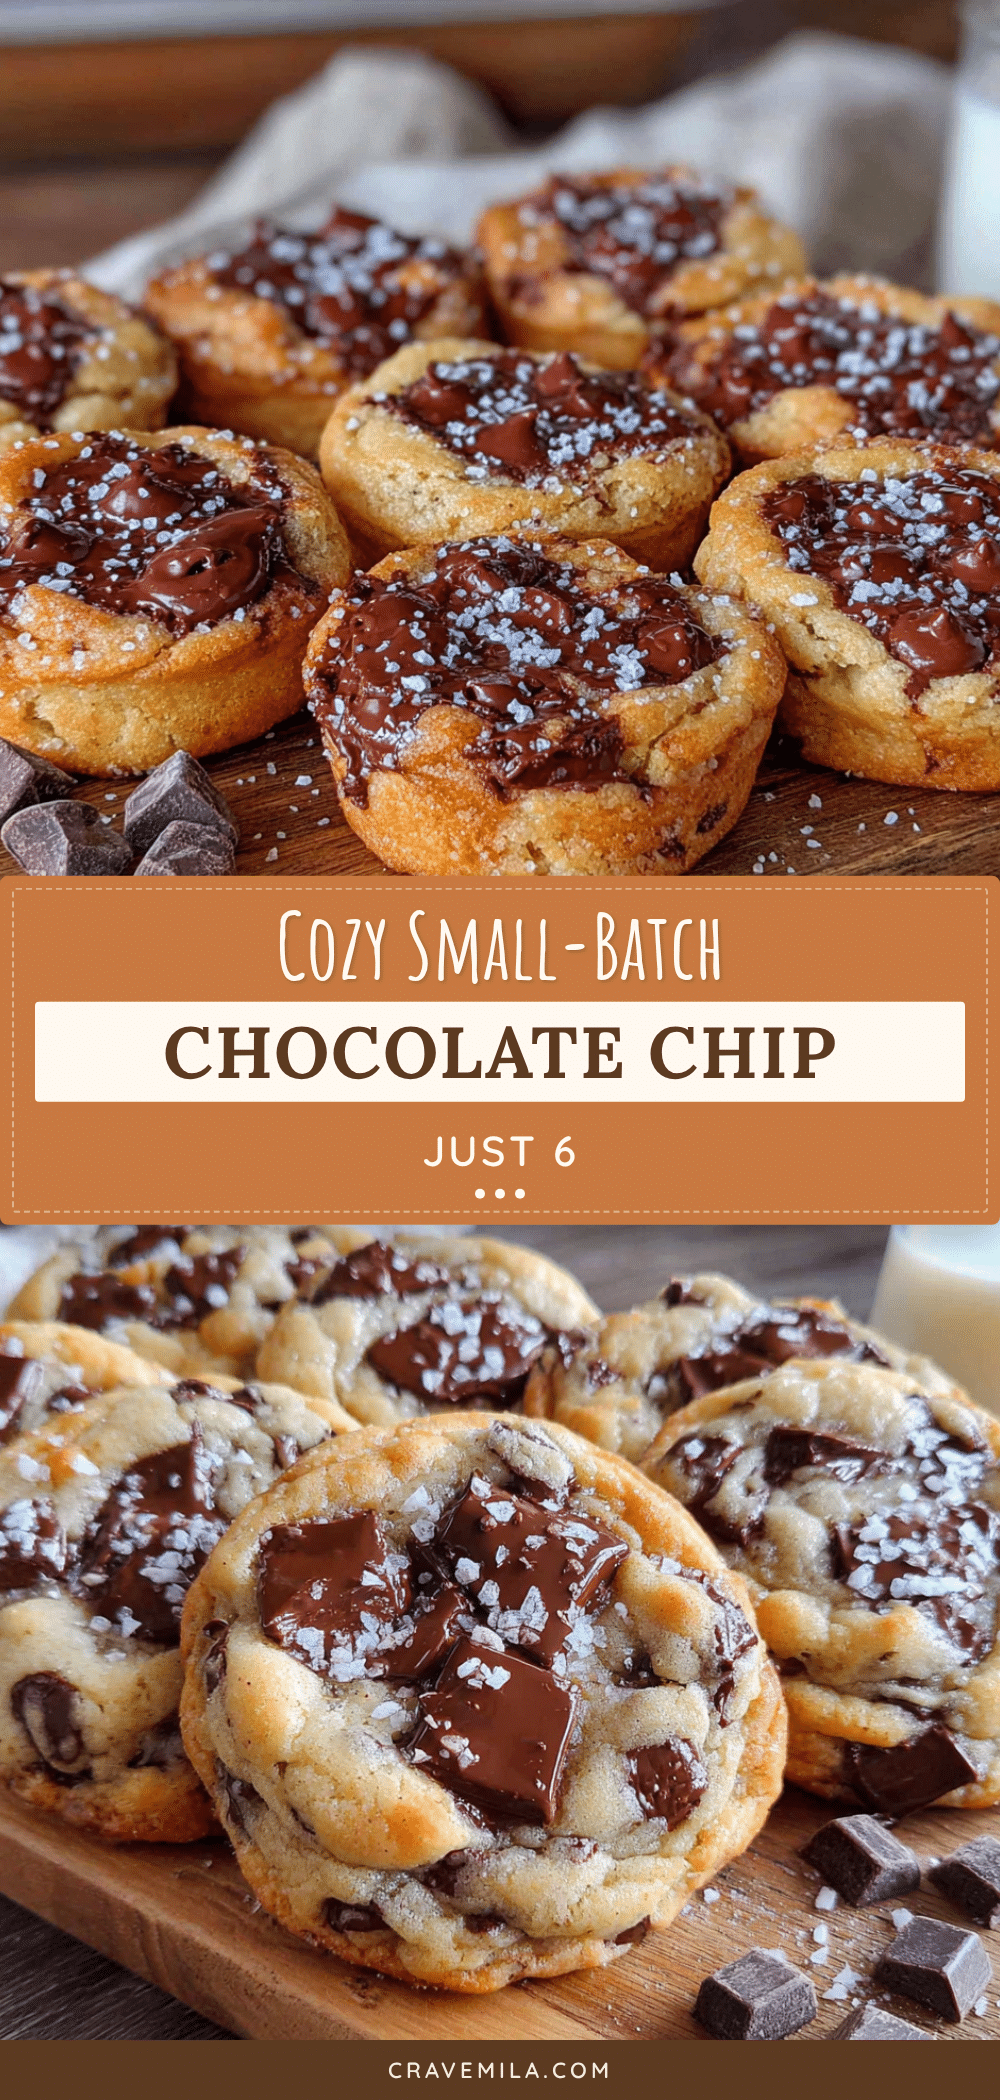
Cozy Small-Batch Chocolate Chip Cookies – Best Easy 6-Cookie Recipe

A quick and easy recipe for six perfectly chewy chocolate chip cookies with crispy edges and melty chocolate pools. Made with simple ingredients in about 25 minutes, this small batch is ideal for cozy evenings or last-minute treats.
- Prep Time: 10 minutes
- Cook Time: 10-12 minutes
- Total Time: 25 minutes
- Yield: 6 cookies 1x
- Category: Dessert
- Cuisine: American
Ingredients
- 4 tablespoons unsalted butter, softened
- 1/4 cup granulated sugar
- 1/4 cup packed light brown sugar
- 1 large egg yolk
- 1/2 teaspoon vanilla extract
- 3/4 cup all-purpose flour
- 1/4 teaspoon baking soda
- 1/4 teaspoon salt
- 1/3 cup semi-sweet chocolate chips
- Flaky sea salt (optional, for topping)
Instructions
- Preheat your oven to 350°F (175°C). Line a baking sheet with parchment paper or a silicone mat.
- In a medium bowl, cream together the softened butter, granulated sugar, and brown sugar with a hand mixer on medium speed for about 2 minutes (or beat vigorously with a wooden spoon for 3 minutes) until light and fluffy. Scrape down the sides of the bowl halfway through.
- Add the egg yolk and vanilla extract. Mix on low speed or stir until just combined. The mixture may look slightly curdled; this is normal.
- In a small bowl, whisk together the flour, baking soda, and salt.
- Add the flour mixture to the butter mixture in two additions, mixing on low speed or stirring gently after each addition. Stop as soon as the flour disappears. The dough should be soft and slightly sticky.
- Fold in the chocolate chips with a spatula or wooden spoon until evenly distributed. Optionally, reserve a few chips to press onto the tops of the dough balls before baking.
- Using a 1.5-tablespoon cookie scoop or a regular tablespoon, portion out 6 equal mounds of dough. Roll each mound into a ball between your palms. Place them on the prepared baking sheet, spacing them about 2 inches apart.
- Bake for 10–12 minutes, until the edges are golden brown and the centers look slightly underdone and puffy. For softer cookies, bake 10 minutes; for crispier, bake 12 minutes.
- Let the cookies cool on the baking sheet for 5 minutes. This allows them to finish setting up.
- Transfer the cookies to a wire rack. If using flaky sea salt, sprinkle a tiny pinch on each cookie while still warm. Let cool completely if desired, or enjoy warm.
Notes
For thicker, chewier cookies, chill the dough balls for 30 minutes before baking. If cookies spread too much, the butter was too soft or the oven wasn’t hot enough. If they didn’t spread enough, the flour was overmeasured or the butter wasn’t soft enough. Rotate the pan halfway through baking for even browning.
Nutrition
- Serving Size: 1 cookie
- Calories: 220
- Sugar: 18
- Sodium: 150
- Fat: 11
- Saturated Fat: 7
- Carbohydrates: 29
- Fiber: 1
- Protein: 3
Keywords: small batch chocolate chip cookies, easy cookie recipe, 6 cookies, quick cookies, chewy chocolate chip cookies



