My neighbor, a woman named Carol who gardens with the quiet ferocity of someone who has won many battles against squirrels, swore she hated fig jam. For years. Every time I mentioned making it, she’d make a face like I’d suggested pickled herring for dessert. “Too sweet,” she’d say. “Grainy. Sticky in a bad way.” I stopped offering her jars after the third polite refusal. Then, last August, I found her standing in my kitchen doorway, spoon halfway to her mouth, caught mid-dip into a jar I’d left cooling on the counter.
“This is different,” she said, not even pretending to be embarrassed. And honestly, she was right. It was different. This small-batch fig jam, made without a speck of pectin, had a deep, honeyed complexity that store-bought versions never touch. The figs had come from my friend’s tree—the one that drops fruit like it’s in a hurry—and I’d simmered them down with nothing but sugar, lemon, and a little patience. No boxed pectin, no commercial shortcuts. Just figs being their best selves.
I remember I burned the first batch that year. Got distracted by a phone call and walked back to a kitchen that smelled like caramelized regret. But the second batch? That one sang. The way the jam set up on its own, using only the natural pectin in the fruit and the lemon, felt like a small kitchen miracle. Maybe you’ve had that moment with a recipe—where you realize the simplest version is actually the best one. This is that jam. The one that turns skeptics into believers, one spoonful at a time.
Why You’ll Love This Recipe
Let me tell you why this small-batch fig jam recipe is the one you’ll come back to year after year. I’ve tested this method more times than I care to admit—through fig seasons with fruit that was too ripe, not ripe enough, and everything in between. The beauty of no-pectin jam is that it lets the fruit speak for itself, and this recipe lets those figs shine.
- Quick & Easy: From cutting board to jar in about 45 minutes. No water bath canning required if you’re eating it within a few weeks.
- Simple Ingredients: Just figs, sugar, lemon juice, and a pinch of salt. That’s it. No pectin, no gelatin, no weird additives.
- Perfect for Gifting: Tie a ribbon around a small jar and you’ve got a hostess gift that looks like you spent hours—even though you didn’t.
- Small-Batch Magic: Makes just 2-3 half-pint jars. No more staring at a fridge full of jam you’ll never finish.
- Unbelievably Delicious: The texture is silky, the flavor is deep and complex, and you’ll taste the difference skipping the pectin makes.
What makes this recipe different from every other fig jam recipe out there? It’s the method. By macerating the figs with sugar first—letting them sit and release their own juices—you build flavor before the heat even hits the pan. This isn’t just another version of fig jam. It’s the one where you learn to trust the fruit to do the work. The kind of jam that makes you close your eyes after the first bite, because it tastes like summer captured in a jar.
What Ingredients You Will Need
This recipe uses simple, honest ingredients to deliver a deep, complex flavor and a naturally set texture. The magic is in the quality of the fruit and the technique, not a long list of fancy additions.
- Fresh Figs (2 pounds / about 900 grams): The star of the show. Look for ripe but firm figs—Black Mission, Brown Turkey, or Kadota all work beautifully. They should be soft to the touch but not mushy, with no signs of mold. I prefer using a mix of varieties when I can get them for a more complex flavor. (Personal tip: If your figs are very ripe, reduce the sugar slightly.)
- Granulated Sugar (1 cup / 200 grams): Regular white sugar works best here. It dissolves cleanly and lets the fig flavor take center stage. Don’t be tempted to use brown sugar—it overpowers the delicate fig taste. If you want to reduce sugar, you can cut it to 3/4 cup, but the jam will be looser and won’t keep as long.
- Fresh Lemon Juice (2 tablespoons / 30 ml): This is non-negotiable. The acid helps activate the natural pectin in the figs and balances the sweetness. Use freshly squeezed juice—the bottled stuff has a flat taste that you’ll notice in the final jam. (I like to use Meyer lemons when they’re in season for a slightly sweeter, floral note.)
- Fine Sea Salt (a pinch): Just a tiny pinch. Salt doesn’t make the jam salty—it brightens all the other flavors and makes the sweetness taste more rounded. Trust me on this one.
- Optional: Vanilla Extract (1/2 teaspoon) or Fresh Thyme (1 sprig): These are completely optional but lovely. A splash of vanilla adds warmth, while a sprig of thyme simmered with the jam adds an herbaceous, savory note that’s incredible with cheese. (I do the vanilla version for toast and the thyme version for cheese boards.)
Ingredient Sourcing Note: I’ve found that figs from farmers’ markets or a neighbor’s tree have the best flavor for jam. If you’re buying from a grocery store, look for figs that are plump and have a slight give when gently pressed. Avoid any that feel hard or have cracks in the skin.
Equipment Needed
You don’t need a fancy kitchen setup for this small-batch fig jam, which is part of its charm. Here’s what you’ll need:
- Heavy-Bottomed Pot or Dutch Oven (3-4 quart): A wide, heavy pot ensures even heat distribution and prevents scorching. I use my enameled cast iron Dutch oven for this—it’s perfect. Avoid thin stainless steel pots, as they create hot spots that can burn the jam.
- Sharp Knife and Cutting Board: For trimming the stems and cutting the figs. A serrated knife works well for very soft figs.
- Wooden Spoon or Silicone Spatula: For stirring. Wood is traditional and works great, but a heat-safe silicone spatula lets you scrape the sides and bottom more effectively.
- Half-Pint Canning Jars (2-3) with Lids: For storing the finished jam. You can also use small Weck jars or any glass jar with a tight-fitting lid. Sterilize them by washing in hot soapy water and keeping them warm in a 200°F oven until ready to fill.
- Small Plate or Spoon (for the freezer test): This is your secret weapon for testing if the jam is set without a thermometer. Pop a small plate in the freezer before you start cooking.
- Kitchen Scale (optional but helpful): Figs vary wildly in size, so weighing them gives you more consistent results. I use my scale every time.
Budget-Friendly Tip: Don’t have a Dutch oven? A heavy-bottomed saucepan works just fine—just keep a closer eye on it and stir more frequently to prevent sticking.
Preparation Method
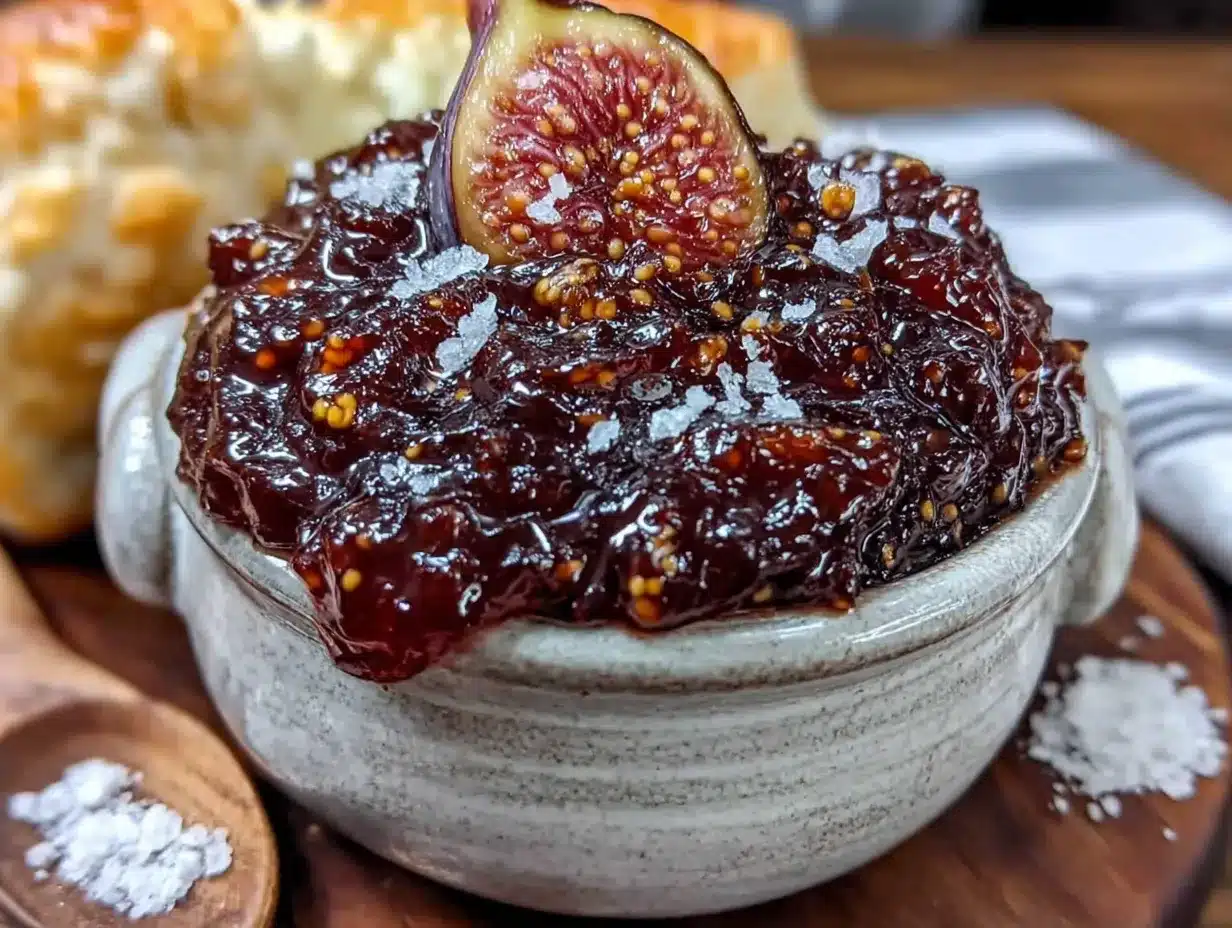
Let’s make some jam. This method is straightforward, but there are a few key moments where you’ll want to pay attention. Set a timer, put your phone on silent, and let’s get cooking.
Step 1: Prep the Figs (10 minutes)
Rinse your figs gently under cool water and pat them dry with a clean kitchen towel. Trim off the tough stem ends—just the very tip, not the whole top. Cut each fig into quarters or sixths, depending on their size. For very large figs, you might want to cut them into eighths. The pieces should be roughly uniform so they cook evenly. Don’t worry about being perfect—figs break down beautifully as they cook.
Step 2: Macerate the Figs (20-30 minutes, hands-off)
Place the cut figs in your pot and add the sugar and lemon juice. Stir gently to coat every piece of fruit. Let this sit at room temperature for 20-30 minutes. You’ll see the figs start to release their juices and the sugar will begin to dissolve. This step is crucial—it draws out moisture and starts breaking down the fruit before any heat is applied, which means better flavor and a more even set.
Step 3: Start Cooking (15-20 minutes)
Place the pot over medium heat and bring the mixture to a gentle simmer. Stir occasionally as the figs soften and release more liquid. Once it’s simmering, reduce the heat to medium-low. Add your pinch of salt at this point. If you’re using optional vanilla or thyme, add it now. Let the jam cook at a steady, gentle bubble—not a roaring boil. You want the liquid to reduce slowly, concentrating the flavor.
Step 4: The Freezer Test (5 minutes, repeated as needed)
After about 15 minutes of simmering, start checking for doneness. Grab your frozen plate from the freezer. Drop a small spoonful of jam onto the cold plate. Let it sit for 30 seconds, then push it with your finger. If it wrinkles and holds its shape without flooding back together, it’s done. If it’s still runny, cook for another 3-5 minutes and test again. This is the most reliable way to check set without a thermometer.
Step 5: Remove Flavorings and Rest (5 minutes)
If you used a thyme sprig or vanilla bean, remove it now. Turn off the heat and let the jam rest in the pot for 5 minutes. This allows the foam to settle and the jam to thicken slightly more. Skim off any foam that rises to the top with a spoon—it’s harmless but can make the jam look cloudy.
Step 6: Jar the Jam (10 minutes)
Carefully ladle the hot jam into your prepared, warm jars, leaving about 1/4 inch of headspace at the top. Wipe the rims clean with a damp paper towel—any residue here will prevent a good seal. Screw on the lids until just fingertip-tight. If you’re planning to eat the jam within a few weeks, let it cool to room temperature, then refrigerate. For longer storage, process the jars in a boiling water bath for 10 minutes.
Step 7: Cool and Set (12-24 hours, hands-off)
Let the jars cool undisturbed on the counter. You’ll hear the satisfying “pop” of the lids sealing if you processed them. Don’t move or tip the jars during this time. The jam needs 12-24 hours to fully set and develop its flavor. I know it’s hard to wait, but it’s worth it.
Cooking Tips & Techniques
I’ve made this small-batch fig jam more times than I can count, and I’ve learned a few things the hard way. Here are the tips that will save you from my mistakes.
Don’t Skip the Maceration: I know it’s tempting to just dump everything in the pot and start cooking. Don’t. That resting time where the figs sit with the sugar is where the magic starts. It breaks down the fruit’s cell walls gently, meaning you need less cooking time and the flavor stays brighter. I once skipped this step when I was in a hurry, and the jam was good but not great—it lacked that deep, concentrated fig flavor.
Watch the Heat: Low and slow is the name of the game here. If your heat is too high, the sugar can caramelize before the figs have fully broken down, giving you a jam that’s dark and bitter instead of bright and fruity. If you see the mixture boiling too vigorously, turn it down immediately. A gentle bubble is what you’re after.
Trust the Freezer Test: I used to rely on temperature (220°F is the standard for jam), but figs are variable, and the freezer test is more reliable. It takes practice, but once you see that wrinkle form, you’ll never go back. The first time I did it, I thought I had failed, but the jam set up perfectly overnight.
Don’t Double the Batch: I know, I know—if it’s good, why not make more? But doubling this recipe changes the cooking time dramatically and increases the risk of burning. The jam needs a wide surface area to evaporate moisture efficiently. Make two separate batches if you need more.
My Biggest Mistake: The time I forgot to put a plate in the freezer before I started. I ended up guessing when the jam was done, and I guess wrong. It was more of a fig syrup than a jam. Delicious on pancakes, but not what I was going for. Always put that plate in the freezer before you even wash the figs.
Variations & Adaptations
One of the best things about this recipe is how easily it adapts to what you have on hand or what you’re craving. Here are some of my favorite twists.
Spiced Fig Jam: Add 1 cinnamon stick, 2 star anise pods, and a strip of orange zest to the pot along with the figs. Remove them before jarring. This version is incredible on toast with butter or spooned over baked brie. I made this for a holiday party last year, and people were eating it straight from the jar.
Balsamic Fig Jam: Replace 1 tablespoon of the lemon juice with good balsamic vinegar. The vinegar adds a tangy, slightly savory depth that’s fantastic with roasted meats or on a cheese board with aged cheddar. Start with less balsamic and taste as you go—a little goes a long way.
Low-Sugar Version: Reduce the sugar to 3/4 cup and add 1 tablespoon of chia seeds during the last 5 minutes of cooking. The chia seeds will help thicken the jam without pectin. This version won’t keep as long (about 2 weeks in the fridge), but it’s a great option if you’re watching your sugar intake. I’ve made this for a friend who’s diabetic, and she said it was the best fig jam she’d ever had.
Dried Fig Version: If fresh figs aren’t in season, you can use dried figs. Rehydrate 1 pound of dried figs in hot water for 30 minutes, then drain and chop. Reduce the sugar to 3/4 cup and add 1/4 cup of water to the pot. The texture will be different—denser and more chewy—but the flavor is still wonderful. This is my go-to in the middle of winter when I’m craving summer.
Rosemary Fig Jam: Add a 4-inch sprig of fresh rosemary along with the thyme option. Rosemary and figs are a classic pairing that works beautifully with pork or on crostini with goat cheese. I made this for a summer barbecue, and people kept asking for the recipe.
Serving & Storage Suggestions
This small-batch fig jam is incredibly versatile, and how you serve it can change the whole experience. Here’s how I like to use it.
Serving Temperature and Presentation: Serve the jam at room temperature for the best flavor and spreadability. If it’s been in the fridge, let it sit out for 15-20 minutes before using. For a beautiful presentation, spoon it into a small bowl and garnish with a fresh fig slice and a sprig of thyme or rosemary.
Classic Pairings: Spread it thickly on warm buttered toast, scones, or biscuits. It’s also incredible swirled into yogurt, spooned over pancakes or waffles, or used as a filling for thumbprint cookies. For a savory twist, serve it alongside a cheese board with aged cheddar, manchego, or blue cheese. It’s also fantastic with roasted pork or chicken—just warm it slightly and drizzle it over the meat.
Storage Instructions: Store unopened jars in a cool, dark place for up to 1 year. Once opened, refrigerate the jam and use it within 3-4 weeks. If you see any mold or off smells, discard it immediately. I’ve never had that happen, but it’s always good to be cautious.
Freezing Instructions: You can freeze this jam for up to 6 months. Spoon it into freezer-safe containers, leaving 1/2 inch of headspace for expansion. Thaw in the refrigerator overnight before using. The texture will be slightly softer after freezing, but the flavor remains excellent.
Flavor Development: Here’s something I love about this jam—the flavor actually improves after a few days in the fridge. The fig taste deepens and the sweetness becomes more balanced. So don’t worry if it tastes a little simple right after making it. Give it time to settle into itself.
Nutritional Information & Benefits
While this is a treat, it does have some nutritional perks worth noting. Here’s what you’re getting in a 1-tablespoon serving (about 20 grams).
Estimated Nutritional Values (per tablespoon):
- Calories: 45
- Carbohydrates: 11g
- Sugar: 10g
- Fiber: 0.5g
- Protein: 0g
- Fat: 0g
- Sodium: 5mg
Health Benefits of Figs: Figs are a good source of dietary fiber, which supports digestive health. They also contain potassium, calcium, and magnesium—minerals that are important for bone health and muscle function. Figs are rich in antioxidants, particularly phenolic compounds, which help fight oxidative stress in the body. Of course, this jam does have sugar, so enjoy it in moderation as part of a balanced diet.
Dietary Considerations: This recipe is naturally gluten-free, dairy-free, and vegan. It contains no added pectin, no artificial colors, and no preservatives. If you use the low-sugar variation with chia seeds, it’s also suitable for those watching their sugar intake.
Potential Allergens: This recipe is free from the top common allergens (dairy, eggs, nuts, soy, wheat). However, always check your specific ingredients for any cross-contamination warnings if you have severe allergies.
Conclusion
This small-batch fig jam is proof that the simplest things are often the best. No pectin, no complicated techniques, no long ingredient lists—just good fruit treated with respect and a little patience. It’s the kind of recipe that makes you feel like you’ve discovered a secret, even though it’s been around for generations.
I love this recipe because it captures a moment. The last week of August, when the figs are at their peak and the kitchen is warm and full of that sweet, jammy smell. It’s a way of holding onto summer just a little longer. I hope you’ll make it your own—add a spice you love, try it with a different fruit, or just follow the recipe exactly and taste what happens when you let the fruit do the talking.
Have you made this jam? I’d love to hear how it turned out. Drop a comment below and tell me what you served it with, or if you tried one of the variations. And if you share a photo on social media, tag me—I love seeing your kitchen creations. Happy jamming, friends.
Frequently Asked Questions
Can I use frozen figs instead of fresh?
Yes, you can use frozen figs! Thaw them completely and drain off any excess liquid before using. You may need to cook the jam for an extra 5-10 minutes to evaporate the extra moisture. The flavor will still be excellent, though the texture might be slightly softer than with fresh figs.
Why didn’t my jam set properly?
There are a few common reasons. The figs might not have been ripe enough—underripe figs have less natural pectin. You might not have cooked the jam long enough; try the freezer test next time and be patient. Or, you might have doubled the recipe, which changes the cooking dynamics. Stick with the small batch for best results.
How do I know when the jam is done without a thermometer?
The freezer test is your best friend. Put a small plate in the freezer before you start cooking. Drop a spoonful of jam onto the cold plate, wait 30 seconds, then push it with your finger. If it wrinkles and holds its shape, it’s done. If it’s still runny, cook for another 3-5 minutes and test again.
Can I reduce the sugar in this recipe?
Yes, you can reduce the sugar to 3/4 cup, but the jam will be looser and won’t keep as long (about 2 weeks in the fridge). For a low-sugar version that still sets well, add 1 tablespoon of chia seeds during the last 5 minutes of cooking. The chia seeds will help thicken the jam naturally.
How long does homemade fig jam last?
Unopened, properly processed jars will keep for up to 1 year in a cool, dark place. Once opened, refrigerate the jam and use it within 3-4 weeks. If you’re not processing the jars (just refrigerating them immediately), use the jam within 3-4 weeks. Always check for signs of mold or off smells before using.
Pin This Recipe!
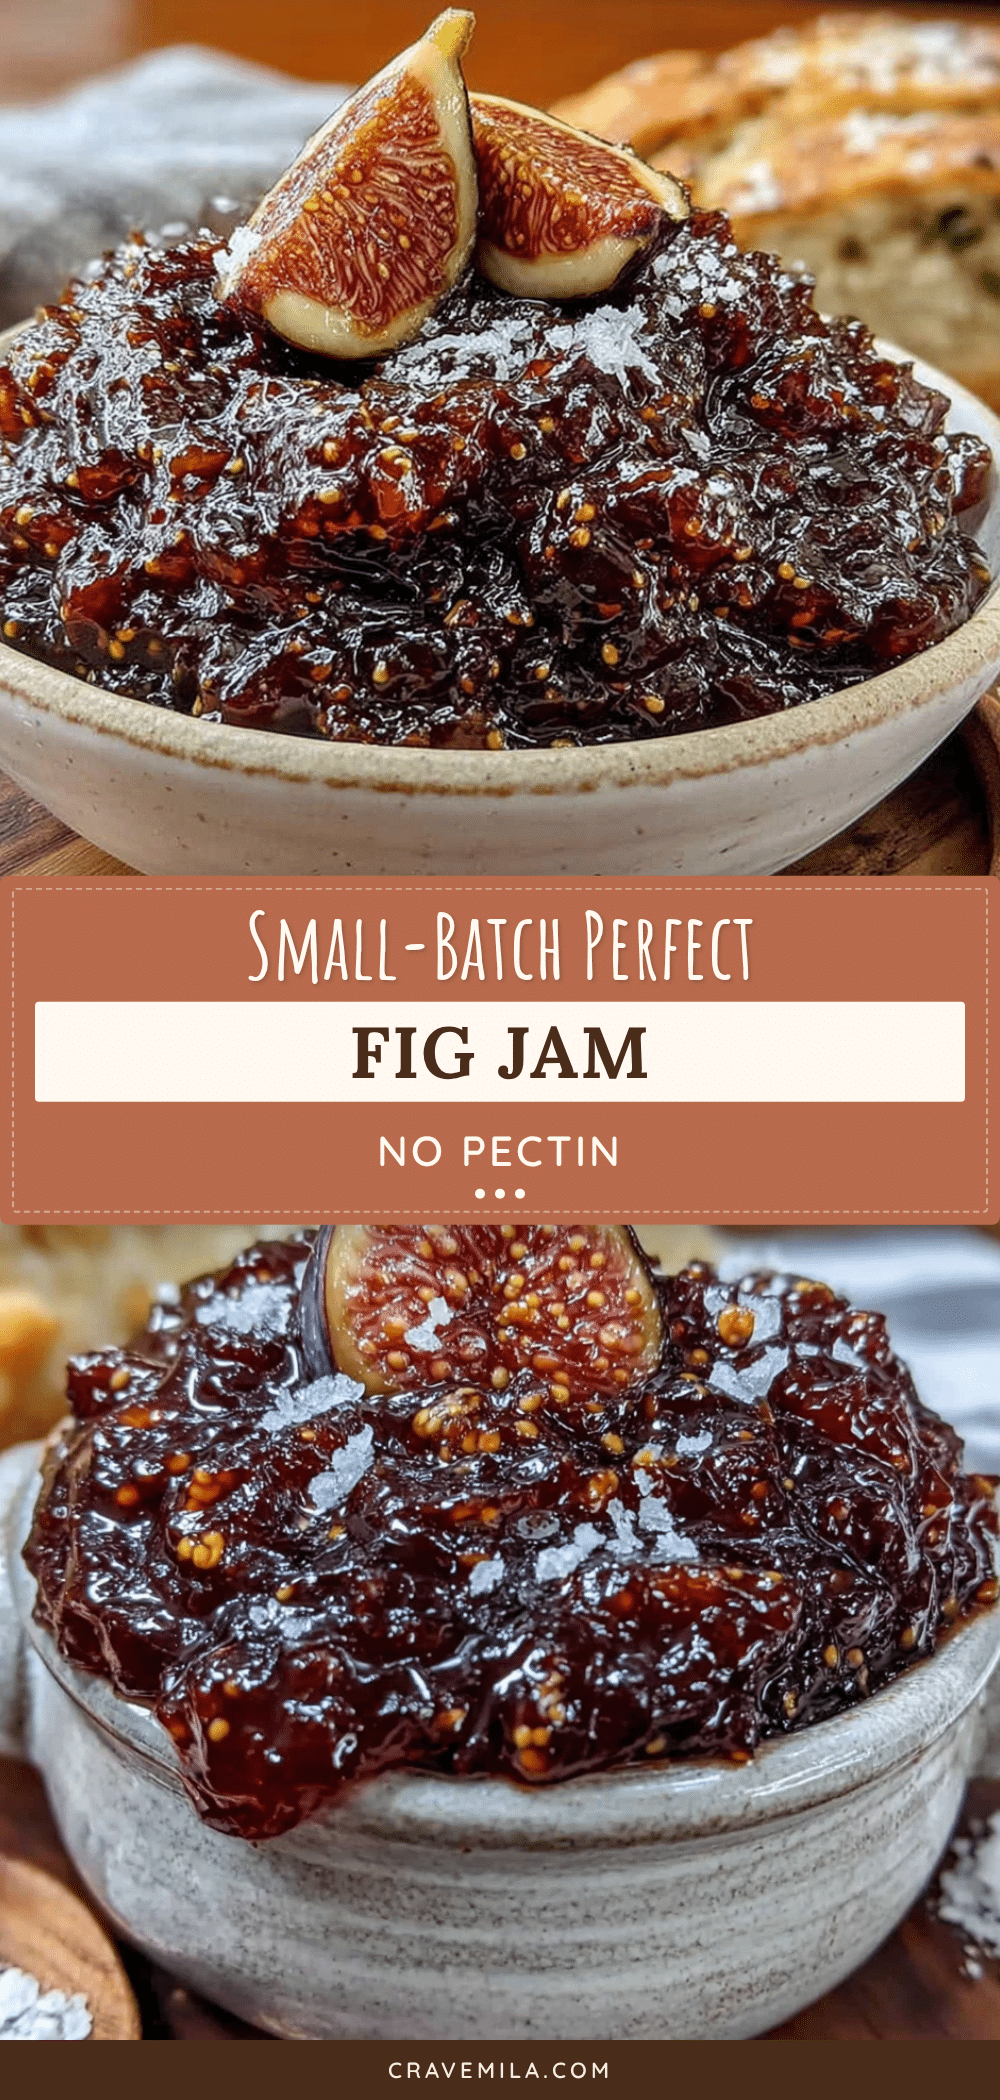
Best Small-Batch Fig Jam: Easy No Pectin Recipe
This small-batch fig jam, made without pectin, has a deep, honeyed complexity that store-bought versions never touch. Just figs, sugar, lemon, and a little patience create a silky, flavorful jam that turns skeptics into believers.
- Prep Time: 30 minutes
- Cook Time: 20 minutes
- Total Time: 50 minutes
- Yield: 2-3 half-pint jars 1x
- Category: Condiment
- Cuisine: American
Ingredients
- 2 pounds fresh figs (about 900 grams), ripe but firm (Black Mission, Brown Turkey, or Kadota)
- 1 cup granulated sugar (200 grams)
- 2 tablespoons fresh lemon juice (30 ml)
- Fine sea salt, a pinch
- 1/2 teaspoon vanilla extract or 1 sprig fresh thyme (optional)
Instructions
- Prep the Figs: Rinse figs gently under cool water and pat dry. Trim off tough stem ends. Cut each fig into quarters or sixths, depending on size, ensuring roughly uniform pieces.
- Macerate the Figs: Place cut figs in a heavy-bottomed pot or Dutch oven. Add sugar and lemon juice. Stir gently to coat. Let sit at room temperature for 20-30 minutes until figs release juices and sugar begins to dissolve.
- Start Cooking: Place pot over medium heat and bring to a gentle simmer. Stir occasionally. Once simmering, reduce heat to medium-low. Add pinch of salt and optional vanilla or thyme. Cook at a steady, gentle bubble for 15-20 minutes, stirring occasionally.
- The Freezer Test: Place a small plate in the freezer before starting. After about 15 minutes of simmering, drop a small spoonful of jam onto the cold plate. Let sit for 30 seconds, then push with finger. If it wrinkles and holds its shape, it’s done. If still runny, cook 3-5 more minutes and test again.
- Remove Flavorings and Rest: If using thyme sprig or vanilla bean, remove it. Turn off heat and let jam rest in pot for 5 minutes. Skim off any foam that rises to the top.
- Jar the Jam: Carefully ladle hot jam into prepared, warm half-pint jars, leaving 1/4 inch headspace. Wipe rims clean with a damp paper towel. Screw on lids until fingertip-tight. For longer storage, process jars in a boiling water bath for 10 minutes.
- Cool and Set: Let jars cool undisturbed on the counter for 12-24 hours. The jam will fully set and develop flavor during this time.
Notes
Don’t skip the maceration step—it builds flavor and helps the jam set. Use the freezer test for doneness instead of a thermometer. Do not double the batch; make two separate batches if needed. The flavor improves after a few days in the fridge. For low-sugar version, reduce sugar to 3/4 cup and add 1 tablespoon chia seeds during last 5 minutes of cooking.
Nutrition
- Serving Size: 1 tablespoon (about
- Calories: 45
- Sugar: 10
- Sodium: 5
- Carbohydrates: 11
- Fiber: 0.5
Keywords: fig jam, small-batch jam, no pectin jam, homemade jam, fig preserves, easy jam recipe, summer jam



