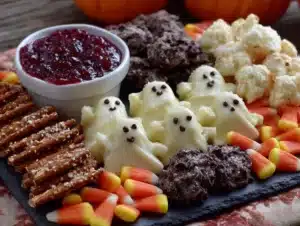
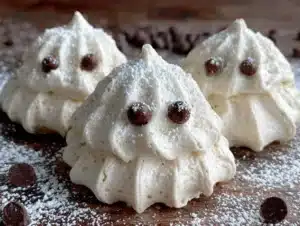
Meringue cookies are notoriously finicky, but this recipe is different. I’ve tested it more times than I care to count to make sure it works for home bakers of all skill levels. The ghosts come out perfectly puffy, crisp on the outside, and they melt in your mouth like little clouds.
- Simple Ingredients: You probably have everything in your pantry right now. Eggs, sugar, chocolate chips, and a pinch of cream of tartar. That’s it.
- Fun for Kids: My niece helped me pipe these last Halloween, and she had the best time. The chocolate chip eyes are like a little craft project.
- Naturally Gluten-Free: No flour needed, so everyone can enjoy them.
- Perfect for Cozy Nights: There’s something so soothing about making these on a chilly evening. The process is almost meditative, and the result is pure comfort.
- Customizable: You can make them spooky or cute, big or small. They’re your ghosts.
This isn’t just another cookie recipe. It’s the kind that makes you feel like you’re doing something special, even though it’s surprisingly simple. The first time I pulled a tray of these out of the oven, I actually squealed. They were just so stinking cute.
What Ingredients You Will Need
This recipe uses simple, everyday ingredients to create something magical. The key is getting the egg whites right, and the rest falls into place beautifully.
- 4 large egg whites, at room temperature (this is crucial for maximum volume)
- 1 cup (200g) granulated sugar (superfine sugar works best, but regular is fine)
- 1/2 teaspoon cream of tartar (helps stabilize the meringue)
- 1 teaspoon vanilla extract (pure, not imitation, for the best flavor)
- 1/4 cup mini chocolate chips (for the eyes, plus a few extra for snacking)
- Pinch of salt (to balance the sweetness)
Ingredient Tips:
- Separate your eggs when they’re cold, but let the whites come to room temperature before whipping. Cold egg whites don’t whip up as well.
- I prefer Ghirardelli mini chocolate chips because they’re small enough to look like eyes without being overwhelming.
- If you don’t have cream of tartar, you can substitute with 1 teaspoon of lemon juice or white vinegar. It does the same job.
- For a dairy-free version, use Enjoy Life mini chocolate chips. They work perfectly.
Equipment Needed
You don’t need a fancy kitchen to make these cookies, but a few key tools will make your life much easier.
- Stand mixer or hand mixer: A stand mixer is ideal because you can walk away while it whips, but a hand mixer works just fine. Your arm might get a little tired, though.
- Large mixing bowl: Make sure it’s completely clean and dry. Any grease will ruin your meringue.
- Piping bag with a large round tip: I use a Wilton 1A tip. If you don’t have a piping bag, a zip-top bag with the corner snipped off works in a pinch.
- Baking sheets: Line them with parchment paper. Silpat mats can work, but parchment is more reliable for meringue.
- Offset spatula: Not strictly necessary, but helpful for shaping.
I bought my first piping bag at a dollar store, and it lasted for years. You don’t need to spend a lot of money to get started.
Preparation Method
This is where the magic happens. Follow these steps carefully, and you’ll have perfectly spooky ghosts in no time.
- Preheat your oven to 200°F (93°C). Yes, that’s very low. We’re not baking these cookies so much as drying them out. Line two baking sheets with parchment paper.
- Wipe your mixing bowl and whisk attachment with a little lemon juice or vinegar. This removes any trace of grease that could prevent your egg whites from whipping up. I learned this the hard way after a sad, flat batch of meringue.
- Add the egg whites and cream of tartar to the bowl. Start whipping on medium speed until the mixture becomes frothy and bubbly, about 1-2 minutes.
- Gradually add the sugar, about one tablespoon at a time, while the mixer is running. This is important. If you dump all the sugar in at once, your meringue won’t be as stable. Increase the speed to high and whip until stiff, glossy peaks form. This can take 5-8 minutes. The mixture should feel smooth between your fingers, not gritty.
- Add the vanilla extract and salt, and whip for another 30 seconds until combined. The meringue should be thick and luscious, like marshmallow fluff.
- Transfer the meringue to your piping bag. If you’re using a zip-top bag, snip off about 1/2 inch from one corner.
- Pipe the ghosts: Hold the bag straight up and down, about 1/2 inch above the baking sheet. Pipe a tall, round mound, then pull the bag straight up to create a little peak on top. This is the ghost’s head. Space them about 2 inches apart. They won’t spread much, but they need a little breathing room.
- Add the chocolate chip eyes: While the meringue is still wet, gently press two mini chocolate chips into each ghost to make eyes. Don’t push too hard, or you’ll deflate the meringue. I like to place them slightly unevenly for a more whimsical look.
- Bake for 60-75 minutes, or until the meringues are dry and can be easily lifted off the parchment paper. They should not be browned at all. If they start to brown, your oven is too hot. Turn it down.
- Turn off the oven and let the cookies cool inside for at least an hour. This helps them dry out completely and prevents cracking. I know it’s tempting to open the oven, but resist the urge.
Once they’re cool, they should be light as air and perfectly crisp. The texture is incredible.
Cooking Tips & Techniques
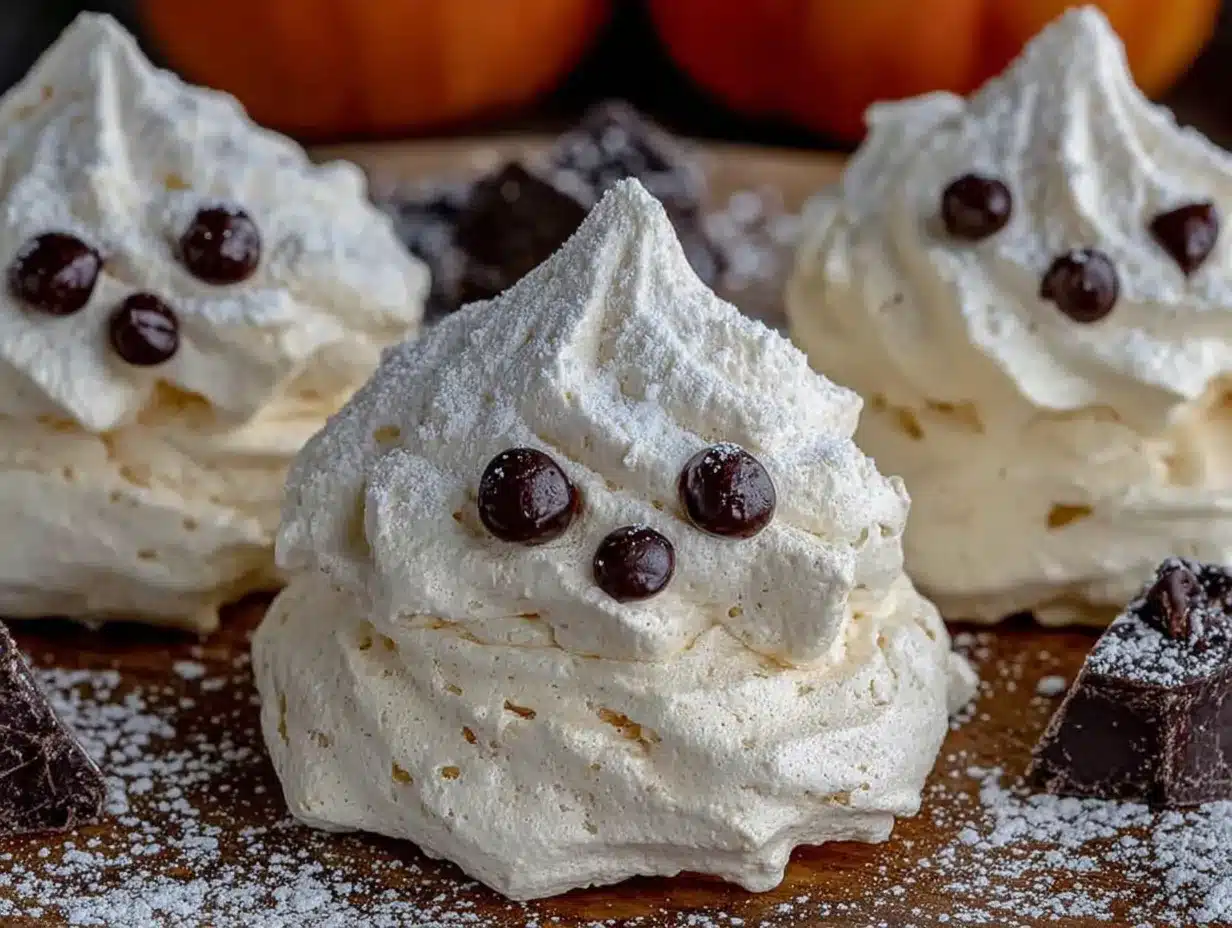
I’ve made these cookies a dozen times, and I’ve made every mistake in the book. Here’s what I’ve learned.
- Humidity is the enemy: Meringue does not like humid days. If it’s raining or muggy outside, your cookies might not dry out properly. Wait for a dry day, or run a dehumidifier in your kitchen.
- Don’t overmix: Once you’ve added the sugar, keep whipping until stiff peaks form, but stop as soon as they do. Overwhipped meringue can become grainy and separate.
- Room temperature eggs are non-negotiable: I tried using cold egg whites once because I was in a hurry. It was a disaster. They took forever to whip up and never reached the right volume. Let your eggs sit out for 30 minutes before you start.
- If your meringue weeps: This happens when there’s too much moisture. Make sure your bowl and utensils are completely dry. You can also add an extra tablespoon of sugar to help stabilize it.
- Storage is key: These cookies will absorb moisture from the air and become sticky if not stored properly. Keep them in an airtight container at room temperature for up to a week. Do not refrigerate them.
Variations & Adaptations
Once you’ve mastered the basic ghost, the possibilities are endless. Here are some of my favorite variations.
- Spooky Ghosts: Use black sanding sugar to sprinkle on the ghosts before baking for a darker, more dramatic look. It adds a nice crunch, too.
- Pumpkin Spice Ghosts: Add 1/2 teaspoon of pumpkin pie spice to the meringue along with the vanilla. It makes them taste like fall.
- Chocolate Ghosts: Swap 2 tablespoons of the granulated sugar for cocoa powder. Sift it in with the sugar to avoid lumps. The ghosts will be a lovely pale brown, and they taste like chocolate meringue.
- Vegan Ghosts: Use aquafaba (the liquid from a can of chickpeas) instead of egg whites. Whip it the same way, and it works surprisingly well. You’ll need about 1/2 cup of aquafaba for this recipe.
- Mini Ghosts: Pipe smaller mounds for bite-sized treats. Reduce the baking time to 40-50 minutes.
Serving & Storage Suggestions
These cookies are meant to be enjoyed, and they’re perfect for any cozy occasion.
- Serving Temperature: Serve them at room temperature. They’re best the day they’re made, but they’ll keep for several days.
- Presentation: Arrange them on a platter with some fake spiderwebs or autumn leaves for a festive look. They’re also adorable peeking out of a glass jar.
- Pairings: Serve them with a mug of hot cocoa, a warm chai latte, or a cup of spiced apple cider. The sweetness of the cookies pairs beautifully with the warmth of the drinks.
- Storage: Store in an airtight container at room temperature for up to one week. Do not refrigerate, as the moisture will make them sticky. You can freeze them for up to three months in a freezer-safe container.
- Flavor Development: Honestly, they’re best fresh. The texture is perfect right after they’ve cooled. If you store them, they’ll still be delicious, but they might lose a bit of their crunch.
Nutritional Information & Benefits
These cookies are a lighter treat, which makes them perfect for guilt-free indulgence.
- Per Cookie (makes about 24): Approximately 35 calories, 0g fat, 8g carbohydrates, 1g protein.
- Low in Fat: Since they’re made with egg whites, they’re virtually fat-free. The only fat comes from the chocolate chips.
- Gluten-Free: No flour means they’re safe for anyone with gluten sensitivities or celiac disease.
- High in Protein: Egg whites are a good source of protein, which helps keep you full and satisfied.
- Allergen Note: Contains eggs. The chocolate chips may contain dairy and soy, depending on the brand. Use dairy-free chocolate chips if needed.
I love that these cookies feel indulgent without being heavy. They’re the perfect little treat for a cozy night in.
Conclusion
These Cozy Ghost Meringue Cookies with Chocolate Chip Eyes are more than just a recipe. They’re a little bit of magic you can make in your own kitchen. They’re fun to create, beautiful to look at, and absolutely delicious to eat. Whether you’re making them for Halloween, a cozy night in, or just because you need a little whimsy in your life, they never disappoint.
I hope you give them a try. Don’t be afraid to make them your own. Add a sprinkle of cinnamon, swap the eyes for edible glitter, or pipe them into different shapes. The best part of cooking is making a recipe your own.
If you make these, I’d love to hear about it. Leave a comment below, tag me in your photos, or share your own variations. Happy baking, and may your kitchen be filled with cozy, ghostly goodness.
Frequently Asked Questions
Can I make these without a piping bag?
Absolutely. Just use a zip-top bag with the corner snipped off. You can even use a spoon to drop the meringue onto the baking sheet for a more rustic look. They won’t be as perfectly shaped, but they’ll still taste amazing.
Why did my meringue turn out sticky?
Sticky meringue usually means it wasn’t baked long enough or the humidity was too high. Make sure your oven is at the right temperature and bake them until they’re completely dry. Letting them cool in the oven also helps.
Can I use liquid egg whites from a carton?
I don’t recommend it. Carton egg whites often have stabilizers that prevent them from whipping up properly. Fresh egg whites from whole eggs work much better.
How do I know when the meringue is whipped enough?
You’re looking for stiff, glossy peaks. When you lift the whisk, the meringue should stand up straight without drooping. The mixture should also feel smooth and not gritty when you rub a little between your fingers.
Can I add food coloring to make colored ghosts?
Yes, but use gel food coloring, not liquid. Liquid coloring will add too much moisture and ruin your meringue. Add the gel after the sugar is fully incorporated and whip until it’s evenly distributed.
Pin This Recipe!
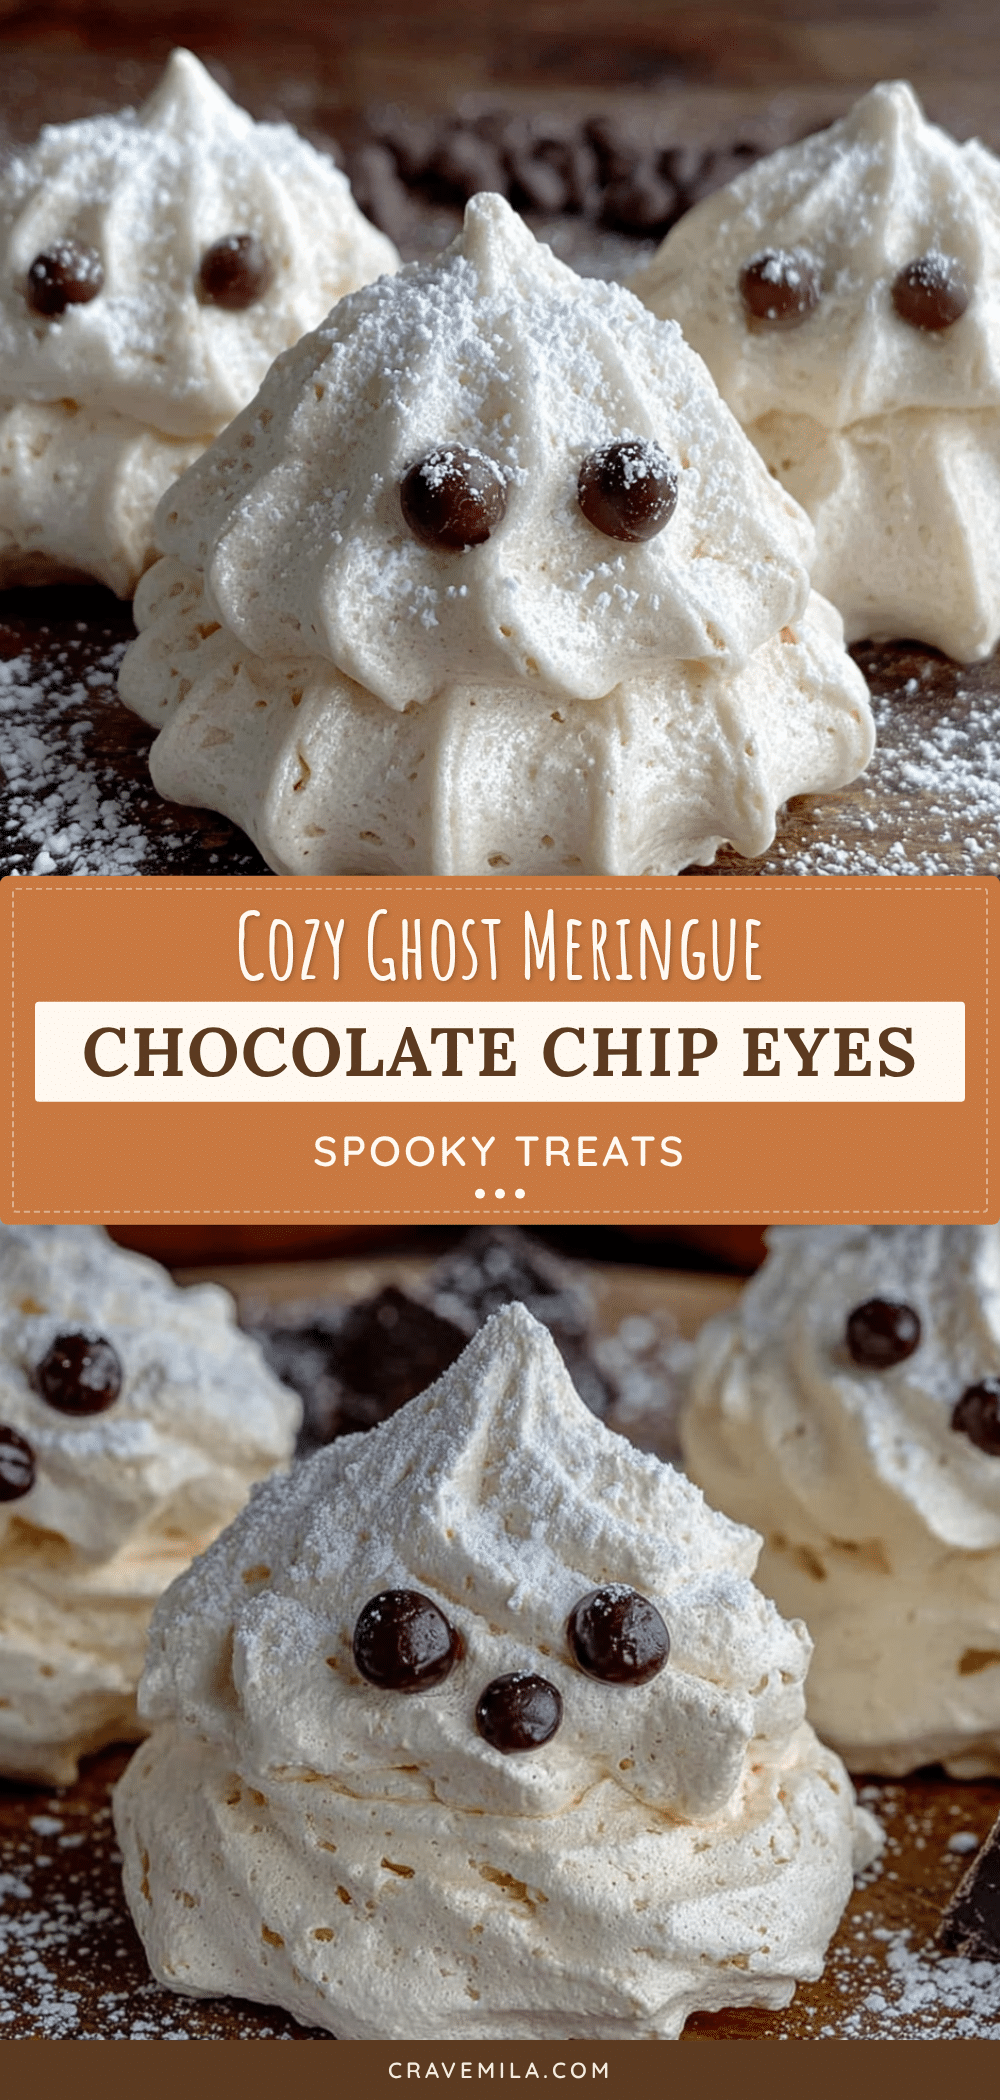
Cozy Ghost Meringue Cookies with Chocolate Chip Eyes
These meringue cookies are perfectly puffy, crisp on the outside, and melt in your mouth like little clouds. They’re fun to make with kids and naturally gluten-free.
- Prep Time: 15 minutes
- Cook Time: 60-75 minutes
- Total Time: 1 hour 30 minutes to 1 hour 45 minutes
- Yield: 24 cookies 1x
- Category: Dessert
- Cuisine: American
Ingredients
- 4 large egg whites, at room temperature
- 1 cup (200g) granulated sugar
- 1/2 teaspoon cream of tartar
- 1 teaspoon vanilla extract
- 1/4 cup mini chocolate chips
- Pinch of salt
Instructions
- Preheat your oven to 200°F (93°C). Line two baking sheets with parchment paper.
- Wipe your mixing bowl and whisk attachment with a little lemon juice or vinegar to remove any grease.
- Add the egg whites and cream of tartar to the bowl. Start whipping on medium speed until frothy and bubbly, about 1-2 minutes.
- Gradually add the sugar, about one tablespoon at a time, while the mixer is running. Increase speed to high and whip until stiff, glossy peaks form, about 5-8 minutes.
- Add the vanilla extract and salt, and whip for another 30 seconds until combined.
- Transfer the meringue to a piping bag fitted with a large round tip.
- Pipe the ghosts: Hold the bag straight up and down, about 1/2 inch above the baking sheet. Pipe a tall, round mound, then pull the bag straight up to create a little peak on top. Space them about 2 inches apart.
- While the meringue is still wet, gently press two mini chocolate chips into each ghost to make eyes.
- Bake for 60-75 minutes, or until the meringues are dry and can be easily lifted off the parchment paper.
- Turn off the oven and let the cookies cool inside for at least an hour.
Notes
Humidity is the enemy of meringue; wait for a dry day. Room temperature eggs are crucial. Store in an airtight container at room temperature for up to a week; do not refrigerate. For dairy-free, use Enjoy Life mini chocolate chips.
Nutrition
- Serving Size: 1 cookie
- Calories: 35
- Sugar: 8
- Sodium: 10
- Carbohydrates: 8
- Protein: 1
Keywords: meringue cookies, ghost cookies, Halloween cookies, gluten-free cookies, egg white cookies, chocolate chip cookies