My neighbor Jenny wasn’t trying to impress anyone that October afternoon. I’d stopped by to return her hedge clippers—the ones I’d borrowed three weeks earlier and honestly kept forgetting about—and the smell hit me before I even got to her front door. Butter, marshmallows, something faintly vanilla, and underneath it all, that unmistakable sugary scent of candy corn. She opened the door with flour on her cheek and a spatula in her hand, completely unfazed by the fact that she’d just created what I still consider the perfect Halloween treat.
“Oh, those?” she said when I asked about the pan of orange-speckled squares cooling on her counter. “Just something quick for the kids’ classroom party.” She shrugged like it was nothing. But I’d already grabbed a piece without asking—sorry, Jenny—and let me tell you, that first bite stopped me mid-chew. The crispy crunch, the gooey marshmallow pull, those little candy corn triangles adding pops of sweetness. I stood there in her kitchen, hedge clippers still in my hand, and asked for the recipe before I’d even finished eating.
She laughed and wrote it on a sticky note. That sticky note is now stained and crinkled, tucked inside my favorite cookbook, and I’ve made these cozy Halloween rice krispie treats with candy corn at least a dozen times since. Maybe you’ve been there—stumbling into something magical when you least expect it, from someone who didn’t even realize they were making magic. That’s this recipe. It’s not fancy. It’s not complicated. But it’s the kind of thing that makes a chilly October evening feel like a hug.
Why You’ll Love This Recipe
Let me be honest with you—I’ve tested a lot of Halloween treats over the years. Some are too complicated, some look better than they taste, and some just don’t deliver that cozy feeling you’re actually after. These cozy Halloween rice krispie treats with candy corn? They hit every single mark.
- Quick & Easy: From start to finish, you’re looking at about 15 minutes of active time. No baking, no complicated techniques, no waiting around. Perfect for those evenings when you want something festive but don’t have the energy for a full baking project.
- Simple Ingredients: You probably already have butter, marshmallows, and rice krispie cereal in your pantry. The candy corn is the only special addition, and honestly, you can find it everywhere come October.
- Perfect for Halloween Gatherings: Classroom parties, movie nights, trick-or-treat prep—these squares fit right in. They’re portable, they’re kid-friendly, and they disappear fast.
- Crowd-Pleaser: I’ve brought these to three different Halloween events now, and every single time, someone asks for the recipe. Kids love the candy corn, adults love the nostalgia, and everyone loves how easy they are to grab and go.
- Unbelievably Delicious: The contrast between the soft, chewy marshmallow base and the slightly crunchy candy corn is honestly perfect. Plus, the orange and yellow speckled look is just plain fun.
What makes this recipe different from every other rice krispie treat out there? It’s the timing. Most recipes tell you to stir the candy corn in at the end, but that leaves you with melted, streaky blobs. My version—the one Jenny wrote on that sticky note—has you add half the candy corn while the mixture is still warm, then press the rest on top. You get pockets of melted sweetness and distinct candy corn pieces. It’s a small thing, but it makes a huge difference.
This recipe is the kind that makes you close your eyes after the first bite. It’s comfort food for the Halloween season—quick enough for a Tuesday night, special enough for a party, and cozy enough to make you feel like a kid again.
What Ingredients You Will Need
This recipe uses simple, pantry-friendly ingredients to deliver big flavor and that perfect chewy-crunchy texture. Nothing fancy here—just the good stuff you probably already have on hand.
- 3 tablespoons unsalted butter (plus a little extra for greasing the pan) — I use salted butter in a pinch, but unsalted lets you control the salt level. Land O’Lakes is my go-to, but any brand works fine.
- 1 package (10 ounces) regular marshmallows — Don’t use mini marshmallows here; they melt too fast and can make the mixture gummy. Standard-size marshmallows give you that perfect stretchy texture. Jet-Puffed is my preferred brand.
- 6 cups rice krispie cereal — The name brand works best for that signature crunch, but store brands are fine too. Just make sure they’re fresh—stale cereal makes sad treats.
- 1 cup candy corn (about 6 ounces) — Brach’s is the classic choice, and honestly, it’s what I always use. You can find seasonal blends with autumn colors, but traditional candy corn works perfectly. Separate about 1/4 cup for the topping.
- 1/2 teaspoon vanilla extract — Pure vanilla is best, but imitation works in a pinch. This is optional, but it adds a lovely warmth that complements the marshmallow.
- Pinch of salt — Just a tiny pinch. It balances the sweetness and keeps the treats from being cloying. Trust me on this one.
Ingredient Tips: For the best texture, make sure your marshmallows are fresh. Stale marshmallows get hard and won’t melt smoothly. Same goes for the cereal—check the expiration date. If you’re making these for a party with dietary restrictions, you can use vegan butter and marshmallows (Dandies brand works great), but note that the texture will be slightly different—a bit denser, but still delicious.
For the candy corn, I recommend buying an extra bag because, let’s face it, you’re going to eat some while you’re making these. I always do. It’s practically a requirement.
Equipment Needed
You don’t need much for this recipe, which is part of why I love it. Here’s what you’ll need:
- Large pot or Dutch oven — You need something big enough to hold all 6 cups of cereal plus the marshmallow mixture. A 5-quart pot works perfectly. I use my enameled cast iron Dutch oven, and it’s never let me down.
- Rubber spatula — A good, sturdy spatula is essential for folding the cereal into the marshmallow mixture without crushing everything. Silicone is best because it won’t scratch your pot.
- 9×13-inch baking dish — This gives you the perfect thickness—not too thin, not too thick. If you only have an 8×8 pan, your treats will be taller and need a few extra minutes to set.
- Parchment paper — Line your pan with parchment, leaving some overhang on the sides. This makes lifting the entire block out so much easier. Trust me, trying to pry these out of an unlined pan is a nightmare.
- Sharp knife — A chef’s knife works best for clean cuts. Spray it with a little cooking spray between cuts to prevent sticking.
- Measuring cups and spoons — Standard set. Nothing fancy.
Budget-Friendly Options: Don’t have a Dutch oven? Any large pot will do. No parchment paper? Grease your pan generously with butter and you’ll be fine—just be patient when removing the treats. The key is making sure everything is well-coated so nothing sticks.
Preparation Method
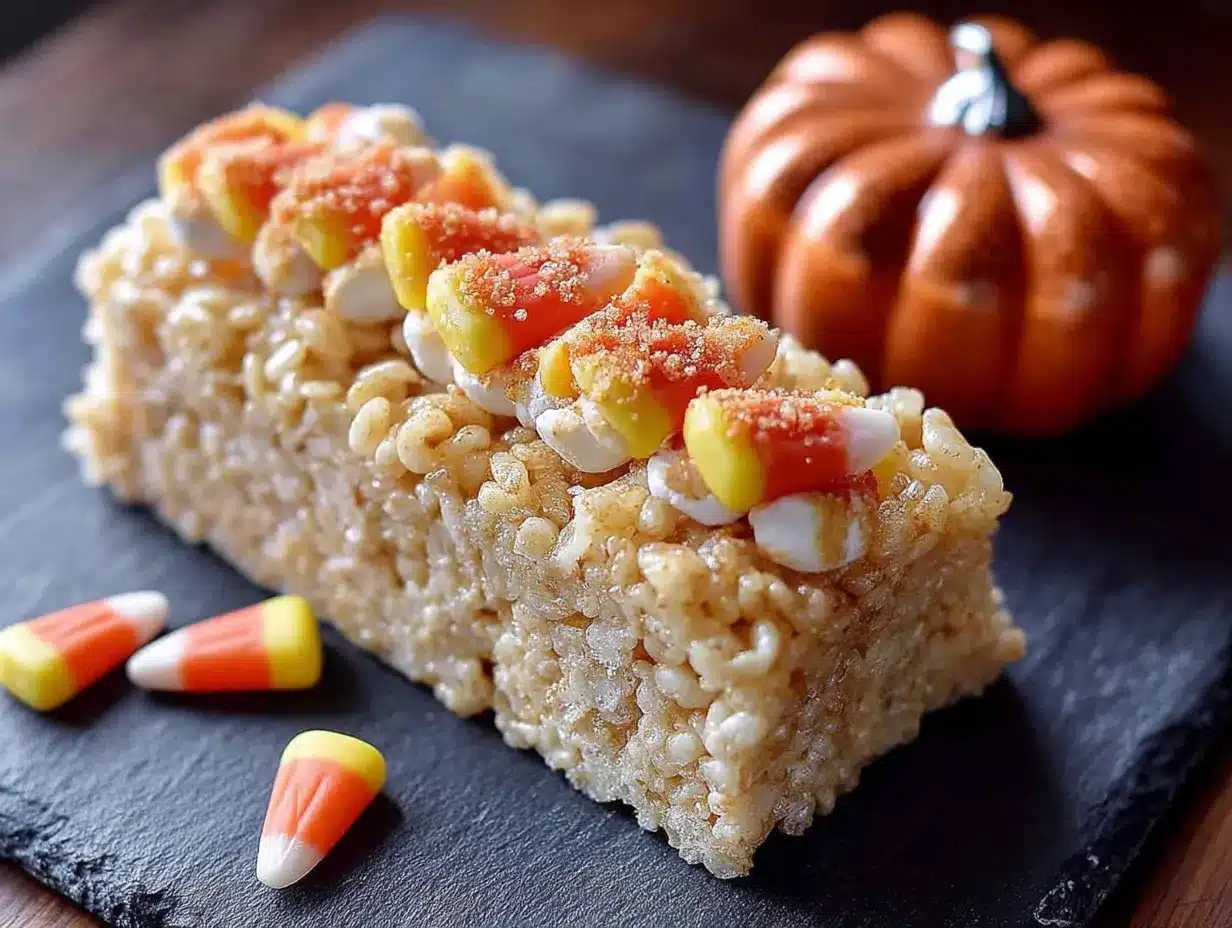
Alright, let’s make these cozy Halloween rice krispie treats with candy corn. The whole process takes about 15 minutes of active time, plus 30 minutes for setting. Here’s exactly how to do it:
- Prep your pan. Grease a 9×13-inch baking dish with butter, then line it with parchment paper, leaving about 2 inches of overhang on the long sides. This creates handles that make lifting the treats out a breeze. Set the pan aside.
- Melt the butter. In your large pot, melt 3 tablespoons of butter over medium-low heat. Don’t rush this—medium-low is important. If the butter browns, that’s actually fine (it adds a nutty flavor), but you don’t want it to burn. Swirl the pan occasionally as it melts.
- Add the marshmallows. Once the butter is fully melted, add the entire 10-ounce bag of marshmallows. Stir constantly with your rubber spatula as they melt. This takes about 3-4 minutes. The marshmallows will puff up, then collapse into a smooth, glossy liquid. Keep stirring until no white streaks remain—you want a uniform, silky mixture.
- Season the mixture. Remove the pot from heat. Stir in 1/2 teaspoon vanilla extract and a tiny pinch of salt. The vanilla will sizzle a bit when it hits the hot marshmallow—that’s normal and actually lovely. Stir until everything is well combined.
- Add the cereal. Pour in 6 cups of rice krispie cereal. Fold gently with your spatula, using a cutting motion rather than stirring. You want to coat every piece of cereal without crushing it. This takes about 1 minute of gentle folding. The mixture will look a bit streaky at first—keep folding until the cereal is evenly coated.
- Add half the candy corn. Sprinkle in about 3/4 cup of candy corn (reserve the remaining 1/4 cup for topping). Fold gently 3-4 more times to distribute the candy corn. Don’t overmix here, or the candy corn will melt completely. You want some pieces to stay intact.
- Press into the pan. Scrape the mixture into your prepared pan. Here’s the tricky part—don’t press too hard. If you compact the treats, they’ll turn out rock hard. Use a second piece of parchment paper (or lightly greased hands) to gently press the mixture into an even layer. I like to use a gentle pressing motion, almost like I’m patting a baby’s back. Light, even pressure is all you need.
- Add the topping. Immediately sprinkle the reserved 1/4 cup of candy corn over the top. Press them in very lightly so they stick, but don’t bury them. You want those bright orange and yellow pieces visible.
- Let them set. Allow the treats to cool at room temperature for at least 30 minutes. Don’t rush this—if you try to cut them while they’re still warm, they’ll be sticky and messy. Patience, my friend.
- Cut and serve. Once set, lift the entire block out using the parchment overhang. Place on a cutting board. Use a sharp knife (sprayed with cooking spray) to cut into squares. I usually go for 12 large squares or 24 smaller ones, depending on the occasion.
Sensory Cues: When the marshmallows are fully melted, the mixture should look glossy and smooth, like thick honey. When you fold in the cereal, you’ll hear a soft crackling sound—that’s the cereal staying crispy. The finished treats should feel firm but slightly springy when you press them. If they feel hard, you pressed too hard during step 7.
Cooking Tips & Techniques
I’ve made these cozy Halloween rice krispie treats with candy corn enough times to learn a few things the hard way. Let me save you some trouble.
Low and slow is the way to go. I know it’s tempting to crank up the heat and melt those marshmallows faster, but don’t do it. High heat makes the sugar in the marshmallows seize up, leaving you with a grainy, stiff mixture that’s impossible to work with. Keep it on medium-low and be patient. The first time I made these, I was in a hurry and turned the heat up. The marshmallows turned into a sticky, lumpy mess, and the treats were tough and chewy in the worst way. Learn from my mistake.
Wet your hands or spatula. The marshmallow mixture is incredibly sticky. If you’re pressing it into the pan with your hands, lightly wet them first. If you’re using parchment, give it a light spritz of cooking spray. This simple trick saves so much frustration.
Don’t overmix the candy corn. I mentioned this earlier, but it’s worth repeating. Candy corn melts when it hits warm marshmallow, so you want to fold it in gently and quickly. If you stir too much, you’ll end up with orange-streaked treats and no visible candy corn pieces. The goal is pockets of candy corn, not candy corn-flavored marshmallow.
Cut with confidence. When you’re ready to cut, use a sharp knife and make one clean cut per line. Don’t saw back and forth—that drags the marshmallow and creates ragged edges. Spray the knife with cooking spray between cuts for the cleanest results. I keep a small spray bottle next to my cutting board just for this purpose.
Timing strategy. These treats are best made the day you plan to serve them. The cereal stays crispy for about 24 hours, then starts to soften. If you’re making them for a party, do it the morning of or the night before. Don’t make them three days ahead—they’ll be sad and chewy.
One more thing: If your treats turn out too hard, you probably pressed them too firmly into the pan. Next time, use a lighter touch. If they turn out too soft, you might have used too much butter or not let them set long enough. Adjust and try again—that’s how we learn.
Variations & Adaptations
One of the best things about this recipe is how easy it is to tweak. Here are some variations I’ve tried and loved:
Chocolate-Dipped Version: After the treats have set, melt 1 cup of dark chocolate chips with 1 tablespoon of coconut oil. Dip one corner of each square into the chocolate and let it set on parchment paper. The chocolate adds a rich contrast to the sweet candy corn. I did this for a Halloween party last year, and they were gone in minutes.
Peanut Butter Twist: Add 1/4 cup of creamy peanut butter to the marshmallow mixture right after it melts. Stir until smooth before adding the cereal. The peanut butter adds a savory note that balances the sweetness beautifully. Just make sure to check for peanut allergies if you’re serving these at a party.
Gluten-Free Option: Use a gluten-free crispy rice cereal. Most brands are naturally gluten-free, but check the label to be sure. Everything else in the recipe is already gluten-free, so this is an easy swap.
Vegan Version: Use vegan butter and vegan marshmallows. Dandies brand marshmallows work perfectly—they melt just like regular ones. The texture will be slightly denser, but the flavor is spot-on. I’ve tested this twice, and honestly, I couldn’t tell the difference.
Spiced Autumn Variation: Add 1/2 teaspoon of pumpkin pie spice to the marshmallow mixture along with the vanilla. It gives the treats a warm, fall-inspired flavor that pairs beautifully with the candy corn. I tried this on a whim last October, and now it’s my go-to version for cozy nights in.
Extra Crunchy Version: Swap 1 cup of the rice krispie cereal for 1 cup of chopped pretzels or salted peanuts. The salty crunch is a fantastic contrast to the sweet marshmallow and candy corn. My husband loves this version—he says it’s the perfect Halloween snack.
Serving & Storage Suggestions
These cozy Halloween rice krispie treats with candy corn are best served at room temperature. The texture is just right—chewy but not sticky, crispy but not hard. If you’ve refrigerated them, let them sit out for about 15 minutes before serving to soften up.
Presentation Ideas: Arrange the squares on a Halloween-themed platter or cake stand. I like to sprinkle a few extra candy corn pieces around the plate for color. For a party, you can cut them into small bite-sized squares and serve them in cupcake liners—orange and black ones are perfect for Halloween. If you’re feeling fancy, drizzle a little melted white chocolate over the top and add a sprinkle of orange sanding sugar.
What to Serve With Them: These treats pair beautifully with a warm mug of apple cider, hot chocolate, or pumpkin spice latte. For a Halloween movie night, serve them alongside popcorn and caramel apples for the ultimate cozy spread. They’re also great with a glass of cold milk—classic, simple, and perfect.
Storage Instructions: Store leftover treats in an airtight container at room temperature for up to 3 days. Place a sheet of parchment paper between layers to prevent sticking. Do not refrigerate them—the cold air makes the marshmallow hard and the cereal stale. Trust me, I learned this the hard way after shoving a batch in the fridge overnight. They came out tasting like cardboard.
Freezer Instructions: You can freeze these treats for up to 2 months. Wrap each square individually in plastic wrap, then place them in a freezer-safe bag. To thaw, let them sit at room temperature for about 20 minutes. The texture won’t be quite as perfect as fresh, but they’re still delicious.
Flavor Development: These treats are actually best within the first 24 hours. The cereal stays crispy, the marshmallow is soft, and the candy corn retains its distinct texture. After that, the candy corn starts to soften and the cereal loses some crunch. They’re still good—just not quite as magical.
Nutritional Information & Benefits
Let’s be real—these aren’t health food. They’re a treat, and they should be enjoyed as such. But here’s the approximate nutritional breakdown per square (based on 12 servings):
| Nutrient | Amount per Serving |
|---|---|
| Calories | 210 |
| Total Fat | 5g |
| Saturated Fat | 3g |
| Carbohydrates | 40g |
| Sugar | 24g |
| Protein | 2g |
| Sodium | 140mg |
Dietary Considerations: This recipe is vegetarian and can easily be made gluten-free and vegan with the substitutions mentioned above. It contains dairy (butter) and may contain traces of gluten depending on the cereal brand you choose. Candy corn is typically gluten-free, but always check the label to be safe.
A Note on Balance: I believe in enjoying treats without guilt. These squares are meant to be a fun, festive indulgence—not an everyday snack. Pair them with balanced meals, stay hydrated, and savor every bite. That’s the cozy Halloween spirit, right?
Conclusion
These cozy Halloween rice krispie treats with candy corn have become a staple in my October rotation, and I honestly can’t imagine the season without them now. They’re quick enough for a last-minute craving, simple enough for kids to help with, and festive enough to impress at any Halloween gathering. That sticky note from Jenny’s kitchen has traveled with me through three apartments and two states, and every time I make these, I think of that chilly October afternoon when I stumbled into something unexpectedly perfect.
What I love most about this recipe is how adaptable it is. Maybe you’ll add chocolate, or peanut butter, or a sprinkle of sea salt. Maybe you’ll cut them into spooky shapes with cookie cutters. Maybe you’ll make them exactly as written and fall in love with the simple, sweet nostalgia of it all. Whatever you choose, I hope these treats bring a little warmth and joy to your Halloween season.
If you try these cozy Halloween rice krispie treats with candy corn, I’d love to hear about it. Drop a comment below and let me know how they turned out—did you add any twists? Did your kids love them? Did you eat half the batch before they even set? (No judgment here. I’ve been there.) And if you have a favorite Halloween treat recipe, share that too. I’m always looking for new ideas to try.
Happy Halloween, friends. May your candy bowl stay full and your treats stay crispy.
Frequently Asked Questions
Can I use mini marshmallows instead of regular ones?
You can, but I don’t recommend it. Mini marshmallows melt much faster and can make the mixture gummy if you’re not careful. Regular marshmallows give you more control over the melting process and result in a better texture. If all you have are minis, use 4 cups instead of the 10-ounce bag and watch them carefully as they melt.
Why did my treats turn out hard?
This usually happens for one of two reasons: you pressed the mixture too firmly into the pan, or you cooked the marshmallows on too high heat. Next time, use a gentle pressing motion and keep the heat on medium-low. If they’re already hard, try microwaving a square for 5-10 seconds to soften it up.
Can I use a different type of candy corn?
Absolutely! There are so many fun variations available in stores—autumn blend, pumpkin-shaped, caramel apple, even s’mores-flavored candy corn. Any of these would work beautifully. Just keep in mind that flavored candy corn might change the overall taste of the treats. I’ve used the caramel apple version before, and it was fantastic.
How do I prevent the candy corn from melting into the marshmallow?
The key is to add the candy corn after you’ve removed the pot from the heat, and to fold it in gently. If the marshmallow mixture is too hot, the candy corn will melt on contact. Let the mixture cool for about 30 seconds after adding the cereal, then fold in the candy corn. Also, make sure you’re using fresh candy corn—older pieces melt more easily.
Can I make these ahead of time for a party?
Yes, but I recommend making them no more than 24 hours in advance. The cereal stays crispy for about a day, then starts to soften. If you need to make them further ahead, you can freeze them (see storage instructions above) and thaw them the morning of your party. Just don’t expect them to be quite as perfect as fresh-made.
Pin This Recipe!
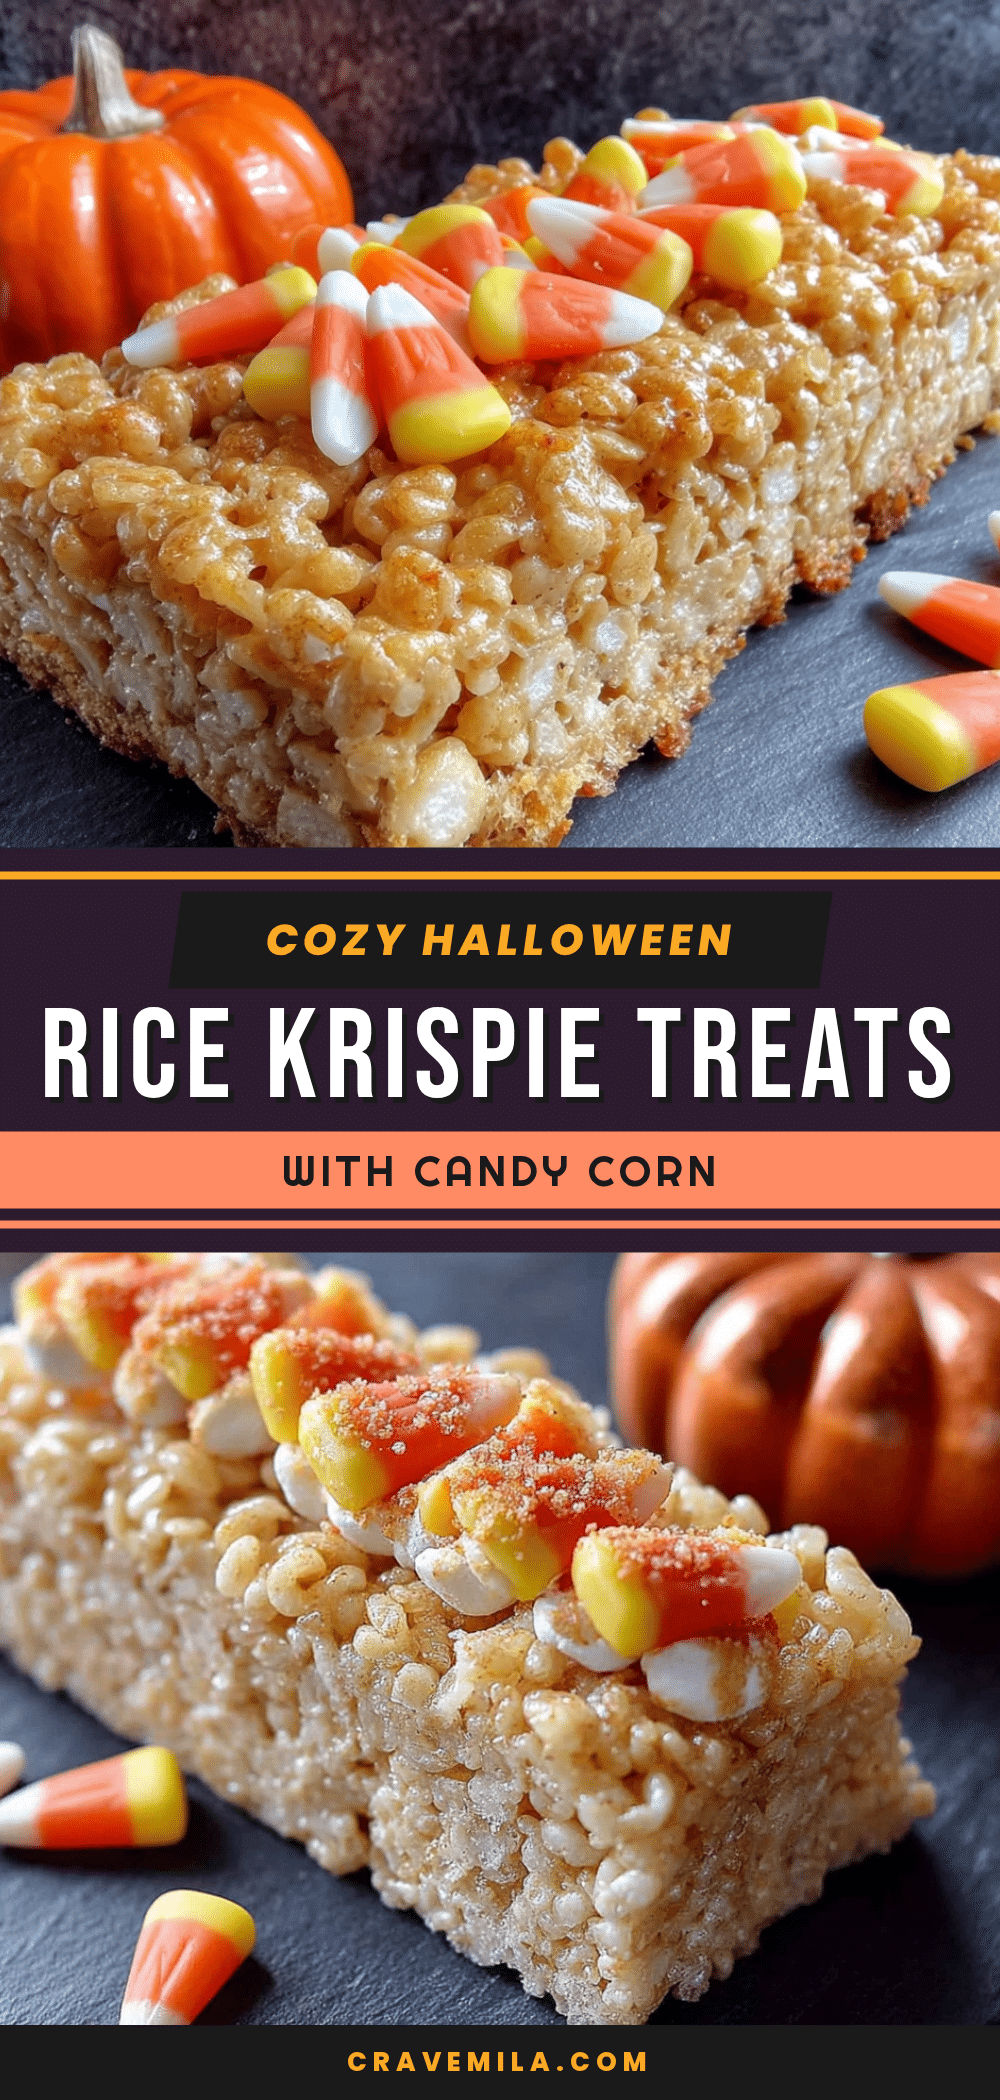
Cozy Halloween Rice Krispie Treats with Candy Corn

Quick and easy no-bake Halloween treats featuring crispy rice cereal, gooey marshmallows, and sweet candy corn. Perfect for classroom parties, movie nights, or any fall gathering.
- Prep Time: 15 minutes
- Cook Time: 5 minutes
- Total Time: 50 minutes (including 30 minutes setting time)
- Yield: 12 servings 1x
- Category: Dessert
- Cuisine: American
Ingredients
- 3 tablespoons unsalted butter (plus extra for greasing the pan)
- 1 package (10 ounces) regular marshmallows
- 6 cups rice krispie cereal
- 1 cup candy corn (about 6 ounces), divided (reserve 1/4 cup for topping)
- 1/2 teaspoon vanilla extract
- Pinch of salt
Instructions
- Grease a 9×13-inch baking dish with butter, then line it with parchment paper, leaving about 2 inches of overhang on the long sides. Set aside.
- In a large pot or Dutch oven, melt 3 tablespoons of butter over medium-low heat. Swirl occasionally until melted.
- Add the entire 10-ounce bag of marshmallows. Stir constantly with a rubber spatula until fully melted and smooth, about 3-4 minutes.
- Remove the pot from heat. Stir in 1/2 teaspoon vanilla extract and a pinch of salt until well combined.
- Pour in 6 cups of rice krispie cereal. Fold gently with a cutting motion until the cereal is evenly coated, about 1 minute.
- Sprinkle in about 3/4 cup of candy corn (reserve 1/4 cup for topping). Fold gently 3-4 more times to distribute without overmixing.
- Scrape the mixture into the prepared pan. Using a second piece of parchment paper or lightly greased hands, gently press the mixture into an even layer without compacting too firmly.
- Immediately sprinkle the reserved 1/4 cup of candy corn over the top. Press them in very lightly so they stick.
- Allow the treats to cool at room temperature for at least 30 minutes until set.
- Once set, lift the entire block out using the parchment overhang. Place on a cutting board. Use a sharp knife (sprayed with cooking spray) to cut into squares. Makes 12 large or 24 small squares.
Notes
For best texture, use regular marshmallows (not mini). Add candy corn after removing from heat to prevent melting. Press mixture gently into pan to avoid hard treats. Best served within 24 hours. Store in airtight container at room temperature for up to 3 days. Do not refrigerate. Can be frozen for up to 2 months.
Nutrition
- Serving Size: 1 square (based on 1
- Calories: 210
- Sugar: 24
- Sodium: 140
- Fat: 5
- Saturated Fat: 3
- Carbohydrates: 40
- Protein: 2
Keywords: Halloween treats, rice krispie treats, candy corn, no-bake dessert, easy Halloween recipe, kid-friendly, fall dessert