I was standing in the checkout line at the local grocery store last Tuesday when the smell of cinnamon sticks hit me — and suddenly I was seven at my uncle’s cabin in Vermont. It wasn’t just any cabin. It was the one with the peeling green paint and the floorboards that groaned underfoot. My uncle, who passed away ten years ago now, had a way of making the simple things feel like magic. He didn’t measure anything. He just guessed, stirred, and waited.
That specific scent of brown sugar melting into tart apples brought it all back. The crisp air outside, the fire crackling inside, and the sound of his boots on the porch. I stood there in the aisle, clutching my cart, feeling a sudden ache in my chest. It was a quiet, aching feeling, not heavy, but curious. I wanted to go back to that moment. I wanted to taste that exact combination of sweet and tart.
I bought the apples immediately. Fuji and Granny Smith, mixed together. I know it sounds basic, but it’s the balance that matters. I drove home with the windows down, letting the cool air rush in, thinking about how hard it is to recreate a memory. You can get the recipe right, but can you get the feeling right?
Honestly, I’ve made this classic brown sugar apple crisp with oat topping dozens of times since then. Some batches are perfect. Others are a bit too mushy or the topping doesn’t crunch enough. But every single time I pull it out of the oven, I’m back there. The steam rising from the dish, the smell filling the kitchen. It’s my attempt to hold onto that feeling, even if just for a little while. Maybe you’ve been there, standing in a store, transported back by a single scent. It’s a powerful thing, isn’t it? This recipe stays with me because it’s not just dessert. It’s a memory I can eat.
Why You’ll Love This Recipe
There are a hundred apple crisp recipes out there. You know that. But this one? It’s different. It’s the one I keep coming back to. Here is why this classic brown sugar apple crisp with oat topping deserves a spot in your regular rotation.
- Quick & Easy: You can have this from prep to plate in under an hour. It’s perfect for those weeknights when you want something homemade but don’t have hours to spare. Honestly, the cleanup is a breeze too.
- Simple Ingredients: You likely already have everything in your pantry. Oats, flour, brown sugar, butter, and apples. No fancy grocery trips needed. It’s wholesome, simple cooking at its best.
- Perfect for Any Occasion: Whether it’s a cozy Tuesday dinner, a holiday potluck, or a weekend brunch treat, this fits right in. It’s comforting food that never feels out of place.
- Crowd-Pleaser: Kids love the sweetness. Adults love the tartness of the apples and the crunch of the topping. It’s a crowd-pleaser that always gets rave reviews, even from the pickiest eaters.
- Unbelievably Delicious: The texture is next-level. You get the soft, spiced apples underneath and the crispy, buttery oat topping on top. It’s comfort food reimagined. It’s the kind of dessert that makes you close your eyes after the first bite.
What makes this recipe stand out from the rest? It’s the ratio. I spent years tweaking the amount of oats to flour to butter. Too much flour and it’s doughy. Too much butter and it’s greasy. This version hits the sweet spot. The oats provide a chewy contrast to the crisp edges, and the brown sugar adds a deep, molasses-like flavor that white sugar just can’t match. It’s not just another version. It’s my best version. It’s healthier in the sense that it’s fruit-forward, but it still has that soul-soothing satisfaction you crave. Perfect for impressing guests without stress, or turning a simple meal into something memorable.
What Ingredients You Will Need
This recipe uses simple, wholesome ingredients to deliver bold flavor and satisfying texture without the fuss. The beauty of an apple crisp lies in the quality of the apples and the richness of the topping. You don’t need anything exotic. Here is what you need to make this classic brown sugar apple crisp with oat topping.
For the Apple Filling
- Apples (6-7 medium): Use a mix of tart and sweet apples. I recommend Granny Smith for their tartness and structure, and Fuji or Honeycrisp for their natural sweetness. Look for firm apples that won’t turn into mush when baked.
- Lemon Juice (2 tablespoons): Freshly squeezed. This prevents the apples from browning and adds a bright acidity that balances the sugar. It’s a small step, but it makes a big difference.
- Granulated Sugar (1/2 cup): White sugar helps draw out the juices from the apples. Don’t skip this, even if you’re watching your sugar intake. It creates the syrupy base.
- Ground Cinnamon (1 teaspoon): Use good quality cinnamon. It’s the backbone of the flavor. If yours is old, it won’t have much punch.
- Ground Ginger (1/2 teaspoon): Adds a warm, spicy kick. It’s optional, but I find it adds complexity that pairs beautifully with the apples.
- Nutmeg (1/4 teaspoon): Just a pinch. It adds depth without overwhelming the other spices.
- Cornstarch (2 tablespoons): This thickens the apple juices as they cook. If you prefer a thinner sauce, use 1 tablespoon. For a thicker, jammy texture, stick with 2.
- Vanilla Extract (1 teaspoon): Pure vanilla, not imitation. It rounds out the flavors and makes everything taste more expensive.
For the Oat Topping
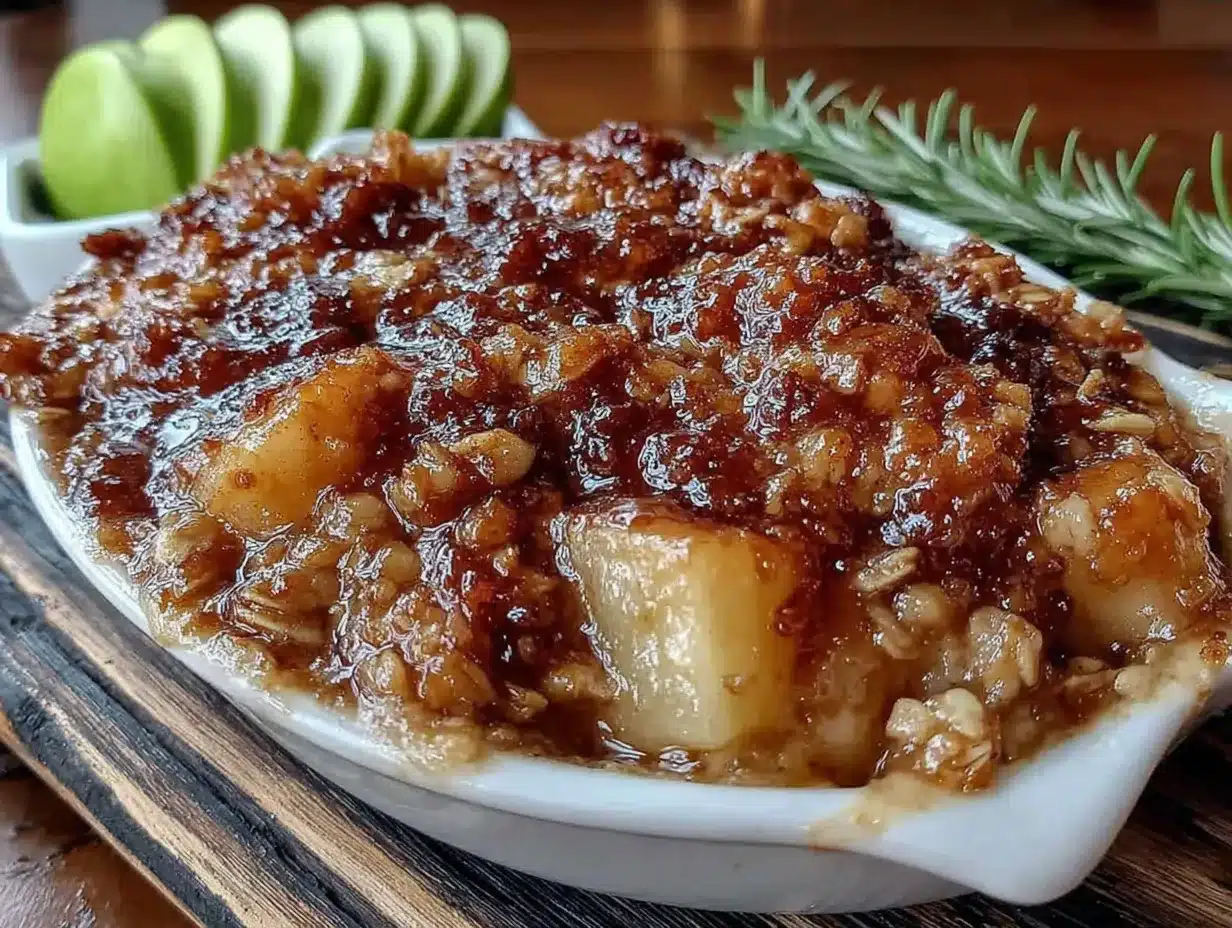
- Old-Fashioned Rolled Oats (1 cup): Do not use instant oats or steel-cut oats. Old-fashioned oats provide the right chew and crunch. They hold their shape better during baking.
- All-Purpose Flour (1 cup): This binds the topping together. If you need a gluten-free option, you can use a 1:1 gluten-free flour blend, though the texture might be slightly different.
- Light Brown Sugar (1 cup): Packed. Brown sugar adds moisture and a caramel-like flavor. Light brown sugar is milder, but dark brown sugar works if you want a deeper molasses taste.
- Unsalted Butter (1/2 cup): Cold and cubed. Cold butter is key. It creates pockets of steam as it melts, leading to a flaky, crispy texture. I recommend using a high-quality European-style butter if you can find it.
- Salt (1/2 teaspoon): Just a pinch to balance the sweetness. It’s essential for bringing out the flavors.
Optional Add-Ins
- Chopped Pecans or Walnuts (1/2 cup): Adds a nutty crunch and richness. I love adding pecans, but walnuts work well too.
- Chai Spice Blend: For a twist, swap the cinnamon and nutmeg for a chai blend. It adds cardamom and cloves for an aromatic kick.
Equipment Needed
You don’t need much to make this classic brown sugar apple crisp with oat topping, but having the right tools helps.
- 9×13 Inch Baking Dish: A glass or ceramic dish is best. It distributes heat evenly. If you don’t have one, a 9×9 inch dish will work, but the crisp will be thicker and may need less baking time.
- Large Mixing Bowl: For tossing the apples with spices and sugar. A bowl with a wide mouth is easier to work with.
- Medium Mixing Bowl: For the oat topping. Keep the bowls separate to avoid cross-contamination of wet and dry ingredients.
- Pastry Cutter or Fork: To cut the butter into the dry ingredients. A pastry cutter makes this quick and easy, but a fork works fine if you’re patient.
- Peeler and Knife: For peeling and slicing the apples. A mandoline can make slicing uniform, which helps with even cooking.
- Measuring Cups and Spoons: Accuracy matters in baking. Use standard measuring cups for dry ingredients and liquid measuring cups for wet ones.
If you don’t have a pastry cutter, no worries. I often use my hands to rub the butter into the flour. It warms the butter slightly, which can actually help create a tender topping. Just be careful not to overwork it. A standard wooden spoon works well for mixing the apples too. Keep it simple. You don’t need fancy gadgets for this one.
Preparation Method
Making this classic brown sugar apple crisp with oat topping is straightforward, but attention to detail ensures the best results. Follow these steps carefully.
- Preheat the Oven: Set your oven to 375°F (190°C). Allow it to fully preheat. This ensures the topping starts crisping immediately upon entering the oven. (Time: 15 minutes)
- Prepare the Apples: Peel, core, and slice the apples into 1/4-inch thick slices. Uniform slices are crucial for even cooking. Place them in a large mixing bowl. (Time: 10 minutes)
- Season the Apples: Add the lemon juice, granulated sugar, cinnamon, ginger, nutmeg, cornstarch, and vanilla extract to the apples. Toss gently until all slices are evenly coated. The mixture should look glossy and speckled with spices. (Time: 5 minutes)
- Arrange in Dish: Pour the apple mixture into your prepared 9×13 inch baking dish. Spread it out evenly. If there are juices at the bottom, make sure they are distributed. (Time: 2 minutes)
- Make the Topping: In a medium bowl, whisk together the rolled oats, all-purpose flour, brown sugar, and salt. Add the cold, cubed butter. Use a pastry cutter, two forks, or your fingers to cut the butter into the dry ingredients. You want the mixture to resemble coarse crumbs with some pea-sized chunks of butter remaining. Do not overmix. (Time: 5 minutes)
- Add the Topping: Sprinkle the oat mixture evenly over the apples. Press down gently with your hands to help it adhere. This prevents the topping from sliding off when you serve it. (Time: 2 minutes)
- Bake: Place the dish in the preheated oven. Bake for 45-55 minutes. The topping should be golden brown, and the apple juices should be bubbling vigorously around the edges. If the topping browns too quickly, cover it loosely with foil for the last 10 minutes. (Time: 50 minutes)
- Cool: Remove from the oven and let it cool for at least 15-20 minutes. This allows the juices to thicken slightly, making it easier to serve. (Time: 20 minutes)
Pro tip: If you notice the edges of the topping burning before the apples are tender, tent the dish with foil. It’s better to have soft apples than burnt crust. Trust me on this one.
Cooking Tips & Techniques
Having made this recipe many times, I’ve learned a few tricks to avoid common pitfalls.
- Cold Butter is Key: For the topping, keep the butter cold. If it melts before baking, you lose the flaky texture. Rub it in quickly or use a pastry cutter.
- Don’t Skip the Lemon: The acid in the lemon juice not only prevents browning but also brightens the flavor. It cuts through the richness of the butter and sugar.
- Uniform Slices: Slicing the apples evenly ensures they cook at the same rate. If some are thick and some are thin, you’ll end up with mushy and hard pieces.
- Bubbling Juices: The crisp is done when you see bubbles of syrupy juice around the edges. If it’s not bubbling, the apples aren’t tender yet. Keep baking.
- Resting Time: Letting it cool is hard, but necessary. The filling is extremely hot and runny straight out of the oven. Cooling thickens it up.
I once rushed this step and served it immediately. It was a soupy mess. Lesson learned. Patience pays off. Also, if you live at a high altitude, you might need to increase the baking time slightly. The lower air pressure affects how liquids boil.
Variations & Adaptations
This classic brown sugar apple crisp with oat topping is versatile. Here are some ways to change it up.
- Gluten-Free: Substitute the all-purpose flour with a gluten-free flour blend. Ensure your oats are certified gluten-free if you have celiac disease.
- Dairy-Free: Use vegan butter or coconut oil instead of dairy butter. The texture will be slightly different, but the flavor remains delicious.
- Nut-Free: Add chopped pecans or walnuts to the topping for a nutty crunch. This is great for those with nut allergies in the group, just omit them.
- Seasonal Twist: In the fall, add chopped pears or quinces to the apple mixture. They pair beautifully with the spices.
- Spice It Up: Add a pinch of cardamom or allspice for a more complex flavor profile. I love adding a dash of chai spice for a warm, aromatic kick.
My personal favorite variation is adding a layer of cream cheese mixed with a little sugar between the apples and the topping. It adds a tangy richness that elevates the whole dish. It’s a bit more work, but worth it for special occasions.
Serving & Storage Suggestions
This classic brown sugar apple crisp with oat topping is best served warm.
- Serving Temperature: Serve it slightly warm, not piping hot. This allows the flavors to meld and the texture to set. A scoop of vanilla ice cream or a dollop of whipped cream is traditional and highly recommended.
- Complementary Dishes: It pairs well with roasted meats like pork or chicken. The sweetness balances the savory flavors. It’s also great as a standalone dessert with a cup of black tea or coffee.
- Storage: Store leftovers in an airtight container in the refrigerator for up to 5 days. The topping may soften, but you can re-crisp it in the oven.
- Freezing: You can freeze the crisp for up to 3 months. Wrap it tightly in plastic wrap and then foil. Thaw in the refrigerator overnight before reheating.
- Reheating: Reheat in the oven at 350°F (175°C) for 15-20 minutes. This restores the crispiness of the topping. Microwave reheating will make the topping soggy.
The flavors develop over time. It often tastes better the next day as the apples soften and the spices infuse deeper. Don’t be surprised if you find yourself craving it more on day two.
Nutritional Information & Benefits
While this is a dessert, it does have some nutritional benefits.
- Estimated Values: A serving (1/10th of the dish) contains approximately 350 calories, 15g fat, 55g carbs, and 3g fiber.
- Health Benefits: Apples are rich in fiber and antioxidants. Oats provide beta-glucans, which are good for heart health. Cinnamon may help regulate blood sugar levels.
- Dietary Considerations: This recipe is vegetarian. It can be made gluten-free and dairy-free with substitutions. It is not suitable for low-carb or keto diets due to the sugar and flour content.
- Allergens: Contains wheat and dairy. Nut-free if you omit nuts.
I try to balance indulgence with wholesome ingredients. This recipe uses real fruit and oats, which is better than processed desserts. It’s a treat, but a slightly healthier one.
Conclusion
This classic brown sugar apple crisp with oat topping is more than just a recipe. It’s a comfort in a dish. It’s simple, delicious, and brings people together. I love making it because it’s reliable. It never fails to please.
I encourage you to try it and make it your own. Add your favorite spices, nuts, or fruits. Don’t be afraid to experiment. Cooking is about creativity and joy.
I hope you enjoy this recipe as much as I do. Please leave a comment below and let me know how it turned out. Share your variations and tips with the community. And if you love this, share it with a friend. They will thank you.
Happy baking!
FAQs
Can I use frozen apples for this crisp?
Yes, you can use frozen apples. However, they will release more water. You may need to increase the cornstarch by 1 tablespoon to thicken the juices. Also, thaw them slightly before mixing to avoid diluting the spices.
Why is my topping soggy?
Soggy topping usually means the butter was too warm or the topping wasn’t spread evenly. Make sure your butter is cold and cubed. Also, ensure the apples are bubbling before you take it out of the oven. If the juices aren’t hot enough, the topping won’t crisp up properly.
Can I make this ahead of time?
Yes, you can assemble the crisp up to 24 hours in advance. Cover it tightly and refrigerate. Let it sit at room temperature for 30 minutes before baking. You may need to add 5-10 minutes to the baking time since it starts cold.
What is the best apple for apple crisp?
A mix of tart and sweet apples works best. Granny Smith and Fuji are a classic combination. They provide a balance of flavor and texture. Avoid using Red Delicious, as they tend to get mushy and lack flavor.
How do I store leftovers?
Store leftovers in an airtight container in the refrigerator for up to 5 days. Reheat in the oven to restore the crispiness of the topping. Avoid microwaving, as it will make the topping soft and chewy.
Pin This Recipe!
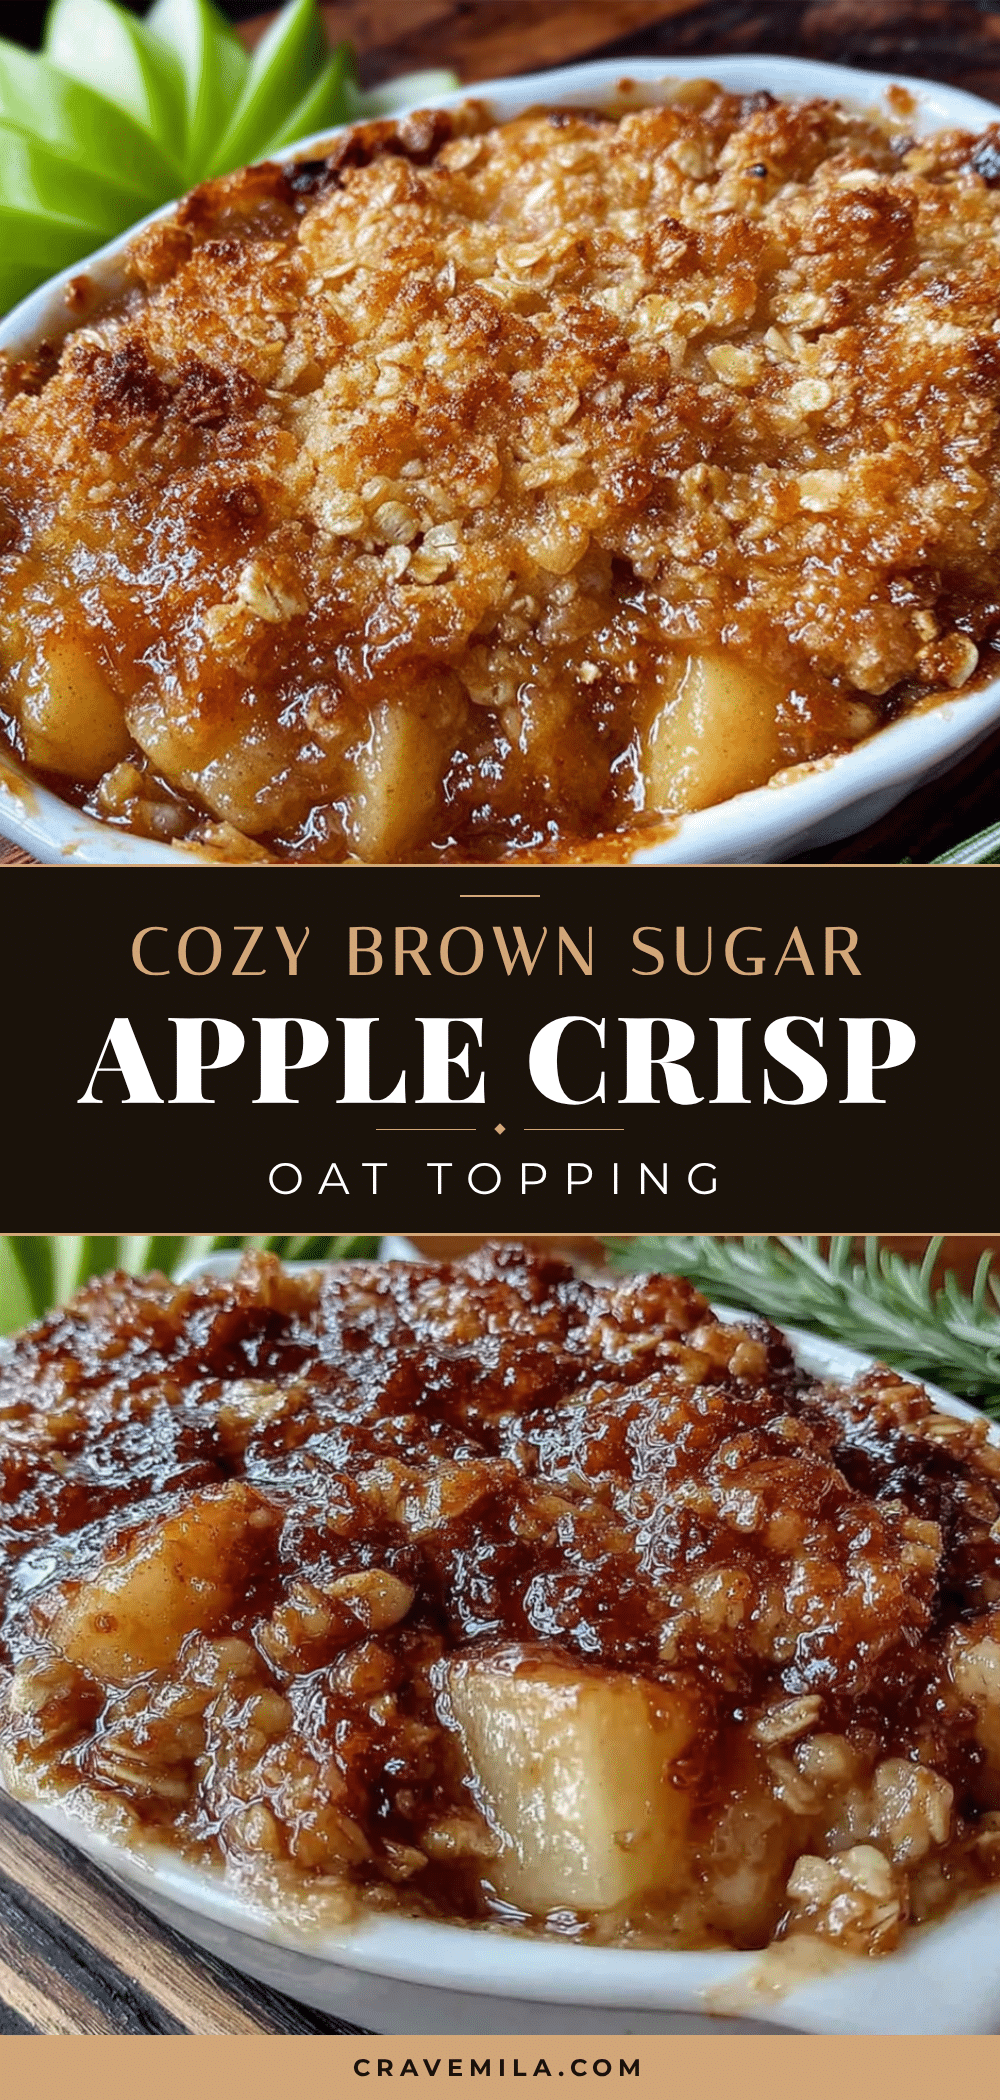
Classic Brown Sugar Apple Crisp: Best Easy Oat Topping

A comforting dessert featuring tart and sweet apples baked under a crunchy, buttery oat and brown sugar topping. This easy recipe brings nostalgic flavor with simple ingredients.
- Prep Time: 30 minutes
- Cook Time: 50 minutes
- Total Time: 80 minutes
- Yield: 8 servings 1x
- Category: Dessert
- Cuisine: American
Ingredients
- 6–7 medium apples (mix of Granny Smith and Fuji/Honeycrisp), peeled, cored, and sliced
- 2 tablespoons fresh lemon juice
- 1/2 cup granulated sugar
- 1 teaspoon ground cinnamon
- 1/2 teaspoon ground ginger
- 1/4 teaspoon nutmeg
- 2 tablespoons cornstarch
- 1 teaspoon vanilla extract
- 1 cup old-fashioned rolled oats
- 1 cup all-purpose flour
- 1 cup light brown sugar, packed
- 1/2 cup unsalted butter, cold and cubed
- 1/2 teaspoon salt
Instructions
- Preheat oven to 375°F (190°C).
- Peel, core, and slice apples into 1/4-inch thick slices. Place in a large mixing bowl.
- Add lemon juice, granulated sugar, cinnamon, ginger, nutmeg, cornstarch, and vanilla extract to the apples. Toss gently until evenly coated.
- Pour the apple mixture into a 9×13 inch baking dish and spread evenly.
- In a medium bowl, whisk together oats, flour, brown sugar, and salt.
- Add cold cubed butter to the dry ingredients. Use a pastry cutter or fingers to cut butter in until the mixture resembles coarse crumbs with pea-sized butter chunks.
- Sprinkle the topping evenly over the apples and press down gently.
- Bake for 45-55 minutes until topping is golden brown and juices are bubbling. Cover with foil if topping browns too quickly.
- Cool for 15-20 minutes before serving to allow juices to thicken.
Notes
Ensure butter is cold for a flaky topping. Slice apples uniformly for even cooking. Let the crisp cool completely to allow the filling to set. Can be made gluten-free by using GF flour and certified GF oats. Can be made dairy-free by using vegan butter.
Nutrition
- Serving Size: 1/10th of the dish
- Calories: 350
- Sugar: 40
- Sodium: 150
- Fat: 15
- Saturated Fat: 8
- Carbohydrates: 55
- Fiber: 3
- Protein: 3
Keywords: apple crisp, brown sugar, oat topping, dessert, fall recipes, comfort food, easy baking