My sister-in-law, Jen, wasn’t trying to impress me. I’d stopped by to borrow a garden rake and she was standing at her kitchen counter, one hand shoving peanut butter into a bowl, the other holding her phone between her ear and shoulder. The smell hit me before I even got through the back door—warm, nutty, with a hint of something sweet and a little salty. She didn’t even look up. “Grab a spoon,” she said, still on the phone. “I’m just making snacks for the week.”
She wasn’t measuring anything. She was just tossing stuff in. Oats went in, then some chocolate chips, a scoop of protein powder from a bag that was definitely not sealed properly. She rolled them into balls with her hands, no fuss, no drama. “They’re for the kids,” she said when she finally hung up. “But honestly, I eat most of them.” I took one. It was soft, not too sweet, and it felt substantial—like real food, not a sad health bar. I had to stop myself from grabbing a second one before I even left with the rake.
I asked her for the recipe, and she literally shrugged. “I don’t really have one. Just peanut butter, oats, protein powder, honey, chocolate chips. Maybe some flaxseed if I remember.” That was it. No blog post, no Pinterest board, no carefully staged photos. Just a bowl and a woman who didn’t have time to overthink her snacks. And you know what? Those were the best protein balls I’d ever had. Maybe you’ve been there—standing in someone’s kitchen, watching them throw something together like it’s nothing, and realizing you’ve just discovered your new favorite thing.
So I went home and reverse-engineered it. I tested ratios, tried different protein powders, and figured out the perfect balance so they hold together without being sticky or dry. These easy high-protein peanut butter protein balls are the result. They’re no-bake, they take ten minutes, and they taste like a treat you don’t have to feel guilty about. I’ve been making them every single week since that afternoon at Jen’s house, and honestly, I think I eat more of them than her kids do.
Why You’ll Love This Recipe
Let me tell you why these no-bake protein balls have earned a permanent spot in my fridge. I’ve tested this recipe at least a dozen times, tweaking the ratios until they were just right. Here’s what makes them stand out:
- Quick & Easy: You can make these in under 10 minutes. No oven, no baking sheet, no waiting. Just mix, roll, and eat.
- Simple Ingredients: You probably already have most of these in your pantry. No weird superfood powders or expensive specialty items.
- Perfect for Busy Weeks: These are my go-to for hectic mornings, post-workout refueling, or that 3 PM slump when you need something real.
- Crowd-Pleaser: I’ve brought these to potlucks, kids’ soccer games, and office meetings. They disappear fast.
- Unbelievably Delicious: The texture is soft and chewy, not dry or crumbly. The peanut butter and chocolate combo is pure comfort.
What makes this version different from the rest? It’s the ratio. Most recipes end up too sticky or too dry. I spent time figuring out the exact balance of wet to dry ingredients so these hold together perfectly without being a mess. Plus, I use a specific trick—letting the mixture rest for five minutes before rolling—that makes all the difference. These aren’t just another protein ball recipe. They’re the one you’ll actually want to make again and again.
This recipe is the kind that makes you close your eyes after the first bite. It’s comfort food that actually works with your lifestyle—healthier, faster, and way more satisfying than anything you’d grab from a vending machine. Perfect for impressing guests without any stress, or turning a simple snack into something you actually look forward to.
What Ingredients You Will Need
This recipe uses simple, wholesome ingredients that come together to create a snack that’s both satisfying and nutritious. Most of these are pantry staples, so you might not even need a trip to the store.
- 1 cup creamy peanut butter (natural, no-stir works best; I prefer Skippy Natural or Teddie for consistent texture)
- 1/3 cup honey (or maple syrup for a vegan option; local honey adds a nice floral note)
- 1 cup old-fashioned rolled oats (not quick oats—they get too mushy; certified gluten-free if needed)
- 1/2 cup vanilla or chocolate protein powder (I recommend Orgain Simple or Vega for clean ingredients; whey or plant-based both work)
- 1/3 cup mini chocolate chips (dark chocolate chips are my favorite; Enjoy Life makes a great allergy-friendly option)
- 2 tablespoons ground flaxseed (optional, but adds fiber and helps bind; chia seeds work too)
- Pinch of sea salt (skip if your peanut butter is already salted; flaky salt on top is nice too)
For the peanut butter, avoid the super oily natural kinds that separate a lot—they can make the mixture too loose. A creamy, no-stir peanut butter gives the best texture. If you only have crunchy, that works too; it just adds a little extra texture.
For the protein powder, vanilla is my go-to because it adds a subtle sweetness. Chocolate works great if you want a double-chocolate vibe. If your protein powder is unsweetened, you might want to add an extra tablespoon of honey. I’ve used collagen powder before and it works, but the balls will be a bit softer.
If you don’t have flaxseed, no worries. You can leave it out or substitute with hemp hearts or chia seeds. The flaxseed helps with binding and adds a nice nutritional boost, but the recipe works fine without it.
Equipment Needed
You don’t need much for this recipe, which is part of the beauty of it. Here’s what you’ll need:
- Large mixing bowl (any size works, but bigger is easier for mixing without spills)
- Measuring cups and spoons (a 1/3 cup and 1 cup measure are essential; I use my favorite OXO set)
- Rubber spatula or wooden spoon (for mixing; a spatula helps scrape the sides clean)
- Parchment paper or wax paper (for lining a baking sheet or plate to hold the balls)
- Baking sheet or large plate (to place the rolled balls on before refrigerating)
- Small cookie scoop (optional) (about 1 tablespoon size; makes uniform balls and keeps your hands cleaner)
If you don’t have a cookie scoop, just use a regular spoon and your hands. It’s a little messier, but honestly, I often skip the scoop and just use my hands anyway. A tip I learned the hard way: lightly wet your hands before rolling. It keeps the mixture from sticking to your palms and makes the process much smoother.
For storage, you’ll want an airtight container. A glass meal prep container or a mason jar works great. I’ve used plastic bags before in a pinch, but the balls can get a bit squished.
Preparation Method
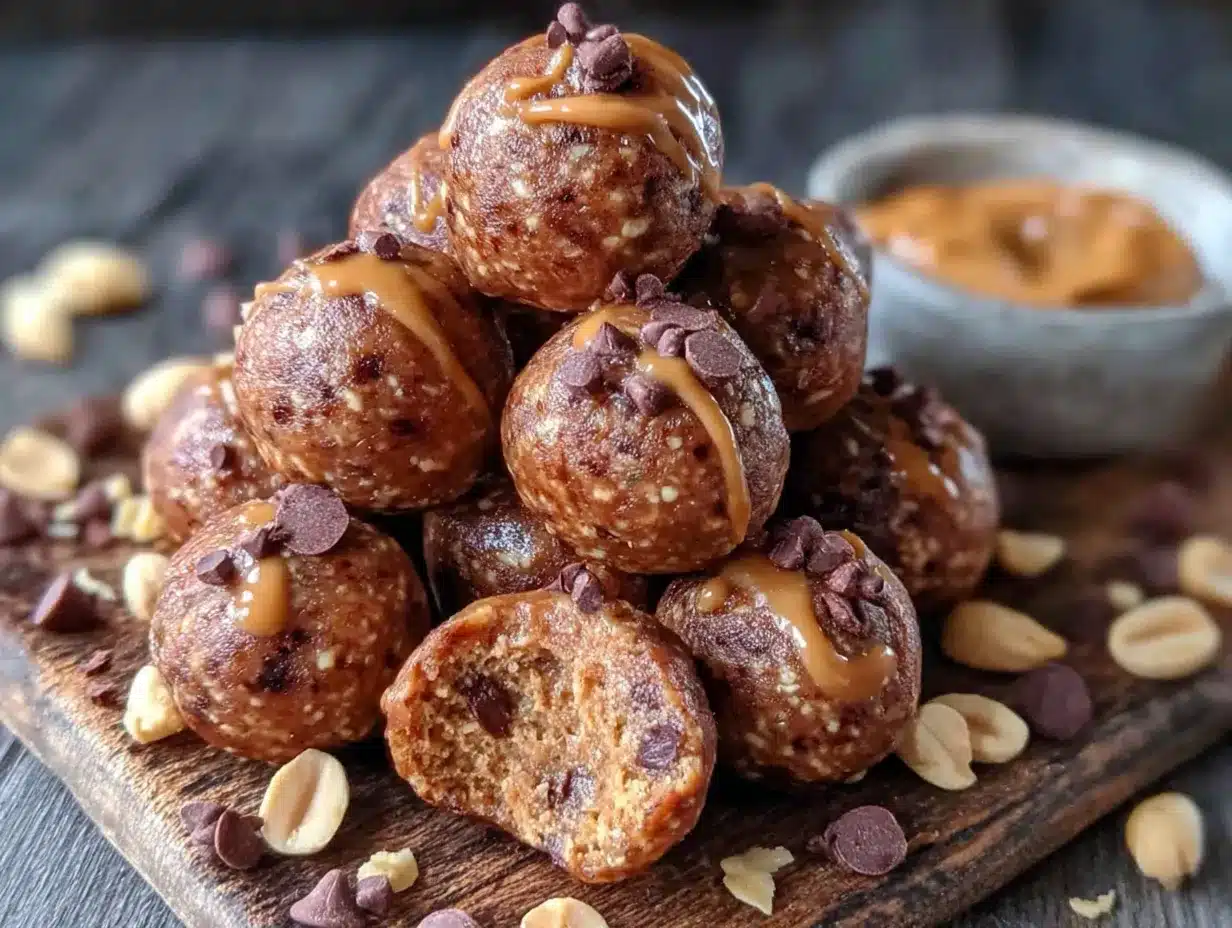
This recipe comes together in about 10 minutes of active time. Here’s exactly how to do it:
- Combine the wet ingredients. In a large mixing bowl, add 1 cup creamy peanut butter and 1/3 cup honey. Stir them together with a rubber spatula until they’re fully combined. The mixture should look smooth and glossy. If your peanut butter is cold from the fridge, microwave it for about 15 seconds to soften it—makes mixing much easier.
- Add the dry ingredients. Add 1 cup rolled oats, 1/2 cup protein powder, 2 tablespoons ground flaxseed (if using), and a pinch of sea salt. Stir everything together until no dry patches remain. The mixture will look thick and a little crumbly at first, but keep stirring. It will come together into a cohesive dough.
- Fold in the chocolate chips. Add 1/3 cup mini chocolate chips and fold them in gently until they’re evenly distributed. Don’t overmix at this point, or the chips might start melting from the warmth of your hands.
- Let the mixture rest. This is my secret step. Let the mixture sit at room temperature for 5 minutes. This gives the oats time to absorb some moisture and the flaxseed to gel slightly. The mixture will firm up and be much easier to roll. Trust me on this—I skipped it once and ended up with sticky, misshapen balls.
- Roll into balls. Line a baking sheet or large plate with parchment paper. Using a small cookie scoop or a tablespoon, portion out the mixture. Roll each portion between your palms to form a ball about 1 inch in diameter. If the mixture sticks to your hands, lightly wet your palms with water. You should get about 18 to 20 balls.
- Chill to set. Place the baking sheet with the rolled balls in the refrigerator for at least 30 minutes. This helps them firm up and hold their shape. If you’re in a hurry, you can pop them in the freezer for 15 minutes instead.
- Store properly. Transfer the chilled balls to an airtight container. Keep them in the refrigerator for up to 2 weeks, or in the freezer for up to 3 months.
A few sensory cues to watch for: The mixture should feel like a soft cookie dough—not sticky, not crumbly, but holding together when pressed. If it’s too dry, add a teaspoon of honey or a splash of milk. If it’s too wet, add a tablespoon of oats. The balls should feel firm but not hard after chilling, with a slight give when you squeeze them.
Cooking Tips & Techniques
Over the dozens of batches I’ve made, I’ve learned a few things that make this recipe foolproof. Here are my best tips:
Use room temperature ingredients. Cold peanut butter is a nightmare to mix. Let it sit out for 15 minutes before starting, or give it a quick zap in the microwave. Room temperature honey also mixes in more smoothly.
Don’t skip the rest time. I know it’s tempting to just roll them right away, but that five-minute rest is crucial. It lets the oats absorb moisture and the flaxseed do its binding thing. The first time I made these, I skipped it and ended up with balls that fell apart in the fridge. Never again.
Wet hands are your friend. This is one of those tricks that sounds weird but works perfectly. Keep a small bowl of water nearby and dip your fingers before rolling. The mixture won’t stick to your palms, and you’ll get much smoother balls.
Use a cookie scoop for consistency. If you want uniform balls that look professional, a 1-tablespoon cookie scoop is worth the investment. It also makes the process faster. But honestly, I’ve made plenty of batches using just a spoon and my hands, and they taste the same.
Taste and adjust. Before you roll all the balls, taste a small piece of the mixture. This is your chance to adjust sweetness or saltiness. I’ve had batches where I needed an extra drizzle of honey or a pinch more salt. Better to catch it now than after you’ve rolled 20 balls.
One mistake I made: I once used a protein powder that was super sweetened with stevia. The balls had a weird aftertaste that I couldn’t fix. Now I always use a protein powder I’ve tasted on its own. Vanilla unsweetened or lightly sweetened is your safest bet.
Variations & Adaptations
One of the best things about this recipe is how easy it is to adapt. Here are some variations I’ve tried and loved:
Vegan Version
Swap the honey for maple syrup or agave nectar. Use a plant-based protein powder. That’s it. The texture will be slightly different—maple syrup is a little thinner—so you might need to add an extra tablespoon of oats. I’ve made this version for my vegan friend Sarah, and she says it’s better than any store-bought protein ball.
Chocolate Lover’s Version
Use chocolate protein powder instead of vanilla, and add an extra tablespoon of cocoa powder. I also like to roll the finished balls in a little cocoa powder for a truffle-like finish. This version is dangerously good—I can’t stop at just one.
Nut-Free Version
Substitute the peanut butter with sun butter or WowButter (soy-based). The texture will be similar, but the flavor will be different. Add an extra tablespoon of honey to balance the slightly savory taste of sun butter. My nephew has a nut allergy, and this version makes him feel included.
Add-In Ideas
Feel free to get creative. Here are some add-ins I’ve tried:
- 1/4 cup shredded coconut (adds chewiness)
- 1/4 cup chopped dried cranberries or cherries (adds tartness)
- 1 tablespoon chia seeds (extra fiber and omega-3s)
- 1/4 cup crushed pretzels (for a sweet-salty crunch)
Lower-Carb Version
Replace the oats with unsweetened shredded coconut and almond flour. Use a low-carb protein powder. The texture will be denser and less chewy, but still satisfying. I’ve made this for my keto friend Dave, and he gives it two thumbs up.
Serving & Storage Suggestions
These protein balls are incredibly versatile when it comes to serving. Here’s how I like to enjoy them:
Serving Temperature: I prefer them straight from the fridge—they’re firm and satisfyingly cold. But they’re also great at room temperature if you’re packing them for lunch. Just know they’ll be a little softer. If you’re serving them at a party, let them sit out for 10 minutes first.
Presentation Ideas: Arrange them on a wooden board with fresh fruit and nuts for a beautiful snack platter. For a kids’ party, I’ve rolled them in sprinkles or crushed graham crackers. For a more grown-up presentation, dust them with a little flaky sea salt and cocoa powder.
Pairing Suggestions: These pair beautifully with a cold glass of milk, a hot cup of coffee, or a post-workout smoothie. I also love having one with a piece of fruit for a balanced snack. For a dessert, serve two balls with a scoop of vanilla ice cream—trust me on this.
Storage Instructions: Store in an airtight container in the refrigerator for up to 2 weeks. They also freeze beautifully. Place them in a single layer on a baking sheet, freeze for 1 hour, then transfer to a freezer-safe bag or container. They’ll keep for up to 3 months. To thaw, just let them sit at room temperature for 5 minutes, or eat them straight from the freezer (I actually prefer them frozen).
Flavor Development: These actually get better after a day or two in the fridge. The flavors meld together, and the texture becomes more uniform. I often make a double batch on Sunday and enjoy them all week. By Thursday, they’re at their peak.
Reheating: Not really necessary, but if you want a softer texture, microwave one ball for about 10 seconds. It’ll be warm and gooey—almost like a fresh-baked cookie.
Nutritional Information & Benefits
Here’s the approximate nutritional breakdown for one protein ball (based on 20 balls per batch):
| Nutrient | Amount per Ball |
|---|---|
| Calories | 145 |
| Protein | 7g |
| Carbohydrates | 15g |
| Fiber | 2g |
| Sugar | 8g |
| Fat | 8g |
| Saturated Fat | 2g |
| Sodium | 95mg |
These numbers will vary based on your specific ingredients, especially the protein powder and peanut butter brand. But overall, these are a great source of protein, healthy fats, and fiber.
Health Benefits: Peanut butter provides heart-healthy monounsaturated fats and protein. Oats are packed with fiber, which supports digestion and keeps you full. Flaxseed adds omega-3 fatty acids and lignans, which have antioxidant properties. Protein powder helps with muscle recovery and satiety.
Dietary Considerations: This recipe is naturally gluten-free if you use certified gluten-free oats. It can be made vegan with maple syrup and plant-based protein powder. It’s also egg-free and dairy-free (depending on your chocolate chips). The main allergen to watch for is peanuts, but as mentioned, you can use sun butter for a nut-free version.
I personally love that these give me sustained energy without a sugar crash. They’re my go-to after a morning run or a long day at my desk. They feel like a treat, but they’re actually doing something good for my body.
Conclusion
These easy high-protein peanut butter protein balls have become a staple in my kitchen for a reason. They’re quick, they’re forgiving, and they taste like something you’d actually want to eat—not just something you choke down because it’s healthy. Every time I make them, I think of Jen standing in her kitchen, not trying to impress anyone, just making something good for her family. That’s the energy I want in my cooking.
I encourage you to make these your own. Add your favorite mix-ins, adjust the sweetness, play with different protein powders. That’s the beauty of a no-bake recipe—it’s hard to mess up, and easy to customize. Start with the base recipe, then experiment. You might discover your own perfect version.
If you make these, I’d love to hear about it. Drop a comment below and let me know what variations you tried, or tag me in your photos. Seriously, nothing makes my day like seeing someone else fall in love with a recipe I’ve shared. And if you have a friend who swears they can’t cook, send them this recipe. It might just change their mind.
Happy rolling, friends. You’ve got this.
Frequently Asked Questions
Can I use quick oats instead of rolled oats?
You can, but the texture will be different. Quick oats are more finely ground and will absorb moisture faster, making the balls denser and less chewy. Rolled oats give a better texture. If quick oats are all you have, reduce the rest time to 2 minutes.
My mixture is too dry. What should I do?
Add a teaspoon of honey or a splash of milk (dairy or plant-based) at a time until the mixture comes together. You can also add a little extra peanut butter. The key is to add small amounts and stir well before adding more.
My mixture is too sticky. How do I fix it?
Add a tablespoon of oats or protein powder at a time until the mixture firms up. You can also chill the mixture for 10 minutes before rolling—it’ll be much easier to handle. And remember to wet your hands lightly before rolling.
Can I make these without protein powder?
Yes, but the texture and nutrition will change. Omit the protein powder and add an extra 1/2 cup of oats. The balls will be less protein-dense but still delicious. You might also want to add a tablespoon of almond flour or coconut flour to help with binding.
How long do these last at room temperature?
They’re best kept refrigerated, but they’ll be fine at room temperature for up to 24 hours. If you’re packing them for lunch, use an ice pack or just eat them within a few hours. In warm weather, they can get soft and sticky, so refrigeration is safer.
Pin This Recipe!
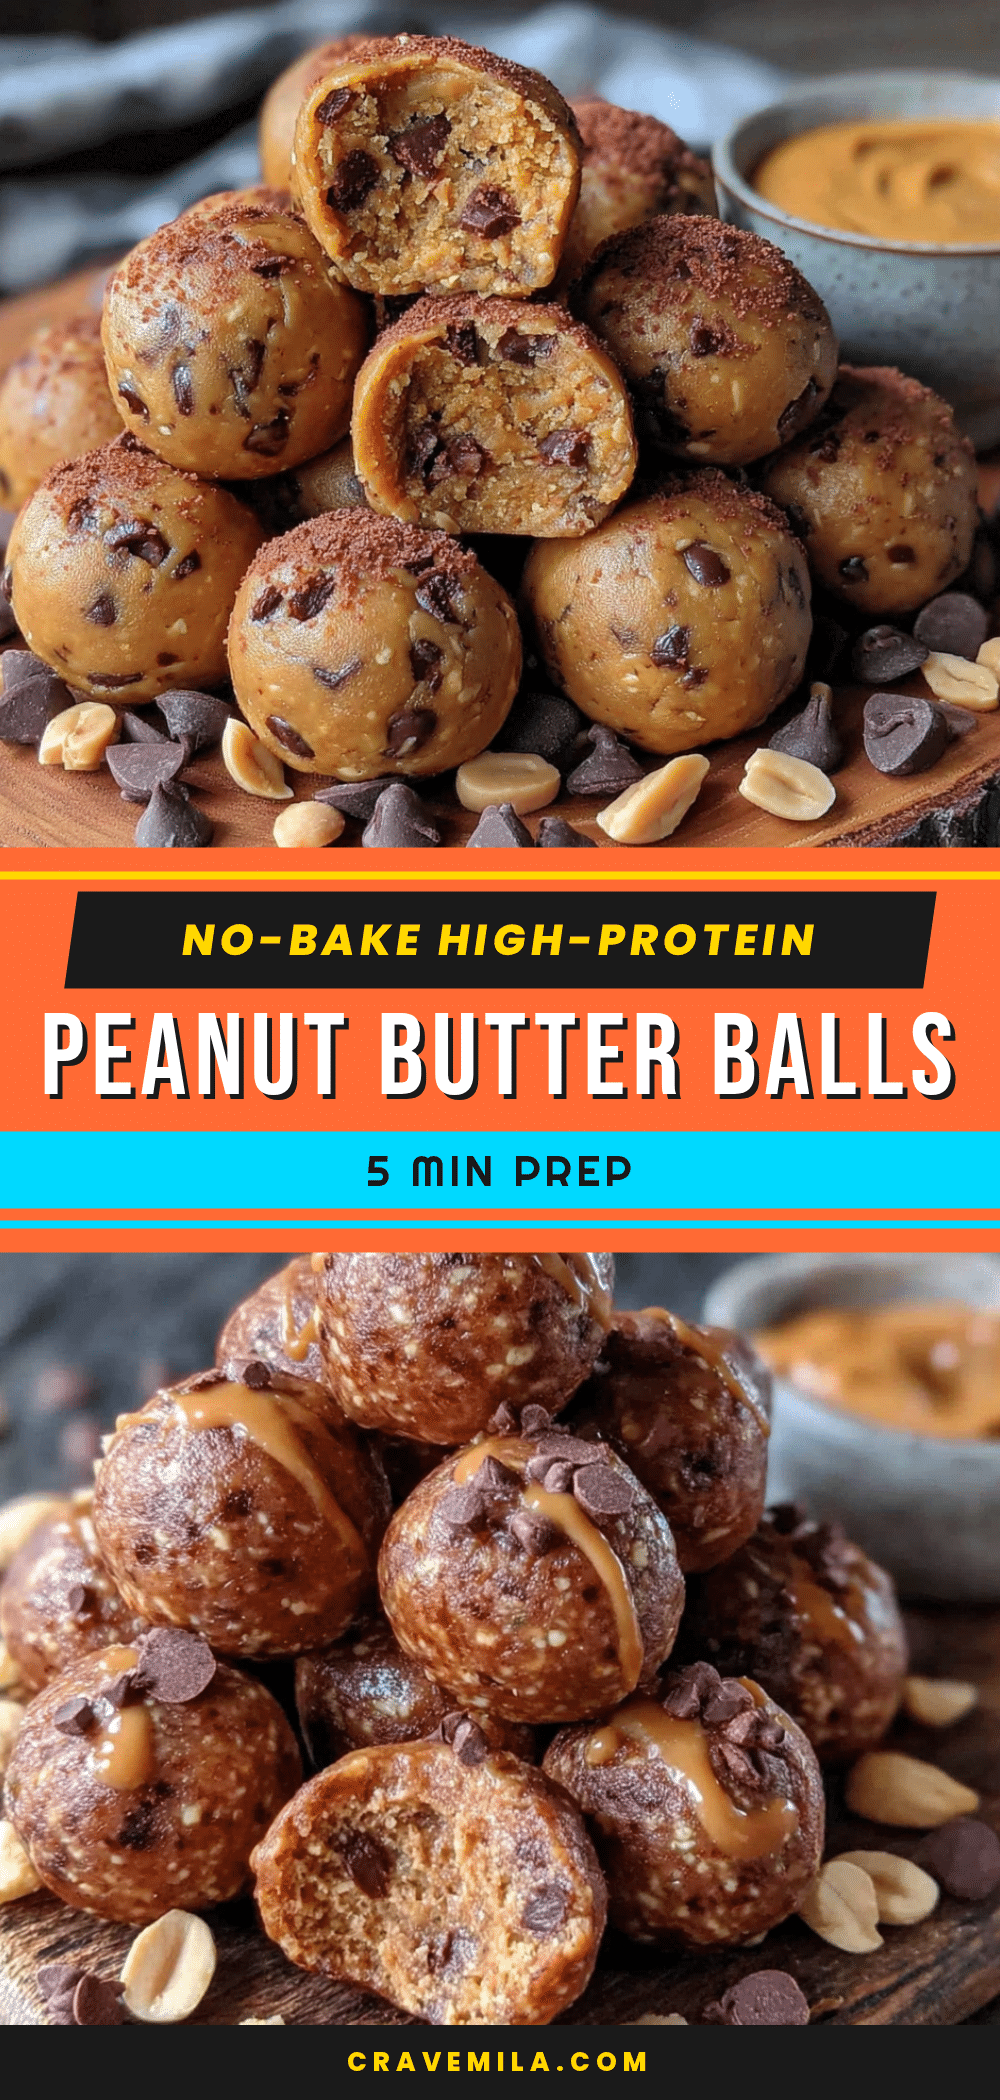
Easy High-Protein Peanut Butter Protein Balls: Best No-Bake Snack

These no-bake peanut butter protein balls are quick, easy, and made with simple ingredients. Perfect for a healthy snack or post-workout refueling, they come together in just 10 minutes and taste like a treat you don’t have to feel guilty about.
- Prep Time: 10 minutes
- Cook Time: 0 minutes
- Total Time: 40 minutes (including chilling)
- Yield: 18-20 balls 1x
- Category: Snack
- Cuisine: American
Ingredients
- 1 cup creamy peanut butter (natural, no-stir works best)
- 1/3 cup honey (or maple syrup for vegan)
- 1 cup old-fashioned rolled oats (certified gluten-free if needed)
- 1/2 cup vanilla or chocolate protein powder
- 1/3 cup mini chocolate chips
- 2 tablespoons ground flaxseed (optional)
- Pinch of sea salt
Instructions
- In a large mixing bowl, combine 1 cup creamy peanut butter and 1/3 cup honey. Stir until smooth and glossy. If peanut butter is cold, microwave for 15 seconds to soften.
- Add 1 cup rolled oats, 1/2 cup protein powder, 2 tablespoons ground flaxseed (if using), and a pinch of sea salt. Stir until no dry patches remain and a cohesive dough forms.
- Fold in 1/3 cup mini chocolate chips gently until evenly distributed.
- Let the mixture rest at room temperature for 5 minutes to allow oats to absorb moisture and flaxseed to gel.
- Line a baking sheet or large plate with parchment paper. Using a small cookie scoop or tablespoon, portion out the mixture and roll into 1-inch balls. Lightly wet hands if mixture sticks.
- Place the baking sheet in the refrigerator for at least 30 minutes to firm up (or 15 minutes in the freezer).
- Transfer chilled balls to an airtight container. Store in the refrigerator for up to 2 weeks or in the freezer for up to 3 months.
Notes
Let the mixture rest for 5 minutes before rolling to ensure the balls hold together. Lightly wet hands to prevent sticking. For best flavor, use a protein powder you enjoy on its own. These balls get better after a day in the fridge.
Nutrition
- Serving Size: 1 ball
- Calories: 145
- Sugar: 8
- Sodium: 95
- Fat: 8
- Saturated Fat: 2
- Carbohydrates: 15
- Fiber: 2
- Protein: 7
Keywords: protein balls, peanut butter, no-bake, healthy snack, high protein, easy recipe, gluten-free, vegan option



