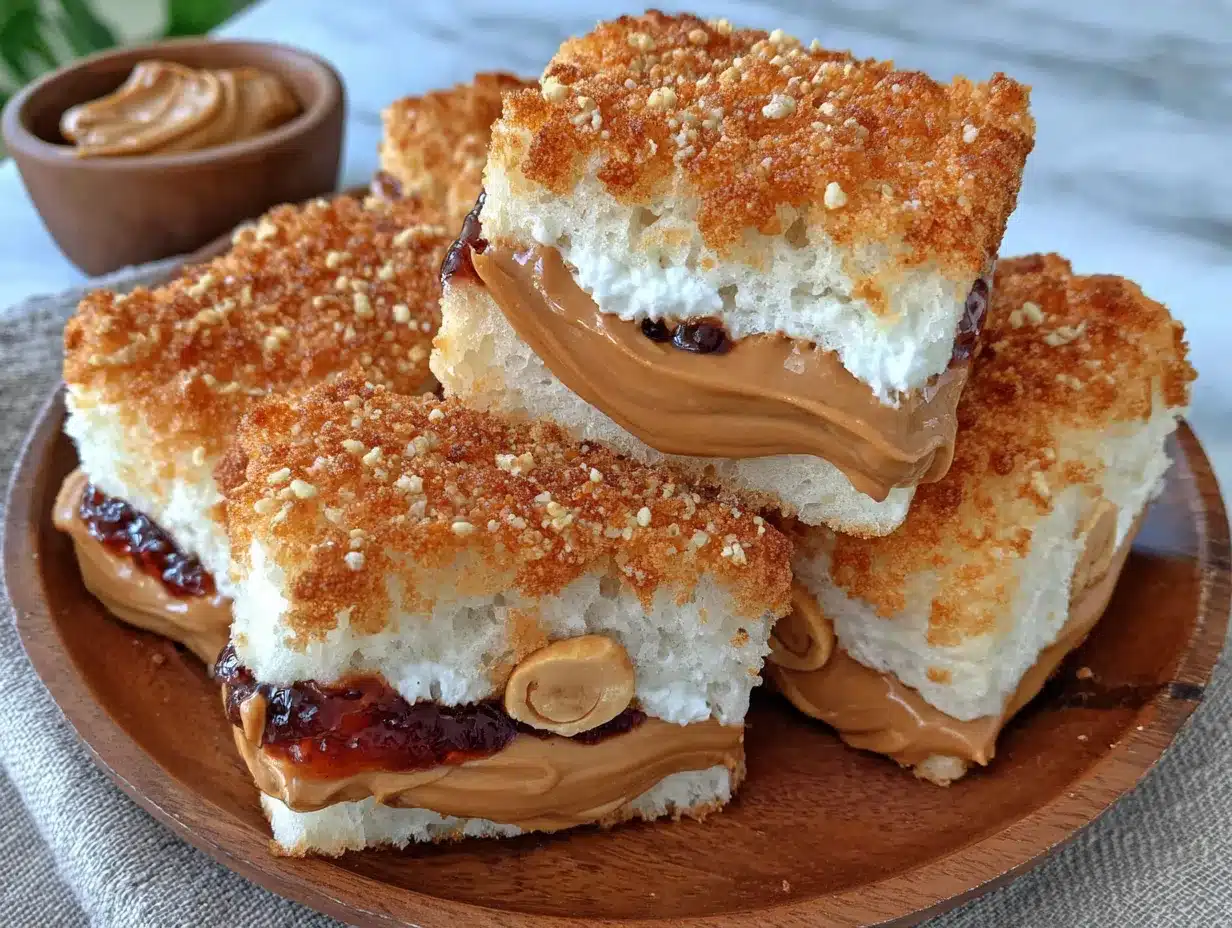
I wasn’t expecting lunchbox advice from a retired plumber named Larry, but there I was, stuck in the waiting room of the car dealership, listening to him describe exactly how to make these little peanut butter and jelly bites. My oldest had just started preschool, and I was already losing the lunch battle. Every sandwich came back with the crusts chewed off and the middle barely touched. Larry, it turns out, had raised four kids and had strong opinions about toddler nutrition. “You’re overthinking it,” he said, not looking up from his magazine. “Just smash it, roll it, and cut it small.” Honestly, I almost laughed. But three days later, staring at yet another rejected sandwich, I remembered Larry’s advice. I grabbed some bread, peanut butter, and jelly, and made the ugliest little bites you’ve ever seen. They weren’t pretty, but my kid ate every single one. That was three years ago, and these no-crust PB&J bites have been in steady rotation ever since. Maybe you’ve been there—standing over the kitchen counter at 7 AM, wondering why something so simple feels so hard. These bites changed that for me. They’re forgiving, they’re fast, and they actually get eaten. Let me tell you, that’s a win you don’t question.
Why You’ll Love This Recipe
Let’s be real—preschool lunch is a battlefield. You’re up against short attention spans, picky palates, and the mysterious social rules of the lunch table. These easy no-crust PB&J bites are my secret weapon, and here’s why they work:
- Ready in Under 10 Minutes: No baking, no waiting, no complicated steps. You can throw these together while your coffee is brewing.
- No Fancy Ingredients: Just bread, peanut butter, and jelly. Chances are you already have everything in your pantry right now.
- Perfect for Tiny Hands: Bite-sized means less mess and more independence for your little one. They can actually feed themselves without making a disaster.
- Always a Crowd-Pleaser: I’ve yet to meet a preschooler who turns these down. Even the pickiest eaters at my kid’s lunch table ask for them.
- Unbelievably Simple: The texture is soft, the flavor is classic, and there’s no crust to argue about. It’s comfort food for the lunchbox set.
What makes these different from just making a regular sandwich and cutting it up? It’s the method. By rolling the bread flat and sealing the edges, you get a dense, chewy little pocket that doesn’t fall apart. No soggy bread, no filling leaking everywhere. I tested this with about fifteen different types of bread before I found the perfect combo. White bread works best, but I’ll share some swaps later if you want to go healthier.
This isn’t just another lunch idea—it’s the kind of recipe that makes you breathe a little easier at 7 AM. It’s the recipe that saves you from the guilt of a half-eaten lunch. And honestly, that feeling is priceless.
What Ingredients You Will Need
This recipe uses the simplest ingredients to deliver a lunch that actually gets eaten. No weird stuff, no hunting down specialty items. Here’s what you need:
For the Bites
- 8 slices of soft white bread (I prefer Sara Lee or Wonder Bread for the best texture—they roll flat without tearing)
- 1/2 cup creamy peanut butter (Jif or Skippy work great; avoid natural peanut butter that separates, as it makes the bites too oily)
- 1/4 cup strawberry jelly or jam (Smucker’s is my go-to, but any flavor works—grape, raspberry, or even apple butter)
Optional Add-Ins
- 1 ripe banana, mashed (adds natural sweetness and creaminess)
- 2 tablespoons cream cheese, softened (gives a richer texture if your kid tolerates dairy)
- 1 tablespoon honey (for extra sweetness if using sugar-free jelly)
Ingredient Selection Tips: Look for bread that’s soft and slightly squishy—artisanal or crusty breads won’t roll well and will crack. If you’re using natural peanut butter, stir it really well before measuring. For jelly, go with the seedless kind to avoid any texture surprises for your little one. I learned that the hard way after my kid found a raspberry seed and refused to eat them for a week.
Substitution Guidance: For a nut-free version, use sunflower seed butter like SunButter. For a lower-sugar option, use sugar-free jelly and whole wheat bread. If your child has a dairy allergy, skip the cream cheese add-in. The base recipe is naturally dairy-free as written.
Equipment Needed
You don’t need much for this recipe, which is part of the beauty. Here’s what you’ll want on hand:
- Rolling pin (or a clean wine bottle if you’re improvising)
- Sharp knife or pizza cutter (pizza cutter makes the edges way cleaner)
- Cutting board
- Small bowl (for softening cream cheese if using)
- Butter knife (for spreading)
- Cookie cutters (optional, but fun for shapes—stars, hearts, or dinosaurs)
- Parchment paper or wax paper (for rolling without sticking)
I’ve made these with just a butter knife and a glass before, and they turned out fine. The rolling pin makes a difference in texture, though. If you don’t have one, use a straight-sided glass or a can of beans. Just make sure it’s clean! I keep a dedicated rolling pin in my baking drawer now—it was ten bucks at Target and has paid for itself a hundred times over.
Preparation Method
Alright, let’s get into it. This method is simple, but there are a few tricks to make sure your bites come out perfect every time. I’ve made these probably a hundred times, so trust me on the details.
- Flatten the bread slices: Take one slice of bread and place it on a piece of parchment paper. Use your rolling pin to gently roll over the bread, pressing evenly until it’s about 1/4 inch thick. Don’t press too hard or the bread will tear. You want it flat but still intact. Repeat with all 8 slices. This step takes about 2 minutes total.
- Spread the peanut butter: Take half of the flattened bread slices (4 slices) and spread a thin, even layer of peanut butter on each one. Don’t go too thick—about 1 tablespoon per slice is perfect. Leave a small border around the edges, about 1/4 inch, so the filling doesn’t squish out when you roll them.
- Add the jelly: On top of the peanut butter, spread about 1/2 tablespoon of jelly or jam. Again, keep it thin and even. If you’re using mashed banana or cream cheese, add it now. Spread it gently so you don’t tear the bread.
- Top with remaining bread: Take the other 4 flattened bread slices and place them on top of the filled slices, pressing down gently to seal. You should have 4 sandwiches total.
- Seal the edges: Using your fingers or the back of a fork, press down along the edges of each sandwich to seal them together. This step is crucial—it keeps the filling inside when you cut them. I usually run a fork around the edges, pressing firmly. It also gives them a cute, crimped look.
- Cut into bites: Using a sharp knife or pizza cutter, cut each sandwich into 4 squares or triangles. For smaller kids, cut into 6 pieces. If you’re using cookie cutters, press them firmly through the sealed sandwich and trim any excess bread around the edges. A pizza cutter makes this step super fast and clean.
- Serve immediately or store: Arrange the bites on a plate or pack them straight into a lunchbox. If you’re storing them, place them in an airtight container with a piece of paper towel to absorb any extra moisture. They’ll keep in the fridge for up to 3 days.
Sensory Cues: When you roll the bread, you should feel it flatten smoothly without any resistance. If it starts to crack, your bread is too dry. When you spread the peanut butter, it should glide on easily. The finished bites should feel firm but give slightly when pressed. They should smell like classic PB&J—that nostalgic, comforting scent that makes you feel like a kid again.
Pro Tip: If your bread is fresh and soft, it will roll beautifully. Day-old bread works too, but you might need to microwave it for 10 seconds to soften it up before rolling. I learned this after trying to roll stale bread and ending up with a crumbly mess. Not my finest moment.
Cooking Tips & Techniques
I’ve made every mistake in the book with these bites, so you don’t have to. Here’s what I’ve learned:
Don’t Overfill: I know it’s tempting to pile on the peanut butter, but less is more. Too much filling makes the bites squishy and messy. Think of it as a thin layer, not a thick spread. Trust me on this one—I once made them so thick they looked like little pillows, and they fell apart in the lunchbox.
Seal Like You Mean It: The edges are where the filling escapes. Take an extra 10 seconds to press those edges firmly. I use the tines of a fork and go around the whole sandwich twice. It makes a huge difference.
Cut While They’re Fresh: These bites cut best right after assembly. If you let them sit, the bread gets a little soggy from the jelly. Cut them immediately for clean edges. If you’re meal prepping, cut them first, then store them.
Use a Pizza Cutter: A knife works, but a pizza cutter gives you cleaner, faster cuts. It’s one of those small upgrades that makes the whole process feel smoother. I keep mine in a drawer right next to the bread now.
Keep Them Cool: If you’re packing these for lunch, make sure they’re completely cool before sealing the container. Any warmth creates condensation, which makes the bread soggy. I let them sit on the counter for 5 minutes before packing.
Multitasking Strategy: While you’re rolling the bread, have the jelly and peanut butter open and ready. Lay out your parchment paper and cutting board beforehand. The whole process takes under 10 minutes if you’re organized. I do this while my kid is eating breakfast, and it’s become a seamless part of my morning routine.
Variations & Adaptations
Once you’ve mastered the basic recipe, there’s a whole world of possibilities. Here are some of my favorite variations:
Nut-Free Version
Swap the peanut butter for sunflower seed butter or WowButter. The texture is similar, and most kids can’t tell the difference. Just note that sunflower seed butter can turn green when combined with baking soda—but since we’re not baking here, you’re safe. I use SunButter for my kid’s classroom when they have nut-free policies.
Seasonal Twist
In the fall, swap the jelly for apple butter or pumpkin butter. In summer, use fresh mashed strawberries or blueberries instead of jelly. My kid goes crazy for the strawberry version—just mash a few ripe berries with a fork and spread them thin. It’s a little messier, but the flavor is incredible.
Flavor Boost
Add a sprinkle of cinnamon or a tiny pinch of salt to the peanut butter before spreading. It sounds weird, but it really brings out the flavor. I also love adding a thin layer of cream cheese mixed with a little honey for a richer taste. It turns these into a little treat that feels special.
Gluten-Free Option
Use gluten-free bread, but look for one that’s soft and pliable. Some gluten-free breads are too crumbly to roll. Canyon Bakehouse works well. You might need to microwave the slices for 5-10 seconds to make them flexible enough to roll without cracking.
Savory Surprise
Okay, this one is a little out there, but my kid loves it—swap the jelly for a thin layer of cream cheese and sprinkle with everything bagel seasoning. It’s not PB&J anymore, but it’s a fun savory option for days when they’re tired of sweet. Don’t knock it till you try it.
Serving & Storage Suggestions
These bites are best served at room temperature, straight from the lunchbox or plate. Cold peanut butter gets a little stiff, so if you’re packing them for later, let them sit out for 5 minutes before serving.
Presentation Ideas: Arrange the bites in a bento box with some fruit, veggie sticks, and a small treat. The colors look gorgeous together. For a fun touch, use cookie cutters to make star or heart shapes. My kid’s friends always ask why their lunch looks boring compared to hers. I just smile.
What to Serve With Them: These pair perfectly with apple slices, baby carrots, yogurt tubes, or a small handful of pretzels. For a drink, milk or water is best. Avoid juice boxes if you can—the sugar plus the jelly is a lot for little bodies.
Storage Instructions: Place the bites in an airtight container with a piece of paper towel on the bottom and another on top. The paper towel absorbs moisture and keeps them from getting soggy. They’ll stay fresh in the fridge for up to 3 days. Do not freeze them—the texture gets weird when thawed. I learned this after trying to freeze a batch and ending up with sad, mushy bites.
Reheating: These are meant to be eaten cold or at room temperature. If your kid prefers them warm, pop them in the microwave for 5-10 seconds. Just be careful—the jelly gets hot fast. I usually skip reheating and just let them sit out for a few minutes.
Flavor Development: Honestly, these are best fresh. The bread stays soft, the filling is perfectly distributed, and the edges are crisp from the rolling. After a day in the fridge, the bread softens a bit more. They’re still good, but not as good as day one. I try to make them the morning of or the night before.
Nutritional Information & Benefits
Here’s the approximate nutritional breakdown for one serving (4 bites, using white bread and regular peanut butter and jelly):
- Calories: 280-320
- Protein: 8-10g
- Carbohydrates: 35-40g
- Fat: 12-15g
- Fiber: 2-3g
- Sugar: 12-15g
Health Benefits: Peanut butter is packed with protein and healthy fats that keep little tummies full and brains focused. The bread provides energy from carbohydrates, and the fruit in the jelly offers a small dose of vitamins. If you use whole wheat bread, you’ll get more fiber and nutrients. The protein and fat combo in these bites helps stabilize blood sugar, which means fewer meltdowns before naptime. I’ve noticed a huge difference in my kid’s energy levels when she eats these versus a carb-heavy snack.
Dietary Considerations: This recipe is naturally dairy-free and vegetarian. For a vegan version, use a plant-based bread and skip any cream cheese add-ins. For a low-sugar option, use sugar-free jelly and whole wheat bread. Always check labels for hidden dairy or allergens. Peanut butter is a common allergen, so be mindful of classroom policies.
Potential Allergens: Peanuts, wheat/gluten, and (if using cream cheese) dairy. Always check with your child’s school about nut-free policies before packing these.
From a wellness perspective, I love that these bites feel like a treat but actually provide real nutrition. They’re not empty calories—they’re fuel for growing bodies. And honestly, any recipe that gets a preschooler to eat without a fight is a win in my book.
Conclusion
These easy no-crust PB&J bites have saved my sanity more times than I can count. They’re fast, they’re forgiving, and they actually get eaten. No more crusts in the trash, no more half-eaten sandwiches coming home, no more morning guilt. Just a simple, delicious lunch that your kid will look forward to.
I love that this recipe is a blank canvas. You can tweak it, swap ingredients, make it your own. That’s the beauty of simple food—it leaves room for creativity. Maybe your kid loves honey with their peanut butter. Maybe they prefer raspberry jam over strawberry. Maybe you want to go full savory with cream cheese and everything seasoning. Go for it. This recipe is just a starting point.
I’d love to hear how these turn out for you. Did your kid love them? Did you find a fun variation? Drop a comment below and share your experience. And if you have a preschooler who’s extra picky, tell me about it—I might have another recipe up my sleeve. Until then, happy lunch packing, and remember: you’ve got this. One bite at a time.
Frequently Asked Questions
Can I use natural peanut butter for these bites?
You can, but it might make the bites a little oilier. Natural peanut butter separates, and the oil can soak into the bread. If you use it, stir it really well first and spread it very thin. I’ve done it, and they still turn out fine, just a little messier.
How do I keep the bites from getting soggy in the lunchbox?
The key is to let them cool completely before packing, and always include a paper towel in the container to absorb moisture. Also, don’t overfill with jelly—a thin layer is all you need. I’ve been using this method for years, and it works like a charm.
Can I make these ahead of time for the whole week?
Yes, but they’re best within 3 days. Make a batch on Sunday night, store them in an airtight container in the fridge, and pack them each morning. After day 3, the bread starts to get a little soft. I usually make two batches a week—one on Sunday and one on Wednesday.
What if my child has a peanut allergy?
No problem! Swap the peanut butter for sunflower seed butter, WowButter, or even cream cheese. The texture is similar, and most kids don’t notice the difference. Just make sure to check the labels for any cross-contamination warnings if allergies are severe.
Can I use whole wheat bread instead of white bread?
Absolutely. Whole wheat bread works, but it can be a little drier and harder to roll. Look for a soft whole wheat brand, or microwave the slices for 5-10 seconds before rolling. The flavor is nuttier and pairs beautifully with peanut butter. I use whole wheat about half the time, and my kid doesn’t even notice the difference.
Pin This Recipe!
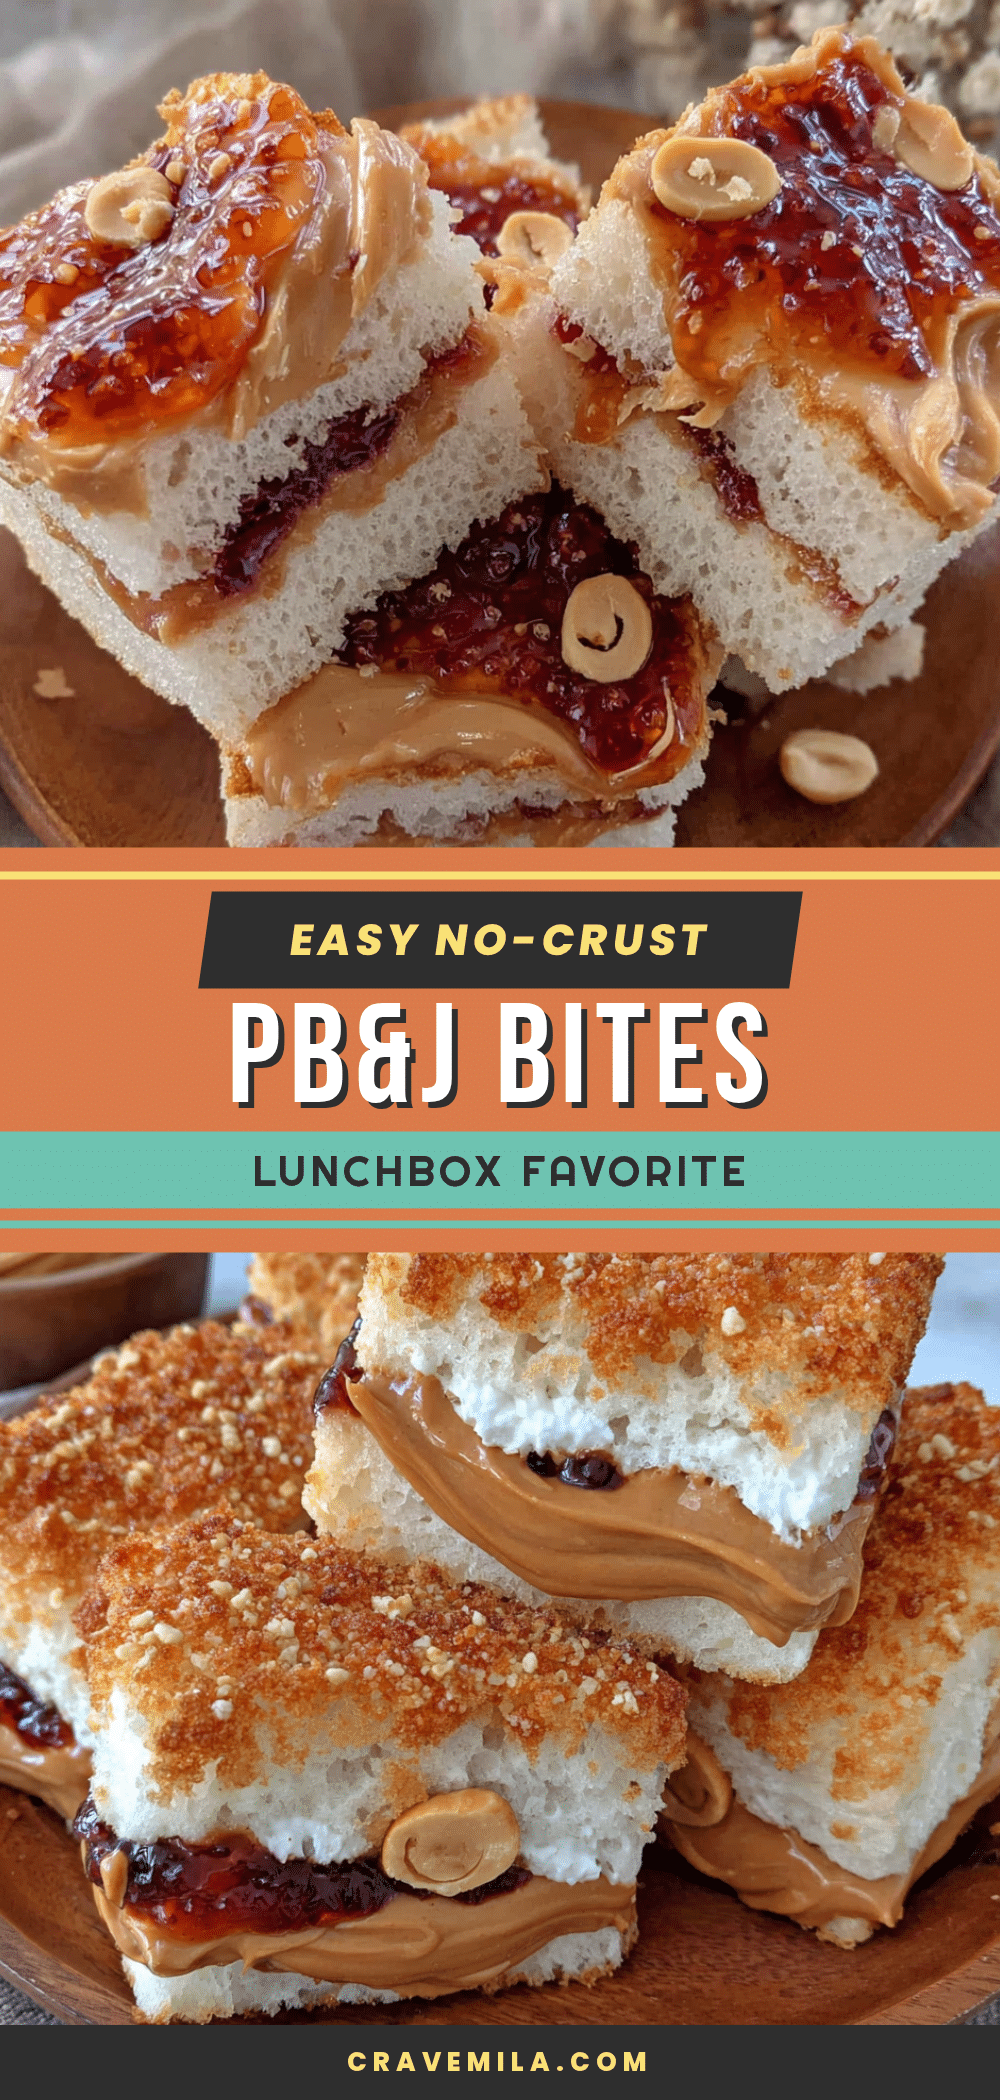
Easy No-Crust PB&J Bites: Perfect Preschool Lunch Idea
These easy no-crust PB&J bites are a quick, kid-friendly lunch solution that takes under 10 minutes to make. Rolled flat and sealed, they’re bite-sized, mess-free, and perfect for picky preschoolers.
- Prep Time: 10 minutes
- Cook Time: 0 minutes
- Total Time: 10 minutes
- Yield: 4 servings 1x
- Category: Lunch
- Cuisine: American
Ingredients
- 8 slices of soft white bread (e.g., Sara Lee or Wonder Bread)
- 1/2 cup creamy peanut butter (e.g., Jif or Skippy)
- 1/4 cup strawberry jelly or jam (e.g., Smucker’s)
- 1 ripe banana, mashed (optional)
- 2 tablespoons cream cheese, softened (optional)
- 1 tablespoon honey (optional)
Instructions
- Flatten the bread slices: Place one slice of bread on a piece of parchment paper. Use a rolling pin to gently roll over the bread until it’s about 1/4 inch thick. Repeat with all 8 slices.
- Spread the peanut butter: Take 4 flattened bread slices and spread a thin, even layer of peanut butter on each (about 1 tablespoon per slice), leaving a 1/4-inch border around the edges.
- Add the jelly: On top of the peanut butter, spread about 1/2 tablespoon of jelly or jam. If using mashed banana or cream cheese, add it now.
- Top with remaining bread: Place the other 4 flattened bread slices on top of the filled slices, pressing down gently to seal.
- Seal the edges: Use your fingers or the back of a fork to press down along the edges of each sandwich to seal them together.
- Cut into bites: Using a sharp knife or pizza cutter, cut each sandwich into 4 squares or triangles (or 6 pieces for smaller kids). Alternatively, use cookie cutters for fun shapes.
- Serve immediately or store: Arrange the bites on a plate or pack in a lunchbox. For storage, place in an airtight container with a paper towel to absorb moisture. Refrigerate for up to 3 days.
Notes
Use soft white bread for best results; avoid crusty breads. If bread is stale, microwave for 10 seconds to soften. Don’t overfill to prevent sogginess. Seal edges firmly to keep filling inside. Cut immediately after assembly for clean edges. Store in fridge with paper towel to absorb moisture; best within 3 days. Do not freeze.
Nutrition
- Serving Size: 4 bites
- Calories: 300
- Sugar: 13.5
- Sodium: 250
- Fat: 13.5
- Saturated Fat: 2.5
- Carbohydrates: 37.5
- Fiber: 2.5
- Protein: 9
Keywords: no-crust PB&J bites, preschool lunch, easy lunch idea, peanut butter and jelly, kid-friendly, quick lunch, bite-sized sandwiches



