This was supposed to be a batch of banana pancakes. I mean, that was the plan. I had three overripe bananas on the counter, a hungry family, and about fifteen minutes before I needed to start wrangling kids for homework. I grabbed my biggest bowl, tossed in the bananas, and cracked an egg without thinking. Then I reached for the flour, but my hand landed on the sugar canister instead. I dumped a cup in before I realized my mistake. And honestly? I was already so deep into the pancake mindset that I just kept going. I added baking soda instead of powder. I threw in some oil because I was out of butter. Somewhere around the third stir, I looked down at this thick, glossy batter and thought, “Well, I’ve definitely ruined breakfast.”
I poured it into a loaf pan anyway—because what else was I going to do with it?—and slid it into the oven while I cleaned up the mess I’d made. Twenty minutes later, the kitchen smelled like something between a bakery and a miracle. When I pulled that loaf out, golden and cracked across the top, I almost didn’t believe it. It was banana bread. And not just any banana bread—the best banana bread I’d ever made. All from a single bowl, no mixer, and a series of happy accidents that I still can’t fully explain.
That was three months ago, and I haven’t made banana bread any other way since. Maybe you’ve been there—standing in your kitchen, tired, distracted, just trying to get dinner on the table, and something goes sideways. Let me tell you, sometimes the sideways path is the one worth taking.
Why You’ll Love This Recipe
I’ve tested this recipe at least a dozen times since that first accidental batch. I’ve made it with different bananas, different oils, even different flours when I ran out of all-purpose. And every single time, it works. That’s not something I say lightly—I’ve had my share of kitchen disasters, and I know how finicky baking can be. This one is different.
- Quick & Easy: From bowl to oven in under 10 minutes. No mixer, no sifting, no fuss. Perfect for those evenings when you need something good on the table fast.
- Simple Ingredients: You probably have everything in your pantry right now. Bananas, flour, sugar, eggs, oil, baking soda, salt. That’s it.
- Perfect for Weeknights: This isn’t a weekend project. It’s a Tuesday-night-save-me kind of recipe. The kind you make while you’re already cooking dinner.
- Crowd-Pleaser: My kids fight over the end pieces. My neighbor asked for the recipe after one bite. It’s that kind of bread—unassuming but unforgettable.
- Unbelievably Delicious: The texture is tender and moist, with a slightly crisp crust. It’s sweet but not cloying, with that deep banana flavor that only comes from really ripe fruit.
What makes this recipe different from the dozens of banana bread recipes out there? It’s the method. Because everything comes together in one bowl, the batter stays thick and luscious. You’re not over-mixing—which is the number one reason banana bread turns out dry or tough. And because you’re using oil instead of butter, the bread stays moist for days. I’m not kidding—this bread is just as good on day three as it is fresh from the oven.
This is the recipe that makes you close your eyes after the first bite. It’s comfort food reimagined—simpler, faster, but with the same soul-soothing satisfaction. Perfect for impressing guests without stress, or for turning a chaotic Tuesday into something a little bit special.
What Ingredients You Will Need
This recipe uses simple, wholesome ingredients to deliver bold flavor and satisfying texture without the fuss. Everything here is a pantry staple, which makes this the kind of recipe you can throw together without a trip to the store.
- 3 large ripe bananas, mashed (about 1½ cups) — The riper, the better. Look for bananas with plenty of brown spots. They’re sweeter and easier to mash. If your bananas aren’t ripe enough, pop them in a 300°F oven for 15 minutes—it works like magic.
- ⅓ cup vegetable oil (or melted coconut oil) — Oil keeps this bread incredibly moist. I’ve used canola, avocado, and even olive oil in a pinch. Each gives a slightly different flavor, but they all work beautifully.
- ½ cup granulated sugar — Just enough sweetness to complement the bananas. You can reduce this to ⅓ cup if your bananas are very ripe or if you prefer a less sweet bread.
- 1 large egg, room temperature — The egg helps bind everything together. If you’re in a hurry, place the egg in a bowl of warm water for 5 minutes to bring it to room temperature quickly.
- 1 teaspoon vanilla extract — Pure vanilla adds depth. I prefer Nielsen-Massey, but any good-quality vanilla works.
- 1½ cups all-purpose flour — Spoon and level your flour for the best results. Scooping directly from the bag can pack in too much flour and make the bread dry.
- 1 teaspoon baking soda — This is your leavening agent. Make sure it’s fresh—test it by dropping a spoonful into vinegar; if it bubbles vigorously, you’re good to go.
- ½ teaspoon salt — Salt balances the sweetness and enhances the banana flavor. I use fine sea salt.
- Optional: ½ cup mix-ins — Chocolate chips, chopped walnuts, or dried cranberries all work beautifully. I’m partial to dark chocolate chips myself.
Equipment Needed
The beauty of this recipe is that you don’t need much. Here’s what you’ll need:
- One large mixing bowl — A 2-quart bowl works perfectly. Any larger and you’ll be scraping the sides too much.
- A fork or potato masher — For mashing the bananas. A fork works fine, but a potato masher makes it even faster.
- A wooden spoon or rubber spatula — For mixing the batter. A spatula is great for scraping the sides clean.
- A 9×5-inch loaf pan — If you don’t have one, an 8×4-inch pan works too—just bake it a few extra minutes. Glass or metal both work, but metal gives a nicer crust.
- Parchment paper (optional but helpful) — Lining the pan makes cleanup a breeze and helps the loaf release cleanly.
- Cooling rack — Essential for even cooling. If you don’t have one, you can use the inverted loaf pan to lift the bread and let air circulate underneath.
I’ve made this recipe with a cheap metal pan from the grocery store and a fancy ceramic one. Honestly? The cheap metal pan gave me a better crust. Don’t overthink your equipment—this recipe was born from a moment of chaos, and it thrives on simplicity.
Preparation Method
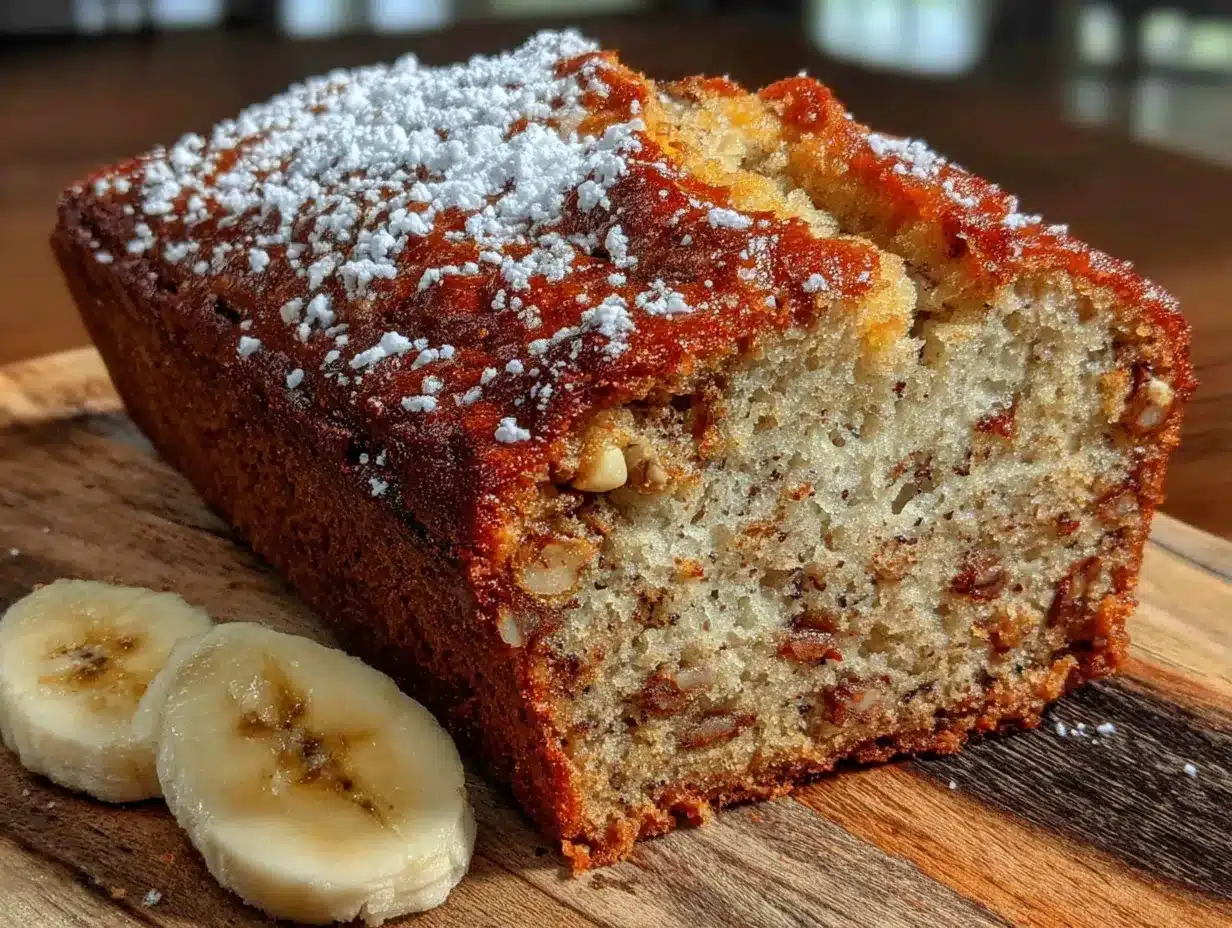
- Preheat your oven to 350°F (175°C). Place a rack in the center position. While the oven heats, grease your loaf pan with butter or non-stick spray, or line it with parchment paper leaving an overhang on two sides for easy lifting.
- Mash the bananas. In your large mixing bowl, add the three ripe bananas. Mash them with a fork or potato masher until they’re mostly smooth with a few small lumps remaining. You want some texture—completely smooth bananas can make the bread dense. This should take about 1 minute.
- Add the wet ingredients. To the mashed bananas, add the vegetable oil, granulated sugar, egg, and vanilla extract. Stir with your wooden spoon or spatula until everything is well combined. Don’t worry if the mixture looks a little separated—that’s normal. The batter should look glossy and smell amazing already.
- Add the dry ingredients. Sprinkle the flour, baking soda, and salt over the wet mixture. Stir gently, just until the flour disappears. A few streaks of flour are okay—over-mixing at this stage will develop gluten and make your bread tough. Fold in your mix-ins now if you’re using them. The batter will be thick and slightly lumpy.
- Pour the batter into the prepared loaf pan. Use your spatula to scrape every last bit from the bowl. Spread the batter evenly, smoothing the top. Give the pan a gentle tap on the counter to release any air bubbles.
- Bake for 50-60 minutes. Start checking at 50 minutes by inserting a toothpick into the center. If it comes out clean or with just a few moist crumbs, it’s done. If the top is browning too quickly, tent the pan loosely with aluminum foil for the last 10-15 minutes. Your kitchen should smell like a bakery at this point—that nutty, sweet aroma is a good sign.
- Cool in the pan for 10 minutes. Place the pan on a cooling rack. After 10 minutes, run a knife around the edges if you didn’t use parchment, then lift the bread out. Let it cool completely on the rack before slicing—about 1 hour. I know it’s tempting, but slicing too early will make the bread crumble.
Pro tip: If you’re making this on a busy weeknight, you can prep the dry ingredients in a separate container the night before. Then all you have to do is mash, mix, and bake. Dinner and dessert, sorted.
Cooking Tips & Techniques
I’ve learned a few things from my many batches of this banana bread—some through success, and some through spectacular failure. Here’s what I wish someone had told me:
Don’t over-mix the batter. This is the number one mistake I see home bakers make. Once you add the flour, stir just until it disappears. Over-mixing develops gluten, which gives you tough, rubbery bread instead of tender, moist bread. I learned this the hard way when I made a batch that could have doubled as a doorstop.
Use really ripe bananas. I’m talking brown spots, almost black. The riper the banana, the sweeter and more flavorful your bread will be. If your bananas aren’t ripe enough, you’ll end up with bland bread that needs extra sugar. I’ve started buying extra bananas just to let them get ugly on my counter.
Room temperature ingredients matter. Your egg and bananas should be at room temperature. Cold ingredients don’t emulsify properly, which can leave you with a greasy or uneven texture. If you forgot to take the egg out ahead of time, place it in a bowl of warm water for 5 minutes.
Measure your flour correctly. Spoon it into your measuring cup and level it off with a knife. Scooping directly from the bag can add up to 25% more flour, which will dry out your bread. I’ve done both, and the difference is noticeable.
Let it cool completely. I know you want to eat it warm. I do too. But slicing into hot banana bread is a recipe for crumbs and sadness. The bread continues to set as it cools, and the texture improves dramatically. Trust me on this one.
Variations & Adaptations
One of the best things about this recipe is how adaptable it is. Here are some variations I’ve tried and loved:
Chocolate Chip Banana Bread: Fold in ½ cup of semi-sweet or dark chocolate chips after mixing the batter. The chocolate melts into little pockets of goodness throughout the bread. This is my kids’ favorite version—and honestly, mine too.
Nutty Banana Bread: Add ½ cup of chopped walnuts or pecans. Toast them lightly in a dry pan first for extra flavor. The crunch contrasts beautifully with the soft bread.
Gluten-Free Banana Bread: Substitute the all-purpose flour with a 1:1 gluten-free baking flour blend. I’ve used Bob’s Red Mill and King Arthur with great results. The texture is slightly more delicate, but it’s still delicious.
Vegan Banana Bread: Replace the egg with a flax egg (1 tablespoon ground flaxseed mixed with 3 tablespoons water, let sit for 5 minutes) and use melted coconut oil instead of vegetable oil. It works perfectly—my vegan friend couldn’t tell the difference.
Spiced Banana Bread: Add 1 teaspoon of cinnamon and ½ teaspoon of nutmeg to the dry ingredients. The warm spices complement the banana beautifully and make the bread feel extra cozy.
Mini Loaves or Muffins: Divide the batter among mini loaf pans or a muffin tin. Bake mini loaves for 25-30 minutes and muffins for 15-18 minutes. Perfect for portion control or sharing.
I once made a batch with half whole wheat flour and half all-purpose, and it turned out surprisingly well. The bread was a bit denser, but the nutty flavor from the whole wheat was lovely. Don’t be afraid to experiment—this recipe is forgiving.
Serving & Storage Suggestions
This banana bread is best served at room temperature, but I won’t judge you if you eat a slice warm from the oven with a pat of butter melting into it. That’s my favorite way, honestly.
For breakfast: Toast a slice and spread it with a little butter or cream cheese. It’s also wonderful with a smear of peanut butter for extra protein.
For dessert: Serve it warm with a scoop of vanilla ice cream and a drizzle of caramel sauce. It’s simple but feels indulgent.
For snacking: Just grab a slice and go. It’s sturdy enough to pack in lunchboxes or take on a picnic.
Storage: Wrap the cooled bread tightly in plastic wrap or aluminum foil. It will keep at room temperature for up to 3 days. For longer storage, wrap it in plastic wrap, then foil, and freeze for up to 3 months. Thaw overnight in the refrigerator or at room temperature for a few hours.
Reheating: Pop a slice in the microwave for 10-15 seconds for that just-baked warmth. Or toast it in a toaster oven for a slightly crisper exterior.
The flavors actually deepen after a day or two. I’ve found that day-old banana bread tastes even better—the banana flavor becomes more pronounced and the texture evens out. So don’t feel like you have to eat it all at once. (Though I won’t blame you if you do.)
Nutritional Information & Benefits
Per slice (based on 10 slices, without mix-ins):
- Calories: 210
- Fat: 9g
- Carbohydrates: 31g
- Fiber: 1g
- Sugar: 16g
- Protein: 3g
- Sodium: 220mg
This banana bread isn’t health food, but it does have some redeeming qualities. Bananas are packed with potassium, which is great for heart health and muscle function. They also contain vitamin B6 and vitamin C. The oil provides healthy fats, and if you add nuts, you’ll get a boost of omega-3s and protein.
For a lighter version, you can reduce the sugar to ⅓ cup and use whole wheat pastry flour for half the all-purpose flour. The texture will be slightly different, but it’s still delicious and a bit more nutrient-dense.
This recipe is naturally nut-free (unless you add nuts), egg-containing, and can be made dairy-free by using a dairy-free chocolate or skipping the butter on top. It’s not suitable for a low-carb diet, but it’s a wonderful treat in moderation.
Conclusion
This easy one-bowl banana bread has become a staple in my kitchen, and I think it will become one in yours too. It’s the kind of recipe that proves you don’t need fancy equipment or complicated techniques to make something truly wonderful. Sometimes the best things come from a moment of distraction, a wrong ingredient, and a leap of faith.
I love this recipe because it reminds me that cooking doesn’t have to be perfect. It can be messy, improvisational, and still turn out beautiful. The next time you have overripe bananas on your counter and a busy evening ahead, give this recipe a try. Customize it with your favorite mix-ins, make it your own, and don’t stress about the details.
Have you tried this banana bread? I’d love to hear how it turned out for you. Drop a comment below and let me know what variations you tried. And if you made a happy accident of your own, tell me about that too—those are always the best stories.
Frequently Asked Questions
Can I use frozen bananas for this recipe?
Absolutely! Thaw them completely first, then drain off any excess liquid before mashing. Frozen bananas are actually sweeter and more flavorful, so this can work beautifully.
Why did my banana bread turn out dry?
This usually happens from over-measuring the flour or over-baking. Make sure you spoon and level your flour, and start checking for doneness at 50 minutes. Every oven runs a little differently.
Can I make this without eggs?
Yes! Use a flax egg (1 tablespoon ground flaxseed mixed with 3 tablespoons water, let sit for 5 minutes) or a commercial egg replacer. The texture will be slightly denser but still delicious.
How do I know when my banana bread is done?
Insert a toothpick into the center. If it comes out clean or with just a few moist crumbs, it’s done. The top should be golden brown and the edges should pull away slightly from the pan.
Can I double this recipe?
Yes, but bake it in two separate loaf pans rather than one large pan. A single large pan will take much longer to bake and may not cook evenly in the center.
Pin This Recipe!
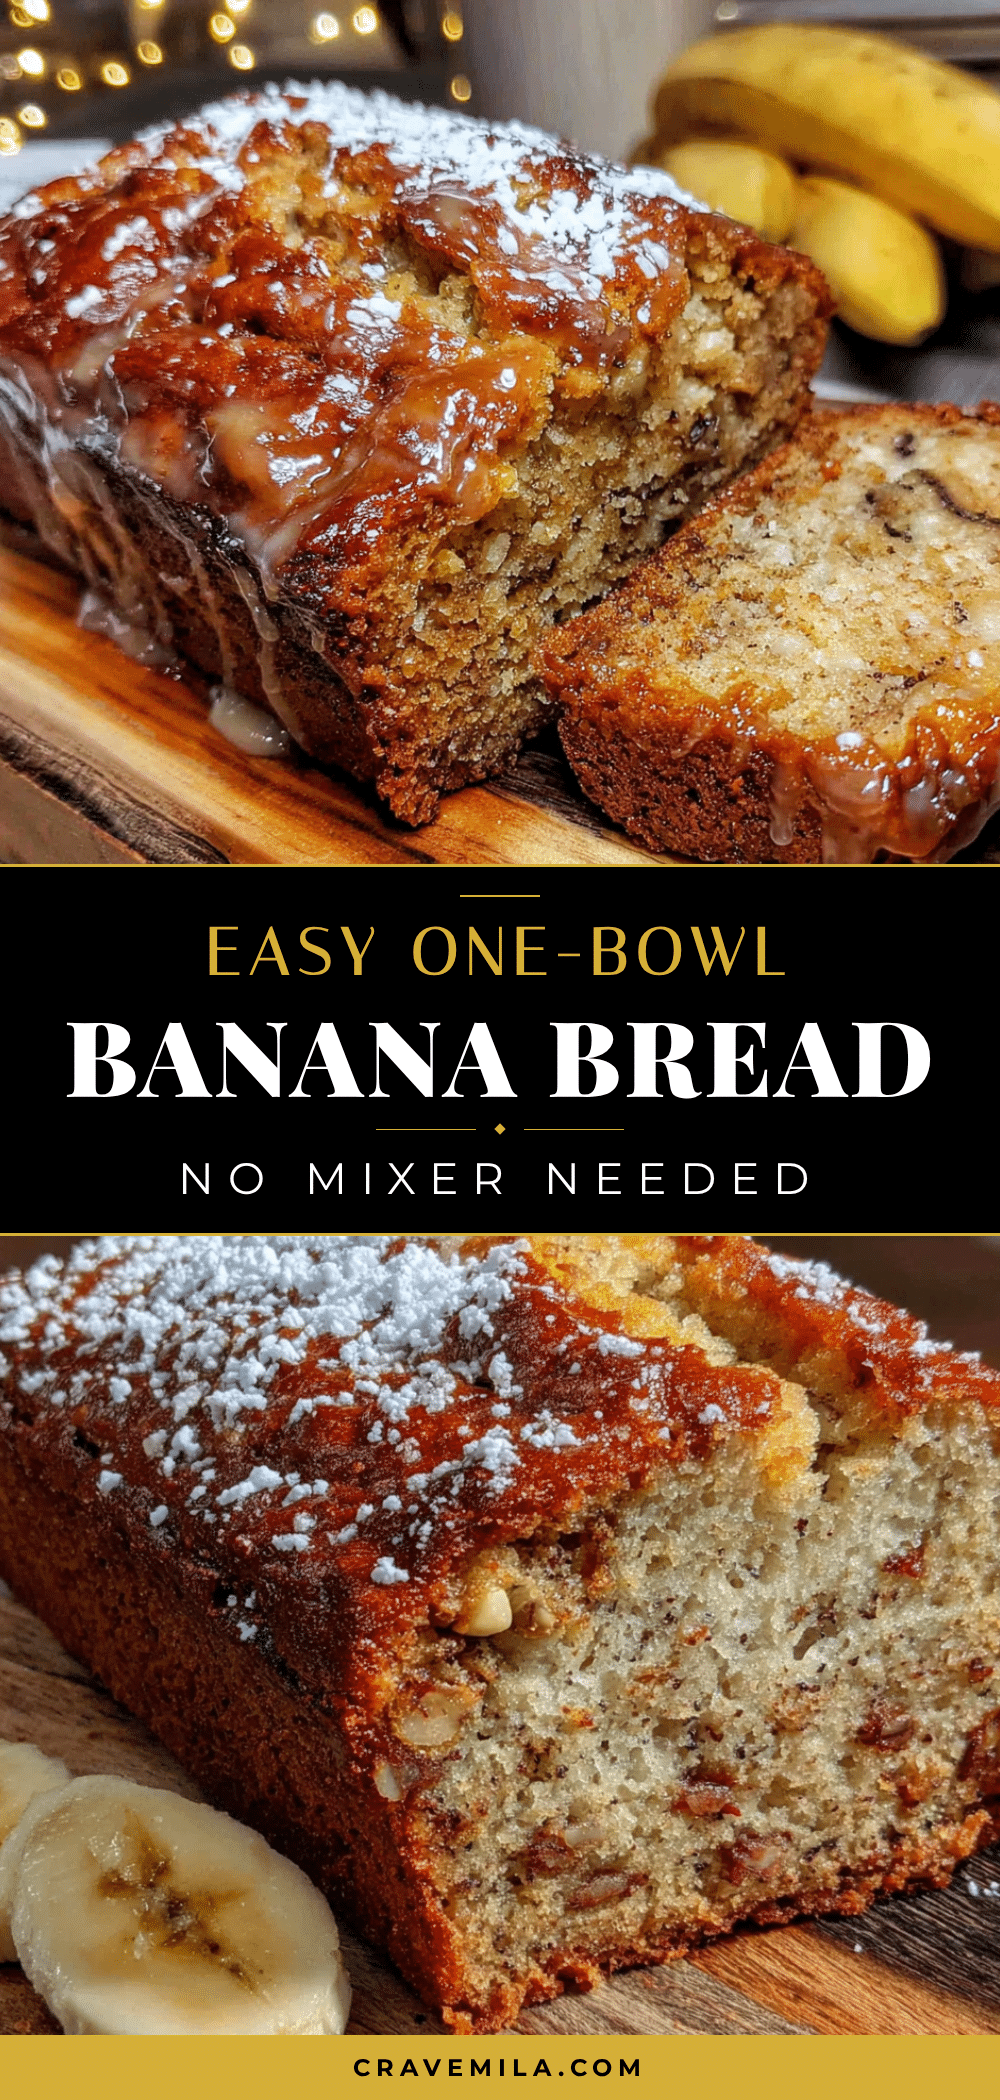
Easy One-Bowl Banana Bread Recipe (No Mixer Needed)
This easy one-bowl banana bread is moist, tender, and made without a mixer. Perfect for busy weeknights, it uses simple pantry ingredients and comes together in under 10 minutes.
- Prep Time: 10 minutes
- Cook Time: 55 minutes
- Total Time: 1 hour 5 minutes
- Yield: 10 servings 1x
- Category: Dessert
- Cuisine: American
Ingredients
- 3 large ripe bananas, mashed (about 1½ cups)
- ⅓ cup vegetable oil (or melted coconut oil)
- ½ cup granulated sugar
- 1 large egg, room temperature
- 1 teaspoon vanilla extract
- 1½ cups all-purpose flour
- 1 teaspoon baking soda
- ½ teaspoon salt
- Optional: ½ cup mix-ins (chocolate chips, chopped walnuts, or dried cranberries)
Instructions
- Preheat your oven to 350°F (175°C). Grease a 9×5-inch loaf pan with butter or non-stick spray, or line with parchment paper leaving an overhang on two sides.
- In a large mixing bowl, mash the bananas with a fork or potato masher until mostly smooth with a few small lumps.
- Add the vegetable oil, granulated sugar, egg, and vanilla extract to the mashed bananas. Stir until well combined.
- Sprinkle the flour, baking soda, and salt over the wet mixture. Stir gently just until the flour disappears. Fold in mix-ins if using.
- Pour the batter into the prepared loaf pan and spread evenly. Tap the pan gently on the counter to release air bubbles.
- Bake for 50-60 minutes, or until a toothpick inserted into the center comes out clean or with a few moist crumbs. If the top browns too quickly, tent with foil for the last 10-15 minutes.
- Cool in the pan for 10 minutes, then transfer to a cooling rack to cool completely before slicing.
Notes
Don’t over-mix the batter to avoid tough bread. Use very ripe bananas for best flavor. Room temperature ingredients help with emulsification. Let the bread cool completely before slicing to prevent crumbling.
Nutrition
- Serving Size: 1 slice
- Calories: 210
- Sugar: 16
- Sodium: 220
- Fat: 9
- Saturated Fat: 1
- Carbohydrates: 31
- Fiber: 1
- Protein: 3
Keywords: banana bread, easy banana bread, one bowl banana bread, no mixer banana bread, moist banana bread, quick banana bread



