The church potluck was in four hours and I’d completely forgotten. I mean, completely. I was standing in my kitchen at 3 PM on a Sunday, staring into the fridge like it held the answers to the universe. Everyone else would be bringing their grandmother’s famous casseroles, perfectly braised pot roasts, and those fancy layered desserts that take three days to assemble. I had a pack of chicken thighs, some sad-looking carrots, and half an onion. Oh, and a can of biscuits that was definitely past its prime. My neighbor Carol once brought a store-bought pie to this same potluck and people still joke about it. The pressure was real.
I remember just standing there, gripping the counter, thinking about how I’d have to show up empty-handed. Then my eyes landed on that can of biscuits. And I thought—maybe? Could it work? I’d seen my aunt make something like this once, but she used homemade dough and spent hours on it. I didn’t have hours. I had maybe 45 minutes if I rushed. So I grabbed the biggest pot I owned, tossed in the chicken, and started figuring it out as I went. Honestly, I was just hoping it would be edible.
Fast forward to that potluck. I walked in late, holding this pot of what I called “emergency chicken and dumplings,” and I was ready to hide in the corner. But then people started tasting it. And then they started asking for the recipe. And then—I’m not kidding—someone said it was better than their grandma’s version. I nearly choked on my iced tea. The thing that saved me that day became the thing I’m known for now. My quick one-pot chicken and dumplings for busy weeknights isn’t just a backup plan anymore. It’s the recipe people request for birthdays, sick days, and those nights when you just need a hug in a bowl. Maybe you’ve been there too—staring at your pantry, wondering how you’re going to pull dinner out of thin air. Let me tell you, this one works.
Why You’ll Love This Recipe
Let me be real with you. I’ve tested this recipe about a dozen times since that frantic potluck day. I wanted to make sure it wasn’t just a fluke. And honestly, it gets better every single time. Here’s why this quick one-pot chicken and dumplings for busy weeknights will become your go-to dinner:
- Ready in Under 45 Minutes: From the moment you start chopping to the moment you’re spooning it into bowls, you’re looking at about 40 minutes total. That’s faster than ordering takeout in some neighborhoods.
- One Pot, Minimal Mess: You use one pot. That’s it. No draining, no transferring, no pile of dishes. Your future self will thank you when you’re done eating.
- Pantry-Friendly Ingredients: Chicken, broth, a few veggies, and refrigerated biscuits. I bet you already have most of this stuff. No fancy grocery runs required.
- Kid-Approved and Crowd-Pleasing: My niece, who once declared she “doesn’t like soup,” ate two bowls. Two. The creamy broth and soft dumplings are basically magic for picky eaters.
- Comfort Food Without the Guilt: It’s hearty and satisfying without being heavy. You get that cozy, soul-warming feeling without spending hours in the kitchen.
What makes this version different from all the other chicken and dumpling recipes out there? It’s the technique. Instead of making dough from scratch (which takes forever and can turn into a gluey mess), I use refrigerated biscuits that puff up into these light, fluffy dumplings. But here’s the trick—you cut them into quarters and drop them in at just the right moment. They soak up that savory broth without getting soggy. Plus, I add a splash of cream at the end to make the broth extra velvety. It’s not just another recipe. It’s the one you’ll actually make on a Tuesday night when you’re exhausted and hungry.
This quick one-pot chicken and dumplings for busy weeknights is the kind of meal that makes you close your eyes after the first bite. It’s comfort food reimagined—faster, easier, but with the same soul-soothing satisfaction. Perfect for impressing unexpected guests or turning a chaotic weeknight into something warm and wonderful.
What Ingredients You Will Need
This recipe uses simple, honest ingredients to create something truly comforting. No weird stuff, no long lists. Just the good things that come together to make magic.
For the Soup Base
- 1 ½ pounds boneless, skinless chicken thighs (or breasts, but thighs stay juicier in the simmering process)
- 2 tablespoons unsalted butter (adds richness and helps sauté the veggies)
- 1 medium yellow onion, diced (about 1 cup)
- 2 medium carrots, peeled and diced (add sweetness and color)
- 2 celery stalks, diced (adds that classic savory backbone)
- 3 cloves garlic, minced
- 1 teaspoon dried thyme (or 3 sprigs fresh if you have it)
- ½ teaspoon dried rosemary (crush it between your fingers to release the oils)
- ¼ cup all-purpose flour (helps thicken the broth naturally)
- 4 cups low-sodium chicken broth (I prefer Swanson or Kitchen Basics)
- 1 cup whole milk (adds creaminess without being too heavy)
- ½ cup heavy cream (the secret to that velvety texture)
- Salt and freshly ground black pepper (to taste)
- 1 cup frozen peas (adds a pop of green and sweetness—add at the end)
For the Dumplings
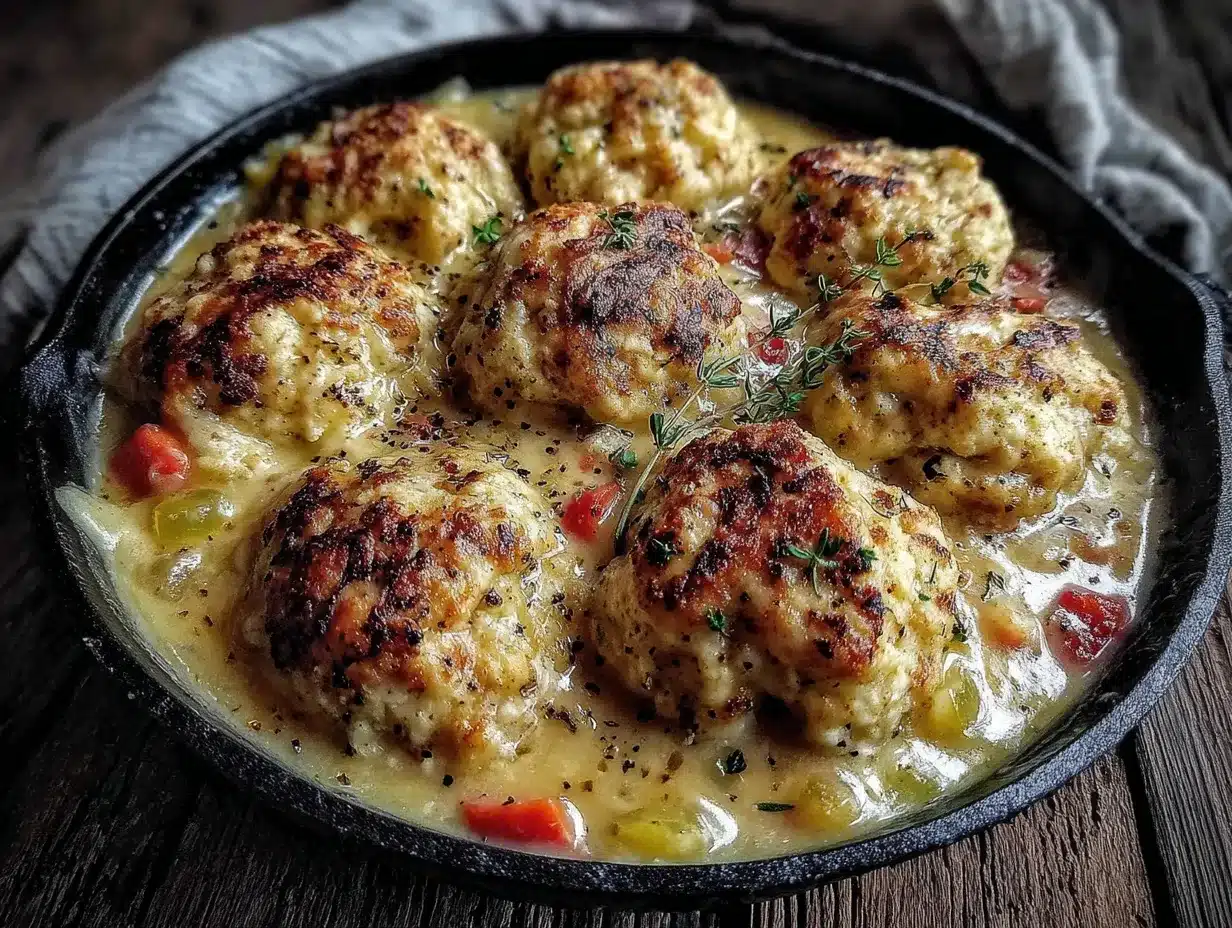
- 1 can (16.3 oz) refrigerated buttermilk biscuits (like Pillsbury Grands—the flaky kind works best)
- 1 tablespoon fresh parsley, chopped (for garnish, optional but pretty)
Ingredient Tips and Substitutions: If you want to use chicken breasts, go for it. Just know they might be slightly drier if you simmer them too long. I recommend Bell & Evans or Perdue brands for consistently good quality chicken. For a dairy-free version, swap the butter for olive oil, use unsweetened oat milk instead of whole milk, and skip the cream. The broth won’t be as rich, but it’ll still be delicious. You can also use gluten-free all-purpose flour and gluten-free biscuits if needed. Look for King Arthur Measure for Measure flour—it works great as a thickener.
Frozen peas are non-negotiable here in my opinion. Fresh peas can get mushy, and canned peas are just sad. Frozen peas add that perfect pop of sweetness and color. If you’re not a pea person, you can leave them out or swap in frozen corn kernels. In summer, fresh corn off the cob would be amazing here.
Equipment Needed
One of the best things about this recipe is how little equipment you need. Here’s what you’ll want to have on hand:
- A large Dutch oven or heavy-bottomed pot (at least 5-6 quarts). I use my Lodge 6-quart enameled Dutch oven and it’s perfect. If you don’t have one, any large pot with a tight-fitting lid will work.
- A sharp chef’s knife (for dicing veggies and trimming chicken). A dull knife makes everything harder—trust me on this.
- A wooden spoon or silicone spatula (for stirring and scraping up those browned bits from the bottom).
- A cutting board (preferably one with a groove to catch juices).
- Measuring cups and spoons (for accuracy, though I’ll admit I eyeball the herbs sometimes).
- A ladle (for serving).
If you don’t have a Dutch oven, a heavy stainless steel pot or even a nonstick stockpot will work. The key is having a pot that distributes heat evenly so the chicken cooks without burning. I once made this in a thin aluminum pot and the bottom scorched. Learn from my mistake—go with something heavy-bottomed. Budget-friendly options from Cuisinart or Tramontina work great and won’t break the bank.
Preparation Method
Alright, let’s make some magic happen. Follow these steps and you’ll have dinner on the table before you know it.
- Prep your ingredients first. Dice the onion, carrots, and celery into roughly equal-sized pieces (about ½ inch). Mince the garlic. Pat the chicken thighs dry with paper towels and season them generously with salt and pepper. This might seem like an extra step, but dry chicken browns better. Trust me.
- Heat your pot over medium-high heat. Add the butter and let it melt until it’s foamy but not brown. This takes about 1 minute. The sizzle when the butter hits the pot is the sound of dinner beginning.
- Brown the chicken thighs. Place them in the pot in a single layer (work in batches if needed). Let them cook without moving for 4-5 minutes until the underside is golden brown. Flip and cook another 3-4 minutes. The chicken won’t be cooked through yet—that’s fine. Transfer the chicken to a plate and set aside. Don’t wipe out the pot—those browned bits on the bottom are pure flavor.
- Sauté the vegetables. Reduce the heat to medium. Add the diced onion, carrots, and celery to the pot. Stir and scrape up those browned bits from the bottom. Cook for 5-6 minutes until the vegetables have softened and the onion is translucent. Your kitchen should smell amazing right about now.
- Add the garlic and herbs. Stir in the minced garlic, thyme, and rosemary. Cook for 30 seconds until fragrant. Be careful not to burn the garlic—it turns bitter fast.
- Sprinkle in the flour. Add the ¼ cup of flour and stir constantly for 1-2 minutes. This cooks the raw flour taste out and helps thicken the broth later. The mixture will look pasty and stick to the vegetables—that’s exactly what you want.
- Pour in the broth slowly. Add the chicken broth while stirring continuously. This prevents lumps from forming. Scrape the bottom of the pot really well to get all those flavorful bits incorporated.
- Add the milk and cream. Pour in the whole milk and heavy cream. Stir until everything is combined. The broth will look thin now, but it’ll thicken as it simmers.
- Return the chicken to the pot. Nestle the browned chicken thighs back into the liquid, along with any juices that accumulated on the plate. Bring the mixture to a gentle boil, then reduce the heat to low. Cover and let it simmer for 15 minutes. The chicken should be cooked through and tender.
- Remove the chicken and shred it. Use tongs to transfer the chicken to a cutting board. Let it rest for 2 minutes, then shred it with two forks. It should pull apart easily. If it doesn’t, give it a few more minutes in the pot.
- Return the shredded chicken to the pot. Stir it back into the broth. Taste the broth and adjust the salt and pepper. This is your chance to fix the seasoning—don’t skip it.
- Prepare the dumplings. While the chicken simmers, open the can of biscuits. Cut each biscuit into quarters. You should get about 32 small pieces. Don’t cut them too small or they’ll disintegrate. Don’t leave them too big or they won’t cook through.
- Add the dumplings. Bring the broth to a gentle simmer. Drop the biscuit pieces into the pot one at a time, spreading them out. Don’t dump them all in at once or they’ll clump together. Gently push them down into the liquid with the back of a spoon.
- Cover and cook. Put the lid on and let the dumplings cook for 10-12 minutes. Do not lift the lid during this time! I know it’s tempting, but the steam is what cooks the dumplings. Peeking releases that steam and your dumplings will be doughy instead of fluffy.
- Add the peas. After 10 minutes, remove the lid. Stir in the frozen peas gently. Let everything cook for another 2-3 minutes until the peas are heated through and the dumplings are puffed and tender.
- Garnish and serve. Sprinkle with fresh parsley if you’re feeling fancy. Ladle into bowls and enjoy immediately. The dumplings will continue to absorb liquid as they sit, so eat up!
Cooking Tips & Techniques
I’ve made this quick one-pot chicken and dumplings for busy weeknights about twenty times now, and I’ve learned a few things the hard way. Let me save you some trouble.
Don’t skip browning the chicken. I know it adds a few minutes, but that golden crust is where all the flavor lives. If you’re in a huge rush, you can skip it and just simmer the raw chicken in the broth. But honestly? Those extra 8 minutes are worth it. The depth of flavor you get from browning is the difference between “good” and “I need this recipe immediately.”
Watch your heat when adding the flour. I once walked away for “just a second” and came back to a scorched mess. The flour mixture can burn quickly if the heat is too high. Keep it at medium and stir constantly. If you see dark brown specks forming, you’ve gone too far. Start over—it’s not worth the bitter taste.
Cut your biscuits consistently. I learned this one after a batch where some dumplings were raw in the middle and others were tiny hard pebbles. Aim for quarters that are roughly equal in size. If you’re using the larger Grands biscuits, cutting each into 6 pieces works better for even cooking.
Resist the urge to stir after adding the dumplings. I know, I know. You want to check on them. You want to make sure they’re not sticking. But stirring breaks the dumplings apart and makes the broth cloudy. Just trust the process. The steam does the work.
Multitasking tip: While the chicken simmers in step 9, use that time to cut your biscuits and chop your parsley. It saves those precious few minutes and keeps your flow going. I also like to set the table during that time—it makes the meal feel more intentional even on a busy night.
Variations & Adaptations
This recipe is incredibly forgiving, and I love playing around with it. Here are some variations I’ve tried and loved:
Herb and Lemon Twist
Add the zest of one lemon and 2 tablespoons of fresh dill along with the peas. The brightness cuts through the richness beautifully. I made this version for a spring dinner party and everyone asked for seconds. It feels lighter and more elegant without being fussy.
Spicy Southwest Style
Swap the thyme and rosemary for 1 teaspoon of ground cumin and ½ teaspoon of smoked paprika. Add a diced jalapeño (seeds removed if you want less heat) along with the vegetables. Toss in a can of drained and rinsed black beans with the chicken. The smoky, slightly spicy broth is incredible. My brother-in-law requests this version every time he visits.
Vegetarian Mushroom and Dumplings
Skip the chicken entirely. Use 1 pound of cremini mushrooms, quartered, and sauté them until golden before adding the vegetables. Use vegetable broth instead of chicken broth. The mushrooms add that savory, meaty depth that makes you forget there’s no chicken. I’ve served this to meat-eaters who didn’t even notice. Add the mushrooms in step 4 and cook them for 6-7 minutes until they release their liquid and start to brown.
Gluten-Free Adaptation
Use gluten-free all-purpose flour (like Bob’s Red Mill 1-to-1) for the roux. For the dumplings, use gluten-free refrigerated biscuits. They’re available at most grocery stores now. The texture is slightly different—a bit more crumbly—but still delicious. I tested this version for a friend with celiac disease and she said it was the best she’d had since her diagnosis.
Slow Cooker Version
If you want to prep this in the morning, brown the chicken and sauté the vegetables on the stovetop first. Transfer everything except the milk, cream, biscuits, and peas to a slow cooker. Cook on low for 6-8 hours or high for 3-4 hours. About 30 minutes before serving, shred the chicken, stir in the milk and cream, drop in the biscuit pieces, cover, and cook on high for 25-30 minutes. Add the peas in the last 5 minutes. It’s not quite as quick as the stovetop version, but it’s perfect for those days when you want dinner waiting for you.
Serving & Storage Suggestions
This quick one-pot chicken and dumplings for busy weeknights is best served hot, straight from the pot. Ladle it into deep bowls so you get plenty of broth with your dumplings. I like to serve it with a simple side salad dressed with lemon vinaigrette—the acidity cuts through the richness. Crusty bread is also amazing for sopping up every last drop of that creamy broth.
For drinks, a crisp white wine like Sauvignon Blanc or an unoaked Chardonnay pairs beautifully. If you’re going non-alcoholic, sparkling water with a squeeze of lemon is perfect. And honestly? A cold beer works too. This is comfort food, not fine dining.
Storage: Leftovers keep well in an airtight container in the refrigerator for up to 3 days. Here’s the thing though—the dumplings will continue to absorb liquid and get softer. Some people don’t mind this, but if you want to keep them fluffy, store the dumplings separately from the broth. Reheat them together when you’re ready to eat.
Reheating: The best way to reheat is on the stovetop over medium-low heat. Add a splash of chicken broth or milk to thin it out if needed. Microwave works in a pinch, but the dumplings can get rubbery. If you’re microwaving, do it in 30-second bursts and stir gently between each.
Freezing: You can freeze the soup base (without the dumplings) for up to 3 months. Thaw overnight in the refrigerator, reheat on the stovetop, and add freshly cooked dumplings. The dumplings themselves don’t freeze well—they turn into a soggy mess. Trust me, I tried it once. Never again.
One thing I love about this recipe is how the flavors develop overnight. The second-day leftovers are somehow even better. The herbs meld together, the broth thickens slightly, and everything gets more cohesive. If you can resist eating it all the first night, you’re in for a treat the next day.
Nutritional Information & Benefits
Here’s the approximate nutritional breakdown for one serving (about 1 ½ cups, based on 6 servings):
| Nutrient | Amount per Serving |
|---|---|
| Calories | 485 |
| Protein | 32g |
| Fat | 24g |
| Saturated Fat | 11g |
| Carbohydrates | 35g |
| Fiber | 3g |
| Sugar | 8g |
| Sodium | 890mg |
This recipe is a solid source of protein from the chicken, which helps keep you full and satisfied. The carrots and celery provide vitamins A and K, plus some fiber. The peas add a boost of vitamin C and plant-based protein. The broth-based soup is hydrating and warming—perfect for cold season or when you’re feeling under the weather.
If you’re watching your sodium, use low-sodium broth and go easy on the added salt. You can also use reduced-fat milk and skip the cream to cut some fat and calories. For a lower-carb version, use only 2 tablespoons of flour for the roux and skip the biscuits entirely—serve it more like a creamy chicken stew. It won’t be the same dish, but it’ll still be delicious.
This meal is naturally egg-free and nut-free. For dairy-free, use the substitutions I mentioned earlier. It’s a comforting, balanced meal that fits into most dietary patterns with a few tweaks.
Conclusion
Look, I’m not saying this quick one-pot chicken and dumplings for busy weeknights will win you a potluck trophy. But honestly? It might. It saved me on one of the most stressful Sundays of my life, and it’s been saving weeknights ever since. This recipe is proof that you don’t need fancy ingredients or hours of time to make something truly memorable. You just need a pot, some pantry staples, and a little bit of faith in the process.
I love this recipe because it’s real. It’s not pretentious. It’s the kind of meal that says “I care about you” without saying “I spent all day in the kitchen.” It’s flexible, forgiving, and always delicious. Whether you’re feeding a family, impressing a date, or just taking care of yourself on a Tuesday night, this dish delivers.
So go ahead and make it your own. Add more herbs, throw in some mushrooms, or keep it exactly as written. The beauty of this recipe is that it works no matter what. And when you make it—because I know you will—come back and tell me how it went. Did you add something unexpected? Did your kids actually eat it? Did you finally win that potluck? I want to hear it all. Drop a comment below or tag me in your photos. Happy cooking, friend. You’ve got this.
Frequently Asked Questions
Can I use chicken breasts instead of thighs?
Absolutely. Chicken breasts work fine, but they can dry out more easily since they’re leaner. If using breasts, reduce the initial simmering time to about 10-12 minutes instead of 15. Check for doneness with a meat thermometer—165°F is the magic number. Shred them just like you would thighs.
My dumplings turned out doughy in the middle. What went wrong?
This usually happens for one of two reasons: either you cut the biscuits too large, or you lifted the lid during the 10-minute cooking time. Those biscuit pieces need that steam to cook through. If you peek, the steam escapes and you end up with sad, doughy dumplings. Next time, resist the urge and keep that lid on tight.
Can I make this recipe in advance for a party?
Yes, but with a caveat. Make the soup base up to two days ahead and refrigerate it. When you’re ready to serve, reheat the base on the stovetop, then add the biscuit dumplings fresh. This way your dumplings stay fluffy and light instead of turning into soggy sponges. Your guests will never know you prepped ahead.
Is there a way to make the broth thicker?
If you prefer a thicker, stew-like consistency, increase the flour to ⅓ cup when making the roux. You can also mash a few of the cooked dumplings against the side of the pot and stir them in—the starch will naturally thicken the broth. Just make sure you don’t overdo it or it’ll turn into paste.
Can I add other vegetables to this recipe?
Absolutely. This recipe is a vegetable sponge. Diced potatoes (add them with the broth), sliced mushrooms (sauté with the onions), chopped kale or spinach (stir in with the peas), or even corn kernels all work beautifully. Just keep the total volume similar so you don’t overcrowd the pot. I’ve added diced sweet potatoes before and it was fantastic—just give them a few extra minutes to soften.
Pin This Recipe!
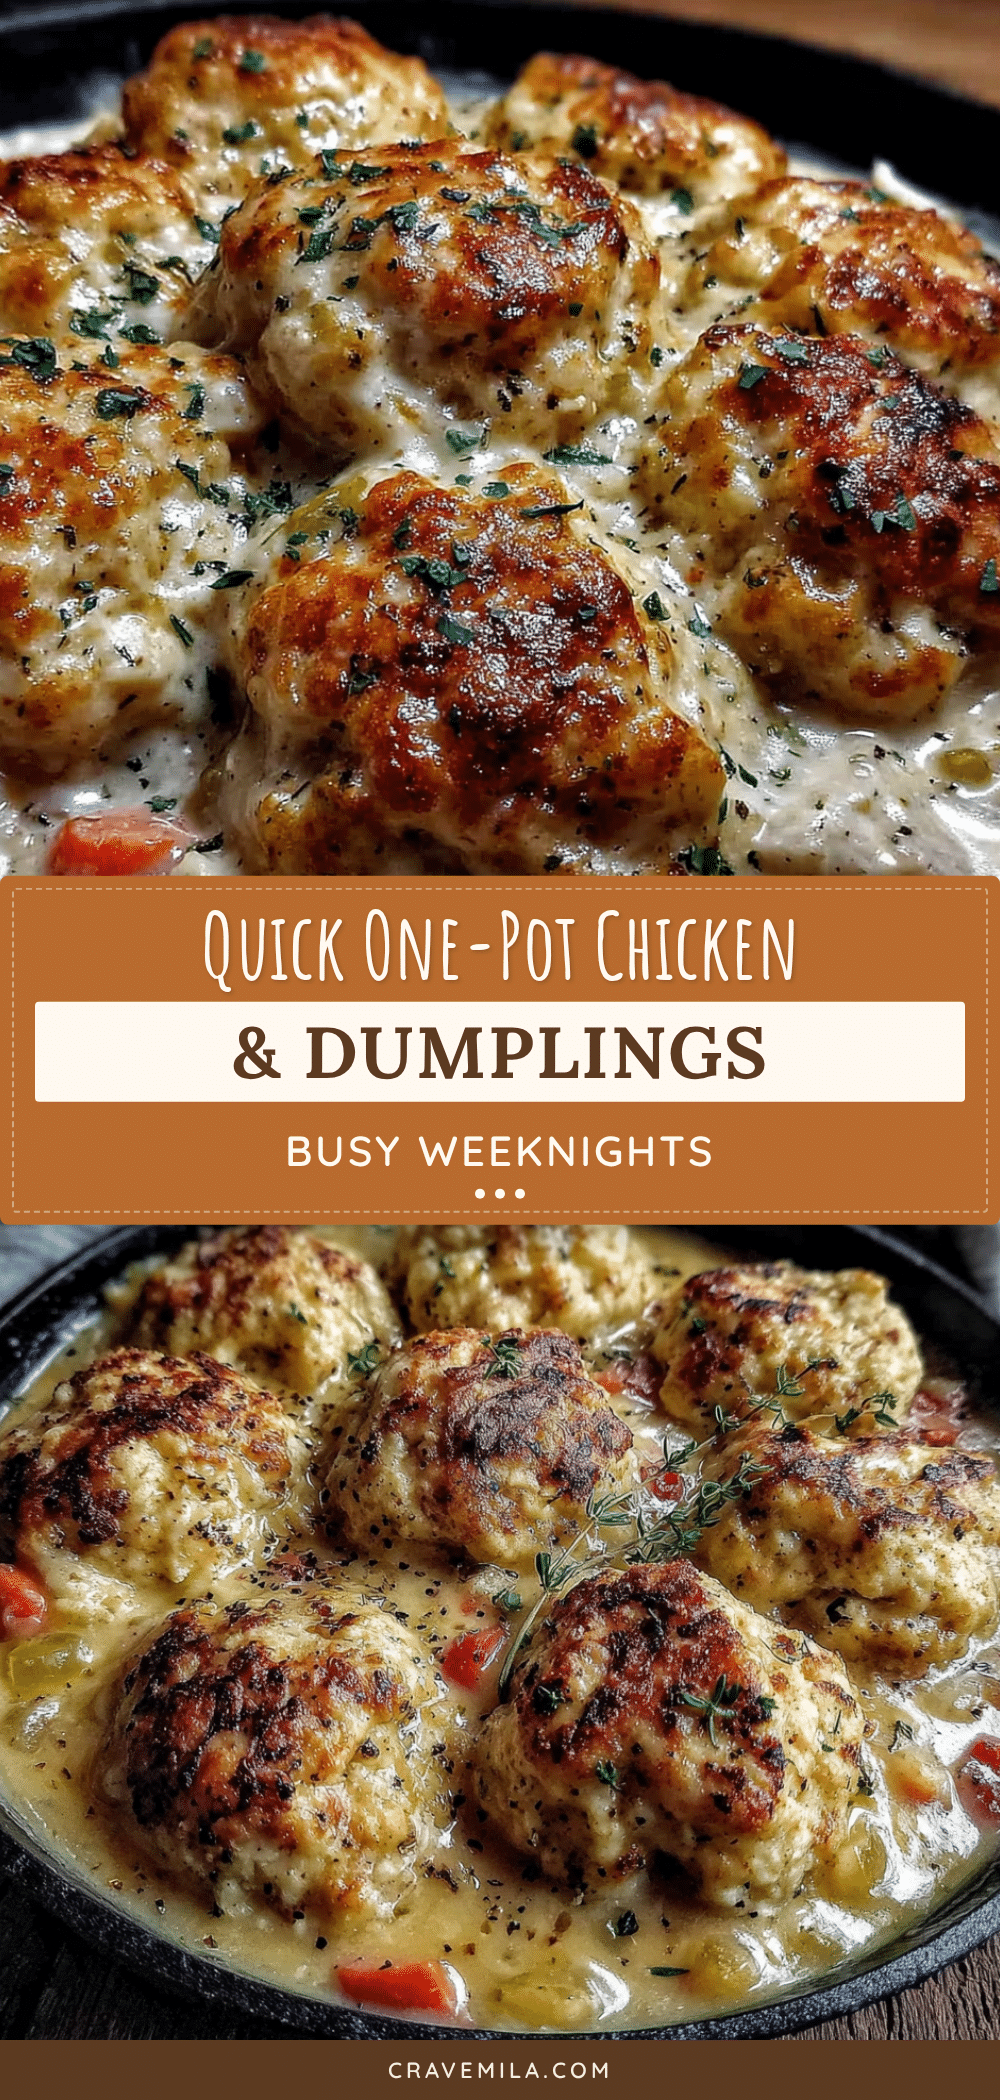
Easy One-Pot Chicken and Dumplings: Best Weeknight Dinner

This quick one-pot chicken and dumplings for busy weeknights is the ultimate comfort food, ready in under 45 minutes with simple pantry ingredients. Creamy broth, tender chicken, and fluffy biscuit dumplings make it a crowd-pleasing dinner that feels like a hug in a bowl.
- Prep Time: 15 minutes
- Cook Time: 30 minutes
- Total Time: 45 minutes
- Yield: 6 servings 1x
- Category: Main Course
- Cuisine: American
Ingredients
- 1 ½ pounds boneless, skinless chicken thighs (or breasts)
- 2 tablespoons unsalted butter
- 1 medium yellow onion, diced (about 1 cup)
- 2 medium carrots, peeled and diced
- 2 celery stalks, diced
- 3 cloves garlic, minced
- 1 teaspoon dried thyme (or 3 sprigs fresh)
- ½ teaspoon dried rosemary, crushed
- ¼ cup all-purpose flour
- 4 cups low-sodium chicken broth
- 1 cup whole milk
- ½ cup heavy cream
- Salt and freshly ground black pepper to taste
- 1 cup frozen peas
- 1 can (16.3 oz) refrigerated buttermilk biscuits (like Pillsbury Grands)
- 1 tablespoon fresh parsley, chopped (for garnish)
Instructions
- Prep your ingredients first. Dice the onion, carrots, and celery into roughly equal-sized pieces (about ½ inch). Mince the garlic. Pat the chicken thighs dry with paper towels and season them generously with salt and pepper.
- Heat your pot over medium-high heat. Add the butter and let it melt until it’s foamy but not brown, about 1 minute.
- Brown the chicken thighs. Place them in the pot in a single layer (work in batches if needed). Let them cook without moving for 4-5 minutes until the underside is golden brown. Flip and cook another 3-4 minutes. Transfer the chicken to a plate and set aside. Don’t wipe out the pot.
- Reduce the heat to medium. Add the diced onion, carrots, and celery to the pot. Stir and scrape up the browned bits from the bottom. Cook for 5-6 minutes until the vegetables have softened and the onion is translucent.
- Stir in the minced garlic, thyme, and rosemary. Cook for 30 seconds until fragrant.
- Sprinkle in the ¼ cup of flour and stir constantly for 1-2 minutes to cook out the raw flour taste.
- Pour in the chicken broth slowly while stirring continuously to prevent lumps. Scrape the bottom of the pot well.
- Pour in the whole milk and heavy cream. Stir until everything is combined.
- Nestle the browned chicken thighs back into the liquid, along with any accumulated juices. Bring to a gentle boil, then reduce heat to low. Cover and let simmer for 15 minutes.
- Use tongs to transfer the chicken to a cutting board. Let rest for 2 minutes, then shred with two forks.
- Return the shredded chicken to the pot. Stir it back into the broth. Taste and adjust salt and pepper.
- While the chicken simmers, open the can of biscuits. Cut each biscuit into quarters (about 32 pieces).
- Bring the broth to a gentle simmer. Drop the biscuit pieces into the pot one at a time, spreading them out. Gently push them down into the liquid with the back of a spoon.
- Cover and let the dumplings cook for 10-12 minutes. Do not lift the lid during this time.
- After 10 minutes, remove the lid. Stir in the frozen peas gently. Let cook for another 2-3 minutes until the peas are heated through and the dumplings are puffed and tender.
- Sprinkle with fresh parsley if desired. Ladle into bowls and serve immediately.
Notes
For best results, don’t skip browning the chicken—it adds deep flavor. Cut biscuits into consistent quarters for even cooking. Do not lift the lid while dumplings are cooking; the steam is essential. Store leftovers in an airtight container in the refrigerator for up to 3 days; dumplings will absorb liquid and soften. For freezing, freeze the soup base without dumplings for up to 3 months.
Nutrition
- Serving Size: 1 ½ cups
- Calories: 485
- Sugar: 8
- Sodium: 890
- Fat: 24
- Saturated Fat: 11
- Carbohydrates: 35
- Fiber: 3
- Protein: 32
Keywords: one-pot chicken and dumplings, easy weeknight dinner, comfort food, quick chicken dinner, creamy chicken soup, biscuit dumplings



