I met Rosa at the community garden plot I’d just taken over, a sad little rectangle of soil that had been more weeds than vegetables. She was tending the plot next to mine, and she watched me struggle for a good ten minutes before she finally spoke. “That squash there,” she said, pointing a dirt-caked finger at a pile of tiny, ribbed orange squashes in her harvest basket, “you need to try this one. It’s not like the big ones.” She handed me one, warm from the sun, and didn’t explain much else. Just a knowing smile and a shrug. I honestly didn’t know what to do with it at first, but I took it home anyway, feeling like I’d been let in on a secret.
That little squash sat on my counter for a day while I figured it out. I mean, it was cute, but it was also just a squash, right? I almost roasted it like I always do, with a little oil and salt. But then I remembered Rosa’s quiet confidence, and I decided to give it some actual attention. I browned some butter—you know, that thing where you let it get all nutty and golden—and grabbed a few sprigs of thyme from my now-thriving garden. The result was, honestly, a total surprise. That first bite had this unexpected sweetness, way more concentrated than butternut squash, and the brown butter and thyme just wrapped around it like a warm blanket. I forgot to take a picture because I was too busy eating it right out of the pan. Maybe you’ve been there, where a simple ingredient just asks for a little bit of love, and then it becomes the star of the show. This recipe stayed with me because it’s proof that the best things come in small, unassuming packages.
Why You’ll Love This Recipe
Let’s be real—finding a side dish that feels both special and stupidly easy is like finding a ten-dollar bill in your winter coat. This roasted honeynut squash with brown butter and thyme is exactly that. It’s the kind of recipe that makes you look like a kitchen wizard without any of the stress. I’ve tested this method at least a dozen times, tweaking the temperature and the timing to get that perfect caramelized edge every single time. Here’s why it’s become my go-to for everything from a quiet Tuesday dinner to a holiday table.
- Quick & Easy: Comes together in under 40 minutes, with only about 10 minutes of active prep. Perfect for busy weeknights when you want something that feels a little bit fancy.
- Simple Ingredients: No fancy grocery trips needed. You likely already have butter and thyme in your kitchen, and the honeynut squash is the only star you need to hunt down.
- Perfect for Any Occasion: Great for a cozy fall dinner, a Thanksgiving side dish, or even a simple lunch alongside a salad. It’s versatile enough for any table.
- Crowd-Pleaser: Always gets rave reviews. Even people who claim they don’t like squash end up going back for seconds. The brown butter is a total game-changer.
- Unbelievably Delicious: The texture is incredible—creamy and tender on the inside with caramelized, almost candy-like edges on the outside. It’s next-level comfort food.
What makes this recipe different from the rest? It’s the technique. Roasting the squash cut-side down first creates a steamy environment that cooks the flesh perfectly, then flipping it to cut-side up allows the brown butter to pool and caramelize. It’s not just another roasted squash recipe—it’s the best version. This isn’t just good food; it’s the kind that makes you close your eyes after the first bite. It’s comfort food reimagined—healthier, faster, but with the same soul-soothing satisfaction. Perfect for impressing guests without stress, or turning a simple meal into something memorable.
What Ingredients You Will Need
This recipe uses simple, wholesome ingredients to deliver bold flavor and satisfying texture without the fuss. Most of these are pantry staples, and the honeynut squash is easy to find in the fall and winter months.
- Honeynut Squash (4-6 small squashes): The star of the show! Look for squashes that feel heavy for their size and have a deep orange color. They are smaller and sweeter than butternut squash, with a thinner skin that doesn’t need peeling. (If you can’t find honeynut, you can use small butternut squash, just peel and cube them).
- Unsalted Butter (4 tablespoons, 60g): This is what we’ll brown to create that nutty, rich flavor. I always use unsalted so I can control the salt level. I recommend using a good quality European-style butter like Kerrygold for the best browning and flavor.
- Fresh Thyme (8-10 sprigs): Fresh thyme is non-negotiable here. Its earthy, slightly lemony flavor pairs perfectly with the sweet squash and nutty brown butter. Dried thyme just won’t give you the same result. (Strip the leaves from a few sprigs for garnish, and leave the rest on the stems for roasting).
- Extra-Virgin Olive Oil (2 tablespoons, 30ml): A good quality olive oil helps the squash roast and caramelize beautifully. It also helps the salt and pepper stick.
- Kosher Salt (1 teaspoon): I use Diamond Crystal kosher salt. If you’re using a finer salt, like table salt, start with ½ teaspoon and adjust to taste. Salt is crucial for bringing out the sweetness of the squash.
- Black Pepper (½ teaspoon, freshly ground): Freshly ground black pepper adds a subtle warmth and a little bit of bite that balances the sweetness.
- Maple Syrup (1 tablespoon, 15ml, optional): This is my little secret for extra caramelization. It’s totally optional, but if your squash isn’t at peak sweetness, a tiny drizzle helps create that gorgeous, sticky glaze. (Use pure maple syrup, not pancake syrup).
- Flaky Sea Salt (for finishing, like Maldon): This is not just for show. A sprinkle of flaky salt right before serving adds a pop of texture and a final burst of salty flavor that makes everything sing.
Equipment Needed
You don’t need a ton of fancy gadgets for this recipe, which is part of its beauty. Here’s what you’ll need to get the job done right.
- Large Rimmed Baking Sheet: A half-sheet pan (18×13 inches) is ideal. The rim is important to catch any butter that might bubble over. I prefer a light-colored metal pan because it promotes even browning without burning the bottom of the squash.
- Chef’s Knife: A sharp chef’s knife is essential for safely cutting the honeynut squash in half. These little guys can be dense, so a good knife makes the job much easier and safer.
- Cutting Board: A sturdy cutting board is a must. I recommend placing a damp paper towel underneath to keep it from slipping while you cut the squash.
- Small Saucepan: You’ll need a small, light-colored saucepan to brown the butter. A light-colored pan makes it much easier to see the butter change color and know when it’s done.
- Rubber Spatula: A heat-resistant rubber spatula is perfect for scraping every last bit of that glorious brown butter out of the pan. Don’t waste a drop!
- Measuring Spoons: For measuring the oil, maple syrup, and salt.
Preparation Method
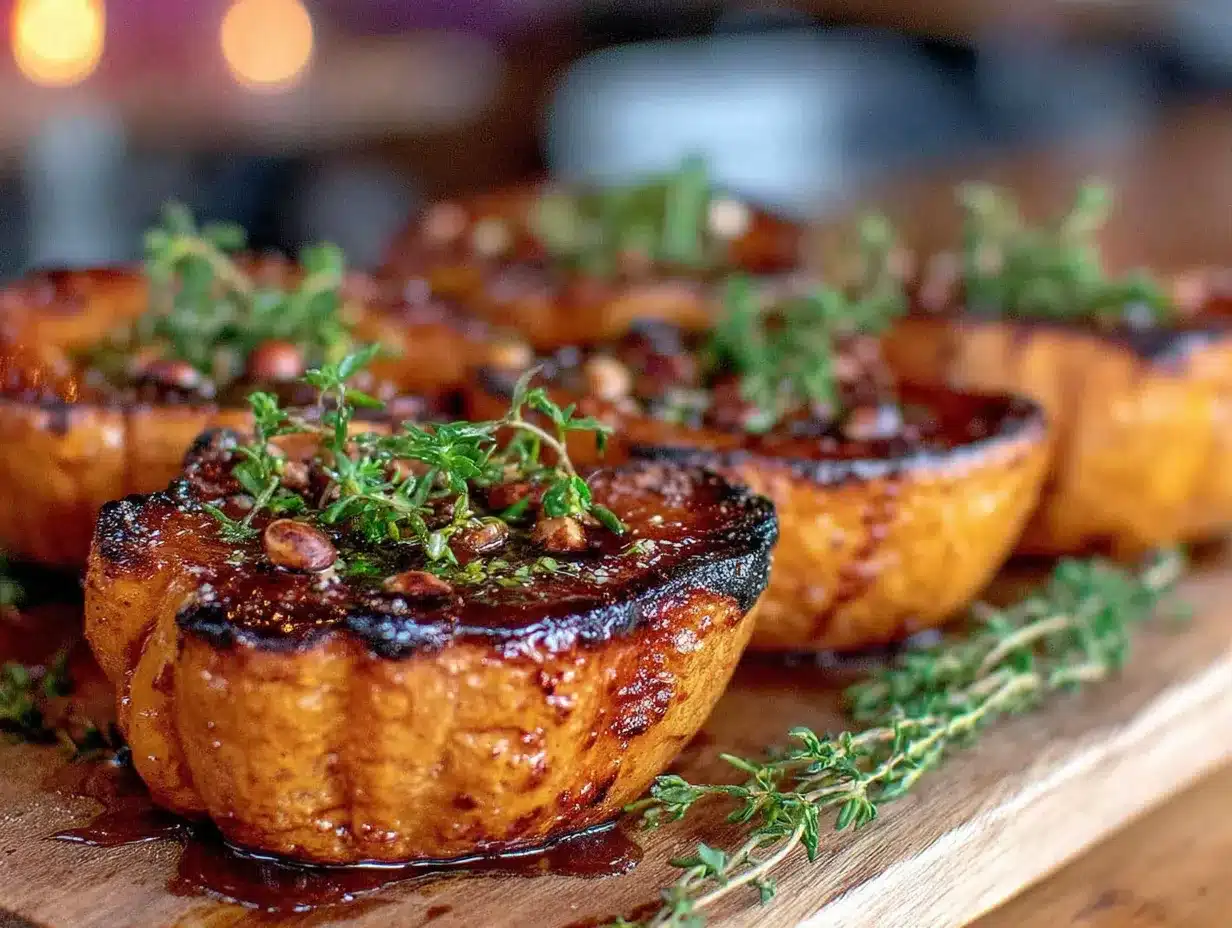
Alright, let’s get cooking. This method is simple, but a few key steps make all the difference. Follow along, and you’ll have perfectly roasted, caramelized squash every single time.
- Preheat and Prep (5 minutes): Preheat your oven to 400°F (200°C). Place a rack in the middle of the oven. While the oven heats, carefully halve each honeynut squash lengthwise from stem to tip using your sharp chef’s knife. Safety First: The skin can be tough, so take your time. If you’re struggling, you can microwave the whole squash for 30-60 seconds to soften it slightly. Use a spoon to scoop out the seeds and stringy pulp, just like you would with a pumpkin.
- Season the Squash (5 minutes): Place the squash halves cut-side up on your large baking sheet. Drizzle with the olive oil and use your hands or a brush to coat the cut surfaces evenly. Sprinkle generously with the kosher salt and freshly ground black pepper. If you’re using the maple syrup, drizzle a tiny bit (about ¼ teaspoon) over the cut side of each squash half. Don’t overdo it—you want a hint of sweetness, not a candy coating.
- The First Roast (20 minutes): Place the baking sheet in the preheated oven and roast for 20 minutes. This initial roast, cut-side up, allows the squash to start softening and the natural sugars to begin concentrating. You’ll see the edges starting to turn golden.
- Make the Brown Butter (5 minutes, while squash roasts): While the squash is in the oven, make the brown butter. Place the 4 tablespoons of unsalted butter in your small, light-colored saucepan over medium heat. Let it melt completely, then continue cooking, swirling the pan occasionally. The butter will start to foam and sizzle. Watch it carefully. After a few minutes, the foaming will subside, and you’ll see little brown specks forming at the bottom of the pan. It will smell intensely nutty and toasty. This happens fast, so don’t walk away! As soon as it turns a golden-brown color and smells amazing, remove it from the heat and immediately pour it into a small heat-safe bowl to stop it from burning. Add 4-5 sprigs of fresh thyme to the warm butter to infuse it with flavor.
- Flip and Baste (5 minutes): After 20 minutes, carefully remove the baking sheet from the oven. Using tongs, flip each squash half over so they are cut-side down. This is the secret step! Roasting cut-side down creates a steamy environment that cooks the flesh through perfectly and prevents the cut edges from drying out. Return the pan to the oven and roast for another 10 minutes.
- Final Roast with Brown Butter (10 minutes): After that 10 minutes, remove the pan again. Carefully flip the squash halves back to cut-side up. Spoon the brown butter and thyme sprigs evenly over each squash half. The butter will pool slightly in the cavities. Return the pan to the oven for a final 10-15 minutes, or until the squash is fork-tender and the edges are deeply caramelized and a little bit sticky. The brown butter will have bubbled and concentrated even more.
- Finish and Serve (2 minutes): Remove the pan from the oven. Let the squash rest for 2-3 minutes on the pan. Transfer to a serving platter. Spoon any remaining brown butter from the pan over the squash. Sprinkle with fresh thyme leaves and a generous pinch of flaky sea salt. Serve warm or at room temperature.
Cooking Tips & Techniques
I’ve burned my fair share of brown butter and ended up with mushy squash, so let me save you some trouble. These tips come straight from my kitchen failures and triumphs.
- Don’t Crowd the Pan: Give each squash half a little breathing room on the baking sheet. If they’re crammed together, they’ll steam instead of roast, and you won’t get that beautiful caramelization. Use two baking sheets if you need to.
- The Brown Butter Watch: Brown butter can go from perfect to burnt in about 15 seconds. Use a light-colored pan so you can actually see the color change. When the foam subsides and you see those brown milk solids, swirl the pan once and immediately pull it off the heat. Pouring it into a cold bowl stops the cooking process instantly.
- Why Cut-Side Down Works: I learned this trick from a restaurant cookbook. Roasting the squash cut-side down first traps steam against the flesh, cooking it evenly and preventing the edges from drying out. It’s a small step that makes a huge difference in texture.
- Check for Doneness: The best way to know if your squash is done is to poke it with a fork. It should slide in with almost no resistance. The skin will also look slightly wrinkled and the edges will be a deep, golden brown.
- Double the Butter, Double the Fun: If you’re making a large batch for a holiday dinner, feel free to double the brown butter. You’ll have extra to drizzle over the squash, and it’s amazing on roasted vegetables or even drizzled over popcorn later.
Variations & Adaptations
One of the best things about this recipe is how easy it is to play around with. Here are a few ways I’ve adapted it depending on my mood or what’s in my fridge.
- Spicy Maple Glaze: Before the final roast, whisk a pinch of cayenne pepper or a splash of hot sauce into the brown butter. The heat is a fantastic counterpoint to the sweet squash. I tried this with a little chipotle powder once, and it was incredible.
- Herb Swaps: Don’t have fresh thyme? No problem. Rosemary is a fantastic substitute. Use 2-3 small sprigs of rosemary in the brown butter instead of thyme. Sage is also lovely—add 6-8 fresh sage leaves to the butter as it browns for a classic fall flavor.
- Savory Cheesy Finish: After the final roast, sprinkle the hot squash with a tablespoon of freshly grated Parmesan or crumbled feta cheese. The salty, savory cheese is a perfect match for the sweet, nutty squash. This is my go-to when I want it to feel like more of a meal.
- Vegan Version: This is super easy to make vegan. Replace the butter with a high-quality vegan butter or a good olive oil. For the brown butter flavor, you can add a teaspoon of coconut aminos or a tiny bit of liquid smoke to the oil. It won’t be exactly the same, but it’s still delicious.
- Different Squash: If you can’t find honeynut squash, don’t stress. Small butternut squash (peeled and cubed into 1-inch pieces) or even delicata squash (halved and seeded, no need to peel) work beautifully. Adjust the roasting time accordingly—smaller pieces will cook faster.
Serving & Storage Suggestions
This roasted honeynut squash is incredibly versatile. It’s just as happy on a weeknight plate as it is on a Thanksgiving table. Here’s how to serve and store it.
Serving: Serve the squash warm, right out of the oven, with that final sprinkle of flaky salt and fresh thyme. It’s a stunning side dish alongside roasted chicken, pork chops, or a grilled steak. For a vegetarian meal, serve it over a bed of warm quinoa or farro with a handful of arugula and a drizzle of balsamic glaze. The flavors are also amazing the next day, cold, chopped up into a salad.
Storage: Store any leftover squash in an airtight container in the refrigerator for up to 4 days. The texture will soften a bit upon reheating, but the flavor stays fantastic.
Reheating: The best way to reheat is in the oven. Place the squash on a baking sheet and warm it at 350°F (175°C) for about 5-7 minutes, until heated through. You can also reheat it in a skillet over medium heat with a tiny splash of water or broth to re-steam it. The microwave works in a pinch, but it will make the squash a bit mushy.
Flavor Development: Honestly, the flavors actually get better after a day in the fridge. The brown butter and thyme really meld into the squash. I sometimes make a double batch just so I can have leftovers to toss into a grain bowl for lunch the next day.
Nutritional Information & Benefits
This recipe isn’t just delicious; it’s packed with good-for-you ingredients that make you feel great about eating it. Here’s a quick breakdown.
- Estimated Nutritional Values (per serving, 1 squash half): Calories: 180, Fat: 12g, Carbohydrates: 18g, Fiber: 4g, Sugar: 8g, Protein: 2g.
- Vitamin A Powerhouse: Honeynut squash is loaded with beta-carotene, which your body converts into vitamin A. This is fantastic for your vision, immune system, and skin health. One serving provides over 100% of your daily needs.
- Fiber-Rich: With 4 grams of fiber per serving, this squash helps keep you full and supports healthy digestion. It’s a great way to add more fiber to your diet without even thinking about it.
- Dietary Considerations: This recipe is naturally gluten-free, vegetarian, and can easily be made vegan (see variations). It’s also low in sugar (especially if you skip the maple syrup) and fits into a low-carb or whole30 diet.
- Potential Allergens: Contains dairy (butter). For a dairy-free option, use the vegan variation mentioned above.
Conclusion
This roasted honeynut squash with brown butter and thyme is more than just a side dish—it’s a little moment of joy on a plate. It’s proof that with a few simple ingredients and a little bit of attention, you can create something that feels truly special. I love it because it’s forgiving, it’s flexible, and it always, always delivers. Whether you’re making it for a quiet dinner at home or to impress your entire family at a holiday gathering, I promise it will become a staple in your kitchen too.
Now, I want to hear from you! Have you tried honeynut squash before? What’s your favorite way to roast it? Drop a comment below and let me know how this recipe turned out for you. And if you loved it, please share it with a friend who needs a new favorite side dish. Happy cooking!
Frequently Asked Questions
Can I use butternut squash instead of honeynut squash?
Absolutely! Honeynut squash is smaller and sweeter than butternut, but you can definitely substitute it. If using butternut, peel it, remove the seeds, and cut it into 1-inch cubes. Roast the cubes at 400°F (200°C) for 20-25 minutes, tossing halfway through, then toss with the brown butter and thyme in the last 5 minutes of roasting.
How do I know when the brown butter is done?
The key is to watch the color and smell. The butter will melt, then foam, and then the foam will subside. You’ll see little brown specks (the milk solids) forming at the bottom of the pan. It will smell intensely nutty and toasty. As soon as it turns a golden-amber color, remove it from the heat immediately. It can burn very quickly!
Can I make this recipe ahead of time?
Yes, you can! You can roast the squash a day ahead of time and store it in the refrigerator. When you’re ready to serve, reheat it in a 350°F (175°C) oven for about 10 minutes. You can also make the brown butter a day ahead and store it in the fridge. Just gently reheat it on the stovetop before drizzling over the squash.
Do I have to peel the honeynut squash?
Nope! One of the best things about honeynut squash is that its skin is thin and tender enough to eat once roasted. It becomes soft and slightly chewy, and it’s perfectly edible. Just give the squash a good wash before cutting it.
What can I do with the leftover brown butter?
Don’t throw it away! Leftover brown butter is liquid gold. Use it to sauté vegetables, toss with pasta and sage, drizzle over popcorn, or spread on toast. It will keep in an airtight container in the refrigerator for up to a week. Just warm it up to use it again.
Pin This Recipe!
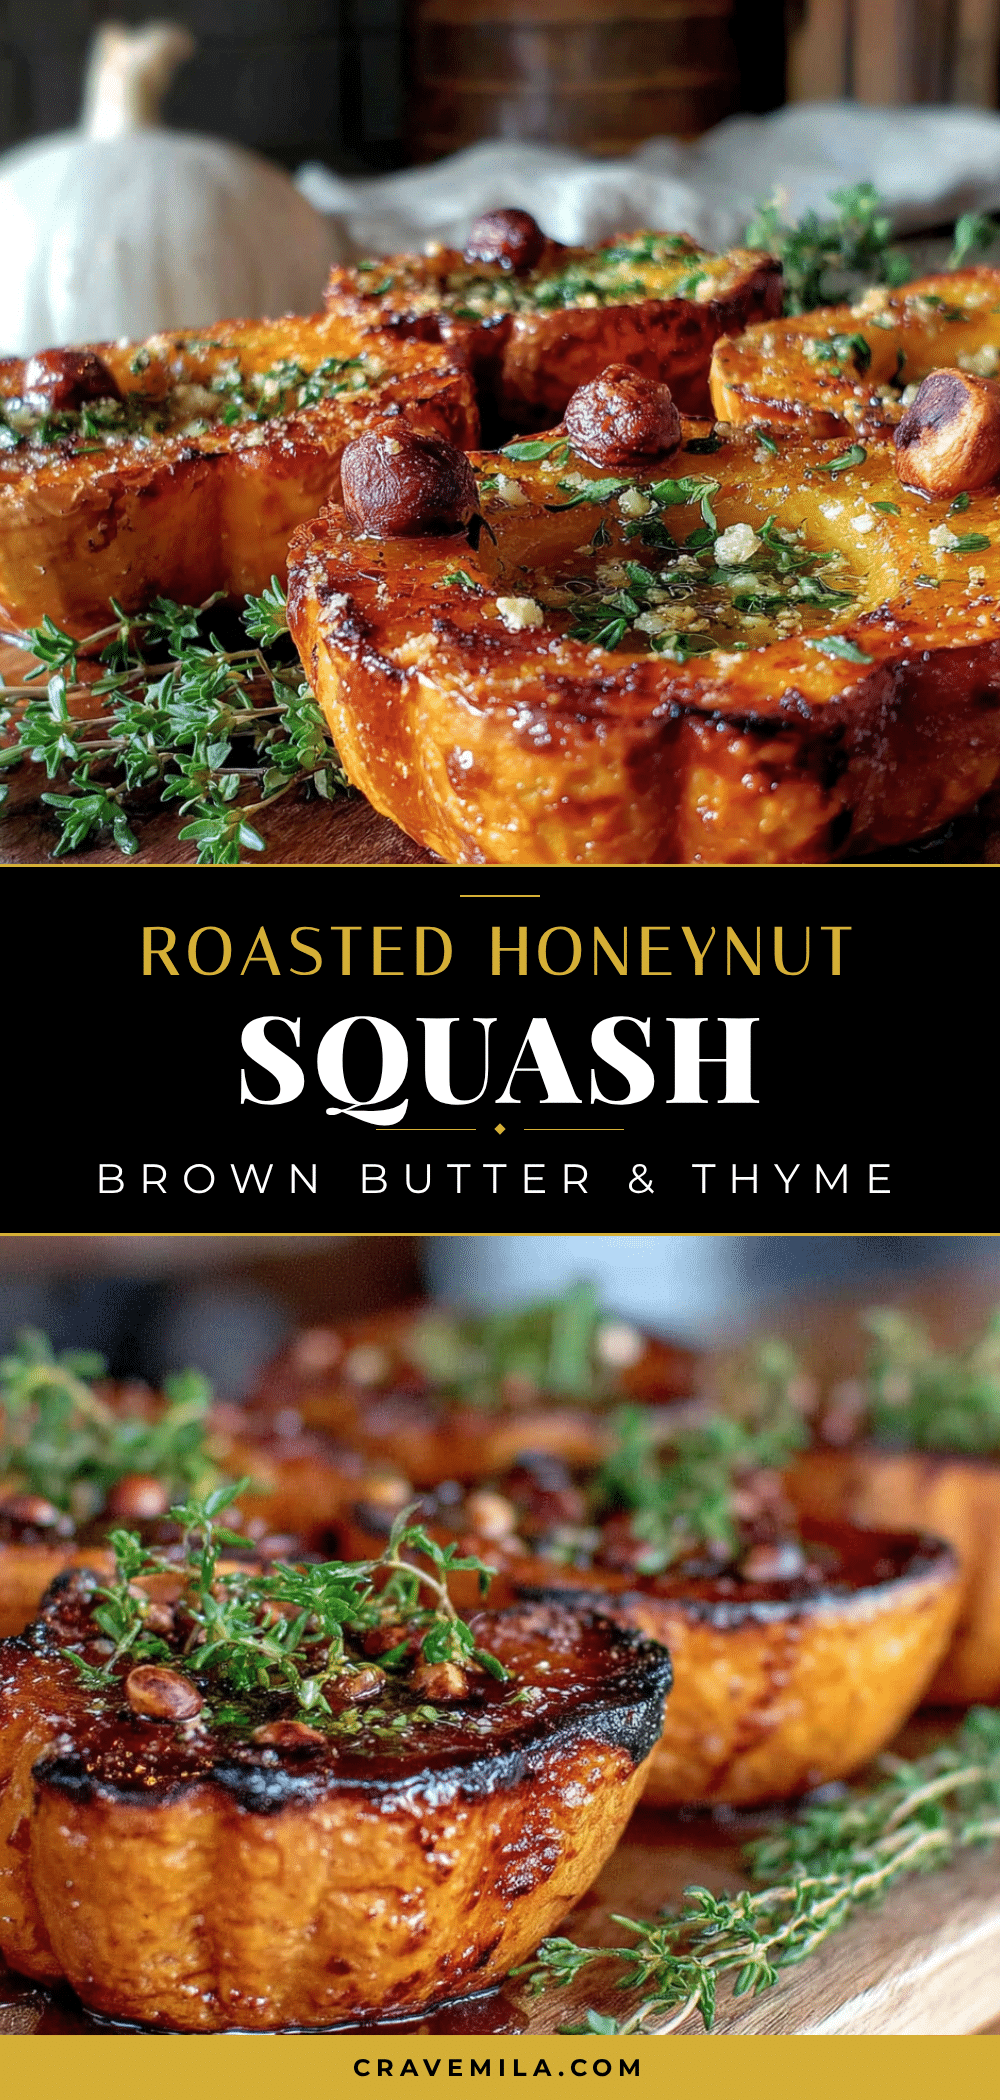
Easy Roasted Honeynut Squash with Brown Butter & Thyme

This roasted honeynut squash with brown butter and thyme is a simple yet elegant side dish that comes together in under 40 minutes. The squash is roasted to perfection with caramelized edges and a creamy interior, then finished with nutty brown butter and fresh thyme for a flavor that will impress everyone at the table.
- Prep Time: 10 minutes
- Cook Time: 30 minutes
- Total Time: 40 minutes
- Yield: 4-6 servings 1x
- Category: Side Dish
- Cuisine: American
Ingredients
- 4–6 small honeynut squashes
- 4 tablespoons (60g) unsalted butter
- 8–10 sprigs fresh thyme
- 2 tablespoons (30ml) extra-virgin olive oil
- 1 teaspoon kosher salt (Diamond Crystal)
- ½ teaspoon freshly ground black pepper
- 1 tablespoon (15ml) pure maple syrup (optional)
- Flaky sea salt (like Maldon) for finishing
Instructions
- Preheat your oven to 400°F (200°C). Place a rack in the middle of the oven.
- Carefully halve each honeynut squash lengthwise from stem to tip using a sharp chef’s knife. Scoop out the seeds and stringy pulp with a spoon.
- Place the squash halves cut-side up on a large rimmed baking sheet. Drizzle with olive oil and coat the cut surfaces evenly. Sprinkle with kosher salt and black pepper. If using, drizzle a tiny bit of maple syrup (about ¼ teaspoon) over the cut side of each squash half.
- Roast the squash cut-side up for 20 minutes.
- While the squash roasts, make the brown butter: Place the unsalted butter in a small, light-colored saucepan over medium heat. Melt completely, then continue cooking, swirling occasionally, until the butter foams, the foam subsides, and brown specks form at the bottom. It will smell nutty and toasty. Immediately remove from heat and pour into a small heat-safe bowl. Add 4-5 sprigs of fresh thyme to the warm butter to infuse.
- After 20 minutes, remove the baking sheet from the oven. Using tongs, flip each squash half cut-side down. Return to the oven and roast for another 10 minutes.
- Remove the pan again. Flip the squash halves back to cut-side up. Spoon the brown butter and thyme sprigs evenly over each squash half. Return to the oven for a final 10-15 minutes, until the squash is fork-tender and the edges are deeply caramelized.
- Remove from the oven and let rest for 2-3 minutes. Transfer to a serving platter. Spoon any remaining brown butter from the pan over the squash. Sprinkle with fresh thyme leaves and a generous pinch of flaky sea salt. Serve warm or at room temperature.
Notes
For the best browning, use a light-colored metal baking sheet. Brown butter can burn quickly, so watch it carefully and remove from heat as soon as it turns golden-amber. If you can’t find honeynut squash, substitute with small butternut squash (peeled and cubed) or delicata squash (halved and seeded). The skin of honeynut squash is edible once roasted. Leftover brown butter can be stored in the refrigerator for up to a week and used for sautéing vegetables or drizzling over popcorn.
Nutrition
- Serving Size: 1 squash half
- Calories: 180
- Sugar: 8
- Sodium: 300
- Fat: 12
- Saturated Fat: 6
- Carbohydrates: 18
- Fiber: 4
- Protein: 2
Keywords: roasted honeynut squash, brown butter, thyme, fall side dish, easy squash recipe, holiday side dish, vegetarian, gluten-free



