Maya wasn’t trying to impress anyone. I’d stopped by her place to grab a ladder I’d borrowed weeks ago—the kind of mundane errand you keep putting off until you finally just do it—and this smell hit me before I even got past the screen door. It wasn’t sharp or sweet the way you’d expect. It was warm, almost nutty, with this undertone of something that made me think of autumn in a way that felt almost unfair for a random Tuesday afternoon in October.
She was standing at her kitchen counter in faded jeans and a flour-dusted sweatshirt, pulling a baking sheet out of the oven. The cookies were pale gold with cracked tops, and she just shrugged when I asked what they were. “Oh, those? Just messing around with some apple cider I had left over.” Just messing around. Like she hadn’t created something that stopped me cold in her doorway. I stood there holding the ladder, not even pretending to leave, while she slid a warm one onto a napkin and handed it to me. Honestly, I think I forgot about the ladder entirely for the next twenty minutes.
That first bite had this unexpected moment—the brown butter icing was still warm, melting slightly into the cookie, and the apple cider flavor hit me in the back of the throat like the last sip of a perfect fall drink. I asked her for the recipe three times before I finally left, and she kept saying it wasn’t anything special. But you know that feeling when you taste something and immediately start planning when you’ll make it yourself? That was this cookie. I’ve tweaked it a little over the years—added a pinch more cinnamon, figured out the exact temperature for the brown butter so it doesn’t burn—but the soul of it is still Maya’s Tuesday-afternoon accident. And let me tell you, these are the cookies that will make your guests forget every other dessert on the table.
Why You’ll Love These Apple Cider Cookies
I’ve tested this recipe more times than I care to admit, and here’s what I’ve learned: these cookies are the kind of thing that disappears before you’ve even finished arranging the platter. They’ve become my secret weapon for every fall gathering, and not just because they taste incredible.
- Perfect for Hosting: These cookies are designed to impress a crowd. They scale beautifully, and the brown butter icing makes them look like you spent hours in the kitchen when really, they come together in about 30 minutes of active work.
- Simple Ingredients: No fancy extracts or hard-to-find spices here. You probably already have most of what you need, minus the apple cider—and that’s a fall staple anyway.
- Make-Ahead Friendly: You can prep the dough a day ahead, which is a lifesaver when you’re hosting. Just scoop, chill, and bake when your guests arrive so the kitchen smells amazing.
- That Brown Butter Factor: The icing is the real star here. Brown butter adds this nutty, almost caramel-like depth that takes a simple cider cookie into something people will ask you for the recipe for.
- Crowd-Pleaser Guaranteed: Kids love them, adults hoard them, and I’ve never—not once—brought these anywhere and brought any home.
What makes these apple cider cookies different from every other fall cookie recipe out there is the balance. The cider flavor is present but not overwhelming, the brown butter icing is rich without being cloying, and the texture is soft with slightly crisp edges. It’s the kind of cookie that makes people close their eyes after the first bite, and honestly, that never gets old.
This recipe is comfort food reimagined for your dinner party or potluck—familiar enough to feel nostalgic, but special enough to steal the table. Perfect for impressing guests without stress, or turning a simple Tuesday into something memorable.
What Ingredients You Will Need
This recipe uses simple, mostly pantry-staple ingredients to deliver that bold apple cider flavor and the signature nutty brown butter icing. The key is using good-quality apple cider—not apple juice—for the most concentrated flavor.
For the Cookies
- 1 cup (2 sticks) unsalted butter, softened — I prefer Kerrygold for the richness, but any good-quality butter works. Make sure it’s truly softened to room temperature for proper creaming.
- 1 cup granulated sugar — This gives the cookies their structure and slight crispness on the edges.
- 1/2 cup packed light brown sugar — Adds moisture and that subtle molasses note that pairs so well with apple cider.
- 2 large eggs, room temperature — Cold eggs can seize the butter mixture, so let them sit out for 30 minutes first.
- 1 teaspoon vanilla extract — Pure vanilla, not imitation. It makes a difference here.
- 1/2 cup apple cider, reduced — This is the secret. You’ll simmer the cider down to about 1/4 cup to concentrate the flavor. Don’t skip this step.
- 2 3/4 cups all-purpose flour — Spoon and level for accuracy. Packing the flour will give you dense cookies.
- 1 teaspoon baking soda
- 1/2 teaspoon baking powder
- 1 teaspoon ground cinnamon — I use Vietnamese cinnamon for its warmth, but any works.
- 1/2 teaspoon ground nutmeg — Freshly grated if you have it, but pre-ground is fine.
- 1/4 teaspoon ground cloves — Just a hint for depth.
- 1/2 teaspoon salt — Fine sea salt is best for baking.
For the Brown Butter Icing
- 1/2 cup (1 stick) unsalted butter — You’ll brown this, so keep an eye on it. It goes from golden to burnt fast.
- 2 cups powdered sugar, sifted — Sifting prevents lumps. Trust me on this one.
- 3-4 tablespoons milk or heavy cream — Heavy cream makes a richer icing, but milk works too.
- 1/2 teaspoon vanilla extract
- Pinch of salt — Balances the sweetness.
One note on the apple cider: I recommend using a fresh, unfiltered cider from a local orchard or the refrigerated section of your grocery store. The shelf-stable stuff often has added sugars and preservatives that don’t reduce as nicely. Look for one where the only ingredient is apples.
Equipment Needed
You don’t need anything fancy for these cookies, which is part of what makes them so great for hosting. Here’s what you’ll want on hand:
- Stand mixer or hand mixer — I use my KitchenAid for creaming the butter and sugar, but a hand mixer works just as well. You could even do it by hand with some elbow grease.
- Large mixing bowls — At least two: one for wet ingredients, one for dry.
- Small saucepan — For reducing the apple cider and browning the butter. A light-colored pan helps you see when the butter is properly browned.
- Baking sheets — Two or three, so you can rotate batches. I like the Nordic Ware aluminum ones for even baking.
- Parchment paper or silicone baking mats — Non-negotiable for preventing sticking and ensuring even browning.
- Cookie scoop — A 1.5-tablespoon scoop gives consistent cookies. If you don’t have one, use two spoons, but a scoop is worth the investment.
- Cooling rack — Wire racks allow air to circulate so the cookies don’t get soggy bottoms.
- Whisk and spatula — A good silicone spatula for scraping the bowl clean.
If you don’t have a stand mixer, don’t worry. I made these for years with just a hand mixer and a lot of patience. The key is to cream the butter and sugar long enough—about 3 minutes—regardless of what tool you’re using.
Preparation Method
Let’s get to the good part. This method is broken down into clear steps, and I’ve included all the little cues that tell you you’re on the right track.
Step 1: Reduce the Apple Cider
Pour 1/2 cup of apple cider into a small saucepan and bring it to a simmer over medium heat. Let it bubble gently until it reduces to about 1/4 cup. This takes about 8-10 minutes. You’re looking for a syrupy consistency—it should coat the back of a spoon. Remove it from the heat and let it cool completely. Don’t rush this, because hot cider will melt your butter later.
Step 2: Cream the Butter and Sugars
In the bowl of your stand mixer fitted with the paddle attachment, beat the softened butter, granulated sugar, and brown sugar together on medium speed until light and fluffy—about 3 minutes. You’ll see the mixture turn pale and increase in volume. Scrape down the sides of the bowl halfway through. This is where the texture of your cookies starts, so don’t skimp on the time here.
Step 3: Add the Wet Ingredients
Add the eggs one at a time, beating well after each addition. Then add the vanilla extract and the cooled, reduced apple cider. Mix on low until just combined. The mixture might look slightly curdled at this point—that’s okay, it’s just the cider and butter not fully emulsifying. It will come together when you add the dry ingredients.
Step 4: Combine the Dry Ingredients
In a separate bowl, whisk together the flour, baking soda, baking powder, cinnamon, nutmeg, cloves, and salt. Whisking ensures everything is evenly distributed—no one wants a pocket of baking soda in their cookie.
Step 5: Mix the Dough
Gradually add the dry ingredients to the wet mixture, mixing on low speed until just combined. Stop when you no longer see streaks of flour. Overmixing at this stage will give you tough cookies. The dough will be soft and slightly sticky—that’s the texture you’re after.
Step 6: Chill the Dough
Cover the bowl with plastic wrap and refrigerate for at least 30 minutes, or up to 24 hours. Chilling is crucial here—it prevents the cookies from spreading too much in the oven and deepens the flavor. If you’re prepping for a party, this is your chance to get ahead.
Step 7: Preheat and Prep
When you’re ready to bake, preheat your oven to 350°F (175°C). Line your baking sheets with parchment paper or silicone mats.
Step 8: Scoop and Bake
Using a 1.5-tablespoon cookie scoop, portion the dough into balls and place them about 2 inches apart on the prepared baking sheets. Bake for 10-12 minutes, or until the edges are set and lightly golden. The centers will look slightly underdone—that’s perfect. They’ll continue to set as they cool.
Step 9: Cool Completely
Let the cookies cool on the baking sheet for 5 minutes, then transfer them to a wire rack to cool completely before icing. If you ice them while they’re warm, the icing will slide right off.
Step 10: Make the Brown Butter Icing
While the cookies cool, make the icing. In a small saucepan over medium heat, melt the butter. Swirl the pan occasionally as it melts. The butter will foam, then the foam will subside, and you’ll see brown specks forming at the bottom. This is the milk solids toasting. The moment the butter smells nutty and turns a golden amber color—about 5-7 minutes—remove it from the heat immediately. Transfer it to a heatproof bowl to stop the cooking.
Let the brown butter cool for about 5 minutes, then whisk in the sifted powdered sugar, milk or cream, vanilla extract, and a pinch of salt. Whisk until smooth. The icing should be thick but pourable. If it’s too thick, add a splash more milk. Too thin, add a bit more powdered sugar.
Step 11: Ice the Cookies
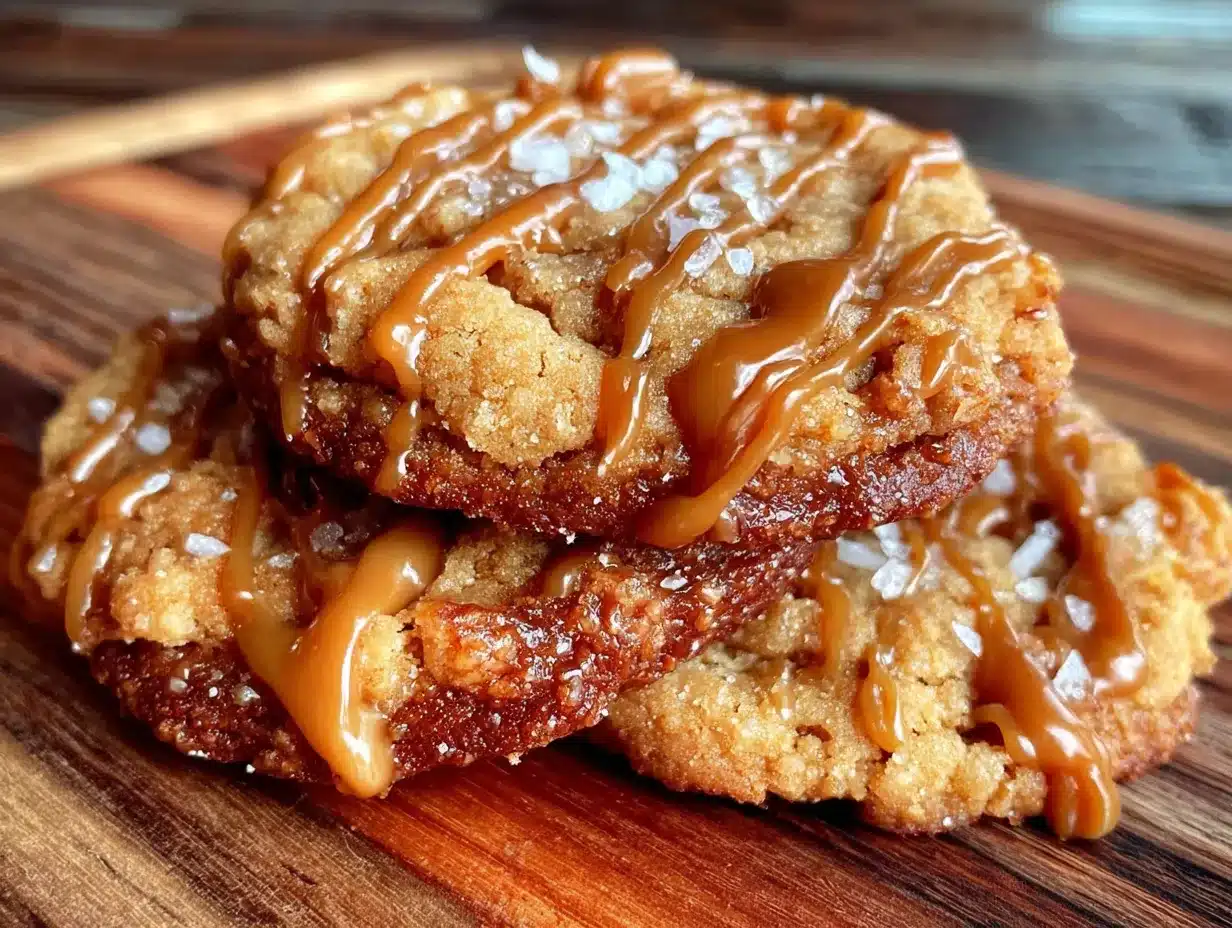
Drizzle the brown butter icing over the cooled cookies using a spoon or a piping bag with a small tip. Let the icing set for about 15-20 minutes before serving. You’ll know it’s ready when the icing is firm to the touch.
Cooking Tips & Techniques
I’ve made these cookies more times than I can count, and I’ve learned a few things the hard way. Here’s what I wish someone had told me the first time.
Don’t skip the cider reduction. I know it’s an extra step, but it’s the difference between a cookie that tastes vaguely appley and one that punches you with concentrated cider flavor. The reduction removes excess water and concentrates the sugars and acids. I once tried using unreduced cider to save time, and the cookies spread into flat, sad discs with barely any flavor. Never again.
Watch the brown butter like a hawk. Brown butter can go from perfect to burnt in about 15 seconds. I recommend using a light-colored saucepan so you can actually see the color change. The moment you smell that nutty aroma and see amber specks, pull it off the heat. I’ve burned my fair share of butter, and let me tell you, there’s no coming back from burnt butter icing. It tastes bitter and acrid.
Chill the dough, seriously. I know you’re excited to bake, but warm dough will spread into thin, crispy cookies instead of the soft, thick ones you want. Thirty minutes is the minimum, but overnight is better. The flavor actually develops as it sits—the spices meld with the cider in a way that’s hard to replicate with fresh dough.
Use a cookie scoop for consistent sizing. When you’re hosting, you want cookies that look professional. A scoop ensures every cookie is the same size, so they bake evenly and look beautiful on the platter. Plus, it’s faster than scooping with spoons.
Test one cookie first. Before you bake the whole batch, bake one cookie to check your oven temperature and the dough consistency. If it spreads too much, chill the dough longer. If it’s too puffy, flatten it slightly before baking. This little test saves you from ruining a whole batch.
Variations & Adaptations
One of the best things about these apple cider cookies is how adaptable they are. Here are some of my favorite variations, all tested in my own kitchen.
Gluten-Free Version: Substitute the all-purpose flour with a 1:1 gluten-free baking flour blend that contains xanthan gum. I’ve had great results with Bob’s Red Mill 1:1. The cookies will be slightly more tender, but the flavor is identical. Just make sure to chill the dough for at least an hour—gluten-free dough needs more time to firm up.
Dairy-Free Adaptation: Use vegan butter sticks (not tub margarine) in place of regular butter. For the icing, use a vegan butter that browns well—Miyoko’s is my go-to. Substitute the milk with oat milk or coconut cream. The texture will be slightly different, but still delicious.
Spiced Cider Version: Add 1/4 teaspoon of cardamom and a pinch of allspice to the dry ingredients for a more complex spice profile. This is my personal favorite for fall gatherings—it feels extra cozy and seasonal.
Apple Cider Cookie Sandwiches: Once the cookies are baked and cooled, spread a thin layer of cream cheese frosting (or the brown butter icing) between two cookies. These are showstoppers at potlucks, and they travel well if you keep them chilled.
Add-Ins: Fold in 1/2 cup of finely chopped dried apples or 1/2 cup of white chocolate chips after the dough comes together. The dried apples add chewy texture, and the white chocolate pairs beautifully with the cider and brown butter.
Serving & Storage Suggestions
These cookies are at their absolute best the day they’re made, especially within the first few hours when the icing is still slightly soft and the cookies are tender. But they’re also remarkably good the next day, if they last that long.
Serving Temperature: Serve at room temperature. If you’ve stored them in the fridge, let them sit out for about 15 minutes before serving. The flavor of the brown butter really opens up at room temperature.
Presentation for Guests: Arrange the cookies on a wooden board or a simple white platter. Sprinkle a little flaky sea salt over the top of the iced cookies for a gorgeous finish—it balances the sweetness and adds a professional touch. Pair them with hot apple cider or a spiced chai latte for the ultimate fall dessert spread.
What to Serve Alongside: These cookies are perfect on their own, but they’re also wonderful with a scoop of vanilla ice cream or a dollop of whipped cream. For a full dessert table, serve them alongside a pumpkin bread pudding or a simple apple crisp.
Storage: Store the cookies in an airtight container at room temperature for up to 3 days. Layer them with parchment paper between the layers to prevent sticking. If you live in a humid climate, the icing might get a bit sticky—that’s normal, and they’ll still taste amazing.
Freezing: You can freeze the unbaked cookie dough for up to 3 months. Scoop the dough into balls, place them on a baking sheet, and freeze until solid. Transfer the frozen dough balls to a freezer bag. When you’re ready to bake, add 2-3 minutes to the baking time—no need to thaw. You can also freeze the baked, un-iced cookies for up to 2 months. Thaw at room temperature, then make the icing fresh.
Reheating: If you want that just-baked warmth, pop a cookie in the microwave for about 10 seconds. Or, place them on a baking sheet in a 300°F oven for 3-4 minutes. The icing will soften slightly, but it’s still delicious.
Nutritional Information & Benefits
Let’s be real—these are cookies, not health food. But that doesn’t mean they can’t have some redeeming qualities. Here’s the approximate nutritional breakdown per cookie (based on 24 cookies):
- Calories: 210
- Total Fat: 10g
- Saturated Fat: 6g
- Cholesterol: 40mg
- Sodium: 120mg
- Total Carbohydrates: 29g
- Dietary Fiber: 0.5g
- Sugars: 18g
- Protein: 2g
Health Highlights: The apple cider provides a small amount of vitamin C and antioxidants, especially if you use unfiltered cider. Cinnamon has anti-inflammatory properties and may help regulate blood sugar. And while brown butter isn’t exactly a health food, it does add depth of flavor that means you can use less icing overall—a small win.
Dietary Considerations: These cookies contain gluten, dairy, and eggs. For those with allergies, see the variations section for adaptations. They’re not low-carb or keto-friendly, but they are made with simple, recognizable ingredients—no artificial flavors or preservatives.
My personal philosophy? Life is short. Eat the cookie. Just maybe don’t eat all 24 of them in one sitting. Though I won’t judge if you do.
Frequently Asked Questions
Can I use apple juice instead of apple cider?
I don’t recommend it. Apple juice is thinner and less flavorful than cider, and it won’t reduce to the same concentrated syrup. The cookies will end up with a weaker apple flavor and a different texture. Stick with real apple cider for the best results.
Why did my cookies spread too much?
This usually happens for one of three reasons: the dough wasn’t chilled long enough, the butter was too soft, or the oven wasn’t hot enough. Make sure your dough chills for at least 30 minutes, and check your oven temperature with an oven thermometer. If your kitchen is warm, chill the dough for a full hour.
Can I make the dough ahead of time?
Absolutely. You can refrigerate the dough for up to 24 hours before baking. The flavor actually improves as the spices meld with the cider. You can also freeze the scooped dough balls for up to 3 months—just bake from frozen, adding a couple of extra minutes.
How do I know when the brown butter is done?
Look for three signs: the butter will smell nutty and toasty, it will turn a golden amber color, and you’ll see small brown specks forming at the bottom of the pan. The moment you see those specks and smell the nuttiness, remove it from the heat. It continues to cook for a few seconds after you pull it off.
Can I skip the icing?
You can, but you’ll be missing out. The brown butter icing is what takes these cookies from good to unforgettable. If you want a simpler option, dust the cookies with powdered sugar while they’re still warm. It won’t have the same rich flavor, but it’s a decent alternative in a pinch.
Conclusion
These apple cider cookies with brown butter icing have become my go-to for every fall gathering, and I don’t see that changing anytime soon. They’re the kind of recipe that makes you look like you know what you’re doing in the kitchen, even if you’re just a home cook who loves good food. The combination of concentrated apple cider, warm spices, and that nutty brown butter icing is honestly hard to beat.
I hope you make these for your next dinner party, potluck, or just because it’s Tuesday and you deserve something delicious. Customize them however you like—add some dried apples, swap the spices, make them gluten-free. The recipe is sturdy enough to handle your creativity.
If you make these, I’d love to hear about it. Leave a comment below or tag me in your photos. And if you’re looking for another crowd-pleasing dessert for your next gathering, don’t miss my cinnamon roll casserole—it’s another one that disappears fast.
Happy baking, friends. May your kitchen smell like autumn and your cookies always have perfectly set icing.
Pin This Recipe!
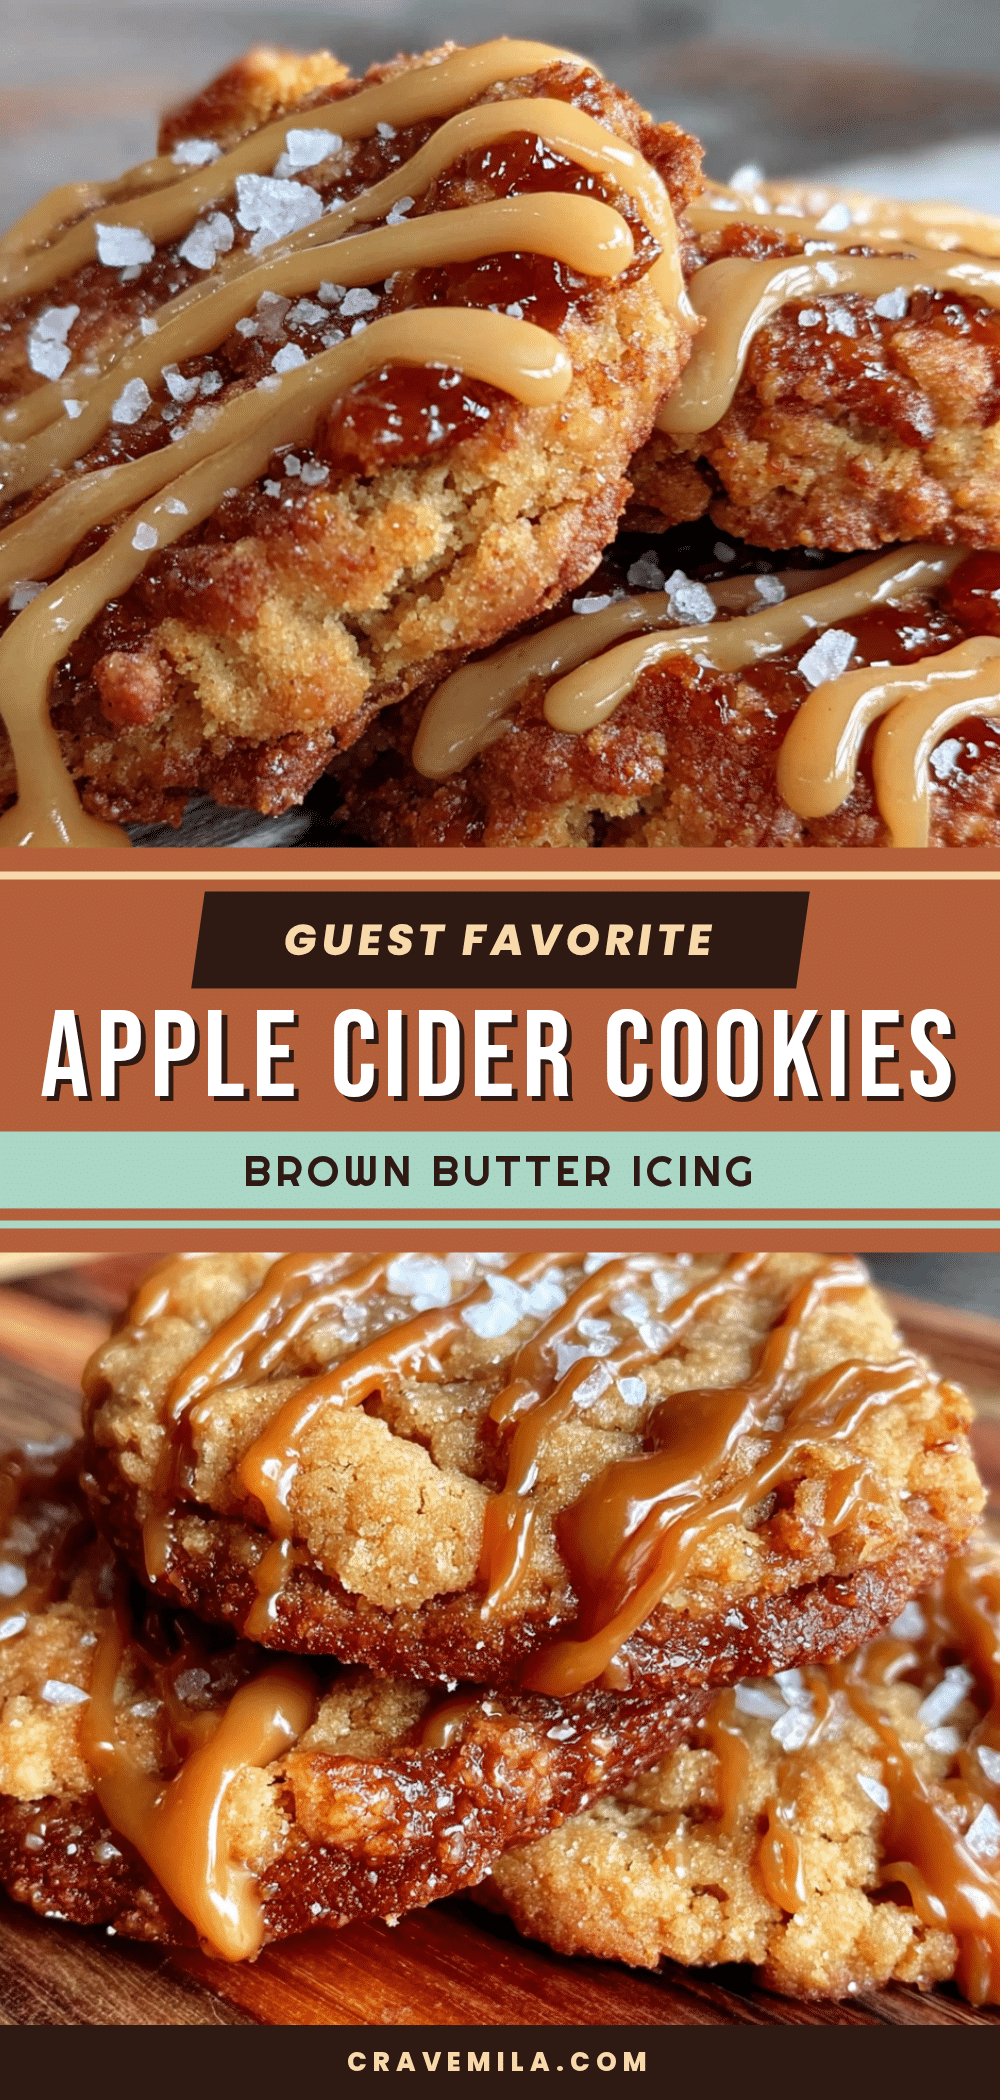
Best Apple Cider Cookies with Brown Butter Icing
Soft, spiced apple cider cookies topped with a nutty brown butter icing. Perfect for fall gatherings, these cookies are easy to make and always a crowd-pleaser.
- Prep Time: 30 minutes
- Cook Time: 12 minutes
- Total Time: 1 hour 2 minutes (including chilling)
- Yield: 24 cookies 1x
- Category: Dessert
- Cuisine: American
Ingredients
- 1 cup (2 sticks) unsalted butter, softened
- 1 cup granulated sugar
- 1/2 cup packed light brown sugar
- 2 large eggs, room temperature
- 1 teaspoon vanilla extract
- 1/2 cup apple cider, reduced to 1/4 cup
- 2 3/4 cups all-purpose flour
- 1 teaspoon baking soda
- 1/2 teaspoon baking powder
- 1 teaspoon ground cinnamon
- 1/2 teaspoon ground nutmeg
- 1/4 teaspoon ground cloves
- 1/2 teaspoon salt
- 1/2 cup (1 stick) unsalted butter (for icing)
- 2 cups powdered sugar, sifted
- 3–4 tablespoons milk or heavy cream
- 1/2 teaspoon vanilla extract (for icing)
- Pinch of salt (for icing)
Instructions
- Reduce the apple cider: Pour 1/2 cup apple cider into a small saucepan and bring to a simmer over medium heat. Let it bubble gently until reduced to about 1/4 cup (8-10 minutes). Remove from heat and let cool completely.
- Cream the butter and sugars: In a stand mixer fitted with the paddle attachment, beat softened butter, granulated sugar, and brown sugar on medium speed until light and fluffy, about 3 minutes. Scrape down the sides halfway through.
- Add the wet ingredients: Add eggs one at a time, beating well after each. Add vanilla extract and cooled reduced apple cider. Mix on low until just combined (mixture may look slightly curdled).
- Combine the dry ingredients: In a separate bowl, whisk together flour, baking soda, baking powder, cinnamon, nutmeg, cloves, and salt.
- Mix the dough: Gradually add dry ingredients to wet mixture, mixing on low until just combined. Do not overmix. Dough will be soft and slightly sticky.
- Chill the dough: Cover bowl with plastic wrap and refrigerate for at least 30 minutes, or up to 24 hours.
- Preheat and prep: Preheat oven to 350°F (175°C). Line baking sheets with parchment paper or silicone mats.
- Scoop and bake: Using a 1.5-tablespoon cookie scoop, portion dough into balls and place 2 inches apart on prepared sheets. Bake for 10-12 minutes, until edges are set and lightly golden. Centers will look slightly underdone.
- Cool completely: Let cookies cool on baking sheet for 5 minutes, then transfer to a wire rack to cool completely before icing.
- Make the brown butter icing: In a small saucepan over medium heat, melt the butter. Swirl occasionally. Butter will foam, then foam subsides and brown specks form at bottom. When butter smells nutty and turns golden amber (5-7 minutes), remove from heat immediately. Transfer to a heatproof bowl.
- Finish the icing: Let brown butter cool for 5 minutes. Whisk in sifted powdered sugar, milk or cream, vanilla extract, and a pinch of salt until smooth. Icing should be thick but pourable.
- Ice the cookies: Drizzle brown butter icing over cooled cookies using a spoon or piping bag. Let icing set for 15-20 minutes before serving.
Notes
Don’t skip the cider reduction—it concentrates the flavor. Watch the brown butter carefully to avoid burning. Chilling the dough is essential to prevent spreading. For best results, use fresh unfiltered apple cider.
Nutrition
- Serving Size: 1 cookie
- Calories: 210
- Sugar: 18
- Sodium: 120
- Fat: 10
- Saturated Fat: 6
- Carbohydrates: 29
- Fiber: 0.5
- Protein: 2
Keywords: apple cider cookies, brown butter icing, fall cookies, easy cookie recipe, apple cookies



