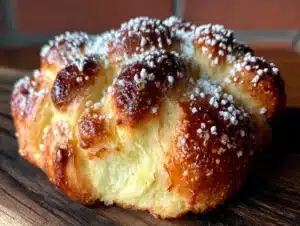
The Día de Muertos potluck was in three hours and I’d completely forgotten. My neighbor Sofia had been talking about her grandmother’s mole that she’d been simmering for two days. Another friend was bringing tamales her aunt had shipped from Puebla. I had a half-stick of butter, some all-purpose flour, and a vague memory of a recipe I’d seen online but never tried. Honestly, I almost texted Sofia to say I’d just bring drinks. But then I thought—pan de muerto. The classic Day of the Dead bread. How hard could it be to throw together a quick version?
Spoiler alert: pretty easy, actually. I mean, I dropped an egg on the floor and had to start over on the orange zest because I grated my knuckle instead of the fruit. Classic me. But forty-five minutes later, I walked into that potluck with a slightly lopsided but beautifully golden loaf of pan de muerto, dusted with sugar that made it look like I’d actually planned ahead. Everyone kept asking where I bought it. Sofia’s mole was incredible, sure, but people were sneaking back for thirds of my “store-bought” bread. When I finally admitted I’d thrown it together that afternoon, nobody believed me.
That’s the thing about this quick pan de muerto bread—it looks like you spent hours on it, maybe even days. The orange-scented dough, the soft, almost brioche-like texture, the little bone-shaped decorations on top. It’s festive without being fussy. And honestly? It tastes better than most bakery versions I’ve had. Maybe you’ve been there—needing something that feels special but having absolutely no time for complicated techniques or multiple rises. This recipe became my secret weapon for every last-minute celebration since that night. Let me show you how to pull it off.
Why You’ll Love This Quick Pan de Muerto Bread
This isn’t just another bread recipe. It’s the one that saves you when you want to show up with something meaningful but you’re short on time and patience. I’ve tested this version about a dozen times to make sure it works with a busy schedule, and let me tell you—it delivers every single time.
- Quick & Easy : Comes together in under 90 minutes from start to finish, including rising time. Most traditional pan de muerto recipes need hours of proofing, but this one uses a clever technique with warm liquid and a bit more yeast to speed things up without sacrificing texture.
- Simple Ingredients : No fancy grocery trips needed. Flour, butter, eggs, sugar, orange, yeast—these are things you probably already have in your kitchen or can grab at any corner store.
- Perfect for Weeknights or Celebrations : Whether it’s Día de Muertos, a fall gathering, or just a Tuesday that needs a little extra joy, this bread fits right in. It’s festive enough for a party but easy enough for a regular evening.
- Crowd-Pleaser : Kids love the soft, slightly sweet dough. Adults appreciate the subtle orange flavor and the beautiful presentation. I’ve yet to meet someone who doesn’t ask for the recipe after trying it.
- Unbelievably Delicious : The texture is pillowy and tender, with a hint of citrus that makes every bite feel special. It’s the kind of bread that makes you close your eyes after the first bite—I’m not kidding.
What makes this version different from the rest? It’s the technique of blooming the yeast in warm orange juice instead of water. That simple swap infuses the entire loaf with citrus flavor from the inside out, and it speeds up the rise because the sugar in the juice gives the yeast a head start. Plus, I’ve streamlined the shaping so you don’t need to be a pastry artist to get those iconic bone shapes on top. Trust me, if I can do it with flour-covered hands and a screaming cat at my feet, you can too.
What Ingredients You Will Need
This recipe uses simple, wholesome ingredients to deliver that signature pan de muerto flavor and texture without the fuss of traditional long-rise methods. Most of these are pantry staples, and I’ve included notes on substitutions where they work well.
- All-purpose flour, 3 cups (360g) — I prefer Gold Medal or King Arthur for consistent results, but any brand works. Spoon and level your flour for best texture; don’t scoop directly from the bag.
- Active dry yeast, 2 ¼ teaspoons (one standard packet) — This is the workhorse that makes the quick rise possible. Instant yeast also works; just skip the blooming step and mix it directly with the flour.
- Orange juice, ½ cup (120ml), warmed to about 110°F — Fresh squeezed is ideal, but store-bought works fine. The warmth helps activate the yeast quickly. Don’t use cold juice or it’ll slow everything down.
- Orange zest, 2 tablespoons (from about 2 medium oranges) — This is where most of the flavor lives. Use a microplane or fine grater, and try not to get the bitter white pith. I’ve definitely zested my knuckles before—ouch.
- Unsalted butter, 6 tablespoons (85g), softened — Salted butter works if that’s what you have, just reduce the added salt by half. Let it come to room temperature for easier mixing.
- Granulated sugar, ⅓ cup (65g) — Regular white sugar gives the perfect sweetness. For a deeper flavor, you can substitute brown sugar, but the bread will be slightly denser.
- Large eggs, 2, at room temperature — Cold eggs can shock the dough and slow the rise. If you forgot to take them out, place them in warm water for 5 minutes.
- Salt, ½ teaspoon — Enhances all the flavors and controls yeast activity. Don’t skip it or the bread will taste flat.
- Vanilla extract, 1 teaspoon — Adds warmth and depth. Mexican vanilla is lovely if you have it, but regular works great.
- For the topping: 1 large egg beaten with 1 tablespoon water for egg wash, plus 2 tablespoons melted butter and 3 tablespoons granulated sugar for brushing after baking.
- Optional: 1 teaspoon anise seed — Some traditional versions include this for a subtle licorice note. I skip it for a milder flavor, but feel free to add it with the flour if you’re feeling adventurous.
I recommend using a good-quality orange for the zest—the flavor really shines here. If your oranges are small, you might need three. And if you’re dairy-free, you can substitute vegan butter or coconut oil, though the texture will be slightly less tender.
Equipment Needed
You don’t need a professional bakery setup for this quick pan de muerto bread. Here’s what you’ll actually use:
- Large mixing bowl — Any bowl big enough for kneading works. I use a ceramic one because it doesn’t slide around, but glass or metal is fine.
- Measuring cups and spoons — For accuracy, especially with the yeast. A kitchen scale is even better if you have one.
- Microplane or fine grater — For zesting the oranges. A vegetable peeler works in a pinch, but you’ll need to chop the zest very finely.
- Wooden spoon or dough whisk — For mixing the dough before you get your hands in there. A sturdy spatula works too.
- Baking sheet — Standard half-sheet size, lined with parchment paper. Don’t skip the parchment or the sugar topping will stick to the pan.
- Pastry brush — For the egg wash and butter. A silicone one is easiest to clean, but any brush works.
- Clean kitchen towel — For covering the dough while it rises. A plastic wrap alternative that lets the dough breathe.
- Cooling rack — Essential for even cooling. If you don’t have one, you can balance the baking sheet on two cans to let air circulate underneath.
That’s it. No stand mixer required, though you can use one with the dough hook if you prefer. I actually like kneading by hand for this recipe—it only takes about 8 minutes, and it’s oddly satisfying. Plus, one less thing to wash.
Preparation Method
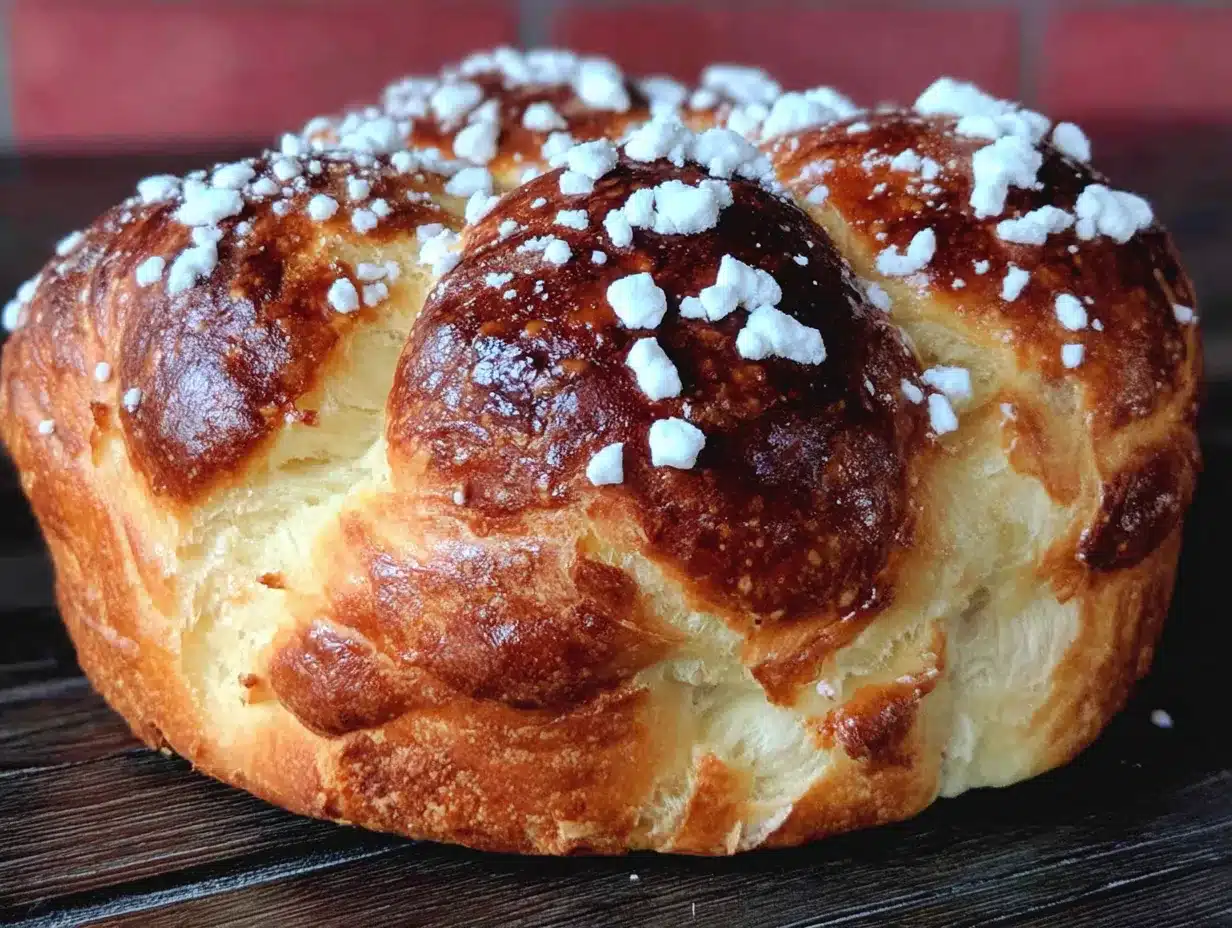
Let’s get to the good part. Here’s how to make this quick pan de muerto bread step by step, with all the little details I’ve learned from making it way too many times.
- Bloom the yeast. In your mixing bowl, combine the warm orange juice (about 110°F—warm but not hot to the touch) with 1 tablespoon of the sugar and the active dry yeast. Stir gently and let it sit for 5-10 minutes until it becomes foamy and bubbly. If it doesn’t foam, your yeast might be dead—check the expiration date and try again with fresh yeast. I learned this the hard way after waiting 20 minutes for nothing.
- Mix the dry ingredients. In a separate small bowl, whisk together the flour and salt. Set aside for now. If you’re using anise seed, mix it in here.
- Combine the wet ingredients. To the bloomed yeast mixture, add the remaining sugar, the softened butter, eggs, vanilla extract, and orange zest. Stir with your wooden spoon until mostly combined—it’ll look a bit lumpy and that’s fine.
- Add the flour. Gradually add the flour mixture to the wet ingredients, stirring until a shaggy dough forms. It will look messy and not very cohesive at this point. Don’t panic—that’s normal.
- Knead the dough. Turn the dough out onto a lightly floured surface. Knead for about 8-10 minutes, adding only as much flour as needed to prevent sticking. The dough should be smooth, soft, and slightly tacky but not sticky. You’ll know it’s ready when you can press it with your finger and it springs back slowly. If it’s still sticking to everything, add another tablespoon of flour and keep going.
- First rise. Shape the dough into a ball and place it in a lightly greased bowl, turning once to coat the surface. Cover with a clean kitchen towel and let it rise in a warm spot for about 45 minutes, or until doubled in size. I usually put it in my microwave (turned off) with a cup of hot water next to it for a warm, draft-free environment. If your kitchen is cold, it might take closer to an hour.
- Shape the loaf. Punch down the dough gently to release the air. Turn it out onto a lightly floured surface. Divide the dough into two pieces—one larger piece (about two-thirds of the dough) for the base, and one smaller piece (one-third) for the decorations. Shape the larger piece into a round loaf and place it on your parchment-lined baking sheet.
- Make the bone decorations. Divide the smaller piece of dough into 4 equal portions. Roll each portion into a rope about 6 inches long. Fold each rope in half, then twist the two halves together to create a bone-like shape. Place these “bones” on top of the loaf in a cross pattern—two pieces forming an X, and the other two forming a cross on top. You can also just place them in a simple cross if that’s easier. I’ve done both and honestly, nobody cares which way they go.
- Second rise. Cover the shaped loaf with the towel again and let it rise for another 20-25 minutes. It should look puffy but not doubled. While it rises, preheat your oven to 350°F (175°C).
- Bake. Brush the loaf gently with the egg wash, being careful not to deflate the dough. Bake for 25-30 minutes, until the top is deep golden brown and the loaf sounds hollow when tapped on the bottom. If the top is browning too quickly after 15 minutes, tent it loosely with aluminum foil.
- Finish with butter and sugar. As soon as the bread comes out of the oven, brush the top with melted butter and sprinkle generously with granulated sugar. The butter will melt into the warm bread and the sugar will stick beautifully, creating that signature sparkly top. Let it cool on the baking sheet for 10 minutes, then transfer to a cooling rack.
A few sensory cues to watch for: The dough should feel like a soft earlobe when it’s properly kneaded. During baking, your kitchen will smell like orange and toast—heavenly. And when you tap the bottom of the baked loaf, it should sound like knocking on a hollow door.
Cooking Tips & Techniques
After making this quick pan de muerto bread more times than I care to count (and failing spectacularly a few times), here’s what I’ve learned that actually makes a difference.
Temperature matters more than you think. The first time I made this, my kitchen was freezing and the dough barely rose in two hours. Now I warm my oven to the lowest setting, turn it off, and let the dough rise inside with the door slightly open. It creates the perfect environment. If your dough isn’t rising, check the temperature—not too hot (over 120°F kills yeast) and not too cold (under 70°F slows it way down).
Don’t over-flour during kneading. This is the mistake I made most often. You want the dough to be slightly tacky—if you add too much flour, the bread will be dense and dry. Instead of adding flour, try wetting your hands slightly to prevent sticking. It works like magic.
The bone decorations don’t have to be perfect. I spent my first few attempts trying to make them look exactly like the pictures online, and they always looked wonky. Now I just twist the ropes loosely and place them however they land. The rustic, handmade look is actually more authentic and charming. Plus, once the sugar goes on, nobody notices the imperfections.
Multitasking is your friend. While the dough is rising the first time, clean up your workspace and get your baking sheet ready. During the second rise, preheat the oven and make the egg wash. This bread comes together fast, so having things ready saves you from scrambling at the end.
Fresh orange zest makes a huge difference. I tried using dried orange peel once when I was out of fresh oranges, and the flavor was noticeably flat. The oils in fresh zest are what give this bread its signature aroma. Take the extra two minutes to zest a real orange—it’s worth it.
One more thing: If your bread seems to be browning unevenly, rotate the baking sheet halfway through baking. My oven has a hot spot in the back right corner, and forgetting to rotate has given me some lopsided loaves.
Variations & Adaptations
This quick pan de muerto bread is surprisingly flexible. Here are some variations I’ve tried, including one that turned into a happy accident.
Chocolate version. Replace ¼ cup of the flour with unsweetened cocoa powder and add ½ cup of chocolate chips to the dough after kneading. The chocolate pairs beautifully with the orange flavor, and it makes the bread look even more festive. My kids beg for this version every time.
Vegan adaptation. Substitute the butter with vegan butter or coconut oil, use a flax egg (1 tablespoon ground flaxseed mixed with 3 tablespoons water per egg), and replace the egg wash with a mixture of plant milk and maple syrup. The texture will be slightly denser, but the flavor is still fantastic. I made this for a vegan friend’s Día de Muertos party and she asked for the recipe immediately.
Gluten-free option. Use a 1:1 gluten-free flour blend that contains xanthan gum. I recommend King Arthur’s Measure for Measure blend. The dough will be stickier and harder to shape, so wet your hands generously when working with it. The bone decorations might not hold their shape as well, but the flavor is still there. Just call it a rustic loaf.
Seasonal twist. In the fall, add 1 teaspoon of pumpkin pie spice to the flour mixture. In spring, try lemon zest instead of orange for a brighter flavor. I once made a version with cardamom and rose water for a Middle Eastern-inspired variation, and it was surprisingly delicious—though purists might not call it pan de muerto anymore.
My favorite accidental variation: One time I was out of granulated sugar for the topping and used coarse demerara sugar instead. The crunch was incredible, and the larger crystals caught the light beautifully. Now I use demerara sugar on purpose half the time. It’s a small change that makes a big difference in texture.
Serving & Storage Suggestions
This quick pan de muerto bread is best served warm, when the butter and sugar topping is still slightly melty and the dough is pillowy soft. But it’s also excellent at room temperature—honestly, I’ve eaten it cold straight from the counter at midnight and regretted nothing.
Serving temperature: If you’re serving it within a few hours of baking, just let it cool on the rack for about 20 minutes before slicing. If you’ve stored it and want to bring back that fresh-baked magic, warm individual slices in the microwave for 10 seconds or in a 300°F oven for 5 minutes.
What to serve with it: A cup of Mexican hot chocolate is the classic pairing, and for good reason—the spiced chocolate complements the orange-scented bread perfectly. Coffee with cinnamon also works beautifully. For a fuller spread, serve it alongside a simple fruit salad or some sliced mango with chili and lime. And if you’re feeling indulgent, a dollop of crema or whipped cream on the side is never a bad idea.
Storage instructions: Store the bread in an airtight container at room temperature for up to 3 days. Do not refrigerate—it will dry out faster. If your kitchen is humid, you can wrap it in a paper towel before sealing to absorb excess moisture.
Freezing: This bread freezes beautifully. Wrap the completely cooled loaf tightly in plastic wrap, then aluminum foil, and freeze for up to 3 months. To thaw, leave it at room temperature for a few hours, then refresh in a 300°F oven for 10 minutes. The texture comes back almost perfectly. I usually make a double batch and freeze one loaf for later—it’s a lifesaver when unexpected guests show up.
Reheating tips: For the best texture, avoid the microwave if possible. The oven method (300°F for 5-10 minutes) keeps the crust crisp and the inside soft. If you’re in a hurry, 15-20 seconds in the microwave works, but the bread will be softer and less structured.
One note about how flavors develop: This bread actually tastes even better the next day. The orange flavor mellows and blends with the butter and sugar, creating a more rounded taste. So don’t stress if you need to make it a day ahead—it might be even better.
Nutritional Information & Benefits
Let’s be real—this is a celebratory bread, not a health food. But it does have some redeeming qualities beyond its deliciousness.
Estimated nutritional values per serving (1/8 of loaf): Calories: 285, Fat: 11g, Carbohydrates: 41g, Protein: 6g, Fiber: 1g, Sugar: 16g. These are estimates and will vary based on exact ingredients and portion sizes.
Health benefits of key ingredients: Oranges are packed with vitamin C and antioxidants, which support immune health—perfect for the fall season when Día de Muertos is celebrated. The eggs provide high-quality protein and essential nutrients like choline for brain health. And while butter gets a bad rap, it does contain fat-soluble vitamins A, D, E, and K. Everything in moderation, right?
Dietary considerations: This recipe is vegetarian. For vegan and gluten-free options, see the variations section above. It contains wheat, eggs, and dairy, so it’s not suitable for those with allergies to those ingredients. If you’re watching your sugar intake, you can reduce the sugar in the dough to ¼ cup, but the topping sugar is harder to replace without changing the texture.
My personal perspective: I believe food should nourish more than just your body. This bread nourishes tradition, connection, and celebration. One slice with your family or friends is worth more than a hundred kale salads eaten alone. So go ahead, enjoy it—and don’t feel guilty about it either.
Conclusion
This quick pan de muerto bread has become my go-to for any occasion that calls for something special but doesn’t allow for hours in the kitchen. It’s the recipe that saved me from showing up empty-handed to that potluck, and it’s been saving me ever since—for weeknight dinners, impromptu gatherings, and quiet evenings when I just need a little comfort.
What I love most about it is how forgiving it is. The dough doesn’t demand perfection. The decorations don’t have to be precise. It’s a recipe that meets you where you are, whether you’re an experienced baker or someone who’s never worked with yeast before. And the result—warm, fragrant, sugar-crusted bread that tastes like tradition—is always worth the small effort.
I’d love to hear how yours turns out. Did you add a personal twist? Did someone at your table ask for the recipe? Drop a comment below and let me know—I read every single one, and I genuinely love seeing your creations. And if you’re looking for another quick bread to try, you might enjoy my quick cinnamon rolls without yeast or this easy soft pretzel recipe for another last-minute baking win.
Happy baking, and ¡Feliz Día de Muertos!
Frequently Asked Questions
Can I make this quick pan de muerto bread without a stand mixer?
Absolutely. I actually prefer kneading by hand for this recipe. It only takes about 8-10 minutes, and you get a better feel for the dough’s texture. Plus, it’s one less thing to clean. Just use a large bowl and a wooden spoon for the initial mixing, then get your hands in there.
Why didn’t my dough rise?
This usually happens for one of three reasons: your yeast was old or expired, your liquid was too hot (over 120°F kills yeast) or too cold (under 70°F slows it way down), or your kitchen is too drafty. Check the expiration date on your yeast, use a thermometer for the liquid, and find a warm spot for rising. If all else fails, you can add a bit more yeast next time.
Can I use instant yeast instead of active dry yeast?
Yes! Instant yeast is actually easier because you don’t need to bloom it. Just mix it directly with the flour, and use warm orange juice (about 110°F) when you combine the wet and dry ingredients. The rise times might be slightly shorter, so keep an eye on the dough rather than the clock.
How do I know when the bread is fully baked?
Look for three signs: the top should be deep golden brown, the loaf should sound hollow when you tap the bottom, and an instant-read thermometer inserted into the center should read 190-200°F. If you’re unsure, it’s better to bake a few extra minutes than to underbake—nobody likes gummy bread.
Can I prepare the dough ahead of time?
You can, but the texture is best when baked fresh. If you need to prep ahead, make the dough through the first rise, punch it down, wrap it tightly in plastic wrap, and refrigerate for up to 24 hours. When you’re ready to bake, let it come to room temperature for about 30 minutes, then shape and proceed with the second rise. The flavor actually develops nicely this way.
Pin This Recipe!
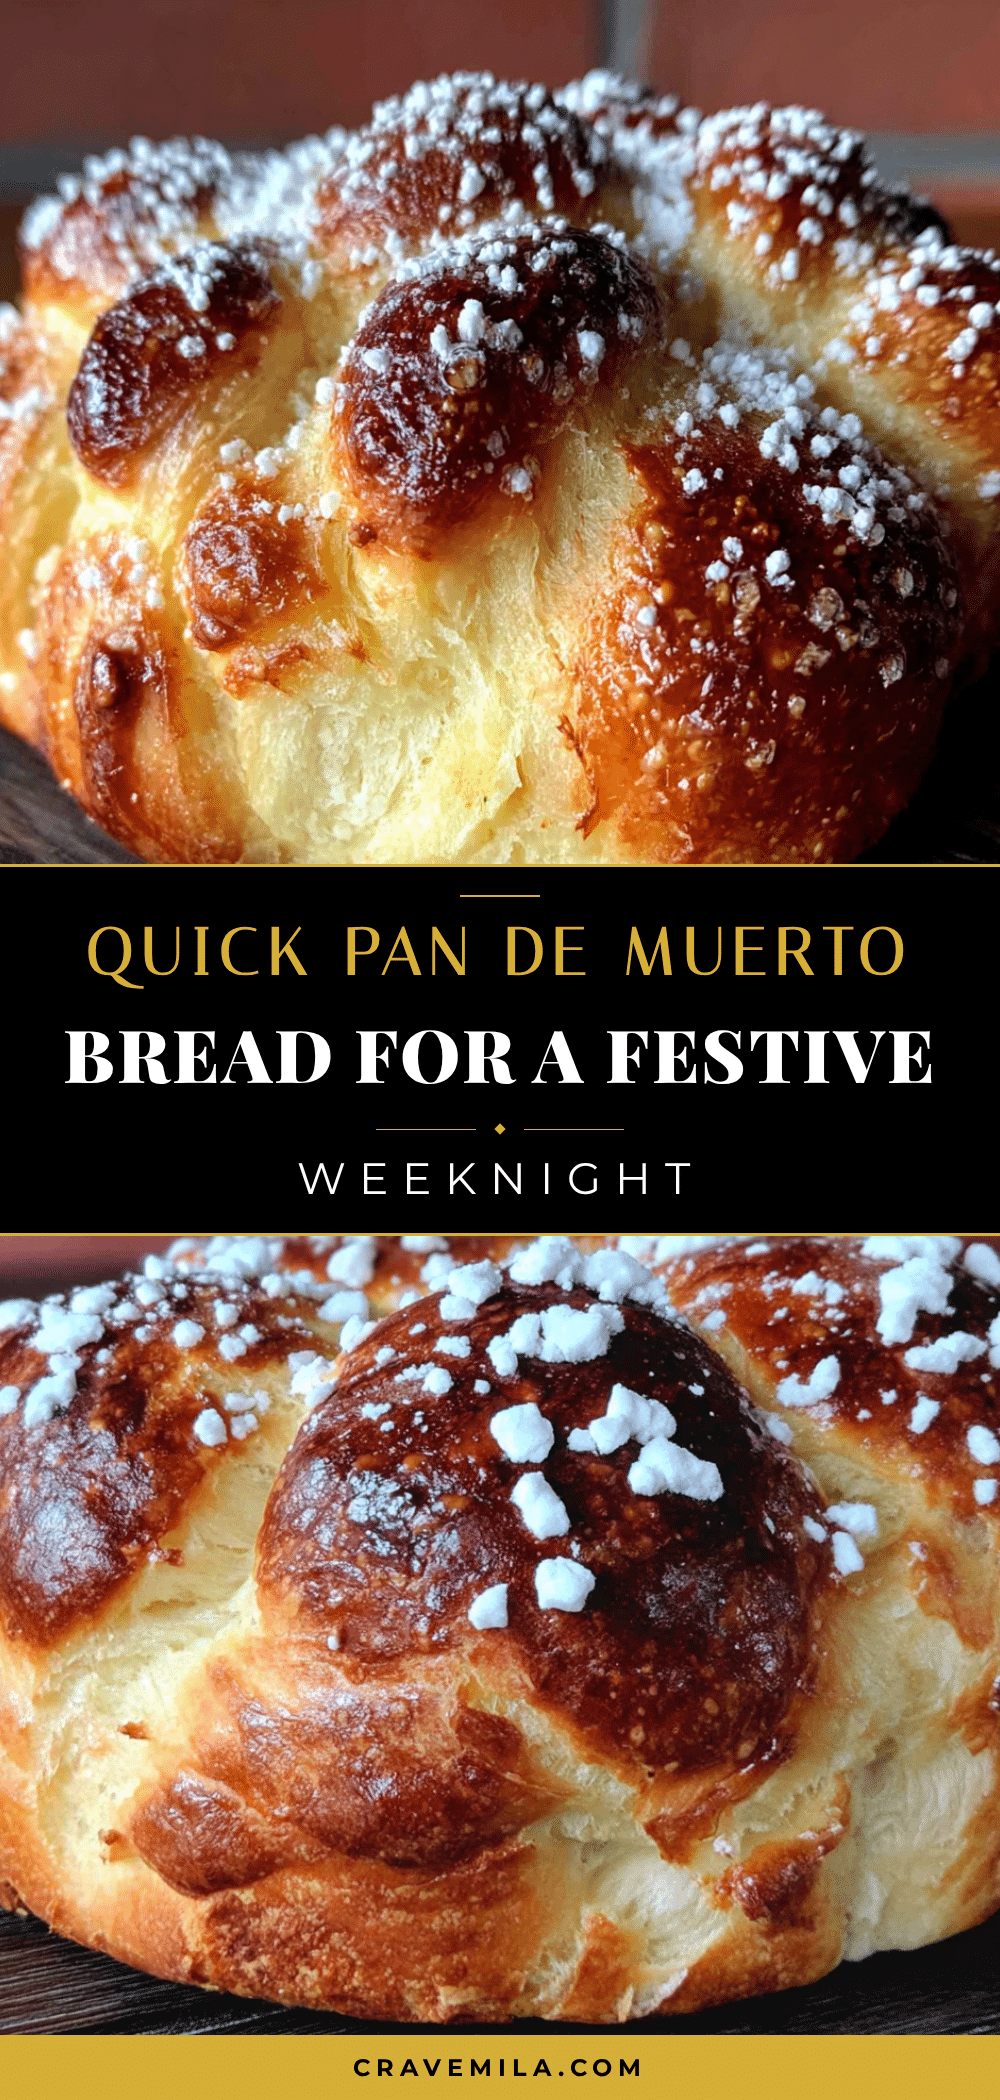
Quick Pan de Muerto Bread for an Easy Festive Weeknight

A quick and easy version of the classic Day of the Dead bread, with a soft, orange-scented dough and a buttery sugar topping. Perfect for last-minute celebrations or weeknight baking.
- Prep Time: 20 minutes
- Cook Time: 25-30 minutes
- Total Time: 1 hour 30 minutes
- Yield: 8 servings 1x
- Category: Bread
- Cuisine: Mexican
Ingredients
- 3 cups (360g) all-purpose flour
- 2 ¼ teaspoons active dry yeast (one standard packet)
- ½ cup (120ml) orange juice, warmed to about 110°F
- 2 tablespoons orange zest (from about 2 medium oranges)
- 6 tablespoons (85g) unsalted butter, softened
- ⅓ cup (65g) granulated sugar
- 2 large eggs, at room temperature
- ½ teaspoon salt
- 1 teaspoon vanilla extract
- 1 large egg beaten with 1 tablespoon water (for egg wash)
- 2 tablespoons melted butter (for brushing after baking)
- 3 tablespoons granulated sugar (for sprinkling after baking)
- 1 teaspoon anise seed (optional)
Instructions
- Bloom the yeast: In your mixing bowl, combine the warm orange juice (about 110°F) with 1 tablespoon of the sugar and the active dry yeast. Stir gently and let it sit for 5-10 minutes until foamy and bubbly.
- Mix the dry ingredients: In a separate small bowl, whisk together the flour and salt. If using anise seed, mix it in here.
- Combine the wet ingredients: To the bloomed yeast mixture, add the remaining sugar, softened butter, eggs, vanilla extract, and orange zest. Stir until mostly combined.
- Add the flour: Gradually add the flour mixture to the wet ingredients, stirring until a shaggy dough forms.
- Knead the dough: Turn the dough out onto a lightly floured surface. Knead for 8-10 minutes, adding only as much flour as needed to prevent sticking. The dough should be smooth, soft, and slightly tacky.
- First rise: Shape the dough into a ball and place it in a lightly greased bowl, turning once to coat. Cover with a clean kitchen towel and let rise in a warm spot for about 45 minutes, or until doubled in size.
- Shape the loaf: Punch down the dough gently. Turn it out onto a lightly floured surface. Divide into two pieces—one larger piece (about two-thirds) for the base, and one smaller piece (one-third) for decorations. Shape the larger piece into a round loaf and place on a parchment-lined baking sheet.
- Make the bone decorations: Divide the smaller piece of dough into 4 equal portions. Roll each into a rope about 6 inches long. Fold each rope in half, then twist the two halves together to create a bone-like shape. Place these on top of the loaf in a cross pattern.
- Second rise: Cover the shaped loaf with the towel and let rise for another 20-25 minutes until puffy. Meanwhile, preheat oven to 350°F (175°C).
- Bake: Brush the loaf gently with the egg wash. Bake for 25-30 minutes, until deep golden brown and hollow-sounding when tapped on the bottom. If browning too quickly, tent with foil after 15 minutes.
- Finish: As soon as the bread comes out of the oven, brush the top with melted butter and sprinkle generously with granulated sugar. Let cool on the baking sheet for 10 minutes, then transfer to a cooling rack.
Notes
For best results, use fresh orange zest and warm orange juice to bloom the yeast. The dough should be slightly tacky after kneading; avoid adding too much flour. If the bread browns too quickly, tent with foil. The bread tastes even better the next day.
Nutrition
- Serving Size: 1/8 of loaf
- Calories: 285
- Sugar: 16
- Sodium: 150
- Fat: 11
- Saturated Fat: 6
- Carbohydrates: 41
- Fiber: 1
- Protein: 6
Keywords: pan de muerto, Day of the Dead bread, quick bread, orange bread, Mexican bread, festive bread, easy bread recipe