It was 11:47 PM on a random Tuesday in early October, and I was supposed to be meal-prepping for the week. Instead, I was staring into the dark abyss of my pantry, hit with a very specific, very inconvenient craving for something dramatic and spooky. I didn’t have red velvet cake mix or any of the usual suspects for a show-stopping Halloween dessert. But I had a bottle of black food coloring left over from a failed unicorn cake experiment last spring, a bag of flour, and a wild idea that felt a little unhinged at that hour. Honestly, I almost talked myself out of it. Who bakes black cupcakes at midnight on a Tuesday?
The thing about late-night baking is that the usual rules kind of go out the window. There’s no one to impress, no deadline to meet, just you and a very strong opinion about what you want to eat. I wanted something that looked like it came straight out of a gothic fairy tale but tasted like pure, cozy comfort. The black velvet base came together in a slightly messy, impulsive way—I swapped the usual cocoa powder for a touch more flour to keep the color truly, deeply black, and added a splash of vinegar because my gut said it would make the crumb tender. It felt like a gamble. But the moment I pulled those jet-black domes out of the oven, I knew I was onto something. And the orange buttercream? That was a happy accident. I had a lonely navel orange rolling around in the fruit bowl, and it just felt right. Maybe you’ve been there—midnight, a craving, and a kitchen that suddenly feels like a laboratory. These Perfect Black Velvet Halloween Cupcakes with Orange Buttercream are the delicious result of that very specific kind of culinary chaos. They look like a spooky masterpiece but taste like a warm hug, and honestly, I haven’t stopped making them since.
Why You’ll Love This Recipe
Look, I’ve tested a lot of Halloween desserts over the years. Some are all show and no go—dry, bland, or just a pain to put together. These cupcakes are the opposite. They’re the kind of recipe that makes you look like a total pro without the stress. Here’s why they work so well:
- Quick & Easy: From start to finish, you’re looking at about 45 minutes. The batter comes together in one bowl with a whisk—no stand mixer needed. Perfect for a last-minute Halloween party or a fun weekend project with the kids.
- Simple Ingredients: No weird, hard-to-find stuff. You likely have most of the pantry staples already. The black food coloring is the only “special” item, and it’s easy to find at any grocery store or online.
- Perfect for Halloween: Obviously, the color is a showstopper. But beyond that, the orange buttercream is a genius flavor pairing that screams fall. It’s festive without being cheesy.
- Crowd-Pleaser: I brought a batch to a neighbor’s Halloween block party last year, and they vanished in ten minutes. Kids love the color, adults love the sophisticated flavor combo of dark chocolate and fresh orange.
- Unbelievably Delicious: This isn’t just a pretty cupcake. The crumb is incredibly moist and tender—velvet, if you will—and the buttercream is light, fluffy, and bursting with bright citrus flavor. It’s next-level comfort food disguised as something spooky.
What makes this recipe different from the rest is the technique. I use a combination of buttermilk and a touch of vinegar to create a super tender crumb that stays moist for days. The black velvet color isn’t just a gimmick; it’s a deep, rich, elegant black that makes the bright orange buttercream pop. This isn’t just another Halloween cupcake—it’s your new go-to recipe for fall celebrations.
What Ingredients You Will Need
This recipe uses simple, wholesome ingredients to deliver that signature velvet texture and bold flavor. Most of these are pantry staples, which makes this a super convenient recipe to whip up on a whim. Here’s everything you need, broken down by component.
For the Black Velvet Cupcakes
- All-purpose flour: 1 ½ cups (188g). Provides the structure. I prefer Gold Medal or King Arthur for consistent results.
- Granulated sugar: 1 cup (200g). For sweetness and tenderness.
- Unsweetened cocoa powder: 1 tablespoon (5g). Just a touch for depth of flavor. Don’t use too much, or it will muddy the black color.
- Baking soda: 1 teaspoon. The leavening agent that makes them rise.
- Salt: ½ teaspoon. Balances the sweetness and enhances the chocolate.
- Vegetable oil: ½ cup (120ml). Keeps the cupcakes incredibly moist. Use a neutral oil like canola or grapeseed.
- Buttermilk: ½ cup (120ml), room temperature. Adds tanginess and activates the baking soda for a tender crumb. (See tip below for a DIY version.)
- Large egg: 1, room temperature. Binds everything together.
- Vanilla extract: 1 teaspoon. For flavor.
- White vinegar: 1 teaspoon. Reacts with the baking soda for extra lift and tenderness.
- Black gel food coloring: 1 to 2 tablespoons. I recommend the Americolor brand for a deep, true black without a bitter aftertaste. Start with 1 tablespoon and add more if needed.
For the Orange Buttercream Frosting
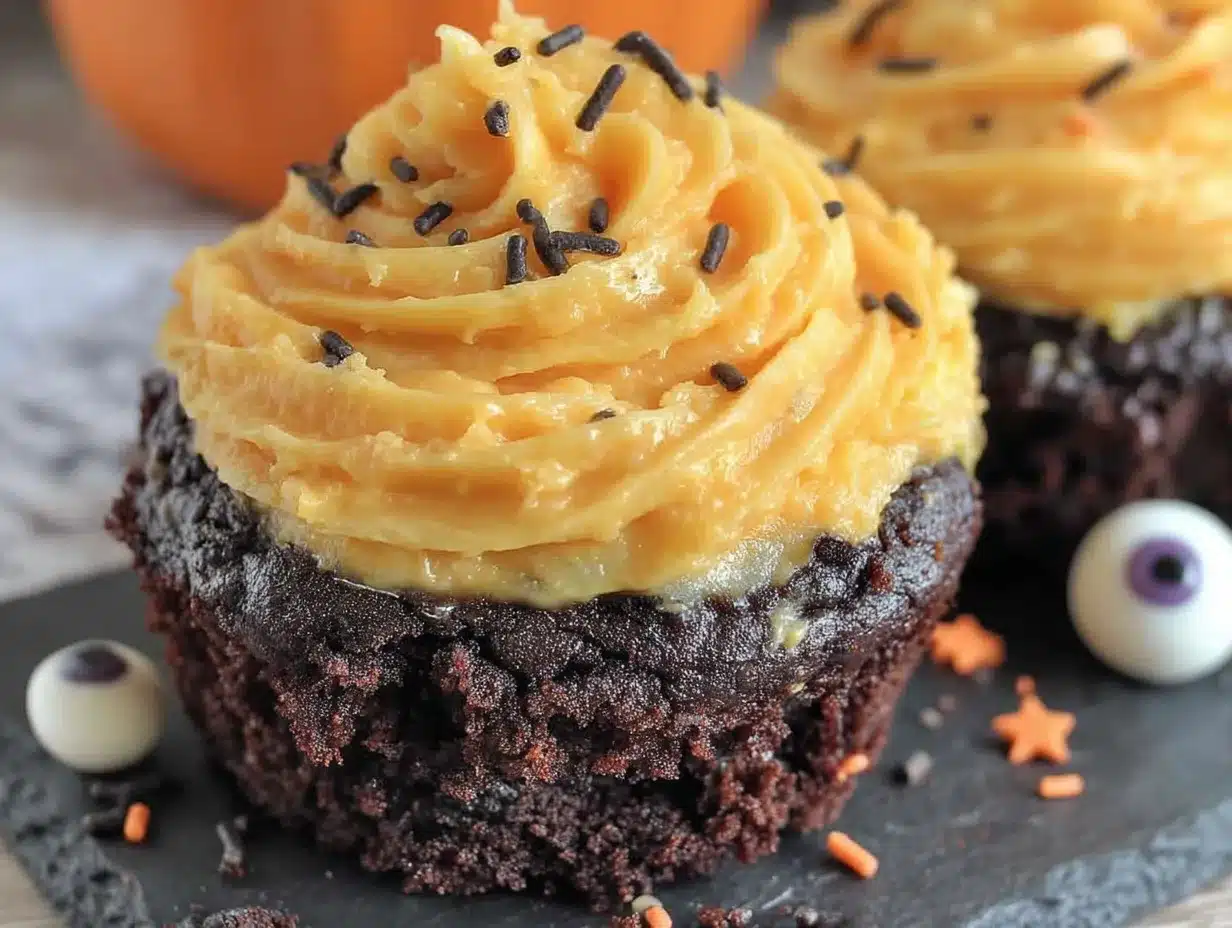
- Unsalted butter: 1 cup (226g), softened to room temperature. Use a good quality butter like Kerrygold for the best flavor.
- Powdered sugar: 3-4 cups (360-480g), sifted. Adjust the amount to reach your desired consistency.
- Fresh orange zest: 1 tablespoon (from about 1 large orange). This is where the bright, authentic orange flavor comes from.
- Fresh orange juice: 2-3 tablespoons. Adds flavor and thins the frosting.
- Vanilla extract: ½ teaspoon.
- Pinch of salt: To balance the sweetness.
For Decoration (Optional but Fun)
- Halloween sprinkles: Ghosts, pumpkins, bats—whatever you like.
- Orange sanding sugar: For a sparkly finish.
- Black licorice strings: To make little spider legs.
- Candy eyeballs: For a classic spooky look.
Equipment Needed
You don’t need a professional bakery setup for these, but a few key tools make the process much smoother. Here’s what I use:
- 12-cup standard muffin tin: Essential for even baking. I prefer a non-stick one.
- Paper cupcake liners: Use black or orange liners for extra Halloween flair! I’ve found that foil liners help the cupcakes stay extra moist.
- Large mixing bowls: One for the dry ingredients, one for the wet.
- Whisk: For mixing the batter by hand—no electric mixer needed for the cake part.
- Electric hand mixer or stand mixer: For the buttercream. You can do it by hand with a whisk, but it takes a lot of elbow grease.
- Piping bag and large star tip (like a 1M): For that beautiful, bakery-style swirl of frosting. If you don’t have a piping bag, a zip-top bag with the corner snipped off works in a pinch.
- Cooling rack: To cool the cupcakes completely before frosting.
- Microplane or zester: For getting all that fragrant orange zest without the bitter white pith.
Preparation Method
Alright, let’s get baking! I promise this is easier than it looks. Just follow these steps, and you’ll have a batch of spooky, delicious cupcakes in no time.
- Preheat and Prep: Preheat your oven to 350°F (175°C). Line your muffin tin with 12 paper liners. This is a non-negotiable step—don’t grease the pan, or the black color will stain it.
- Whisk the Dry Ingredients: In a large bowl, whisk together the flour, sugar, cocoa powder, baking soda, and salt. Make sure there are no lumps, especially in the cocoa powder. This ensures an even crumb.
- Combine the Wet Ingredients: In a separate medium bowl or a large liquid measuring cup, whisk together the vegetable oil, buttermilk, egg, vanilla extract, and white vinegar. Whisk until the egg is fully incorporated and the mixture is smooth.
- Add the Black Food Coloring: This is the fun part! Add 1 tablespoon of the black gel food coloring to the wet ingredients and whisk vigorously. The batter will look a bit like a dark gray swamp monster. Don’t worry, that’s normal. If you want a deeper, more intense black, add the second tablespoon now.
- Combine Wet and Dry: Pour the wet ingredients into the bowl with the dry ingredients. Use a rubber spatula or a wooden spoon to fold everything together. Mix gently until just combined—about 20-30 seconds. Do not overmix! Overmixing will develop the gluten and make your cupcakes tough. A few small lumps are perfectly fine.
- Fill the Liners: Divide the batter evenly among the 12 prepared liners. I use a large cookie scoop (about 3 tablespoons) to make this super easy and mess-free. Fill each liner about ⅔ to ¾ full. Don’t overfill, or they’ll spill over and look messy.
- Bake to Perfection: Bake for 18-22 minutes, or until a toothpick inserted into the center of a cupcake comes out clean or with just a few moist crumbs. The tops should spring back lightly when touched. My oven runs a little hot, so I always check at the 18-minute mark.
- Cool Completely: Let the cupcakes cool in the pan for 5-10 minutes. This allows them to set. Then, carefully transfer them to a wire cooling rack to cool completely. This is crucial—if you frost them while they’re even a little warm, the buttercream will melt into a sad, soupy mess. I know from experience.
- Make the Orange Buttercream: While the cupcakes are cooling, make the frosting. In a large bowl, beat the softened butter with an electric mixer on medium speed until it’s light, fluffy, and pale in color—about 2-3 minutes. Scrape down the sides of the bowl. Add the sifted powdered sugar, one cup at a time, beating on low speed after each addition. Once all the sugar is in, add the orange zest, 2 tablespoons of orange juice, vanilla, and salt. Beat on medium-high speed for 2-3 minutes until the frosting is light, airy, and spreadable. If it’s too thick, add the remaining tablespoon of orange juice. If it’s too thin, add a bit more powdered sugar.
- Frost and Decorate: Once the cupcakes are 100% cool, it’s time for the fun part! Fit your piping bag with the star tip and fill it with the orange buttercream. Starting from the outside edge, pipe a continuous swirl of frosting towards the center of the cupcake. Finish with a little peak. Top with your favorite Halloween sprinkles or decorations.
Cooking Tips & Techniques
I’ve made these cupcakes more times than I can count, and I’ve learned a few things the hard way. Here are my best tips to make sure yours turn out perfect every time.
- Don’t skip the vinegar: I know it sounds weird, but the vinegar reacts with the baking soda to create carbon dioxide bubbles, which makes the crumb incredibly tender and light. It’s the secret to that “velvet” texture. You won’t taste it at all, I promise.
- Room temperature ingredients matter: This is a big one. If your egg and buttermilk are cold, they won’t emulsify properly with the oil, leading to a denser cupcake. Take them out of the fridge about 30 minutes before you start baking.
- The color deepens as it cools: Don’t panic if the batter looks more like a dark gray than a true black. The color will intensify as the cupcakes bake and cool. If you want a truly jet-black crumb, you can add a tiny bit of black cocoa powder (like the kind used for Oreos), but it’s not necessary.
- Use gel food coloring, not liquid: Liquid food coloring will add too much liquid to the batter and the colors will be much weaker. Gel colors are concentrated, so you use less and get a much more vibrant result. Americolor “Super Black” is my go-to.
- Zest before you juice: It’s a million times easier to zest a whole, firm orange than a floppy, juiced one. Always zest your orange first, then cut it in half to juice it.
- Toast your sprinkles: This is a weird pro tip, but toasting your sprinkles in a dry pan for 30 seconds can make them extra crunchy and flavorful. Just watch them closely so they don’t burn!
Variations & Adaptations
One of the best things about this recipe is how versatile it is. Don’t be afraid to make it your own! Here are some of my favorite twists.
- Gluten-Free Version: Swap the all-purpose flour for a good quality 1:1 gluten-free baking flour blend (like Bob’s Red Mill or King Arthur). The texture will be slightly more delicate, but they’ll still be delicious.
- Dairy-Free Version: Use a plant-based buttermilk (mix ½ cup unsweetened almond or oat milk with ½ tablespoon of lemon juice) and a dairy-free butter substitute for the frosting. Miyoko’s or Country Crock Plant Butter work great.
- Chocolate Orange Twist: Add ½ cup of mini chocolate chips to the cupcake batter. The dark chocolate pairs beautifully with the orange buttercream.
- Spooky Spiderweb Design: Instead of a swirl, spread the orange buttercream flat on top of the cupcake. Then, pipe concentric circles of black frosting on top. Use a toothpick to drag from the center outwards to create a spiderweb pattern. It’s super easy and looks amazing.
- Blood Orange Buttercream: If you can find blood oranges, use their juice and zest for a darker, more dramatic orange color with a slightly tarter, more complex flavor. It’s gorgeous.
Serving & Storage Suggestions
These cupcakes are best enjoyed at room temperature. The buttercream is perfectly soft, and the cake is at its most tender. Here’s how to serve and store them like a pro.
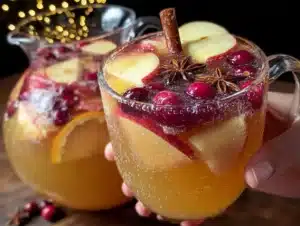
Serving: Arrange the frosted cupcakes on a beautiful Halloween-themed cake stand or platter. They make a fantastic centerpiece for a Halloween party, a spooky movie night, or a fall bake sale. For a fun adult twist, serve them alongside a glass of cold milk or a warm cup of spiced apple cider. A scoop of vanilla ice cream on the side never hurt anyone either.
Storage: Store any leftover cupcakes in an airtight container at room temperature for up to 2 days. If your kitchen is very warm, you can store them in the fridge, but let them sit at room temperature for about 30 minutes before serving to let the buttercream soften. The flavors actually meld together beautifully overnight, making them even better the next day.
Freezing: You can freeze the unfrosted cupcakes for up to 3 months. Wrap each one tightly in plastic wrap, then place them in a freezer-safe bag. When you’re ready to enjoy them, thaw them at room temperature and then frost them. The buttercream can also be frozen in an airtight container for up to 3 months. Thaw it in the fridge overnight and re-whip it with a mixer before using.
Nutritional Information & Benefits
Let’s be real—these are a treat, and they’re meant to be enjoyed as such. But there are a few fun facts about the ingredients that might make you feel a little better about having a second one.
- Estimated per cupcake (with frosting): Approximately 380-420 calories, 20g fat, 52g carbs, 3g protein.
- Dark cocoa powder: Contains antioxidants known as flavonoids, which can be good for heart health.
- Fresh oranges: The zest and juice provide a hefty dose of Vitamin C, which supports your immune system. Perfect for the fall season!
- Dietary Considerations: This recipe can easily be made gluten-free and dairy-free (see variations). It’s naturally nut-free if you use standard flour.
- A Note on Balance: I’m a big believer in balance. Life is too short to skip dessert. These cupcakes are made with real, recognizable ingredients, and they bring a lot of joy. That’s a win in my book.
Conclusion
So there you have it—my late-night, slightly obsessive path to the perfect Halloween cupcake. These Perfect Black Velvet Cupcakes with Easy Orange Buttercream are more than just a pretty face. They are moist, flavorful, and surprisingly simple to make. The deep, dark crumb and the bright, zesty frosting are a match made in spooky heaven.
I really hope you give these a try. Don’t be intimidated by the black color or the piping—it’s all much easier than it looks. And honestly, even if they’re a little messy, they’ll still taste incredible. That’s the beauty of home baking. Please let me know in the comments below if you make them! I’d love to see your creations and hear about any fun variations you come up with. Tag me on social media with #midnightbaking. Happy Halloween, and happy baking!
Frequently Asked Questions
Can I use liquid food coloring instead of gel?
I strongly recommend against it. Liquid food coloring is much weaker, so you’d need a huge amount to get a true black, which would throw off the liquid balance of your batter and make the cupcakes taste bitter. Gel coloring is concentrated, affordable, and gives you that deep, dramatic color with just a tablespoon or two.
My cupcakes came out a little dry. What went wrong?
The most common culprit is overbaking. Oven temperatures can vary wildly, so start checking your cupcakes at the 18-minute mark. Another possibility is overmixing the batter. Mix just until the flour disappears. Finally, make sure your buttermilk and egg are at room temperature—cold ingredients can lead to a tougher crumb.
Can I make the batter ahead of time?
I don’t recommend it. The reaction between the baking soda and the buttermilk/vinegar starts immediately, so the batter is best used right away. If you need to prep ahead, you can bake the cupcakes a day in advance and store them unfrosted in an airtight container. Frost them the day you plan to serve them for the freshest look and taste.
My buttercream is too runny. How do I fix it?
Don’t worry, this is an easy fix! Your butter was likely too soft, or you added too much orange juice. Simply pop the bowl of frosting in the refrigerator for 10-15 minutes to firm it up. Then, beat it again on high speed for a minute. If it’s still too soft, add a little more sifted powdered sugar, one tablespoon at a time, until it reaches the right consistency.
How do I get a really vibrant orange color for the frosting?
The zest is your best friend here! The natural oils in the zest are what give the frosting its intense orange color and flavor. Use a microplane or fine grater to get just the orange part of the skin, avoiding the bitter white pith underneath. If you want an even more intense color, you can add a tiny drop of orange gel food coloring to the frosting.
Pin This Recipe!
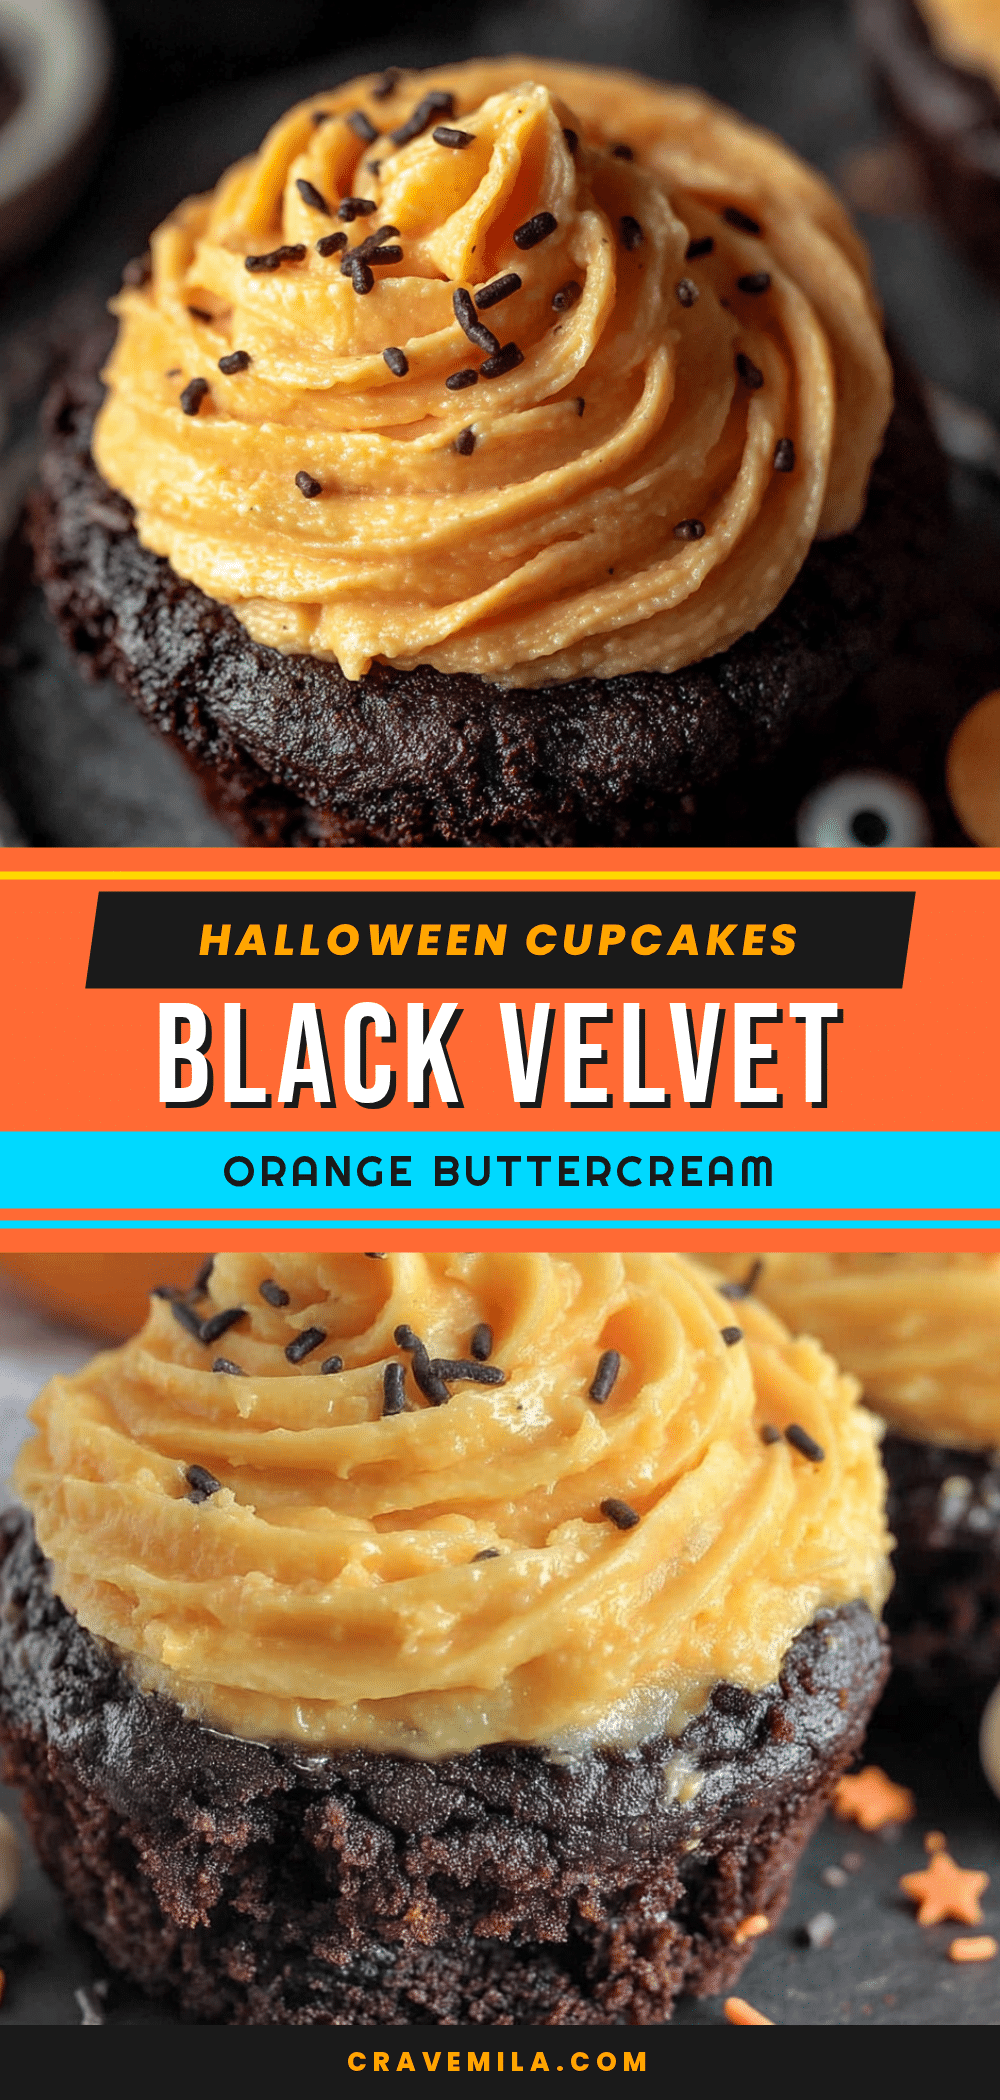
Perfect Black Velvet Cupcakes with Easy Orange Buttercream
These spooky black velvet cupcakes are incredibly moist and tender, topped with a bright and zesty orange buttercream. They look like a gothic masterpiece but taste like pure comfort, making them the perfect Halloween treat.
- Prep Time: 15 minutes
- Cook Time: 20 minutes
- Total Time: 45 minutes
- Yield: 12 cupcakes 1x
- Category: Dessert
- Cuisine: American
Ingredients
- 1 ½ cups (188g) all-purpose flour
- 1 cup (200g) granulated sugar
- 1 tablespoon (5g) unsweetened cocoa powder
- 1 teaspoon baking soda
- ½ teaspoon salt
- ½ cup (120ml) vegetable oil
- ½ cup (120ml) buttermilk, room temperature
- 1 large egg, room temperature
- 1 teaspoon vanilla extract
- 1 teaspoon white vinegar
- 1 to 2 tablespoons black gel food coloring
- 1 cup (226g) unsalted butter, softened
- 3–4 cups (360-480g) powdered sugar, sifted
- 1 tablespoon fresh orange zest
- 2–3 tablespoons fresh orange juice
- ½ teaspoon vanilla extract
- Pinch of salt
- Halloween sprinkles (optional)
- Orange sanding sugar (optional)
- Black licorice strings (optional)
- Candy eyeballs (optional)
Instructions
- Preheat oven to 350°F (175°C). Line a 12-cup muffin tin with paper liners.
- In a large bowl, whisk together flour, sugar, cocoa powder, baking soda, and salt.
- In a separate bowl, whisk together vegetable oil, buttermilk, egg, vanilla extract, and white vinegar until smooth.
- Add 1 tablespoon of black gel food coloring to the wet ingredients and whisk vigorously. Add more if desired for a deeper color.
- Pour the wet ingredients into the dry ingredients and fold together with a rubber spatula until just combined (about 20-30 seconds). Do not overmix.
- Divide the batter evenly among the 12 prepared liners, filling each about ⅔ to ¾ full.
- Bake for 18-22 minutes, or until a toothpick inserted into the center comes out clean or with a few moist crumbs.
- Let cupcakes cool in the pan for 5-10 minutes, then transfer to a wire rack to cool completely.
- While cupcakes cool, make the buttercream: In a large bowl, beat softened butter with an electric mixer on medium speed until light and fluffy (2-3 minutes).
- Add sifted powdered sugar one cup at a time, beating on low speed after each addition.
- Add orange zest, 2 tablespoons orange juice, vanilla extract, and salt. Beat on medium-high speed for 2-3 minutes until light and airy. Add more orange juice if too thick, or more powdered sugar if too thin.
- Once cupcakes are completely cool, pipe the orange buttercream onto each cupcake using a piping bag fitted with a large star tip.
- Decorate with Halloween sprinkles, sanding sugar, or other decorations as desired.
Notes
Use gel food coloring, not liquid, for the best black color. Room temperature ingredients are key for a tender crumb. The color deepens as the cupcakes cool. For a gluten-free version, use a 1:1 gluten-free flour blend. For a dairy-free version, use plant-based buttermilk and dairy-free butter.
Nutrition
- Serving Size: 1 cupcake
- Calories: 400
- Sugar: 38
- Sodium: 220
- Fat: 20
- Saturated Fat: 10
- Carbohydrates: 52
- Fiber: 1
- Protein: 3
Keywords: black velvet cupcakes, Halloween cupcakes, orange buttercream, spooky cupcakes, black cupcakes, fall dessert, easy cupcake recipe