I was standing in line at the DMV, of all places, when the woman behind me started talking about cookies. Not the usual small talk about the weather or how long the line was taking—no, she was describing a cookie recipe with such precision and passion that I actually forgot to be annoyed about the expired registration in my hand. She was a retired home economics teacher, probably in her seventies, with perfectly manicured nails and a no-nonsense way of speaking. “Most people overcomplicate cookies,” she said, shaking her head. “You don’t need ten different ingredients to make something worth eating.”
She scribbled the recipe on the back of an old insurance card she pulled from her wallet. Six ingredients. That was it. I remember thinking, honestly, there’s no way this works. I mean, I’d spent years collecting cookie recipes that called for obscure extracts, specialty flours, and ingredients that required a second mortgage. But something about her confidence—the way she described the texture, the way she insisted on letting the dough rest—made me try it that very weekend.
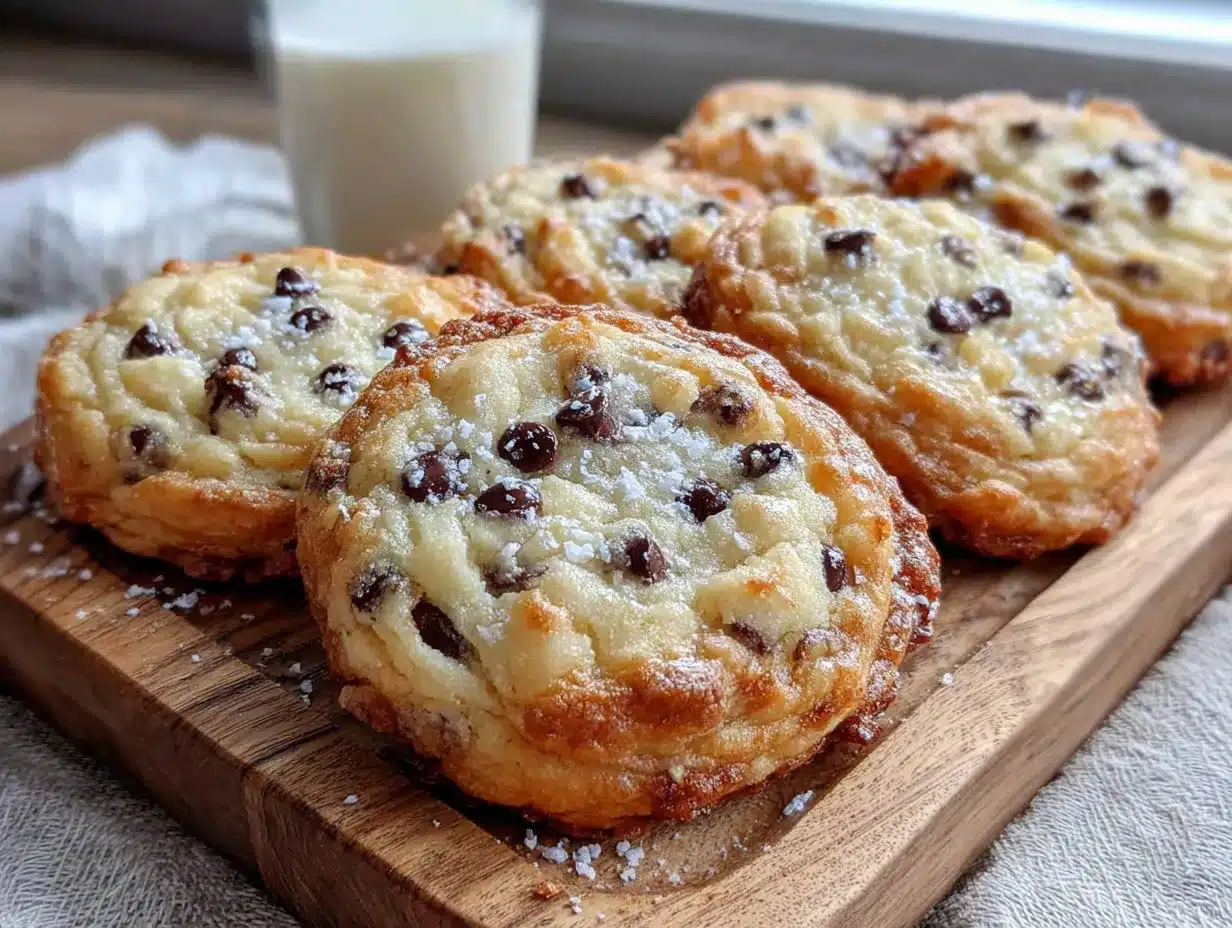
The first batch came out of the oven, and let me tell you, I almost cried. Not because they were terrible, but because they were perfect. Golden edges, soft centers, that slight crinkle on top that signals a truly great cookie. And I’d made them with stuff I already had in my pantry. Maybe you’ve been there—standing in your kitchen, wanting something homemade but not wanting to commit to a full baking project. These cookies are the answer to that very specific, very real problem. They’ve become my go-to for everything from Tuesday night cravings to dinner parties where I want to look like I tried harder than I actually did.
Why You’ll Love This Recipe
Let me be straight with you—I’ve tested this recipe more times than I care to admit. I’ve made it with different butters, different sugars, different baking times. I’ve forgotten the salt, overmixed the dough, and once accidentally used baking powder instead of baking soda. Through all those happy accidents, this recipe has proven itself bulletproof. Here’s why it deserves a permanent spot in your rotation:
- Quick & Easy: From start to finish, you’re looking at about 25 minutes. That’s faster than ordering delivery in most neighborhoods. Perfect for those moments when a cookie craving hits hard and fast.
- Simple Ingredients: Butter, sugar, egg, vanilla, flour, and chocolate chips. That’s the whole list. No hunting down specialty items or making a separate trip to the store.
- Perfect for Hosting: When you’re having people over, the last thing you need is a complicated dessert. These cookies let you serve something homemade without spending the whole party in the kitchen. Plus, nothing says “welcome to my home” quite like warm cookies.
- Crowd-Pleaser: I’ve served these to kids, grandparents, picky eaters, and serious foodies. They disappear every single time. There’s something about a perfectly executed classic that just works.
- Unbelievably Delicious: The texture is what gets people. That slight crispness on the outside giving way to a soft, almost gooey center. It’s the kind of cookie that makes you close your eyes after the first bite.
What makes this different from every other chocolate chip cookie recipe out there? It’s the ratio. Most small-batch recipes scale down a full recipe and end up with dry, sad cookies. This one was built from the ground up to make exactly six cookies, and the proportions are dialed in perfectly. No waste, no guessing, no leftover dough staring at you from the fridge.
What Ingredients You Will Need
This recipe uses simple, humble ingredients to create something genuinely special. The magic isn’t in fancy additions—it’s in how these six basics come together. Here’s what you’ll need and why each one matters:
The Foundation
- Unsalted butter, softened: 4 tablespoons (57g). I use unsalted so I can control the salt level. Let it sit out for about 30 minutes before starting—you want it soft but not melted. Kerrygold is my go-to for the flavor, but any good-quality butter works. If you only have salted butter, just reduce the added salt to a tiny pinch.
- Granulated sugar: 3 tablespoons (38g). This gives the cookies structure and helps them spread. Don’t be tempted to cut back—sugar isn’t just for sweetness, it’s for texture.
- Light brown sugar, packed: 3 tablespoons (38g). This is where the chewiness comes from. The molasses in brown sugar keeps the centers soft and adds that subtle caramel flavor. Pack it firmly into the measuring spoon.
The Binders and Flavor
- Large egg yolk: 1 yolk (about 18g). Just the yolk. This is non-negotiable for the texture. The yolk adds richness and tenderness while the white would make the cookies cakey. Save the white for scrambled eggs or freeze it for later.
- Vanilla extract: ½ teaspoon. Pure vanilla makes a difference here. I use Nielsen-Massey because it’s potent and clean-tasting, but any pure vanilla extract works. Avoid imitation vanilla if you can—it has that artificial aftertaste that cheapens the whole thing.
The Dry Stuff
- All-purpose flour: ½ cup plus 1 tablespoon (75g). Spoon and level your flour—don’t scoop directly from the bag or you’ll end up with too much. Too much flour equals dry, dense cookies. Too little equals flat, greasy ones.
- Baking soda: ¼ teaspoon. This is what gives the cookies their lift and spread. Make sure it’s fresh—old baking soda won’t do much.
- Salt: ¼ teaspoon. Salt balances the sweetness and enhances the chocolate flavor. I use fine sea salt for even distribution.
The Star
- Semi-sweet chocolate chips: ⅓ cup (60g). You can use dark, milk, or even chopped chocolate bars. I like Guittard semi-sweet chips because they hold their shape and have a nice bitterness that cuts through the sweetness. For a fancier touch, chop up a good-quality chocolate bar instead—you’ll get those lovely irregular shards and pools of chocolate.
Equipment Needed
You don’t need a fancy kitchen for these cookies. Here’s what you’ll actually use:
- Medium mixing bowl: Any bowl will do. I use a ceramic one because it feels nice, but glass or metal works fine.
- Small bowl: For whisking the flour mixture.
- Whisk: For combining the dry ingredients. A fork works in a pinch.
- Rubber spatula or wooden spoon: For mixing the dough. I prefer a spatula because it scrapes the bowl clean.
- Baking sheet: A half-sheet pan is ideal. If you only have a dark-colored pan, reduce the oven temperature by 25°F to prevent over-browning.
- Parchment paper or silicone baking mat: Parchment is cheaper and gives slightly crisper bottoms. Silicone mats are reusable and produce softer bottoms. Both work.
- Cookie scoop or tablespoon: For even portions. A #40 scoop (about 1.5 tablespoons) is perfect for six cookies.
- Cooling rack: Not strictly necessary, but it helps the cookies cool evenly without soggy bottoms.
If you don’t have a mixer, don’t worry. This dough is small enough to mix by hand. I actually prefer it—less cleanup and more control over the texture.
Preparation Method
Preheat your oven to 350°F (175°C). Line your baking sheet with parchment paper. This is your setup—get it done before you start mixing, because the dough comes together fast.
- Cream the butter and sugars: In your medium bowl, combine the softened butter, granulated sugar, and brown sugar. Beat them together with a spatula or wooden spoon until they’re well combined and slightly fluffy—about 2 minutes. You’re not looking for the light, airy texture you’d get from a stand mixer. Just make sure there are no streaks of butter and the mixture looks like wet sand. If you’re using a hand mixer, go slow to avoid incorporating too much air.
- Add the yolk and vanilla: Drop in the egg yolk and vanilla. Mix until just combined. The mixture will look a bit glossy and smooth. Scrape the sides of the bowl to make sure everything’s incorporated. Don’t overmix here—you just want it uniform.
- Whisk the dry ingredients: In your small bowl, whisk together the flour, baking soda, and salt. This ensures the baking soda and salt are evenly distributed. No one wants a pocket of baking soda in their cookie.
- Combine wet and dry: Add the flour mixture to the butter mixture. Fold gently with your spatula until just a few streaks of flour remain. Then add the chocolate chips and fold a few more times until the dough comes together. Stop as soon as you don’t see dry flour. Overmixing develops gluten, which makes cookies tough.
- Rest the dough: Here’s the trick that makes these cookies special: cover the bowl and let the dough rest in the refrigerator for at least 15 minutes. This allows the flour to fully hydrate and the flavors to meld. If you’re planning ahead, you can rest it for up to 48 hours. The longer it rests, the more complex the flavor becomes. I’ve made these after a 24-hour rest and they were incredible—deeper caramel notes, chewier texture.
- Portion the dough: Scoop the dough into 6 equal portions, about 1.5 tablespoons each. Place them on the prepared baking sheet, spacing them about 3 inches apart. They spread, so give them room. Roll each portion into a ball, then gently press down just slightly to flatten the tops. This helps them bake evenly.
- Bake: Pop the sheet into the preheated oven and bake for 10-12 minutes. At 10 minutes, the edges should be golden brown and the centers should look slightly underdone and puffy. That’s exactly what you want. The cookies will continue to bake on the hot sheet after you pull them out. If you like crispier cookies, go to 12 minutes, but watch carefully—they burn fast.
- Cool: Let the cookies rest on the baking sheet for 5 minutes. This step is crucial—they’re too fragile to move right away. After 5 minutes, transfer them to a cooling rack. Or, honestly, eat one warm. That’s the rule: one for the baker, five for everyone else.
Cooking Tips & Techniques
I’ve made these cookies probably fifty times by now, and I’ve learned a few things the hard way. Let me save you the trouble.
Temperature matters more than you think. If your butter is too soft or melted, the cookies will spread into flat, greasy pucks. If it’s too cold, they won’t spread enough and you’ll get domed, cakey cookies. Room temperature butter should give slightly when you press it but still hold its shape. If you forgot to take it out ahead of time, cut it into small cubes and let it sit for 15 minutes—that usually does the trick.
Don’t skip the chill. I know, you want cookies now. But that 15-minute rest in the fridge makes a real difference. It solidifies the butter just enough so the cookies spread at the right rate. Without it, they’ll spread too fast and end up thin and crispy. With it, you get that perfect balance of chewy center and crisp edge.
The biggest mistake I see people make is overbaking. I did it myself the first few times. You pull the cookies out and they look underdone in the middle, so you leave them in for another two minutes. Then they’re hard and dry. Trust the process. Those puffy, slightly wet-looking centers will set into soft, chewy perfection as they cool. Pull them when the edges are set and golden, even if the middle looks like it needs more time.
Here’s a trick for consistent results: rotate your baking sheet halfway through. Ovens have hot spots, and rotating ensures even browning. Also, bake one sheet at a time in the center of the oven. If you try to bake two sheets at once, the heat doesn’t circulate properly and you’ll get uneven cookies.
One more thing—if you’re making these for a gathering, portion the dough ahead of time and keep it in the fridge. Then you can bake them fresh right before guests arrive. Your kitchen will smell amazing, and you’ll serve warm cookies without any last-minute stress. I’ve done this for dinner parties and let me tell you, people lose their minds over warm cookies.
Variations & Adaptations
This recipe is a starting point, not a rulebook. Here are some ways to make it your own:
Double Chocolate: Swap 1 tablespoon of flour for 1 tablespoon of unsweetened cocoa powder. Use white chocolate chips or dark chocolate chunks. The result is a rich, fudgy cookie that feels completely different but uses the same method.
Nutty Delight: Add ¼ cup of toasted, chopped walnuts or pecans along with the chocolate chips. Toast them first in a dry pan for 3-4 minutes until fragrant—it makes a huge difference in flavor. I did this for a holiday party once and they vanished before the regular cookies.
Sea Salt Finish: Sprinkle a few flakes of flaky sea salt on top of each cookie right after they come out of the oven. The salt cuts through the sweetness and makes the chocolate taste more intense. It’s a simple trick that looks impressive and tastes even better.
Gluten-Free Option: Substitute the all-purpose flour with a good gluten-free flour blend that contains xanthan gum. I’ve used Cup4Cup with great results. The texture is slightly more delicate, but the flavor is spot on. Let the dough rest for 30 minutes instead of 15 to give the gluten-free flour time to absorb moisture.
Vegan Adaptation: Use vegan butter (I like Miyoko’s) and replace the egg yolk with 1 tablespoon of aquafaba (the liquid from a can of chickpeas) mixed with 1 teaspoon of cornstarch. The cookies won’t be quite as tender, but they’re surprisingly close. I tested this for a friend with egg allergies and she couldn’t tell the difference.
Flavor Twist: Add ½ teaspoon of cinnamon or a pinch of nutmeg to the flour mixture. Or try ½ teaspoon of instant espresso powder dissolved in the vanilla extract—it enhances the chocolate flavor without making the cookies taste like coffee.
Serving & Storage Suggestions
These cookies are best served warm, obviously. But they’re also fantastic at room temperature—the texture softens slightly and the flavors become more pronounced. If you’re serving them at a gathering, arrange them on a nice plate or platter. A sprinkle of flaky sea salt or a dusting of powdered sugar makes them look extra special.
What to serve alongside: A cold glass of milk is the classic pairing, and for good reason. For adults, these cookies go beautifully with a cup of coffee or a glass of bourbon. I’ve also served them with vanilla ice cream for an impromptu ice cream sandwich situation—just let the cookies cool completely, scoop on some ice cream, and press another cookie on top.
For a dinner party dessert board: Arrange the cookies on a wooden board with fresh berries, dark chocolate shavings, and small bowls of sea salt and honey. It looks stunning and lets guests customize their experience.
Storage: Keep the cookies in an airtight container at room temperature for up to 5 days. To maintain softness, add a slice of bread to the container—the cookies will absorb the moisture from the bread and stay chewy. Change the bread slice every other day.
Freezing: You can freeze the baked cookies for up to 3 months. Wrap them individually in plastic wrap, then place in a freezer bag. Thaw at room temperature for about 30 minutes, then warm in a 300°F oven for 5 minutes. Alternatively, freeze the unbaked dough balls on a baking sheet, then transfer to a freezer bag. Bake from frozen, adding 2-3 minutes to the baking time.
Flavor development: Here’s something interesting—these cookies actually taste better on day two. The flavors meld and deepen overnight. So if you’re making them for a party, bake them the day before. Just warm them briefly before serving.
Nutritional Information & Benefits
Let’s be real—cookies are a treat, not a health food. But knowing what’s in them helps you enjoy them mindfully. Per cookie (based on 6 cookies per batch):
- Calories: Approximately 210
- Total Fat: 12g
- Saturated Fat: 7g
- Carbohydrates: 25g
- Sugar: 16g
- Protein: 3g
- Sodium: 180mg
What’s good about them: The butter provides vitamin A and healthy fats. The egg yolk is rich in choline, which supports brain health. Dark chocolate (if you use it) contains antioxidants and magnesium. And honestly, there’s something to be said for the mental health benefits of a perfectly baked cookie shared with people you care about.
Dietary considerations: This recipe contains gluten, dairy, and eggs. For gluten-free and vegan options, see the variations section above. If you’re watching your sugar intake, you can reduce the granulated sugar to 2 tablespoons, but the texture will be slightly less tender.
Frequently Asked Questions
Can I double this recipe?
Absolutely. Just double every ingredient. The baking time stays the same, but you may need to bake in batches if your oven can’t fit two sheets at once. Store any extra dough in the fridge for up to 48 hours.
Why did my cookies turn out flat?
Most likely your butter was too soft or melted. Make sure it’s at room temperature—soft but not greasy. Also check that your baking soda is fresh. If it’s been sitting in your pantry for more than six months, it might have lost its potency.
Can I use margarine instead of butter?
I don’t recommend it. Margarine has a higher water content than butter, which changes the texture and spread of the cookies. You’ll end up with flatter, less flavorful cookies. Stick with butter for the best results.
How do I get perfectly round cookies?
Right after the cookies come out of the oven, use a round cookie cutter or a glass that’s slightly larger than the cookies to gently scoot them into perfect circles. Do this while they’re still warm and soft. It’s a bakery trick that makes them look professional.
Can I make these with all brown sugar?
You can, but the cookies will be softer, chewier, and more molasses-forward in flavor. If you’re out of granulated sugar, go for it—just know the texture will be different. I actually prefer the combination of both sugars for the best balance of crisp edges and chewy centers.
Conclusion
These cookies have become my secret weapon. They’re the recipe I turn to when I need something reliable, something that works every single time without fuss or fancy ingredients. That woman at the DMV probably has no idea how many batches of cookies her scribbled recipe has inspired, but I think about her every time I make them. There’s something special about a recipe that comes from an unexpected place—it reminds us that good ideas can show up anywhere, even in line at the DMV.
I hope you give these a try. They’re perfect for a quiet night in, a gathering with friends, or any time you want something homemade without a huge production. Make them your own—add nuts, switch up the chocolate, sprinkle on some sea salt. The beauty of a simple recipe is that it leaves room for your personality to shine through.
When you make them, come back and let me know how they turned out. Did you add a twist? Serve them with something unexpected? I’d love to hear about it. And if you’re looking for another easy dessert to round out your hosting menu, check out my no-bake chocolate peanut butter bars—they’re just as simple and always a hit. Happy baking, friends!
Pin This Recipe!
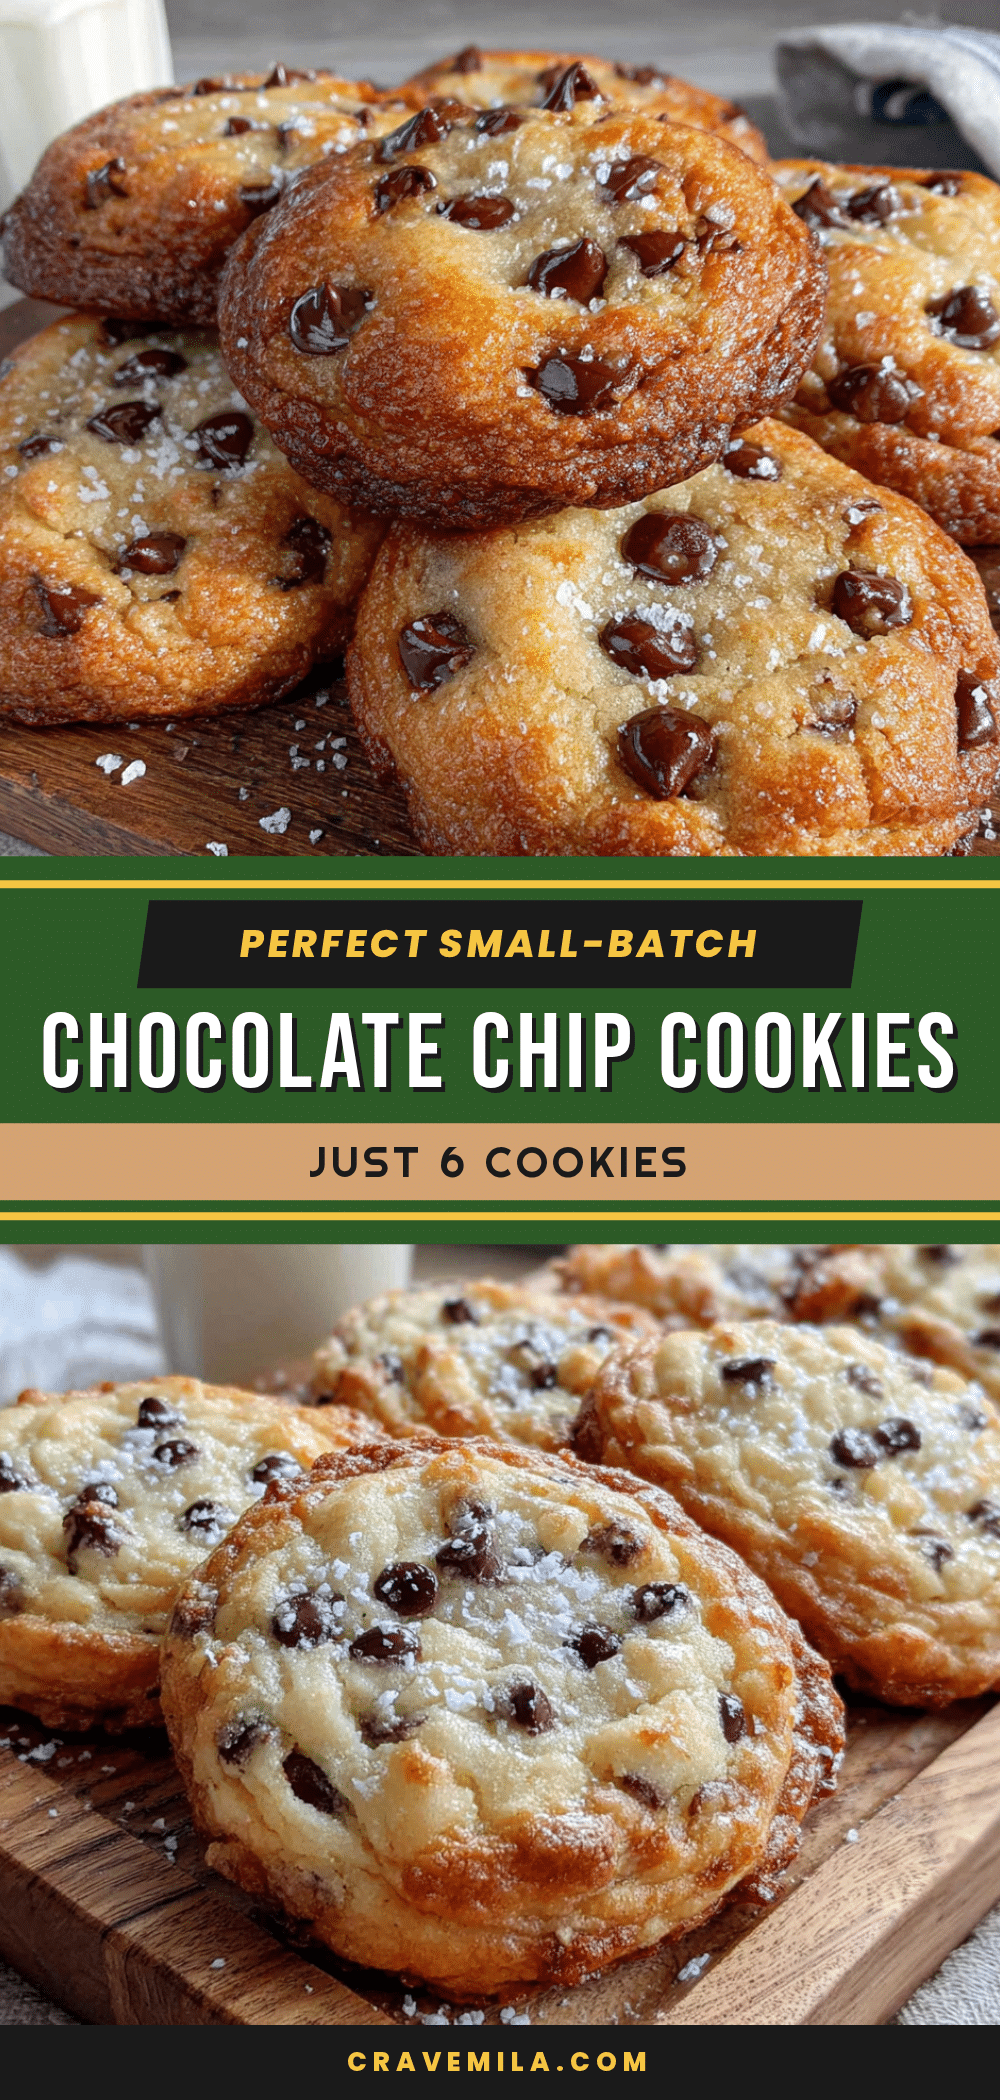
Perfect Small-Batch Chocolate Chip Cookies: Easy 6-Ingredient Recipe

These small-batch chocolate chip cookies are made with just six simple ingredients and come together in about 25 minutes. They have golden edges, soft centers, and that perfect crinkle on top—ideal for when you want homemade cookies without a big production.
- Prep Time: 15 minutes
- Cook Time: 10-12 minutes
- Total Time: 25 minutes
- Yield: 6 cookies 1x
- Category: Dessert
- Cuisine: American
Ingredients
- 4 tablespoons (57g) unsalted butter, softened
- 3 tablespoons (38g) granulated sugar
- 3 tablespoons (38g) light brown sugar, packed
- 1 large egg yolk (about 18g)
- ½ teaspoon vanilla extract
- ½ cup plus 1 tablespoon (75g) all-purpose flour
- ¼ teaspoon baking soda
- ¼ teaspoon salt
- ⅓ cup (60g) semi-sweet chocolate chips
Instructions
- Preheat your oven to 350°F (175°C). Line a baking sheet with parchment paper.
- In a medium bowl, cream together the softened butter, granulated sugar, and brown sugar until well combined and slightly fluffy, about 2 minutes.
- Add the egg yolk and vanilla extract, mixing until just combined and smooth.
- In a small bowl, whisk together the flour, baking soda, and salt.
- Add the flour mixture to the butter mixture and fold gently with a rubber spatula until just a few streaks of flour remain. Add the chocolate chips and fold until the dough comes together. Do not overmix.
- Cover the bowl and refrigerate the dough for at least 15 minutes (up to 48 hours for deeper flavor).
- Scoop the dough into 6 equal portions (about 1.5 tablespoons each) and place them on the prepared baking sheet, spacing them about 3 inches apart. Roll each into a ball and gently flatten the tops slightly.
- Bake for 10-12 minutes, until the edges are golden brown and the centers look slightly underdone and puffy. Rotate the baking sheet halfway through for even browning.
- Let the cookies rest on the baking sheet for 5 minutes, then transfer to a cooling rack. Serve warm or at room temperature.
Notes
For best results, use room temperature butter and don’t skip the dough chilling step. The cookies will continue to bake on the hot sheet after removal, so pull them when the centers look slightly underdone. For crispier cookies, bake 12 minutes; for chewier, bake 10 minutes. The dough can be refrigerated for up to 48 hours for deeper flavor. To freeze, portion dough balls and freeze on a baking sheet, then transfer to a freezer bag; bake from frozen, adding 2-3 minutes.
Nutrition
- Serving Size: 1 cookie
- Calories: 210
- Sugar: 16
- Sodium: 180
- Fat: 12
- Saturated Fat: 7
- Carbohydrates: 25
- Fiber: 1
- Protein: 3
Keywords: small-batch chocolate chip cookies, easy cookie recipe, 6-ingredient cookies, homemade cookies, quick dessert