There used to be this tiny bakery tucked behind a vintage furniture shop on the edge of downtown—the kind of place you’d walk right past if you blinked. They made these red velvet crinkle cookies that were absolutely legendary. When they closed their doors two summers ago, I honestly felt a little lost. I mean, where else was I supposed to get that perfect crackled top and fudgy center? After seven tries—and one batch that looked like red hockey pucks—I finally cracked the code. The first bite of my successful batch? I actually teared up a little. It was that exact cookie, the one I’d been chasing for months. Now I’m sharing it with you, because every party table deserves this showstopper.
You know that feeling when you bring a dessert to a gathering and everyone goes quiet for a second? That’s what these cookies do. They’re not just pretty—they’re the kind of cookie that makes people close their eyes after the first bite. I brought them to my neighbor Maria’s holiday party last December, and three different people asked for the recipe before the appetizers were even gone. Let me tell you, that’s a good sign.
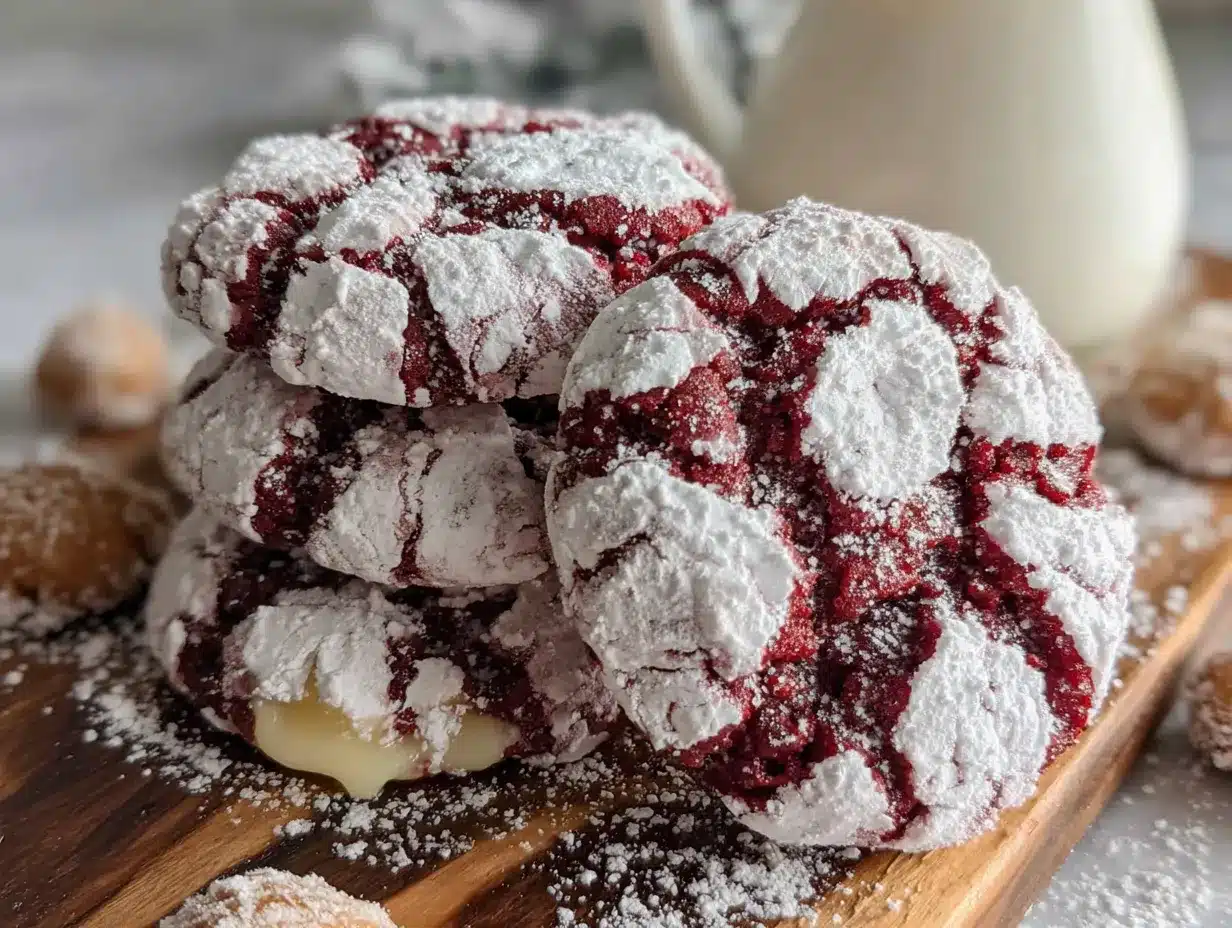
These red velvet crinkle cookies have this magical combination of a soft, chewy center and a slightly crisp edge, all wrapped up in that iconic snowy powdered sugar coating. They look like you spent hours in the kitchen, but honestly? The dough comes together in about fifteen minutes. The hardest part is waiting for it to chill. Maybe you’ve been there—desperate for a cookie that tastes bakery-quality without requiring a pastry degree. Well, friend, this is it.
Why You’ll Love This Recipe
Let me be real with you for a second. I’ve tested this recipe more times than I care to count, tweaking the flour ratio, adjusting the cocoa powder, and even swapping out the type of red food coloring. What I’m giving you here is the version that works every single time. No surprises, no flat cookies, no weird textures. Just pure, crowd-pleasing perfection.
- Quick & Easy: The dough comes together in under 15 minutes. You just need a little patience while it chills—but that’s hands-off time.
- Simple Ingredients: Nothing fancy here. You probably have most of these in your pantry already. No special trips to a gourmet store required.
- Perfect for Parties: These cookies are made for gatherings. They stack beautifully on a platter, they travel well, and they look absolutely stunning with that crackled white-on-red effect.
- Crowd-Pleaser: I’ve served these at birthday parties, holiday dinners, and casual potlucks. Kids love the color, adults love the flavor. Everyone wins.
- Unbelievably Delicious: The combination of rich cocoa, tangy buttermilk, and sweet vanilla creates this depth of flavor that’s hard to resist. Plus, that soft, fudgy center? Chef’s kiss.
What makes this recipe different from all the other red velvet cookie recipes out there? It’s the technique. I blend the butter and sugar a little longer than usual to create that perfect crackled top. I use just the right amount of cocoa powder—enough for flavor, not so much that it overpowers the red. And I add a touch of vinegar to react with the baking soda, just like in classic red velvet cake. It’s those little details that take these cookies from good to unforgettable.
This isn’t just a cookie recipe. It’s the one you’ll reach for when you want to impress without stress. It’s comfort food dressed up in its party best. And honestly? It’s the kind of cookie that makes you feel like a rockstar in your own kitchen.
What Ingredients You Will Need
This recipe uses simple, everyday ingredients to create something truly special. Each one plays a specific role in achieving that perfect texture and flavor. Here’s what you’ll need and why each ingredient matters.
For the Cookie Dough:
- 1 ½ cups all-purpose flour (spooned and leveled—don’t scoop directly from the bag or you’ll end up with dense cookies)
- ¼ cup unsweetened cocoa powder (I prefer Hershey’s or Ghirardelli for that rich chocolate flavor; Dutch-process works beautifully here too)
- 1 teaspoon baking powder (helps the cookies rise and creates that soft, tender crumb)
- ¼ teaspoon baking soda (reacts with the vinegar later for a slight lift and that classic red velvet tang)
- ½ teaspoon salt (balances the sweetness and enhances the chocolate flavor)
- ½ cup unsalted butter, softened to room temperature (if you only have salted butter, reduce the added salt to ¼ teaspoon)
- ¾ cup granulated sugar (adds sweetness and helps create that crackled top)
- 1 large egg, room temperature (cold eggs can seize the butter, so let it sit out for 30 minutes)
- 1 teaspoon vanilla extract (pure vanilla extract makes a difference, but imitation works in a pinch)
- 1 tablespoon buttermilk (adds moisture and a subtle tang; if you don’t have buttermilk, stir 1 teaspoon of lemon juice or vinegar into 2 tablespoons of regular milk and let it sit for 5 minutes—use 1 tablespoon of that mixture)
- 1 tablespoon distilled white vinegar (don’t skip this! It reacts with the baking soda and gives red velvet its signature flavor)
- 1 tablespoon red food coloring (gel food coloring works best for a vibrant red without thinning the dough; liquid works too, but you might need a bit more)
For Coating:
- ½ cup powdered sugar (for that snowy, crackled coating—you’ll need more for rolling if you’re making a big batch)
Ingredient Tips from My Kitchen: I’ve tried this recipe with natural cocoa powder and Dutch-process cocoa, and both work fine. Dutch-process gives a slightly darker, more intense color, while natural cocoa keeps the red more vibrant. For the red food coloring, I really recommend using gel—it’s more concentrated and won’t mess with the dough’s consistency. My favorite brand is Americolor Super Red. And about the buttermilk: if you’re in a pinch, the DIY version with milk and lemon juice works like a charm. I’ve done it more times than I can count.
Equipment Needed
You don’t need a fancy kitchen to make these cookies. Here’s what you’ll need:
- Large mixing bowl (any bowl works, but I love my ceramic one—it’s heavy enough to stay put while I mix)
- Medium mixing bowl (for whisking dry ingredients)
- Hand mixer or stand mixer (you can do this by hand with a wooden spoon, but it takes some elbow grease; I’ve used both and prefer the stand mixer for consistency)
- Rubber spatula (for scraping down the bowl and folding in the dry ingredients)
- Whisk (for combining the dry ingredients evenly)
- Baking sheets (I use light-colored aluminum sheets for even baking; dark sheets can cause the bottoms to brown too quickly)
- Parchment paper or silicone baking mat (parchment paper is my go-to—it’s cheap and makes cleanup a breeze)
- Wire cooling rack (essential for cooling the cookies without soggy bottoms)
- Small bowl (for the powdered sugar coating)
- Cookie scoop or tablespoon (a 1.5-tablespoon scoop gives you perfectly uniform cookies every time)
If you don’t have a cookie scoop, just use two spoons—one to scoop and one to scrape the dough onto the baking sheet. It’s not as pretty, but it works. And if you’re using dark baking sheets, reduce the oven temperature by 25 degrees Fahrenheit to prevent over-browning.
Preparation Method
Alright, let’s get baking! Here’s how to make these perfect red velvet crinkle cookies step by step.
Step 1: Mix the Dry Ingredients
In a medium mixing bowl, whisk together the all-purpose flour, unsweetened cocoa powder, baking powder, baking soda, and salt. Whisk for about 20 seconds until everything is evenly combined. This ensures the leavening agents are distributed throughout the flour, so you don’t end up with one cookie that rises like a soufflé and another that’s flat as a pancake. Set this bowl aside.
Step 2: Cream the Butter and Sugar
In a large mixing bowl, beat the softened unsalted butter and granulated sugar together on medium speed for 2 to 3 minutes. You want the mixture to look light, fluffy, and pale in color. This step is crucial—the air you incorporate here helps create that beautiful crackled top later. Scrape down the sides of the bowl with your rubber spatula halfway through. Don’t rush this part. I know it’s tempting, but trust me on this one.
Step 3: Add the Wet Ingredients
Add the room temperature egg and vanilla extract to the butter-sugar mixture. Beat on medium speed until fully combined, about 30 seconds. The mixture might look slightly curdled at this point—that’s totally normal. In a small bowl or measuring cup, stir together the buttermilk, white vinegar, and red food coloring. With the mixer running on low speed, pour this mixture into the bowl. Beat until the color is evenly distributed and the mixture looks smooth and vibrant red. Scrape the bowl again to make sure everything is incorporated.
Step 4: Combine Wet and Dry Ingredients
With the mixer on low speed, gradually add the dry ingredient mixture to the wet ingredients. Mix just until the flour disappears—about 20 to 30 seconds. Overmixing at this stage can develop too much gluten, which makes the cookies tough instead of tender. Use your rubber spatula to give the dough a final stir from the bottom up, making sure no pockets of flour are hiding. The dough will be soft, slightly sticky, and a gorgeous deep red color.
Step 5: Chill the Dough
Cover the bowl with plastic wrap or a clean kitchen towel and refrigerate for at least 2 hours. Overnight is even better. Chilling is not optional here—it solidifies the butter, which prevents the cookies from spreading too much in the oven. Without this step, you’ll end up with flat, sad puddles instead of thick, chewy cookies with those iconic cracks. I learned this the hard way with batch number two.
Step 6: Preheat and Prep
About 20 minutes before you’re ready to bake, preheat your oven to 350°F (175°C). Line your baking sheets with parchment paper or silicone baking mats. Pour the powdered sugar into a small bowl—you’ll use about half a cup, but have extra on hand just in case.
Step 7: Shape and Coat
Remove the chilled dough from the refrigerator. Using a cookie scoop or a tablespoon, scoop out rounded tablespoons of dough (about 1.5 tablespoons each). Roll each portion into a smooth ball between your palms. The dough will be slightly sticky, but that’s okay. Drop each ball into the bowl of powdered sugar and roll it around until completely coated. Don’t be shy with the sugar—a thick coating is what creates that dramatic crackled effect. Place the coated dough balls on the prepared baking sheets, spacing them about 2 inches apart. You’ll get about 12 cookies per standard baking sheet.
Step 8: Bake
Bake the cookies for 10 to 12 minutes. At the 8-minute mark, the cookies will look puffed and the tops will start to crack. By 10 minutes, the edges should be set but the centers will still look slightly soft and underdone. That’s exactly what you want. Remove the baking sheet from the oven and let the cookies cool on the sheet for 5 minutes. During this time, they’ll continue to set up. After 5 minutes, transfer the cookies to a wire cooling rack to cool completely. The cracks will become more pronounced as they cool.
Step 9: Repeat
Continue with the remaining dough. If the dough becomes too soft to handle, pop it back in the fridge for 15 minutes. I usually bake one sheet at a time and keep the rest of the dough chilled.
Cooking Tips & Techniques
I’ve made this recipe more times than I care to admit, and I’ve picked up a few tricks along the way. Here’s what I wish I’d known from the start.
Don’t Skip the Vinegar
I know it sounds weird—vinegar in cookies? But trust me, it’s essential. The vinegar reacts with the baking soda to create a slight lift and that signature red velvet tang. Without it, the cookies taste flat and one-dimensional. I tried omitting it once (batch number three), and the result was just a mediocre chocolate cookie with red food coloring. Not the same at all.
Chill the Dough Properly
This is the number one mistake I see people make. The dough needs at least 2 hours in the fridge. I’ve tested it at 30 minutes, 1 hour, and 2 hours, and the difference is dramatic. At 30 minutes, the cookies spread into thin, crispy discs. At 2 hours, they’re thick, chewy, and perfectly crackled. If you’re in a rush, you can pop the dough in the freezer for 30 minutes, but the texture won’t be quite as good.
Use Gel Food Coloring
Liquid food coloring adds extra moisture to the dough, which can throw off the texture. Gel coloring is more concentrated, so you use less, and it gives you that vibrant red without thinning the dough. I’ve used both, and gel wins every time.
Measure Your Flour Correctly
This is a pet peeve of mine. If you scoop your measuring cup directly into the flour bag, you’re packing in extra flour, which leads to dry, dense cookies. Instead, spoon the flour into the cup and level it off with a knife. It takes an extra five seconds, and it makes a huge difference.
Don’t Overbake
The cookies will look slightly underdone when you pull them out of the oven. That’s intentional. They continue to bake on the hot baking sheet during the 5-minute cooling period. If you wait until they look fully set, they’ll be overbaked and dry. Trust the process.
Variations & Adaptations
One of the best things about this recipe is how adaptable it is. Here are some variations I’ve tried and loved.
Gluten-Free Version:
Swap the all-purpose flour with a 1:1 gluten-free baking flour blend. I’ve used King Arthur Measure for Measure and Bob’s Red Mill with great results. The texture is slightly more delicate, so handle the dough gently. No other adjustments needed.
Vegan Adaptation:
Use vegan butter (I like Miyoko’s), a flax egg (1 tablespoon ground flaxseed mixed with 3 tablespoons water, let sit for 5 minutes), and plant-based buttermilk (1 tablespoon lemon juice mixed with 1 cup oat milk, let sit for 5 minutes—use 1 tablespoon of that). The texture is slightly less tender, but the flavor is still spot-on.
White Chocolate Red Velvet:
After rolling the dough balls in powdered sugar, press a few white chocolate chips onto the top of each cookie before baking. The white chocolate melts into little pools that look gorgeous against the red cookie. I did this for a Valentine’s Day party, and they disappeared in minutes.
Peppermint Red Velvet:
Add ½ teaspoon of peppermint extract along with the vanilla extract. After baking, sprinkle crushed candy canes on top while the cookies are still warm. This is my go-to for Christmas cookie exchanges.
Extra Chocolatey:
Fold in ½ cup of mini chocolate chips after mixing the dough. The chocolate chips add little pockets of melted chocolate that make each bite even more decadent.
Serving & Storage Suggestions
These cookies are at their absolute best the day they’re baked—the edges are slightly crisp, the centers are soft and fudgy, and the powdered sugar coating is perfectly snowy. But they’re still delicious for days afterward.
Serving Suggestions:
Arrange the cookies on a decorative platter or cake stand for maximum visual impact. The contrast between the red cookies and the white powdered sugar is stunning against a dark or metallic serving dish. For a party, I like to serve them alongside a glass of cold milk, a cup of hot coffee, or even a scoop of vanilla ice cream for an indulgent dessert. They’re also fantastic on a cookie platter with classic chocolate chip cookies and snickerdoodles—the red adds a pop of color that makes the whole table look festive.
Storage Instructions:
Store baked cookies in an airtight container at room temperature for up to 5 days. Layer them between sheets of parchment paper to prevent them from sticking together. The powdered sugar will absorb a bit of moisture over time, so if you want to refresh the snowy look, dust them with a little extra powdered sugar before serving.
Freezing Instructions:
You can freeze either the baked cookies or the unbaked dough. For baked cookies, arrange them in a single layer on a baking sheet and freeze until solid (about 1 hour), then transfer to a freezer-safe bag or container. They’ll keep for up to 3 months. Thaw at room temperature for about 30 minutes before serving. For unbaked dough, scoop and roll into balls, then freeze on a baking sheet. Once frozen, transfer the dough balls to a freezer bag. When you’re ready to bake, roll the frozen dough balls in powdered sugar and bake straight from the freezer, adding 2 to 3 minutes to the baking time.
Flavor Development:
Here’s a little secret: the cookies actually taste even better the next day. The flavors meld together overnight, and the texture becomes even more fudgy and tender. So don’t stress about baking them the day of your party—they’re actually perfect made a day ahead.
Nutritional Information & Benefits
Let’s be honest—these are a treat, not a health food. But here’s the nutritional breakdown per cookie (based on 24 cookies):
- Calories: 135
- Total Fat: 6g
- Saturated Fat: 3.5g
- Cholesterol: 20mg
- Sodium: 95mg
- Total Carbohydrates: 20g
- Dietary Fiber: 1g
- Sugars: 12g
- Protein: 2g
Health Benefits: The cocoa powder in these cookies is rich in antioxidants called flavonoids, which can help reduce inflammation and support heart health. The butter provides vitamin A, and the egg adds a small amount of protein. That said, these are definitely a “sometimes food”—perfect for celebrations and special occasions.
Dietary Considerations: This recipe contains gluten, dairy, and eggs. For gluten-free and vegan options, check the variations section above. The cookies are nut-free as written, making them a safe choice for school parties and gatherings where nut allergies are a concern.
Conclusion
These red velvet crinkle cookies are everything I want in a party dessert—beautiful, delicious, and surprisingly easy to make. They’ve become my signature cookie, the one I’m asked to bring to every gathering, and now I’m sharing the recipe with you. Whether you’re baking for a holiday party, a birthday celebration, or just because you deserve something special, these cookies deliver every single time.
I’d love to hear how they turn out for you! Did you try any of the variations? Did you add your own twist? Drop a comment below and let me know. And if you’re feeling generous, share this recipe with a friend who loves baking—or someone who needs a little cookie magic in their life.
Happy baking, friend. You’ve got this.
Frequently Asked Questions
Why did my cookies spread too much?
This usually happens if the dough wasn’t chilled long enough or if the butter was too soft. Make sure to chill the dough for at least 2 hours, and don’t skip this step. Also, check that your baking sheet isn’t too warm—let it cool between batches.
Can I use beet juice instead of red food coloring?
Yes, but the color won’t be as vibrant. Beet juice gives a more muted, earthy red. If you want that classic bright red color, stick with gel food coloring. I’ve tried both, and the beet version is prettier in theory than in practice.
Why didn’t my cookies crackle?
The crackled effect comes from rolling the dough balls in a generous coating of powdered sugar. If the sugar layer is too thin, the cracks won’t show as dramatically. Also, make sure your oven is fully preheated—the initial burst of heat helps create those cracks.
Can I make the dough ahead of time?
Absolutely! The dough can be refrigerated for up to 3 days or frozen for up to 3 months. If refrigerating, let it sit at room temperature for about 10 minutes before scooping, as it will be very firm. If freezing, follow the instructions in the storage section above.
How do I get a more intense red color?
Use gel food coloring instead of liquid, and don’t be afraid to add an extra ½ teaspoon if needed. Some cocoa powders can dull the red color, so starting with a vibrant red dough is key. I’ve also found that letting the dough rest overnight in the fridge deepens the color slightly.
Pin This Recipe!
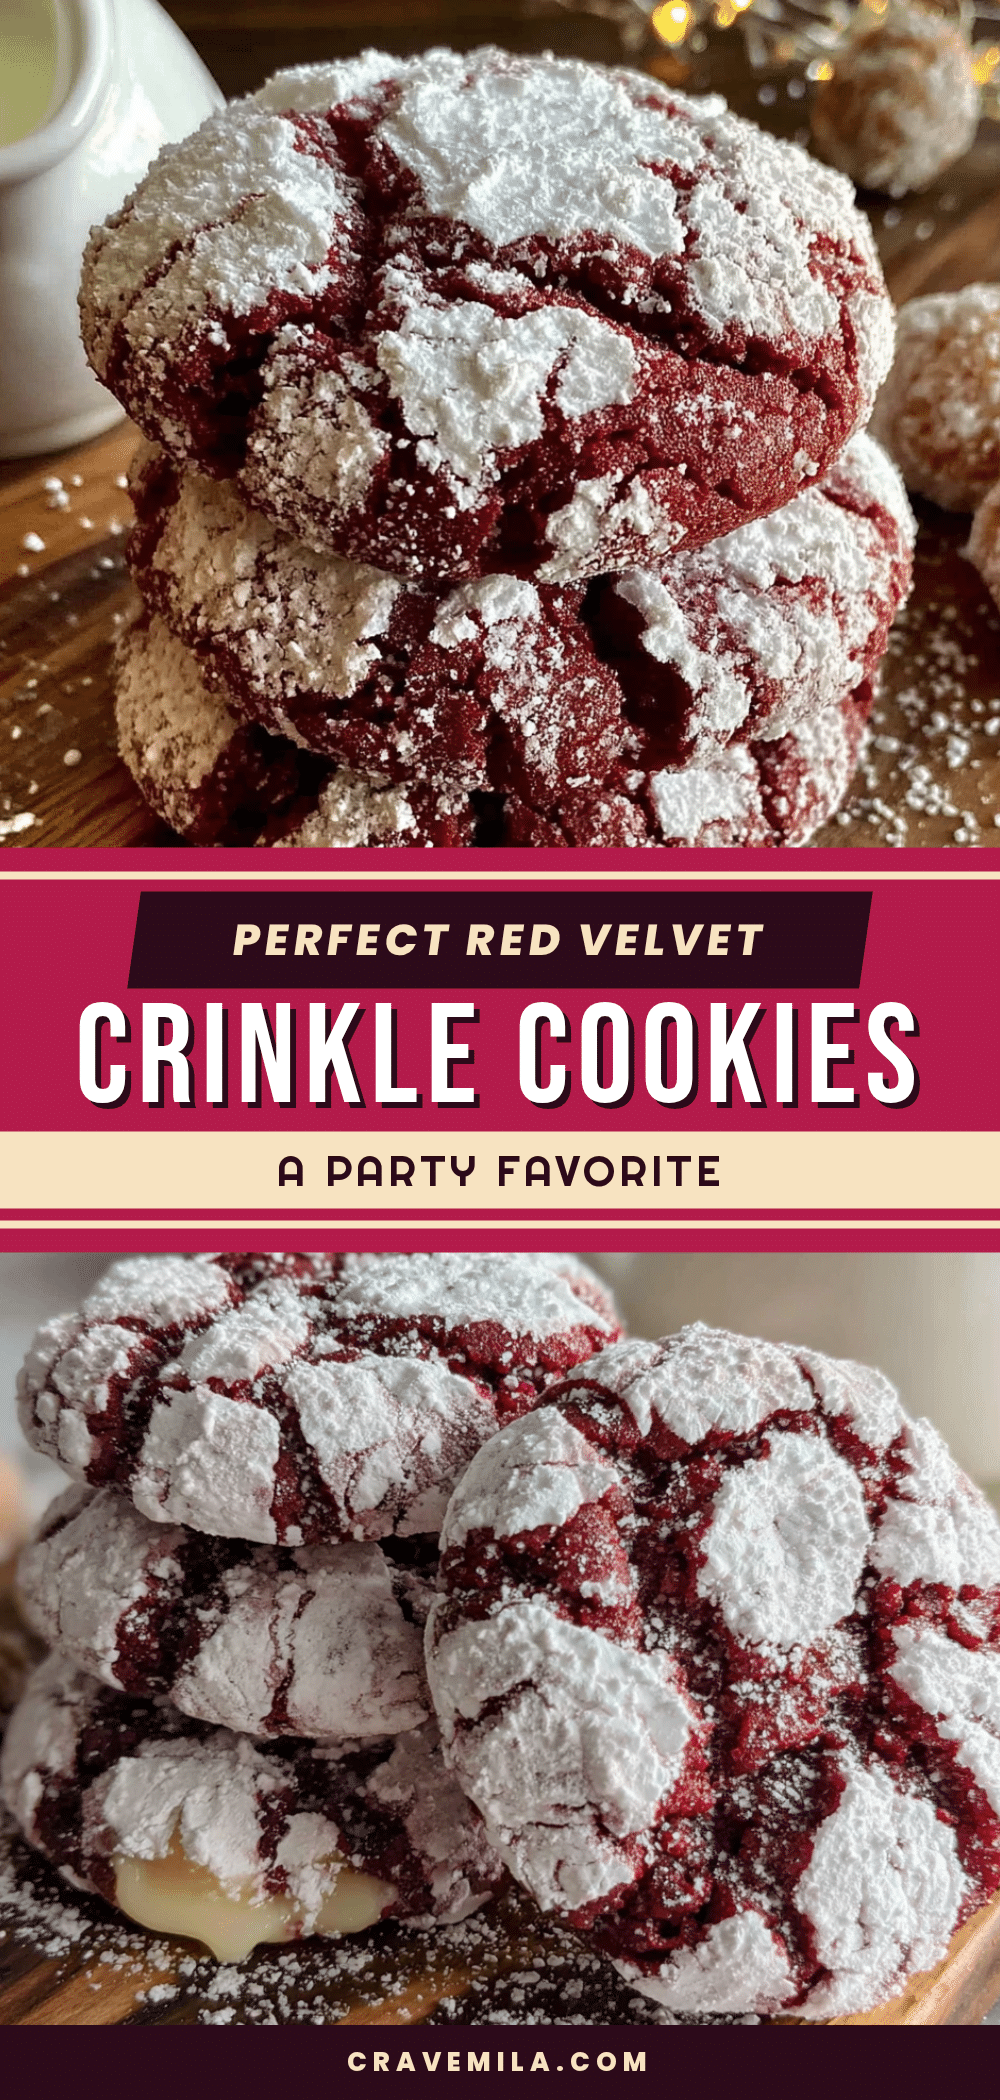
Perfect Red Velvet Crinkle Cookies – Easy Party Recipe

These red velvet crinkle cookies have a soft, chewy center and a slightly crisp edge, all wrapped in a snowy powdered sugar coating. They’re quick to make, use simple ingredients, and are perfect for parties.
- Prep Time: 15 minutes
- Cook Time: 12 minutes
- Total Time: 2 hours 27 minutes (includes 2 hours chilling)
- Yield: 24 cookies 1x
- Category: Dessert
- Cuisine: American
Ingredients
- 1 ½ cups all-purpose flour (spooned and leveled)
- ¼ cup unsweetened cocoa powder
- 1 teaspoon baking powder
- ¼ teaspoon baking soda
- ½ teaspoon salt
- ½ cup unsalted butter, softened to room temperature
- ¾ cup granulated sugar
- 1 large egg, room temperature
- 1 teaspoon vanilla extract
- 1 tablespoon buttermilk
- 1 tablespoon distilled white vinegar
- 1 tablespoon red food coloring (gel preferred)
- ½ cup powdered sugar (for coating)
Instructions
- In a medium mixing bowl, whisk together the all-purpose flour, unsweetened cocoa powder, baking powder, baking soda, and salt for about 20 seconds until evenly combined. Set aside.
- In a large mixing bowl, beat the softened unsalted butter and granulated sugar together on medium speed for 2 to 3 minutes until light, fluffy, and pale in color. Scrape down the sides of the bowl halfway through.
- Add the room temperature egg and vanilla extract to the butter-sugar mixture. Beat on medium speed until fully combined, about 30 seconds. In a small bowl or measuring cup, stir together the buttermilk, white vinegar, and red food coloring. With the mixer running on low speed, pour this mixture into the bowl and beat until the color is evenly distributed and the mixture looks smooth and vibrant red. Scrape the bowl again.
- With the mixer on low speed, gradually add the dry ingredient mixture to the wet ingredients. Mix just until the flour disappears, about 20 to 30 seconds. Use a rubber spatula to give the dough a final stir from the bottom up, ensuring no pockets of flour remain. The dough will be soft, slightly sticky, and a deep red color.
- Cover the bowl with plastic wrap or a clean kitchen towel and refrigerate for at least 2 hours, or overnight for best results.
- About 20 minutes before baking, preheat your oven to 350°F (175°C). Line baking sheets with parchment paper or silicone baking mats. Pour the powdered sugar into a small bowl.
- Remove the chilled dough from the refrigerator. Using a cookie scoop or tablespoon, scoop out rounded tablespoons of dough (about 1.5 tablespoons each). Roll each portion into a smooth ball between your palms. Drop each ball into the bowl of powdered sugar and roll it around until completely coated. Place the coated dough balls on the prepared baking sheets, spacing them about 2 inches apart.
- Bake the cookies for 10 to 12 minutes. At 8 minutes, the cookies will look puffed and the tops will start to crack. By 10 minutes, the edges should be set but the centers will still look slightly soft and underdone. Remove the baking sheet from the oven and let the cookies cool on the sheet for 5 minutes. Then transfer to a wire cooling rack to cool completely.
- Repeat with the remaining dough. If the dough becomes too soft to handle, refrigerate it for 15 minutes.
Notes
Chill the dough for at least 2 hours to prevent spreading. Use gel food coloring for a vibrant red without thinning the dough. Do not overbake; cookies will continue to set on the hot baking sheet. For best results, measure flour by spooning and leveling.
Nutrition
- Serving Size: 1 cookie
- Calories: 135
- Sugar: 12
- Sodium: 95
- Fat: 6
- Saturated Fat: 3.5
- Carbohydrates: 20
- Fiber: 1
- Protein: 2
Keywords: red velvet crinkle cookies, red velvet cookies, crinkle cookies, party cookies, easy cookie recipe, holiday cookies