I was standing in the frozen food aisle of our local grocery store last November, staring at a stack of Butterball turkeys like they held the secrets to the universe. The air conditioning was blasting, and somewhere nearby, a kid was having a meltdown over a box of sugary cereal. Then it hit me—that specific, dusty smell of my aunt’s tiny apartment kitchen, the one with the yellow linoleum floor and the perpetually ticking clock. Suddenly I was nine years old, sitting cross-legged on her scratchy plaid sofa, watching her rub something that smelled like heaven all over a raw bird. I couldn’t have told you what was in it back then. I just knew that when that turkey came out of the oven, golden and glistening, the whole room seemed to hold its breath.
Honestly, I forgot about that moment for years. It got buried under college dorm meals, sad desk lunches, and a few disastrous holiday turkeys I attempted in my twenties that were so dry they practically crumbled into dust. But that day in the grocery store, the memory was so sharp it almost hurt. My aunt passed away a few years ago, and I never got her recipe. I tried calling my mom, my cousin, anyone who might remember, but nobody had it written down. So I did what any stubborn home cook would do—I decided to recreate it myself, bite by bite, batch by batch.
This Easy Garlic Herb Butter Roasted Turkey is the result of about four Thanksgivings worth of trial and error, a few burnt fingers, and one truly memorable oven-cleaning incident. It’s not my aunt’s exact recipe—I’ll never know that—but it’s close enough that when I took the first bite of the final version, I got that same feeling. You know the one I mean. That quiet, warm sensation that everything is exactly as it should be. If you’ve been hunting for a turkey recipe that actually delivers on flavor without requiring a culinary degree, let me tell you—this one’s a keeper.
Why You’ll Love This Recipe
Look, I’ve roasted a lot of turkeys. Some were triumphs. Others were, well, learning experiences. This Easy Garlic Herb Butter Roasted Turkey is the one I keep coming back to, and here’s why it’s different from every other recipe you’ll find online.
- Incredibly Juicy Meat: The herb butter gets worked under the skin, which means every single bite is infused with flavor and moisture. No more dry breast meat.
- Simple, Pantry-Friendly Ingredients: You probably already have garlic, butter, and dried herbs in your kitchen right now. No weird specialty items required.
- Perfect for Busy Weeknights and Holidays: While turkey is often reserved for special occasions, this recipe is straightforward enough for a Sunday dinner when you’re craving something comforting.
- Foolproof Technique: The compound butter method is forgiving. Even if you leave it in the oven a few minutes too long, the butter keeps everything from drying out.
- Incredible Aroma: Honestly, your whole house will smell like a cozy restaurant. It’s the kind of smell that makes people wander into the kitchen asking, “What’s for dinner?”
What makes this version stand out is the balance. The garlic is roasted slightly as the turkey cooks, mellowing out its sharpness, while the fresh herbs stay bright and fragrant. I’ve tested this with salted and unsalted butter, different herb combinations, and even different roasting temperatures. This method right here? It’s the sweet spot. It’s the recipe I’d make for a dinner party where I really want to impress, or for a quiet Tuesday when I just need something good to look forward to.
What Ingredients You Will Need
This recipe uses simple, honest ingredients to build layers of flavor without any fuss. Most of these are probably already in your fridge or pantry, which is exactly how weeknight cooking should feel.
- 1 whole turkey (12-14 pounds), thawed: Look for a bird that’s fresh if you can find one, but frozen works beautifully. Just make sure it’s fully thawed in the fridge for a few days. I usually buy mine about 3 days ahead.
- 1 cup unsalted butter, softened: I really recommend using unsalted here so you can control the salt level. Let it sit on the counter for about an hour before you start. It needs to be soft enough to spread like, well, butter.
- 6 cloves garlic, minced: Fresh garlic is non-negotiable here. The jarred stuff has a different, slightly bitter taste. Take the extra 30 seconds to peel and mince it yourself.
- 2 tablespoons fresh rosemary, chopped: Dried rosemary works in a pinch, but fresh gives that piney, aromatic quality that makes this recipe sing. If using dried, use 1 tablespoon.
- 2 tablespoons fresh thyme leaves: Same deal here. Fresh is best, but dried works at half the amount.
- 2 tablespoons fresh sage, chopped: Sage and turkey are a classic pair. It adds that slightly peppery, earthy note.
- 1 tablespoon fresh parsley, chopped: This is more for color and a tiny bit of freshness, but don’t skip it.
- 1 teaspoon salt: I use kosher salt. It’s more forgiving and distributes better.
- 1/2 teaspoon black pepper, freshly ground: Pre-ground pepper is fine, but fresh makes a difference here.
- 1 lemon, halved: This goes inside the cavity to add moisture and a subtle citrus note.
- 1 onion, quartered: Also for the cavity. It adds sweetness and helps keep the inside moist.
- 4 cups low-sodium chicken or turkey broth: You’ll use this for basting and for the bottom of the pan to create steam.
Ingredient Selection Tips: When picking your turkey, look for one that’s not pre-basted or injected with saline solution. Those can be overly salty and mess with the seasoning. I personally prefer the store brand organic turkeys—they tend to have better flavor and texture. For the butter, I’m a big fan of Kerrygold for its richness, but any high-quality unsalted butter works.
Substitution Guidance: If you’re dairy-free, you can use a high-quality vegan butter stick. Just make sure it’s the stick kind, not the spreadable tub version. For a lower-sodium option, use unsalted butter and reduce the added salt to 1/2 teaspoon. You can also swap the fresh herbs for dried, but remember that dried herbs are more potent, so use about half the amount.
Equipment Needed
You don’t need a professional kitchen to pull this off. Here’s what you’ll need:
- Large roasting pan with a rack: The rack is important—it keeps the turkey out of the juices so the bottom doesn’t get soggy. If you don’t have a rack, you can use a few carrots and celery stalks as a makeshift bed.
- Instant-read meat thermometer: This is your best friend. Don’t guess the temperature. Trust me, I’ve learned the hard way.
- Basting brush or spoon: For slathering that herb butter all over.
- Chef’s knife and cutting board: For mincing garlic and chopping herbs.
- Kitchen twine: Optional, but it helps the turkey cook evenly by keeping the legs and wings tucked in.
- Aluminum foil: For tenting the turkey if the skin browns too quickly.
- Small bowl: For mixing the herb butter.
If you don’t have a roasting pan, a large, deep baking dish works. I’ve even used a disposable aluminum pan in a pinch—it’s not fancy, but it gets the job done. Just be careful when lifting it because they can buckle. Budget-friendly tip: check thrift stores for roasting pans. I found my favorite one for eight dollars.
Preparation Method
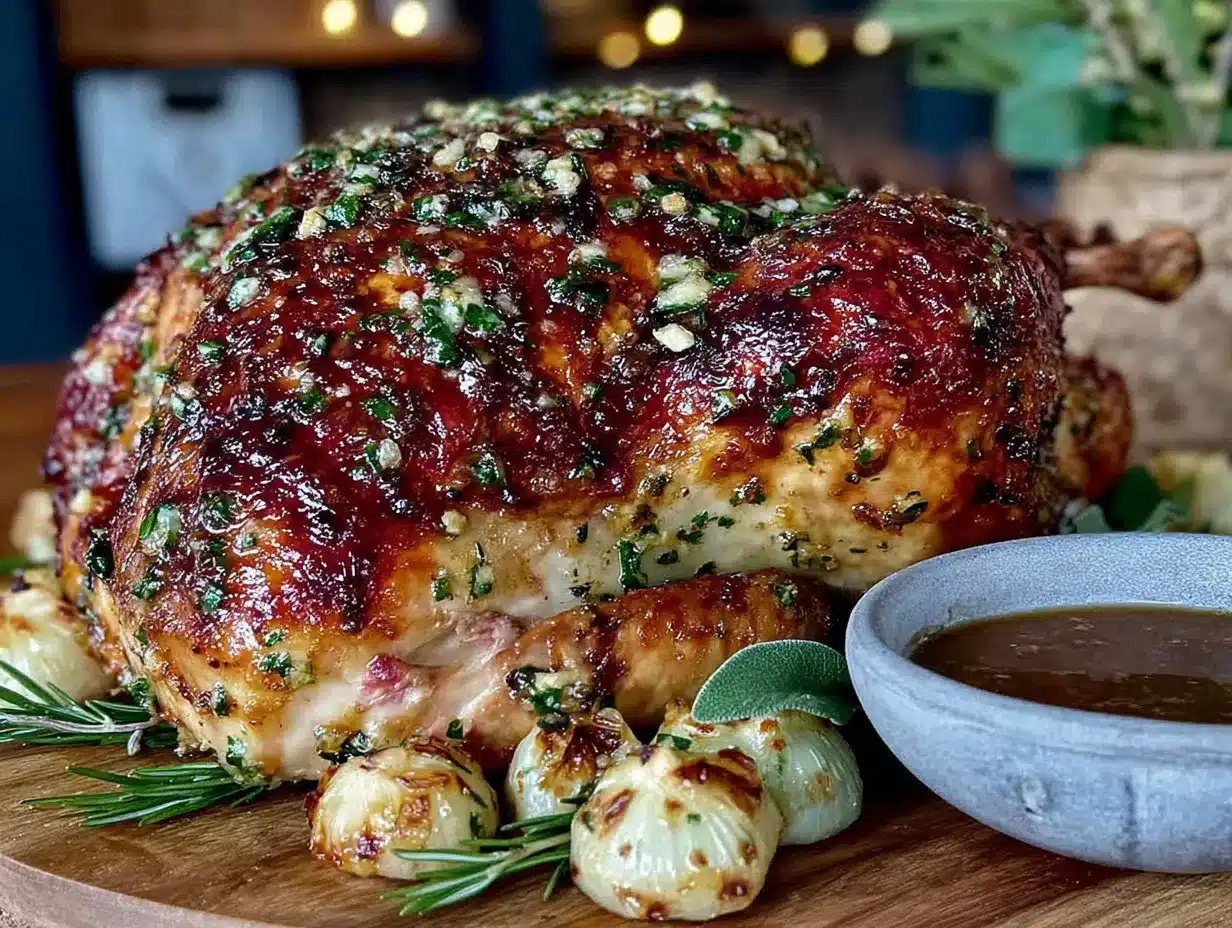
Alright, let’s get to the good part. This method takes about 20 minutes of active prep time, then the oven does the rest. I’ve broken it down so you don’t miss a step.
- Preheat your oven to 325°F (163°C). Move the rack to the lowest position so the turkey fits. While it’s heating, take the turkey out of the fridge and let it sit at room temperature for about 30 minutes. This helps it cook more evenly.
- Make the herb butter. In a small bowl, combine the softened butter, minced garlic, rosemary, thyme, sage, parsley, salt, and pepper. Mix it all together with a fork until everything is evenly distributed. The smell at this point is incredible—seriously, take a second to enjoy it.
- Prepare the turkey. Remove the turkey from its packaging and take out the neck and giblets from the cavity (save them for stock if you’re into that). Pat the turkey completely dry with paper towels. This is crucial—wet skin won’t get crispy. Don’t rush this step.
- Apply the herb butter under the skin. Using your fingers, gently loosen the skin over the breast and thighs. You want to create a pocket without tearing the skin. Then, take about two-thirds of the herb butter and spread it directly onto the meat under the skin. Massage it in a bit. This is where the magic happens.
- Rub the outside. Take the remaining butter and rub it all over the outside of the turkey. Don’t forget the wings and legs. It should look glossy and well-coated.
- Stuff the cavity. Place the halved lemon and quartered onion inside the cavity. Don’t pack it too tight—you just want them in there to add moisture and flavor.
- Truss the turkey (optional but helpful). Tie the legs together with kitchen twine and tuck the wing tips under the body. This helps the turkey cook evenly and look pretty when it comes out.
- Place in the roasting pan. Set the turkey breast-side up on the rack in your roasting pan. Pour the 4 cups of broth into the bottom of the pan, not over the turkey. This creates steam and keeps the meat moist.
- Roast the turkey. Place the pan in the oven and roast for about 2 hours and 45 minutes to 3 hours, or until the internal temperature reaches 165°F (74°C) in the thickest part of the thigh. Baste the turkey with the pan juices every 45 minutes or so. If the skin starts getting too dark, tent it loosely with foil.
- Let it rest. Once it’s done, remove the turkey from the oven and let it rest on the cutting board for at least 20 minutes before carving. This is not optional—resting lets the juices redistribute so you don’t end up with dry meat.
Sensory Cues: At the 1-hour mark, your kitchen should smell like garlic and herbs. By 2 hours, the skin should be a deep golden brown. When you insert the thermometer, the juices should run clear, not pink. If you see pink, it needs more time.
Common Issue: If the turkey is browning too fast but the inside isn’t done yet, tent it with foil. If it’s not browning enough, increase the oven temperature to 375°F for the last 30 minutes.
Cooking Tips & Techniques
After a few too-dry turkeys and one that was practically raw in the middle (we don’t talk about that one), I’ve picked up some tricks that make all the difference.
Pat it dry, then pat it again. I cannot stress this enough. Moisture is the enemy of crispy skin. Use a whole roll of paper towels if you have to. I once made the mistake of rushing this step, and the skin came out rubbery and sad. Never again.
Use a thermometer, not a timer. Every oven runs differently, and every turkey is a different shape. The only way to know for sure is to check the internal temperature. I use a digital instant-read thermometer, and it was the best ten bucks I ever spent. Insert it into the thickest part of the thigh, avoiding the bone.
Let it rest, seriously. I know you’re hungry. I know everyone is hovering. But if you cut into that turkey right away, all those juices you worked so hard to keep inside will run out onto the cutting board. Give it 20 minutes. Cover it loosely with foil to keep it warm.
Baste with purpose. Basting adds flavor, but every time you open the oven door, heat escapes. So be efficient. Do your basting quickly, and don’t stand there with the door open. I usually baste at the 45-minute, 1.5-hour, and 2-hour marks.
Don’t forget the pan drippings. After the turkey is resting, pour those pan drippings into a fat separator or a glass measuring cup. Skim off the fat, and you’ve got liquid gold for making gravy. It’s the best part of the whole meal.
Variations & Adaptations
This recipe is flexible, and I love that about it. Here are a few ways to change it up.
Herb Swap: Not a fan of sage? Try tarragon or marjoram instead. Both work beautifully with turkey. I once made a version with only rosemary and lemon zest, and it was bright and simple.
Spicy Kick: Add 1 teaspoon of red pepper flakes or a minced serrano pepper to the herb butter. It gives the turkey a subtle warmth that’s really unexpected and delicious. My brother-in-law requests this version every year.
Citrus Twist: Instead of lemon, try using orange or grapefruit halves in the cavity. The sweetness pairs really well with the garlic and herbs. I did this for a Friendsgiving once, and everyone asked what my secret was.
Dairy-Free Option: Use a high-quality vegan butter stick. I’ve tested this with the Miyoko’s brand, and it worked beautifully. The texture was slightly less rich, but the flavor was still fantastic.
Smoked Turkey: If you have a smoker, you can adapt this recipe for smoking. Smoke the turkey at 225°F for about 6-8 hours, using the same herb butter. The smoky flavor with the garlic and herbs is next-level.
Serving & Storage Suggestions
This turkey is best served warm, right after it’s rested. Carve it against the grain for the most tender slices. I like to arrange the meat on a large platter and drizzle a little of the pan juices over the top to keep it moist.
What to Serve With It: This turkey pairs beautifully with classic sides like mashed potatoes, green bean casserole, or roasted root vegetables. For a lighter option, a simple arugula salad with lemon vinaigrette cuts through the richness. And don’t forget the gravy—make it from those pan drippings.
Storage: Leftover turkey can be stored in an airtight container in the refrigerator for up to 4 days. The flavors actually get better after a day or two as the herbs continue to meld. To freeze, slice the meat and wrap it tightly in plastic wrap, then place it in a freezer bag. It will keep for up to 3 months.
Reheating: The best way to reheat turkey is in a low oven (300°F) with a splash of broth to keep it moist. Cover it with foil and heat for about 15-20 minutes. Avoid the microwave if you can—it tends to dry out the meat. If you’re in a hurry, a hot skillet with a little butter works well too.
Nutritional Information & Benefits
Here’s a rough estimate per serving (based on a 6-ounce portion of white meat with skin):
- Calories: 350
- Protein: 40g
- Fat: 18g
- Carbohydrates: 2g
- Sodium: 450mg
Turkey is a fantastic source of lean protein, which is great for muscle repair and keeping you full. Garlic is packed with antioxidants and has been linked to immune support. The herbs in this recipe—rosemary, thyme, sage—are all rich in anti-inflammatory compounds. So while this is definitely a comfort food, it’s not without its redeeming qualities.
If you’re watching your sodium, you can reduce the salt in the herb butter and use low-sodium broth. For a lower-fat option, you can skip the butter on the skin and just use it under the skin—this will still give you moist meat with less fat on the outside.
Conclusion
This Easy Garlic Herb Butter Roasted Turkey is more than just a recipe—it’s the one I turn to when I want to feel connected to those kitchen memories, even the ones I can’t fully recreate. It’s forgiving enough for a beginner and impressive enough for a holiday table. The garlic mellows into something sweet, the herbs stay bright, and the meat comes out so tender it almost falls apart.
I hope you give it a try, and I hope it becomes one of your go-to recipes too. Maybe you’ll tweak the herbs or add a little lemon zest of your own. That’s the beauty of cooking—you make it yours. If you do make it, I’d love to hear how it turned out. Drop a comment below or tag me in your photos. And if you’re looking for more simple, delicious recipes like this one, be sure to check out our collection of holiday favorites.
Happy roasting, friend. Your kitchen is about to smell amazing.
Frequently Asked Questions
Can I use dried herbs instead of fresh?
Yes, you can. Use about half the amount of dried herbs compared to fresh. So if the recipe calls for 2 tablespoons of fresh rosemary, use 1 tablespoon of dried. The flavor will be a bit more concentrated, but it still works well.
Do I have to truss the turkey?
No, it’s optional. Trussing helps the turkey cook more evenly and gives it a nice shape, but if you’re short on time or just don’t want to deal with it, you can skip it. Just tuck the wing tips under the body so they don’t burn.
How do I know when the turkey is done?
Use an instant-read meat thermometer. Insert it into the thickest part of the thigh, avoiding the bone. It should read 165°F (74°C). The juices should also run clear when you pierce the thigh. Don’t rely on the pop-up timer that comes with some turkeys—they’re not always accurate.
Can I prepare the herb butter in advance?
Absolutely. You can make the herb butter up to 3 days ahead. Just wrap it tightly in plastic wrap or store it in an airtight container in the refrigerator. Let it come to room temperature before using so it spreads easily.
What if my turkey is bigger or smaller than 12-14 pounds?
Adjust the cooking time accordingly. A general rule of thumb is about 13 minutes per pound at 325°F. So a 10-pound turkey would take about 2 hours and 10 minutes, while a 16-pound turkey would take about 3 hours and 30 minutes. Always use a thermometer to confirm doneness.
Pin This Recipe!
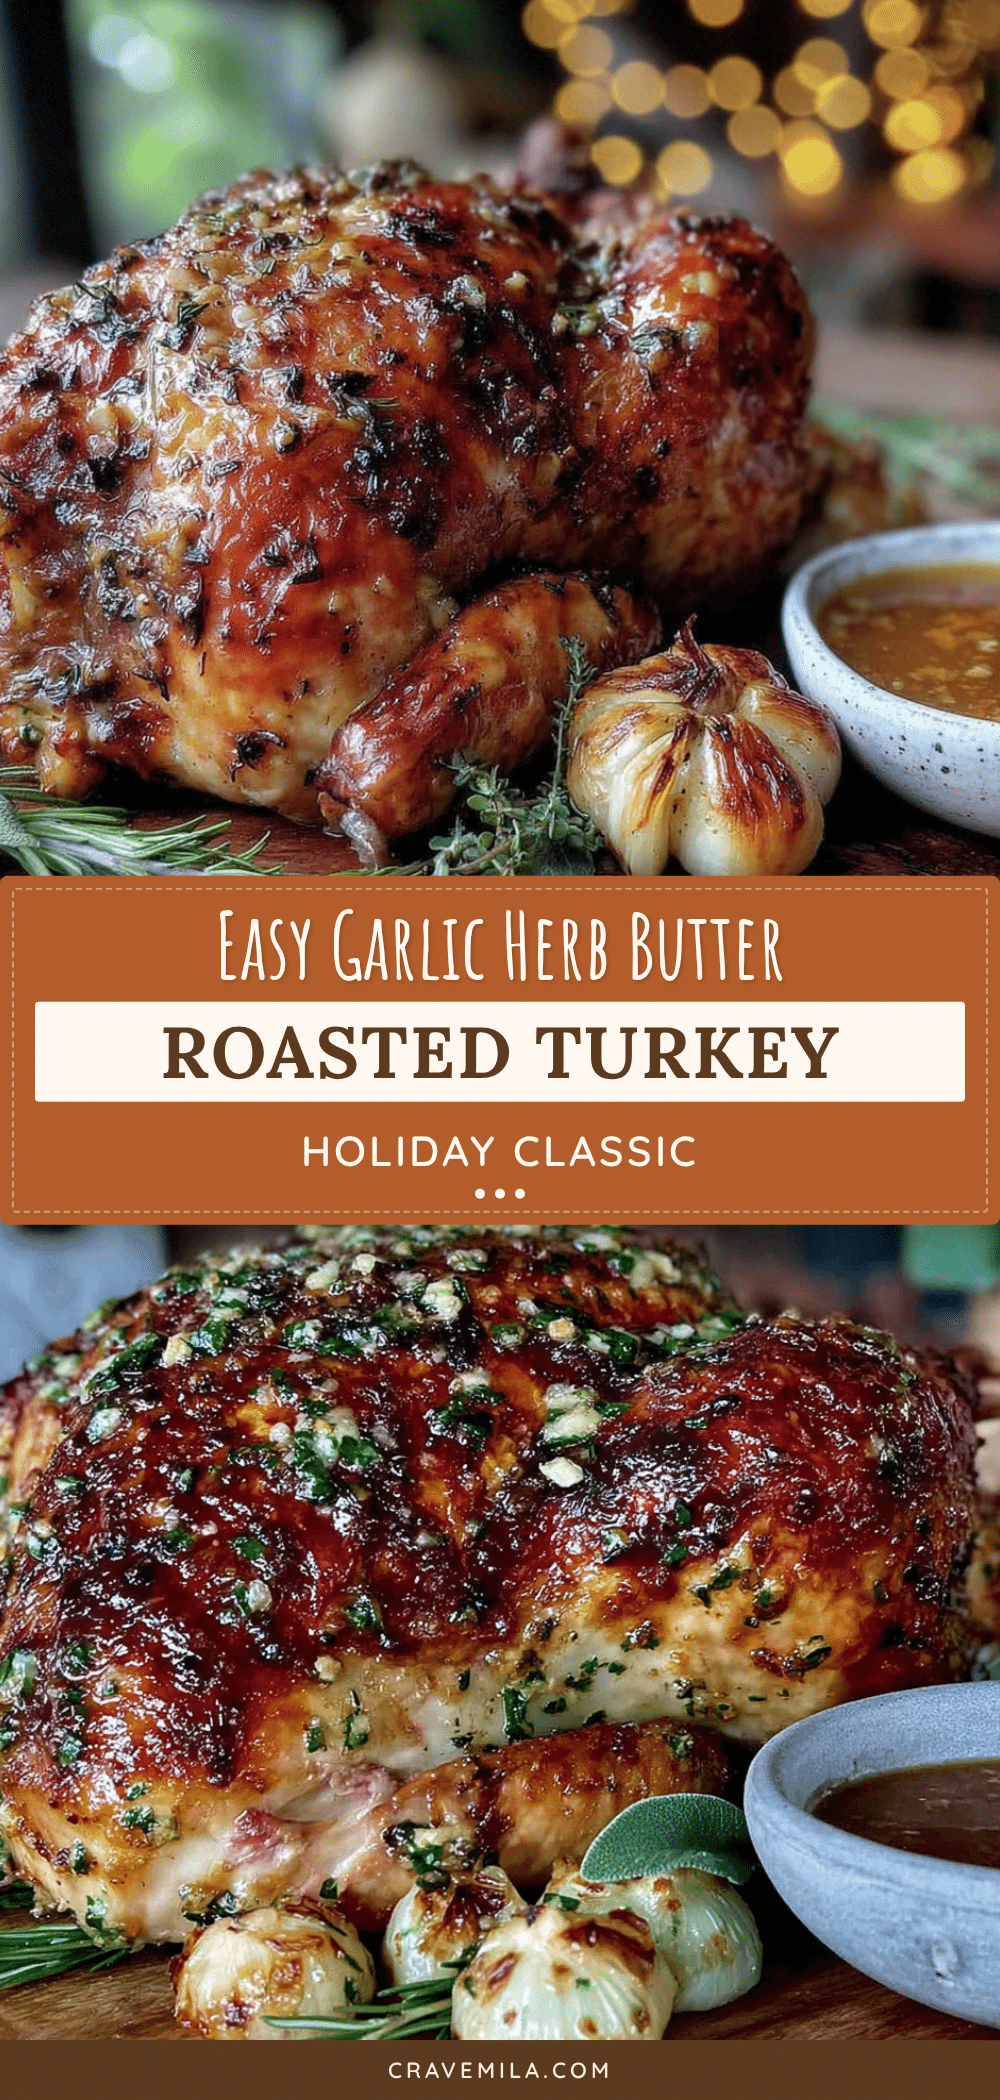
Easy Garlic Herb Butter Roasted Turkey: Best Holiday Recipe
This Easy Garlic Herb Butter Roasted Turkey is the result of about four Thanksgivings worth of trial and error. It’s forgiving enough for a beginner and impressive enough for a holiday table, with incredibly juicy meat and a foolproof technique.
- Prep Time: 20 minutes
- Cook Time: 2 hours 45 minutes to 3 hours
- Total Time: 3 hours 5 minutes to 3 hours 20 minutes
- Yield: 12-14 servings 1x
- Category: Main Course
- Cuisine: American
Ingredients
- 1 whole turkey (12–14 pounds), thawed
- 1 cup unsalted butter, softened
- 6 cloves garlic, minced
- 2 tablespoons fresh rosemary, chopped
- 2 tablespoons fresh thyme leaves
- 2 tablespoons fresh sage, chopped
- 1 tablespoon fresh parsley, chopped
- 1 teaspoon salt
- 1/2 teaspoon black pepper, freshly ground
- 1 lemon, halved
- 1 onion, quartered
- 4 cups low-sodium chicken or turkey broth
Instructions
- Preheat your oven to 325°F (163°C). Move the rack to the lowest position. Take the turkey out of the fridge and let it sit at room temperature for about 30 minutes.
- Make the herb butter: In a small bowl, combine the softened butter, minced garlic, rosemary, thyme, sage, parsley, salt, and pepper. Mix until evenly distributed.
- Prepare the turkey: Remove the turkey from packaging and take out the neck and giblets. Pat the turkey completely dry with paper towels.
- Apply the herb butter under the skin: Gently loosen the skin over the breast and thighs. Spread about two-thirds of the herb butter directly onto the meat under the skin.
- Rub the outside: Take the remaining butter and rub it all over the outside of the turkey, including wings and legs.
- Stuff the cavity: Place the halved lemon and quartered onion inside the cavity.
- Truss the turkey (optional): Tie the legs together with kitchen twine and tuck the wing tips under the body.
- Place in the roasting pan: Set the turkey breast-side up on the rack in your roasting pan. Pour the 4 cups of broth into the bottom of the pan.
- Roast the turkey: Roast for about 2 hours and 45 minutes to 3 hours, or until the internal temperature reaches 165°F (74°C) in the thickest part of the thigh. Baste every 45 minutes. Tent with foil if skin browns too quickly.
- Let it rest: Remove from oven and let rest on a cutting board for at least 20 minutes before carving.
Notes
Pat the turkey dry thoroughly for crispy skin. Use a meat thermometer for accuracy. Let the turkey rest for at least 20 minutes before carving. Baste efficiently to avoid heat loss. Save pan drippings for gravy.
Nutrition
- Serving Size: 6 ounces white meat
- Calories: 350
- Sodium: 450
- Fat: 18
- Saturated Fat: 10
- Carbohydrates: 2
- Protein: 40
Keywords: roasted turkey, garlic herb butter turkey, holiday turkey, Thanksgiving turkey, easy turkey recipe



