It was 11:47 PM on a random Wednesday, and I was wide awake with a craving that just wouldn’t quit. I wanted something spicy, cheesy, and ridiculously satisfying — the kind of food that feels like a hug after a long day. I didn’t have the chips I usually use for buffalo chicken dip, but I had a bag of mini bell peppers sitting in the crisper drawer and a half-opened block of cream cheese begging to be used. The idea arrived like a lightning bolt: what if I stuffed those peppers with the dip instead of just scooping it? Let me tell you, that late-night experiment turned into something I’ve been making on repeat ever since. Honestly, I think the best recipes come from moments like this — when you’re too tired to overthink and just go with your gut. Maybe you’ve been there, staring into your fridge at midnight, wondering what magic you can make with what’s already there. These Game Day Buffalo Chicken Dip Stuffed Peppers are proof that sometimes the weirdest ideas are the ones that stick. I keep making them because they’re impossibly easy, ridiculously good, and they solve the eternal snack problem of how to get more dip in every single bite. No more broken chips or double-dipping drama — just pure, pepper-packed perfection.
Why You’ll Love This Recipe
I’ve tested this recipe about a dozen times to get it just right, and let me tell you, every single batch disappeared faster than I could pull it from the oven. This isn’t just another buffalo chicken dip recipe — it’s a complete game-changer for anyone who loves game day snacks but hates the mess. Here’s why these stuffed peppers will become your new go-to:
- Quick & Easy: Comes together in under 30 minutes, perfect for last-minute guests or spontaneous cravings.
- Simple Ingredients: No fancy grocery trips needed; you likely already have everything in your kitchen.
- Perfect for Game Day: Great for Super Bowl parties, tailgates, or any gathering where you need a crowd-pleasing snack.
- Crowd-Pleaser: Always gets rave reviews from kids and adults alike — I’ve yet to meet someone who doesn’t love these.
- Mess-Free Eating: No more chasing chips around a bowl or dealing with dip on your fingers. These are self-contained perfection.
- Unbelievably Delicious: The combination of tender roasted peppers, creamy buffalo filling, and gooey melted cheese is next-level comfort food.
What sets this recipe apart is how the mini peppers become the perfect vessel for the dip. They roast up sweet and tender while the filling stays rich and creamy, creating a texture contrast that’s absolutely addictive. I’ve tried other stuffed pepper recipes, but none of them capture that perfect balance of spicy, cool, and crunchy the way this one does. It’s comfort food reimagined — faster, easier, but with the same soul-soothing satisfaction that makes you close your eyes after the first bite.
What Ingredients You Will Need
This recipe uses simple, wholesome ingredients to deliver bold flavor and satisfying texture without the fuss. Most of these are pantry staples or easy to find at any grocery store, which is exactly what you want when game day sneaks up on you.
For the Buffalo Chicken Filling:
- 2 cups cooked chicken, shredded (rotisserie chicken works great and saves time)
- 8 oz cream cheese, softened (I recommend Philadelphia for the creamiest texture)
- 1/2 cup buffalo wing sauce (I prefer Frank’s RedHot for that classic flavor)
- 1/2 cup ranch dressing (or blue cheese dressing if you’re feeling bold)
- 1 cup shredded cheddar cheese, divided (sharp cheddar adds the most flavor)
- 1/2 cup shredded mozzarella cheese
- 1/4 cup crumbled blue cheese (optional, but highly recommended for authentic buffalo flavor)
- 1/4 cup green onions, thinly sliced (plus more for garnish)
- 1/2 teaspoon garlic powder
- 1/4 teaspoon black pepper
For the Peppers:
- 12-15 mini sweet bell peppers (look for firm, evenly shaped peppers for easy stuffing)
- 1 tablespoon olive oil
- Salt to taste
Ingredient Tips and Substitutions:
For the chicken, I’ve used everything from leftover roasted chicken to canned chicken in a pinch — both work fine, though fresh shredded chicken gives the best texture. If you’re dairy-sensitive, you can swap the cream cheese for a dairy-free version and use vegan cheese shreds, though the texture will be slightly less creamy. For a lighter option, use Greek yogurt instead of ranch dressing — it adds protein and tang without the extra calories. I’ve also made this with turkey instead of chicken for a leaner option, and honestly, you can’t tell the difference once it’s all mixed together with that spicy buffalo sauce.
When choosing your peppers, look for ones that are about 3-4 inches long with a flat bottom so they stand up nicely on the baking sheet. The colors don’t matter for flavor, but a mix of red, orange, and yellow looks gorgeous on a platter. Green peppers work too, but they’re slightly more bitter and take a bit longer to soften.
Equipment Needed
You don’t need a fancy kitchen to pull these off — just a few basic tools that most home cooks already have. Here’s what you’ll need:
- Baking sheet or rimmed baking dish (I use a 9×13 inch pan)
- Parchment paper or aluminum foil (for easy cleanup)
- Medium mixing bowl
- Sharp knife and cutting board
- Small spoon or piping bag (a spoon works fine, but a piping bag makes filling faster and less messy)
- Measuring cups and spoons
- Kitchen shears (optional, but great for snipping green onions)
If you don’t have a piping bag, don’t worry — I’ve used a zip-top bag with the corner snipped off in a pinch, and it works perfectly. Just be careful not to overfill the bag or you’ll end up with buffalo chicken filling all over your hands (speaking from experience here). A small cookie scoop also works great for portioning the filling evenly into each pepper.
For the baking sheet, I recommend lining it with parchment paper rather than foil — the peppers release some liquid as they roast, and parchment absorbs it better without sticking. Trust me on this one; I learned the hard way after scrubbing a foil-lined pan for twenty minutes.
Preparation Method
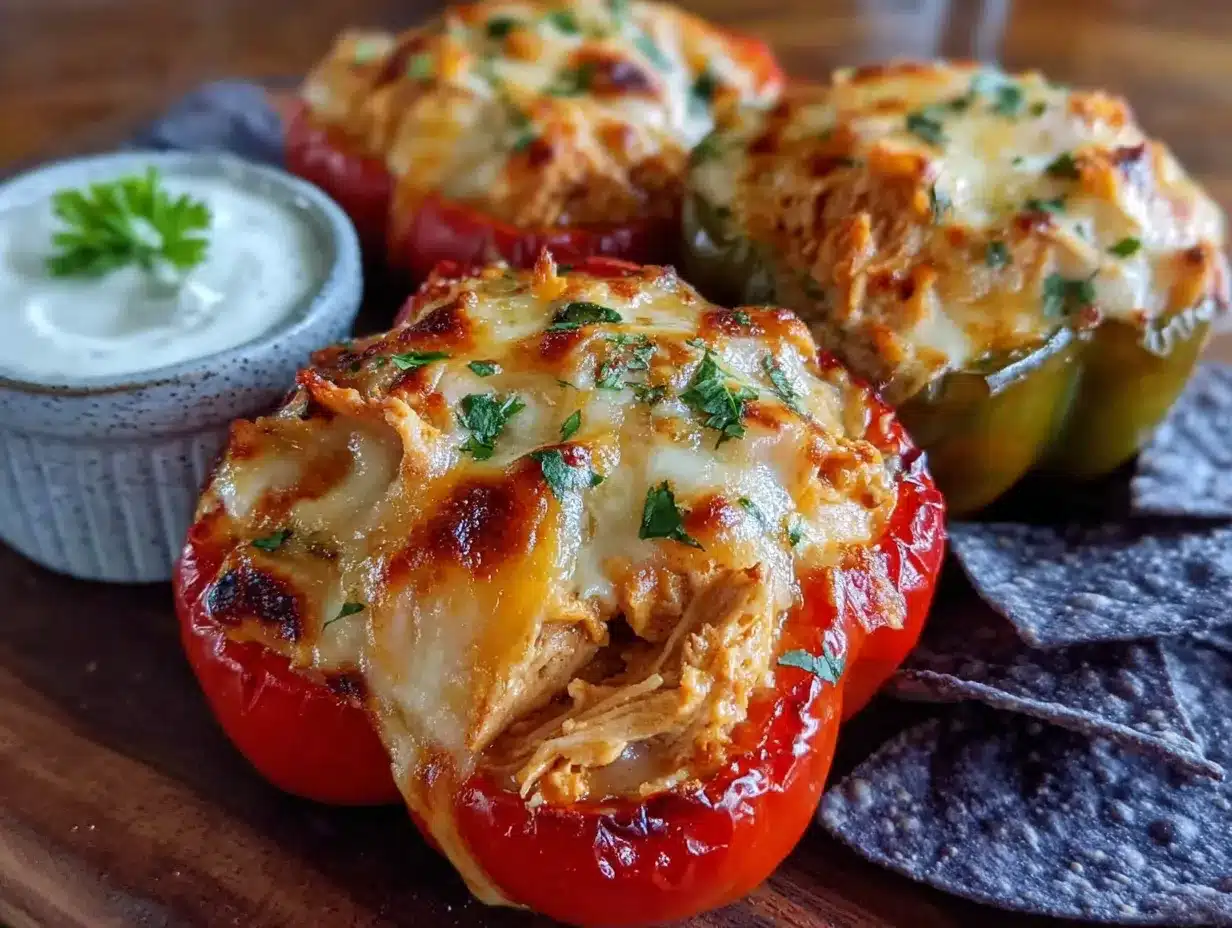
Let’s get cooking! This recipe comes together in about 25 minutes from start to finish, making it perfect for when hunger strikes or guests arrive unexpectedly.
- Preheat your oven to 375°F (190°C). Line a baking sheet with parchment paper or lightly grease it with cooking spray. This step is crucial for easy cleanup — trust me, you don’t want to be scraping melted cheese off your pan later.
- Prepare the peppers. Wash and dry your mini bell peppers. Using a sharp knife, cut each pepper in half lengthwise from top to bottom. Remove the seeds and white membranes with a small spoon or your fingers. Don’t worry about being perfect — slight imperfections just mean more room for filling. Place the pepper halves cut-side up on your prepared baking sheet, spacing them about an inch apart.
- Make the buffalo chicken filling. In a medium mixing bowl, combine the softened cream cheese, buffalo wing sauce, ranch dressing, garlic powder, and black pepper. Stir until smooth and well combined — this should take about 30 seconds. The cream cheese needs to be truly softened, not just cold, or you’ll end up with lumps. If you forgot to take it out of the fridge, microwave it for 10-15 seconds to soften it up.
- Add the chicken and cheese. Fold in the shredded chicken, half of the shredded cheddar (1/2 cup), all of the mozzarella, and the crumbled blue cheese if using. Stir until everything is evenly coated in that creamy, spicy mixture. The filling should be thick and scoopable, not runny. If it seems too thick, add a tablespoon more ranch or buffalo sauce to loosen it up.
- Stuff the peppers. Using a small spoon or piping bag, divide the filling evenly among the pepper halves. Don’t be shy — mound the filling slightly above the edges of the peppers. They’ll settle as they bake, and you want every bite to be packed with that delicious buffalo chicken goodness. I usually get about 24-30 stuffed pepper halves from this recipe.
- Top with remaining cheese. Sprinkle the remaining 1/2 cup of shredded cheddar over the filled peppers. This creates that golden, bubbly crust that everyone fights over. If you’re feeling extra cheesy, add a little more — I won’t judge.
- Bake to perfection. Place the baking sheet in the preheated oven and bake for 15-18 minutes, or until the peppers are tender and the cheese is melted and lightly golden. The filling should be hot and bubbly around the edges. If you want extra browning, switch to broil for the last 1-2 minutes, but watch carefully — cheese burns fast under the broiler.
- Garnish and serve. Remove from the oven and let cool for 2-3 minutes. Sprinkle with sliced green onions and a drizzle of extra buffalo sauce if desired. Serve warm and watch them disappear!
Sensory Cues: You’ll know the peppers are done when they’re slightly wrinkled and tender when pierced with a fork. The cheese should be melted and golden, and you’ll smell that irresistible combination of spicy buffalo and roasted peppers filling your kitchen. The filling should be hot throughout — if you’re unsure, insert a toothpick into the center of a pepper and touch it to your lip; it should feel warm, not just room temperature.
Cooking Tips & Techniques
After making these peppers more times than I can count (including a few spectacular failures), I’ve picked up some tricks that make the process smoother and the results more consistent. Here’s what I’ve learned:
Don’t overstuff the peppers. I know it’s tempting to pile on the filling, but too much will cause the peppers to tip over or the filling to spill out during baking. Aim for a generous mound that’s about 1/4 inch above the pepper’s edge — any more and you’re asking for a mess.
Let the cream cheese come to room temperature. This is non-negotiable. Cold cream cheese creates lumps that never fully smooth out, no matter how much you stir. Set it out 30 minutes before you start, or microwave it in 10-second bursts until it’s soft but not melted. I’ve ruined a batch by rushing this step, and the lumpy texture was noticeable even after baking.
Use rotisserie chicken for convenience. Shredding cooked chicken is the most time-consuming part of this recipe, but using a store-bought rotisserie chicken cuts that time in half. I usually pick one up the day before and shred it while watching TV — it’s mindless work that saves you stress later.
Toast the peppers first for extra tenderness. If you prefer your peppers very soft, you can roast them empty for 5 minutes before adding the filling. This gives them a head start on cooking and ensures they’re perfectly tender by the time the filling is hot. I do this when I’m using thicker peppers or when I want a more roasted flavor.
Watch the broiler like a hawk. If you decide to broil for extra browning, don’t walk away. Cheese goes from perfectly golden to burnt in about 30 seconds under the broiler. I learned this the hard way when I got distracted by a text message and ended up with charcoal-topped peppers.
Make the filling ahead of time. The buffalo chicken filling can be made up to 2 days in advance and stored in the refrigerator. This is a game-changer for party prep — just stuff the peppers and bake when you’re ready. The flavors actually meld together and get even better after sitting overnight.
Variations & Adaptations
One of the best things about this recipe is how adaptable it is. I’ve experimented with different ingredients and methods, and every variation has been delicious in its own way. Here are some of my favorites:
Spicy Buffalo Ranch Variation: Add 1 tablespoon of ranch seasoning mix to the filling for an extra punch of flavor. I stumbled on this when I ran out of ranch dressing and used the dry mix instead — it was actually better. The seasoning adds a tangy, herbal note that complements the buffalo sauce perfectly.
Smoky Chipotle Twist: Replace half of the buffalo sauce with chipotle peppers in adobo sauce (finely minced). This adds a smoky, earthy heat that’s completely different from the bright vinegar tang of traditional buffalo sauce. I made this version for a tailgate last fall, and it was the first thing to disappear from the table.
Keto-Friendly Version: This recipe is naturally low-carb, but you can make it even keto-friendly by using full-fat cream cheese, skipping the blue cheese (which has trace carbs), and using a sugar-free buffalo sauce. The peppers themselves are low in carbs — about 2-3 net carbs per serving — making this a perfect snack for anyone watching their carb intake.
Vegetarian Option: Swap the chicken for canned jackfruit (drained and shredded) or extra-firm tofu crumbled and sautéed with buffalo sauce. Both options absorb the flavors beautifully and provide a similar texture to shredded chicken. I’ve served this version to vegetarian friends who couldn’t tell the difference until I told them.
Air Fryer Adaptation: Cook the stuffed peppers in an air fryer at 350°F for 8-10 minutes, checking halfway through. The air fryer gives the peppers a slightly crispier texture and the cheese gets extra bubbly. Just make sure your peppers fit in a single layer without touching, or they won’t cook evenly.
Serving & Storage Suggestions
These peppers are best served warm, right out of the oven, when the cheese is still gooey and the peppers are tender. I like to arrange them on a large platter with a small bowl of extra ranch or blue cheese dressing for dipping (because you can never have too much dip). A sprinkle of fresh green onions or chopped cilantro adds a pop of color and freshness that cuts through the richness.
For game day spreads, these peppers pair beautifully with other finger foods. I often serve them alongside crispy celery and carrot sticks, a bowl of tortilla chips, and maybe some grilled chicken wings if I’m feeling ambitious. They also work great as a side dish for burgers or sandwiches — the spicy, creamy filling complements smoky grilled flavors perfectly.
Storage Instructions: Leftover stuffed peppers can be stored in an airtight container in the refrigerator for up to 4 days. The peppers will soften more as they sit, but the flavor actually improves overnight as the filling melds with the pepper. To reheat, place them on a baking sheet in a 350°F oven for 8-10 minutes, or microwave for 1-2 minutes until heated through. The oven method gives better texture, but the microwave works in a pinch.
Freezer Tips: These peppers freeze surprisingly well. Place the cooled, stuffed peppers on a baking sheet and freeze until solid (about 2 hours), then transfer to a freezer-safe bag or container. They’ll keep for up to 3 months. To reheat from frozen, bake at 375°F for 20-25 minutes, or until hot throughout. I always make a double batch and freeze half for those days when I need a quick snack but don’t want to cook from scratch.
Nutritional Information & Benefits
Each serving (2 stuffed pepper halves) contains approximately:
- Calories: 210
- Protein: 16g
- Fat: 14g
- Carbohydrates: 5g
- Fiber: 1g
- Sugar: 3g
These numbers are estimates and will vary based on the specific ingredients you use. The beauty of this recipe is that it’s naturally low in carbs and high in protein, making it a satisfying snack that won’t weigh you down. The mini bell peppers are packed with vitamin C — actually, they contain more vitamin C than oranges gram for gram, which is pretty impressive for a snack food. The chicken provides lean protein that keeps you full, while the cream cheese and cheddar add calcium for strong bones.
For those with dietary concerns, this recipe is naturally gluten-free (just double-check your buffalo sauce and ranch dressing labels). It can be made dairy-free with appropriate substitutions, though the texture will be slightly different. The blue cheese is optional and can be omitted for a milder flavor or for those who don’t enjoy aged cheeses.
From a wellness perspective, I love that this recipe lets me enjoy indulgent flavors without going overboard. The peppers add volume and nutrients, so you feel satisfied with fewer calories than traditional buffalo chicken dip served with chips. It’s the kind of smart swap that makes healthy eating feel like a treat rather than a sacrifice.
Conclusion
These Game Day Buffalo Chicken Dip Stuffed Peppers are more than just a recipe — they’re proof that the best ideas often come from late-night kitchen experiments and a willingness to try something different. Every time I make them, I’m reminded of that random Wednesday night when I decided to stuff a pepper instead of reaching for a chip, and how that simple choice led to a recipe I now share with everyone I know.
I hope you’ll give these a try, whether for your next game day gathering, a casual dinner with friends, or just a Tuesday night when you’re craving something spicy and satisfying. Feel free to make them your own — swap in different cheeses, adjust the heat level, or try my air fryer adaptation. The best recipes are the ones that evolve with the cook, and I’d love to hear how your version turns out.
Drop a comment below and let me know what variations you tried, or tag me in your photos if you share them online. Until next time, happy cooking — and may your peppers always be perfectly stuffed!
Frequently Asked Questions
Can I make these ahead of time for a party?
Absolutely! You can prepare the filling up to 2 days in advance and stuff the peppers a few hours before baking. Just keep them covered in the refrigerator until you’re ready to pop them in the oven. This makes party prep so much easier.
What if I can’t find mini bell peppers?
No problem! You can use regular bell peppers cut into 2-inch squares, or even poblano peppers for a spicier version. Just adjust the baking time slightly — larger pieces may need 2-3 extra minutes in the oven.
How spicy are these peppers?
The heat level is mild to medium, depending on your buffalo sauce. If you’re sensitive to spice, use a mild buffalo sauce or cut it with extra ranch dressing. For heat lovers, add a pinch of cayenne pepper or use a hot buffalo sauce for extra kick.
Can I use canned chicken instead of fresh?
Yes, canned chicken works in a pinch! Just drain it well and shred it with a fork before mixing it into the filling. The texture is slightly different from fresh chicken, but the flavor is still delicious. I’ve used it when I’m in a hurry and no one has ever complained.
How do I prevent the peppers from getting soggy?
To avoid soggy peppers, make sure you don’t overbake them — 15-18 minutes is usually perfect. Also, pat the peppers dry after washing them, and avoid adding extra liquid to the filling. If your filling seems too wet, add a little more shredded cheese to absorb the excess moisture.
Pin This Recipe!
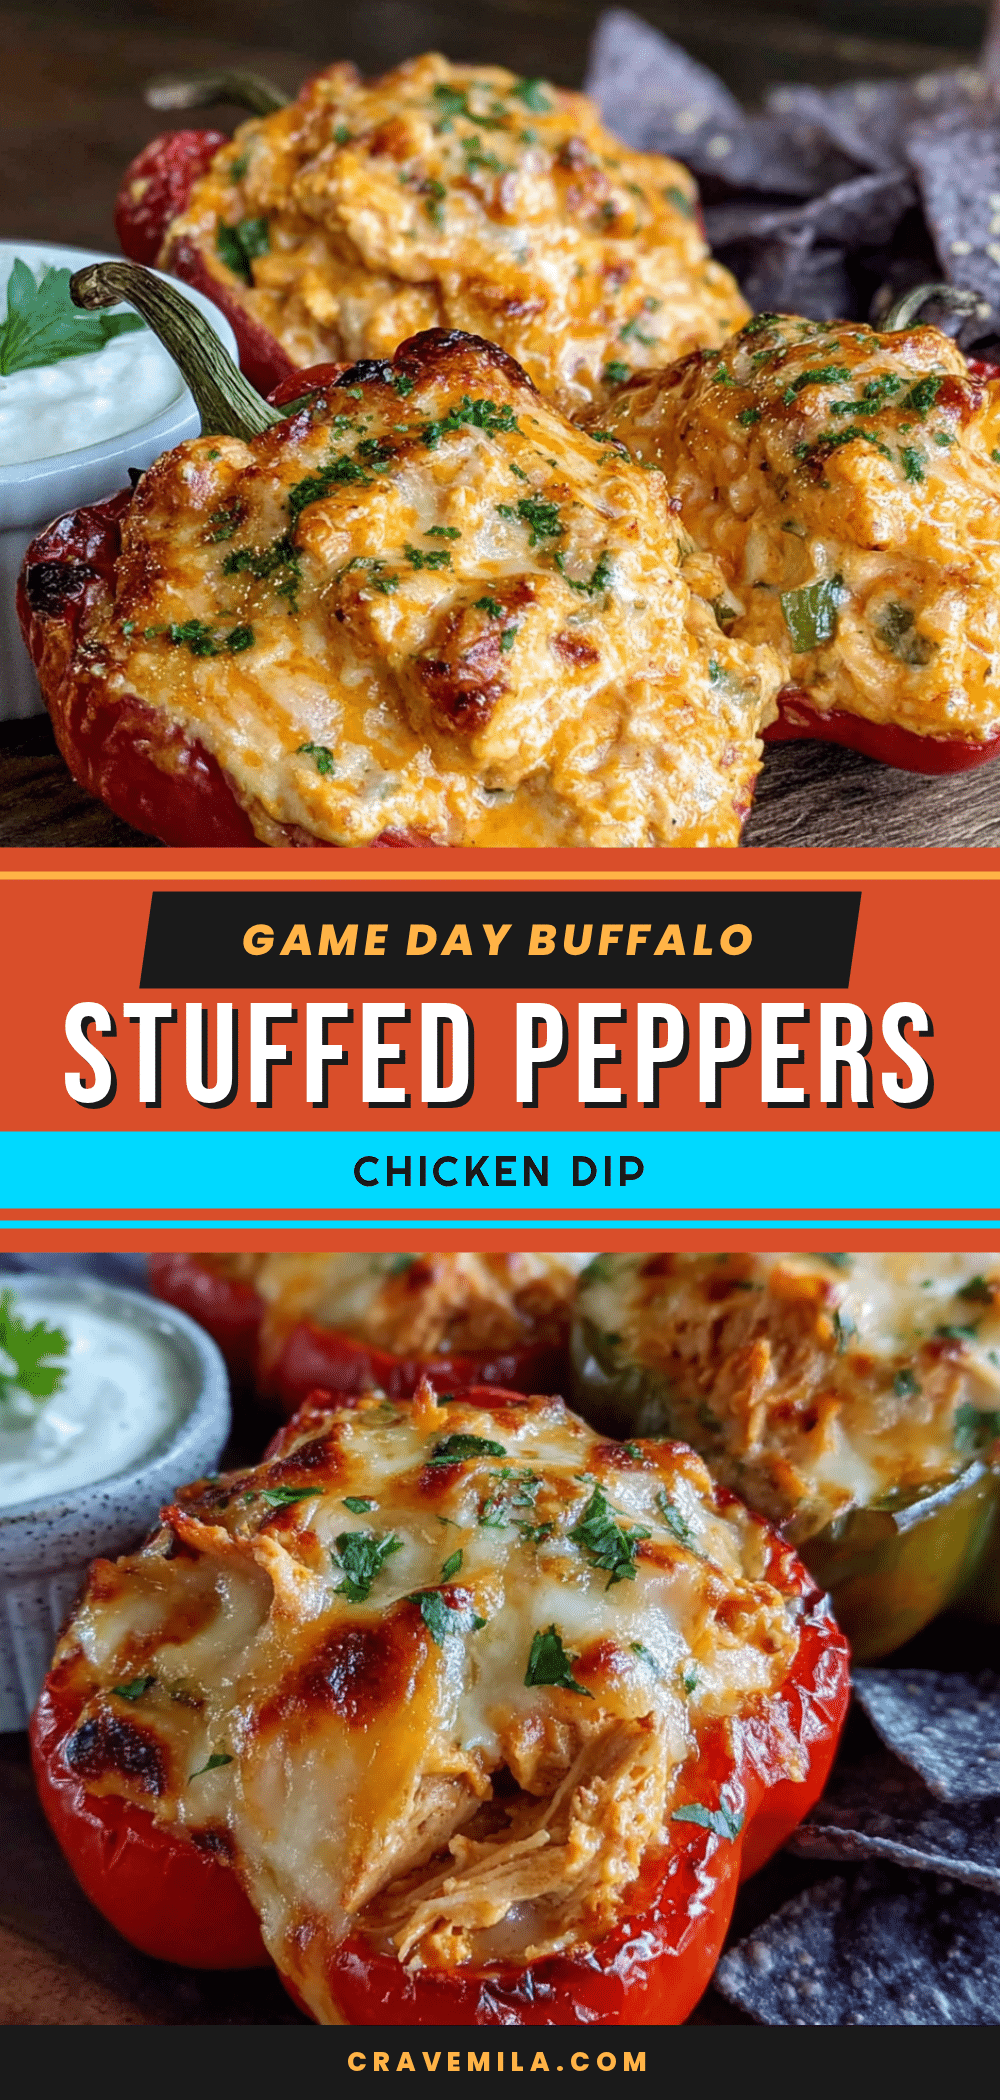
Best Game Day Buffalo Chicken Dip Stuffed Peppers

These Game Day Buffalo Chicken Dip Stuffed Peppers are the perfect snack for any gathering. Mini bell peppers are stuffed with a creamy, spicy buffalo chicken filling and baked until tender and cheesy.
- Prep Time: 10 minutes
- Cook Time: 18 minutes
- Total Time: 28 minutes
- Yield: 24-30 stuffed pepper halves 1x
- Category: Appetizer
- Cuisine: American
Ingredients
- 2 cups cooked chicken, shredded
- 8 oz cream cheese, softened
- 1/2 cup buffalo wing sauce
- 1/2 cup ranch dressing
- 1 cup shredded cheddar cheese, divided
- 1/2 cup shredded mozzarella cheese
- 1/4 cup crumbled blue cheese (optional)
- 1/4 cup green onions, thinly sliced
- 1/2 teaspoon garlic powder
- 1/4 teaspoon black pepper
- 12–15 mini sweet bell peppers
- 1 tablespoon olive oil
- Salt to taste
Instructions
- Preheat your oven to 375°F (190°C). Line a baking sheet with parchment paper or lightly grease it with cooking spray.
- Wash and dry your mini bell peppers. Cut each pepper in half lengthwise and remove the seeds and white membranes. Place the pepper halves cut-side up on the prepared baking sheet.
- In a medium mixing bowl, combine the softened cream cheese, buffalo wing sauce, ranch dressing, garlic powder, and black pepper. Stir until smooth.
- Fold in the shredded chicken, half of the shredded cheddar (1/2 cup), all of the mozzarella, and the crumbled blue cheese if using. Stir until evenly coated.
- Using a small spoon or piping bag, divide the filling evenly among the pepper halves, mounding slightly above the edges.
- Sprinkle the remaining 1/2 cup of shredded cheddar over the filled peppers.
- Bake for 15-18 minutes, or until the peppers are tender and the cheese is melted and lightly golden. For extra browning, broil for the last 1-2 minutes.
- Remove from the oven and let cool for 2-3 minutes. Sprinkle with sliced green onions and a drizzle of extra buffalo sauce if desired. Serve warm.
Notes
For best results, let cream cheese come to room temperature before mixing. Use rotisserie chicken for convenience. Peppers can be roasted empty for 5 minutes before filling for extra tenderness. Filling can be made up to 2 days in advance. Leftovers can be stored in the refrigerator for up to 4 days or frozen for up to 3 months.
Nutrition
- Serving Size: 2 stuffed pepper hal
- Calories: 210
- Sugar: 3
- Sodium: 480
- Fat: 14
- Saturated Fat: 7
- Carbohydrates: 5
- Fiber: 1
- Protein: 16
Keywords: buffalo chicken dip, stuffed peppers, game day snack, appetizer, buffalo chicken, mini peppers, party food