The neighborhood block party was in four hours and I’d completely forgotten. Everyone else would be bringing those elaborate, multi-day preparations—smoked briskets that had been rubbed and rested for twenty-four hours, layered dips with homemade tortilla chips, and pies with lattice crusts that looked like they belonged in a bakery window. I had a pack of bone-in, skin-on chicken thighs in my fridge, a stick of butter, and honestly, a mild sense of panic.
Let me tell you, I stood there staring into the open fridge like it might magically produce something fancier. It didn’t. But I remembered a trick a chef friend had mentioned once—something about air fryers and chicken skin getting shatteringly crisp if you did it right. So I grabbed that garlic bulb, the herbs wilting in my crisper drawer, and decided to just go for it. I mean, what was the worst that could happen? I’d show up with dry, sad chicken? That felt like a risk worth taking over showing up empty-handed.
The power went out halfway through my prep—just for a minute, but long enough that I had to reset my air fryer and panic all over again. Maybe you’ve been there, that moment where you’re convinced the whole dish is going to be a disaster. But I pushed through, basted those thighs with melted garlic herb butter, and let the machine do its magic.
That day, those crispy air fryer chicken thighs with garlic herb butter won the whole thing. Not the brisket, not the fancy pies—just simple, golden, juicy chicken that people kept coming back to. And honestly, that’s why I keep making them. They’re the kind of recipe that saves you when you least expect it, and they taste like you spent hours in the kitchen when you really just outsmarted the clock.
Why You’ll Love This Recipe
I’ve tested this recipe more times than I care to admit—through different air fryer brands, varying thigh sizes, and even a few butter-to-herb ratio disasters. So trust me when I say these crispy air fryer chicken thighs with garlic herb butter are the real deal. They’re not just good for a weeknight; they’re good enough to steal the show at a gathering.
- Quick & Easy: From fridge to table in under 30 minutes. Perfect for those nights when you forgot to plan dinner and need something satisfying fast.
- Simple Ingredients: Chicken thighs, butter, garlic, and herbs. You probably have most of this in your kitchen right now. No fancy grocery store runs required.
- Perfect for Any Occasion: Great for busy weeknights, meal prep Sundays, or even impressing guests without breaking a sweat. They work for casual dinners and special celebrations alike.
- Crowd-Pleaser: Kids love the crispy skin, adults love the juicy meat, and everyone loves that garlic herb butter drizzle. I’ve yet to meet someone who didn’t go back for seconds.
- Unbelievably Delicious: The skin gets shatteringly crisp while the meat stays tender and juicy. That garlic herb butter seeps into every bite, making it next-level comfort food.
What makes these different from every other chicken thigh recipe out there? It’s the technique. Instead of just tossing the chicken in the air fryer and hoping for the best, you’ll dry the skin thoroughly, season generously, and baste with that melted garlic herb butter halfway through. That little extra step makes all the difference between good chicken and unforgettable chicken.
This is the kind of recipe that makes you close your eyes after the first bite. It’s comfort food reimagined—healthier than deep-frying, faster than roasting, but with the same soul-soothing satisfaction. Perfect for impressing guests without stress, or turning a simple Tuesday dinner into something memorable.
What Ingredients You Will Need
This recipe uses simple, wholesome ingredients that come together to create something truly special. Most of these are pantry staples, so you likely have everything on hand already.
For the Chicken
- 4 bone-in, skin-on chicken thighs (about 1.5 pounds total) — Bone-in keeps the meat juicier, and skin-on gives you that crispy exterior. I prefer thighs over breasts here because they’re more forgiving and stay moist.
- 1 tablespoon olive oil — Helps the seasoning stick and encourages browning. You can use avocado oil if you prefer.
- 1 teaspoon salt — I use kosher salt for better flavor distribution. Table salt works too, but use slightly less.
- 1/2 teaspoon black pepper — Freshly ground is always better, but pre-ground works in a pinch.
- 1 teaspoon garlic powder — Adds a subtle garlic flavor throughout the meat. Don’t skip this even though we’re using fresh garlic in the butter.
- 1/2 teaspoon paprika — Adds color and a mild smoky sweetness. Smoked paprika is amazing here if you have it.
For the Garlic Herb Butter
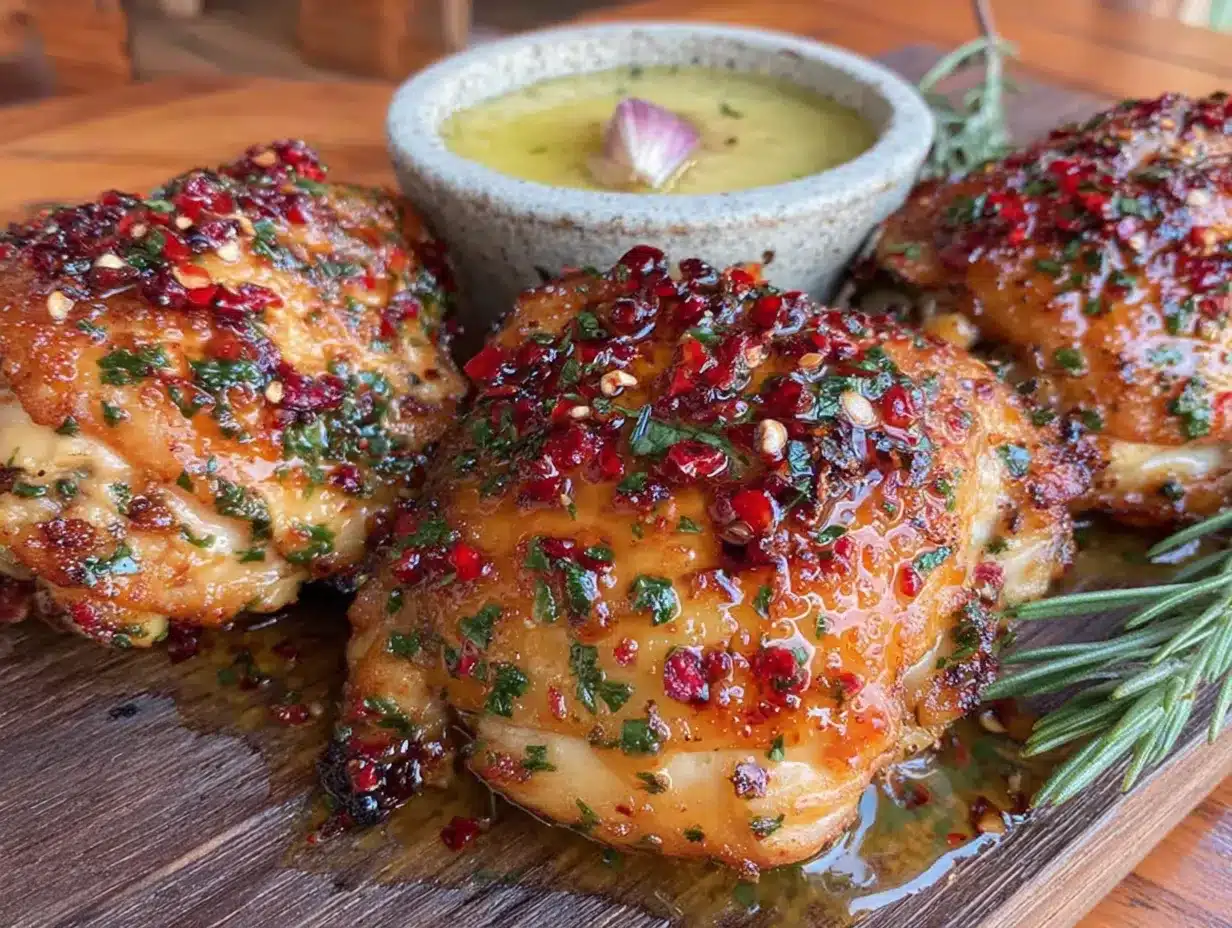
- 4 tablespoons unsalted butter, melted — I recommend Kerrygold or another high-quality European butter for richer flavor. Salted butter works too, just reduce the added salt slightly.
- 4 cloves garlic, minced — Fresh garlic is non-negotiable here. The jarred stuff won’t give you the same punch. I like to let the minced garlic sit in the melted butter for a few minutes to infuse.
- 1 tablespoon fresh parsley, chopped — Adds freshness and color. Flat-leaf parsley has more flavor than curly.
- 1 teaspoon fresh thyme leaves — Earthy and aromatic. If you only have dried, use 1/2 teaspoon.
- 1 teaspoon fresh rosemary, finely chopped — Piney and fragrant. Go easy—rosemary can overpower if you use too much.
- 1/4 teaspoon red pepper flakes (optional) — Adds a tiny kick without making it spicy. I love this little heat surprise.
Ingredient Tips & Substitutions
If you’re dairy-free, swap the butter for a good-quality vegan butter or use olive oil infused with garlic and herbs. For a milder garlic flavor, roast the garlic cloves before mincing them—it adds sweetness and depth. I’ve also made this with dried herbs when my garden wasn’t cooperating, and it still turned out fantastic. Just remember that dried herbs are more concentrated, so use about one-third of the amount.
For the chicken, you can use boneless, skinless thighs if that’s what you have, but reduce the cooking time by about 5-7 minutes. The skin won’t get as crispy without the skin-on version, but the garlic herb butter will still make it delicious. I’ve also tried this with chicken drumsticks, and they work beautifully—just add a few minutes to the cooking time.
Equipment Needed
You don’t need a fancy kitchen to make these crispy air fryer chicken thighs with garlic herb butter. Here’s what you’ll need:
- Air fryer — Any brand works. I use a 5.8-quart Cosori, but I’ve tested this in a smaller Ninja and a larger Philips. Just make sure the chicken thighs aren’t overcrowded. If your air fryer is small, cook in batches.
- Tongs — For flipping the chicken halfway through. Silicone-tipped tongs won’t scratch the basket.
- Small bowl — For mixing the garlic herb butter.
- Pastry brush — For basting the butter onto the chicken. A silicone brush works best and is easy to clean.
- Paper towels — Essential for drying the chicken skin thoroughly. This step makes or breaks the crispiness.
- Meat thermometer — Not strictly necessary, but highly recommended to ensure perfectly cooked chicken. I love my instant-read Thermapen, but any digital thermometer works.
- Cutting board and knife — For mincing garlic and chopping herbs.
If you don’t have a pastry brush, you can use a spoon to drizzle the butter over the chicken. It’s not as precise, but it gets the job done. And if you don’t have an air fryer, you can bake these in a 425°F oven on a wire rack set over a baking sheet for about 30-35 minutes. The texture won’t be exactly the same, but the flavor will still be incredible.
Preparation Method
Let me walk you through this step by step. I’ve made these crispy air fryer chicken thighs with garlic herb butter so many times that I could do it in my sleep, but I’ll share all the little tricks I’ve learned along the way.
- Prep the chicken (5 minutes): Pat the chicken thighs dry with paper towels. And I mean really dry—get in between the skin and the meat if you can. This is the single most important step for crispy skin. Any moisture on the surface will steam instead of crisp. Let the chicken sit on a plate uncovered in the fridge for 15 minutes if you have time. That extra drying makes a huge difference.
- Season the chicken (3 minutes): In a small bowl, mix the salt, pepper, garlic powder, and paprika. Rub the olive oil all over the chicken thighs, then sprinkle the seasoning mixture evenly on both sides. Don’t forget the underside—it adds flavor throughout. I like to use my hands here, getting the seasoning into every nook and cranny.
- Make the garlic herb butter (5 minutes): Melt the butter in a small bowl in the microwave (about 30 seconds). Add the minced garlic, parsley, thyme, rosemary, and red pepper flakes if using. Stir and let it sit while you preheat the air fryer. The garlic will infuse into the butter, making it fragrant and flavorful. I once forgot to let it sit and the garlic flavor was much milder—so give it those few minutes.
- Preheat the air fryer (3 minutes): Set your air fryer to 380°F (193°C) and let it preheat for 3 minutes. Preheating ensures even cooking and helps the skin start crisping immediately. If your air fryer doesn’t have a preheat function, just run it empty for 3 minutes.
- Arrange the chicken (2 minutes): Place the chicken thighs skin-side down in the air fryer basket. Make sure they’re not touching—crowding traps steam and prevents crisping. If you need to cook in batches, do it. I’ve learned this the hard way when I tried to squeeze six thighs into a small basket and ended up with soggy skin.
- First cook (12 minutes): Air fry at 380°F for 12 minutes. Don’t open the basket during this time. Let the air fryer do its thing. You’ll start to smell the garlic and herbs—that’s a good sign.
- Flip and baste (2 minutes): Carefully flip the chicken thighs using tongs. Brush the garlic herb butter generously over the skin side. Don’t be shy here—this is where all that flavor gets locked in. I use about half the butter mixture now and save the rest for later.
- Second cook (8-10 minutes): Air fry at 400°F (204°C) for another 8-10 minutes. The higher temperature at the end helps the skin get extra crispy. At the 8-minute mark, check the internal temperature with a meat thermometer. You’re looking for 165°F (74°C) in the thickest part of the thigh, not touching the bone. If it’s not there yet, cook for another 2 minutes and check again.
- Rest and serve (5 minutes): Remove the chicken from the air fryer and let it rest on a plate for 5 minutes. This allows the juices to redistribute, keeping the meat tender. Drizzle the remaining garlic herb butter over the top before serving. The sizzle sound is pure satisfaction.
One thing I’ve learned: if the skin isn’t as crispy as you’d like after cooking, you can pop the chicken back in the air fryer at 400°F for 2-3 more minutes. Just watch it closely so the garlic doesn’t burn. The butter can brown quickly at high temperatures.
Cooking Tips & Techniques
After dozens of batches, I’ve picked up a few tricks that make these crispy air fryer chicken thighs with garlic herb butter turn out perfect every time.
Dry the skin obsessively. I cannot stress this enough. Use multiple paper towels and press firmly. If you have time, leave the seasoned chicken uncovered in the fridge for an hour. That dry skin is what gives you that shatteringly crispy texture. I once skipped this step when I was in a hurry, and the skin came out chewy and sad. Never again.
Don’t overcrowd the basket. Air fryers work by circulating hot air around the food. If the chicken thighs are touching, the air can’t reach all surfaces, and you’ll end up with unevenly cooked chicken. Cook in batches if needed. It adds a few minutes but makes a huge difference.
Use a meat thermometer. Chicken thighs are forgiving, but undercooked chicken is no joke. An instant-read thermometer takes the guesswork out. Insert it into the thickest part of the thigh, away from the bone. 165°F is the magic number, but thighs can go to 175°F and still be juicy because of the higher fat content.
Let the garlic infuse. Don’t just mix the garlic into the butter and immediately brush it on. Let it sit for at least 5 minutes. The heat from the melted butter gently cooks the garlic, mellowing its sharpness and infusing the butter with flavor. I’ve made the mistake of rushing this step and ended up with raw garlic chunks—not terrible, but not as good.
Save some butter for the end. Reserve about a quarter of the garlic herb butter to drizzle over the finished chicken. The fresh butter adds a final burst of flavor and makes the presentation look gorgeous. Plus, it cools down the chicken slightly, making it safe to eat right away.
Multitask wisely. While the chicken is cooking in the air fryer, use that time to prep a side dish or set the table. The hands-off cooking time is perfect for making a quick salad or steaming some vegetables. I usually throw together a simple arugula salad with lemon vinaigrette while the chicken cooks.
Variations & Adaptations
One of the best things about this recipe is how easily it adapts to different tastes and dietary needs. Here are some variations I’ve tried and loved.
Lemon Herb Version: Add the zest of one lemon and 2 tablespoons of lemon juice to the garlic herb butter. It brightens up the flavor and cuts through the richness of the chicken. I make this version in the summer when I want something lighter. Serve with a side of roasted asparagus for a complete meal.
Spicy Cajun Style: Replace the paprika with Cajun seasoning and add 1/2 teaspoon of cayenne pepper to the dry rub. Use the same garlic herb butter, but add a chopped jalapeño for extra heat. This version is fantastic for game day or when you’re craving bold, spicy flavors. My husband requests this one constantly.
Dairy-Free Adaptation: Swap the butter for a high-quality vegan butter or use 4 tablespoons of olive oil infused with garlic and herbs. The texture won’t be quite as rich, but it’s still incredibly delicious. I’ve served this to dairy-free friends who couldn’t tell the difference.
Herb Swap: Use whatever fresh herbs you have on hand. Basil, oregano, tarragon, or chives all work beautifully. In the winter, I use dried herbs—just remember to use about one-third of the amount since dried herbs are more concentrated. A combination of dried Italian seasoning and garlic powder works in a pinch.
Honey Garlic Glaze: Add 1 tablespoon of honey to the garlic herb butter for a sweet and savory twist. Brush it on during the last 5 minutes of cooking to prevent burning. The honey caramelizes slightly, creating a sticky, glossy finish that’s absolutely addictive. I accidentally discovered this when I ran out of herbs and needed something to stretch the butter.
Serving & Storage Suggestions
These crispy air fryer chicken thighs with garlic herb butter are incredibly versatile when it comes to serving. Here’s how I like to enjoy them.
Serving Temperature: Serve the chicken hot, right after resting. The skin is crispiest fresh out of the air fryer. If you let it sit too long, the skin will soften from the butter. That said, they’re still delicious at room temperature—perfect for picnics or potlucks.
What to Serve With: I love pairing these with simple sides that don’t compete with the flavor. A crisp green salad with lemon vinaigrette, roasted vegetables like broccoli or Brussels sprouts, or fluffy mashed potatoes to soak up the extra garlic herb butter. For a low-carb option, serve with cauliflower rice or zucchini noodles. The butter sauce works beautifully over any of these.
Drink Pairings: A crisp white wine like Sauvignon Blanc or a light Pinot Noir complements the garlic and herbs. For beer drinkers, a pale ale or pilsner works well. If you’re serving these for a casual dinner, sparkling water with lemon is always a good choice.
Storage Instructions: Store leftover chicken in an airtight container in the refrigerator for up to 4 days. The skin will soften, but the flavor remains excellent. To reheat, place the chicken back in the air fryer at 375°F for 3-4 minutes. This helps restore some of the crispiness. You can also reheat in a 350°F oven for about 10 minutes. Avoid the microwave—it makes the skin rubbery and the meat dry.
Freezer Tips: These chicken thighs freeze beautifully. Let them cool completely, then wrap each thigh individually in plastic wrap and place in a freezer bag. They’ll keep for up to 3 months. To reheat from frozen, thaw in the refrigerator overnight, then reheat in the air fryer at 375°F for 5-6 minutes. The texture won’t be quite as crispy as fresh, but the flavor is still amazing.
Flavor Development: Honestly, these chicken thighs taste even better the next day. The garlic herb butter continues to infuse the meat as it sits. I often make a double batch just for leftovers. They’re fantastic cold, sliced over a salad for lunch.
Nutritional Information & Benefits
Here’s a rough estimate for one serving (one chicken thigh with garlic herb butter):
- Calories: 350-400
- Protein: 28g
- Fat: 26g (including 10g saturated fat)
- Carbohydrates: 2g
- Fiber: 0g
- Sugar: 0g
- Sodium: 650mg
These numbers will vary based on the size of your chicken thighs and the exact amount of butter used. If you’re watching your calorie intake, you can reduce the butter to 2 tablespoons and still get great flavor.
Health Benefits: Chicken thighs are a great source of high-quality protein, which supports muscle growth and repair. They also contain B vitamins, particularly B6 and B12, which help with energy metabolism. The garlic in this recipe is known for its immune-boosting properties and may help reduce inflammation. Fresh herbs like parsley and thyme are packed with antioxidants and vitamins A, C, and K.
Dietary Considerations: This recipe is naturally gluten-free, low-carb, and keto-friendly. It’s also suitable for paleo diets if you use ghee instead of butter. For dairy-free, use olive oil as mentioned in the variations section. The only potential allergen is dairy from the butter, which is easily substituted.
I personally love that this recipe feels indulgent but fits into a balanced diet. It’s the kind of meal that satisfies cravings without derailing your health goals. Plus, cooking at home with whole ingredients means you control exactly what goes into your food.
FAQs
Can I use boneless, skinless chicken thighs?
Yes, you can! Reduce the cooking time by about 5-7 minutes since boneless thighs cook faster. The skin won’t be crispy without the skin-on version, but the garlic herb butter will still make it delicious. Check for an internal temperature of 165°F.
Why isn’t my chicken skin getting crispy?
The most common culprit is moisture. Make sure you pat the chicken skin very dry with paper towels before seasoning. Also, avoid overcrowding the air fryer basket—the chicken needs space for hot air to circulate. If the skin still isn’t crispy, try cooking at 400°F for the last 5 minutes.
Can I make the garlic herb butter ahead of time?
Absolutely! You can make the butter mixture up to 3 days in advance and store it in the refrigerator. Let it come to room temperature or gently reheat it before using. This is a great time-saver for busy weeknights.
How do I prevent the garlic from burning?
Garlic burns easily at high temperatures. To prevent this, make sure the garlic is minced finely and mixed thoroughly into the melted butter. Brush it on the chicken, not directly on the air fryer basket. If you’re worried, you can add the garlic during the last 5 minutes of cooking instead of at the halfway point.
Can I cook frozen chicken thighs in the air fryer?
Yes, but you’ll need to adjust the cooking time. Add about 5-7 minutes to the first cooking stage, and make sure the internal temperature reaches 165°F. The skin won’t get as crispy as with thawed chicken, but the flavor will still be great. I recommend thawing the chicken first for best results.
Conclusion
These crispy air fryer chicken thighs with garlic herb butter have become a staple in my kitchen for good reason. They’re quick enough for a hectic Tuesday, impressive enough for company, and so forgiving that even a beginner can nail them on the first try. The combination of shatteringly crisp skin, juicy meat, and that fragrant garlic herb butter is honestly hard to beat.
I hope you’ll make these your own—play with the herbs, adjust the spice level, or try one of the variations I shared. That’s the beauty of a simple recipe like this. It adapts to whatever you have on hand and whatever you’re craving. And when you take that first bite and hear that crunch? You’ll know exactly why I keep coming back to this recipe.
If you give these a try, I’d love to hear how they turned out. Drop a comment below and let me know what variations you tried or how you served them. And if you’re looking for more easy, delicious recipes, make sure to check out my crispy garlic chicken and air fryer chicken drumsticks—they use similar techniques and are just as satisfying. Happy cooking!
Pin This Recipe!
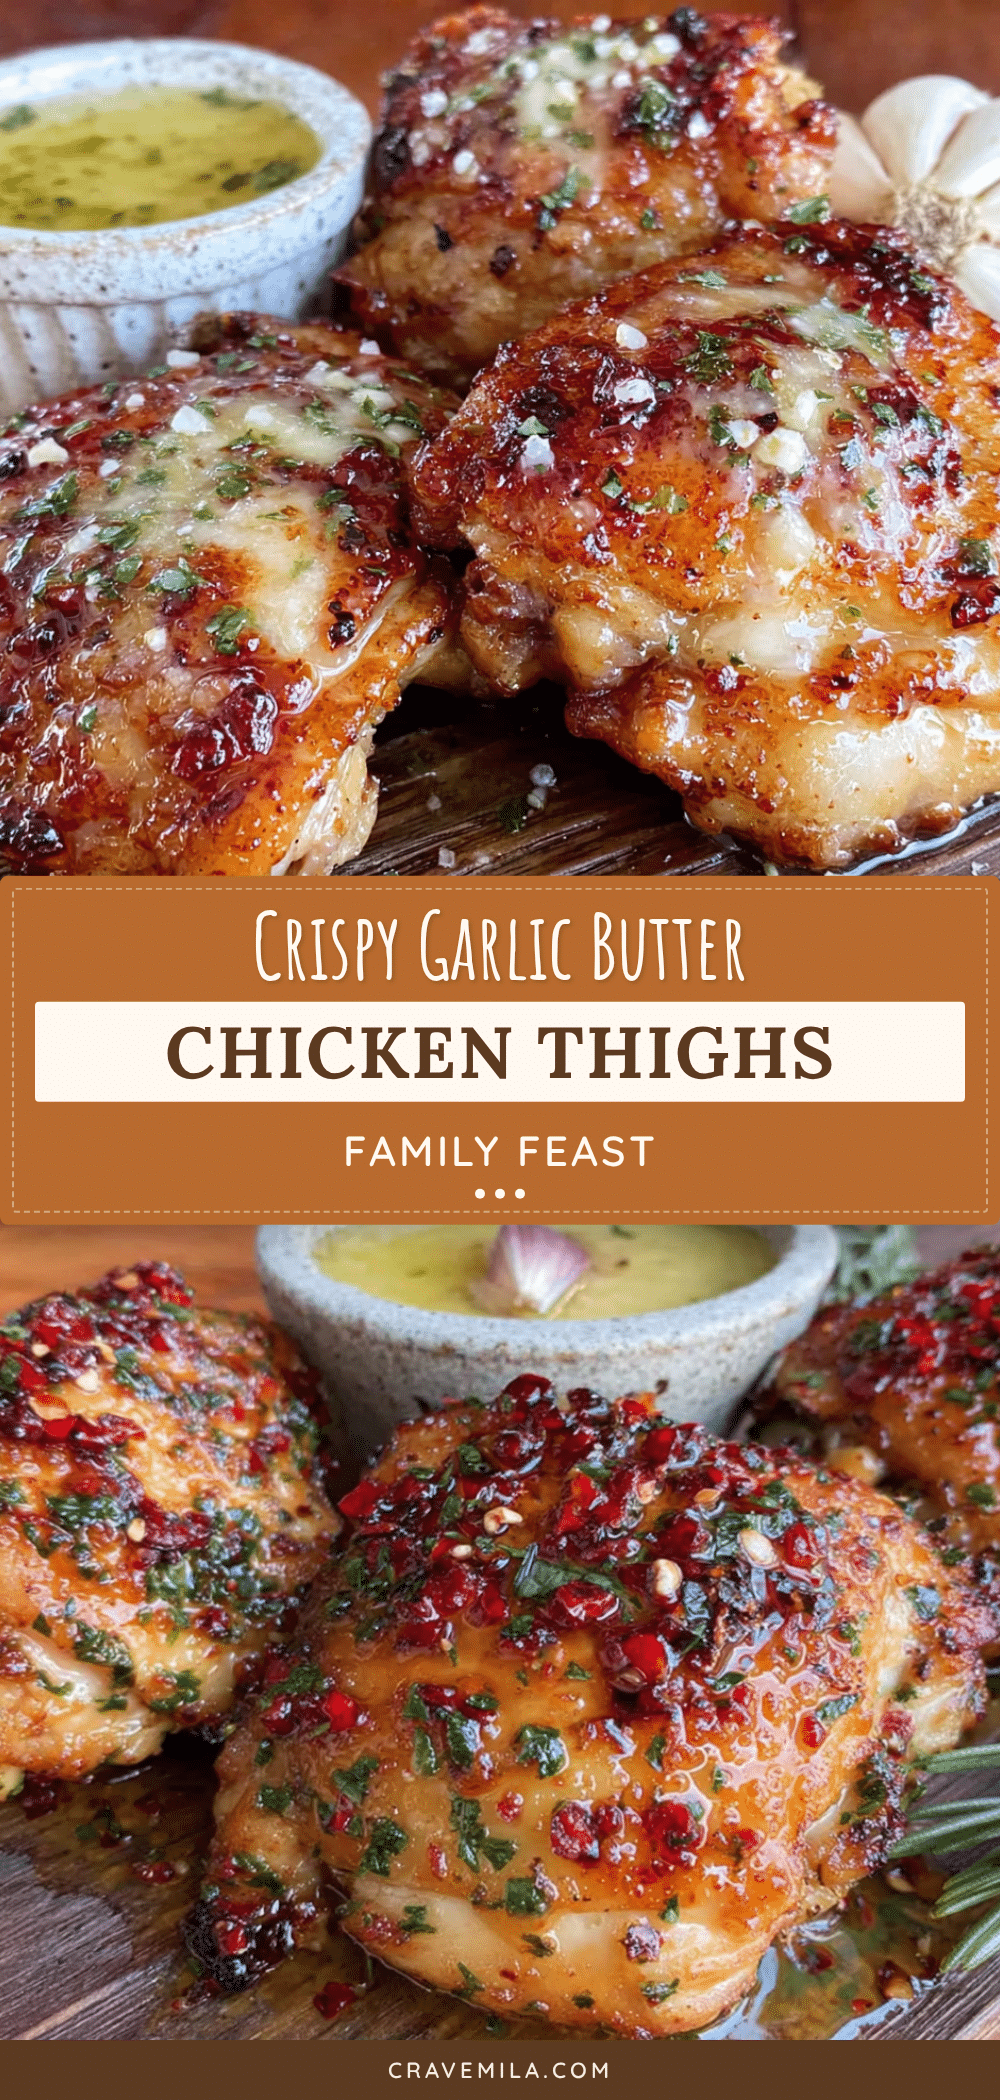
Crispy Air Fryer Chicken Thighs with Garlic Herb Butter (Easy Recipe)

These crispy air fryer chicken thighs with garlic herb butter are quick, easy, and perfect for any occasion. The skin gets shatteringly crisp while the meat stays tender and juicy, all in under 30 minutes.
- Prep Time: 15 minutes
- Cook Time: 20 minutes
- Total Time: 35 minutes
- Yield: 4 servings 1x
- Category: Main Course
- Cuisine: American
Ingredients
- 4 bone-in, skin-on chicken thighs (about 1.5 pounds total)
- 1 tablespoon olive oil
- 1 teaspoon salt
- 1/2 teaspoon black pepper
- 1 teaspoon garlic powder
- 1/2 teaspoon paprika
- 4 tablespoons unsalted butter, melted
- 4 cloves garlic, minced
- 1 tablespoon fresh parsley, chopped
- 1 teaspoon fresh thyme leaves
- 1 teaspoon fresh rosemary, finely chopped
- 1/4 teaspoon red pepper flakes (optional)
Instructions
- Prep the chicken: Pat the chicken thighs dry with paper towels. Let them sit on a plate uncovered in the fridge for 15 minutes if possible.
- Season the chicken: In a small bowl, mix salt, pepper, garlic powder, and paprika. Rub olive oil all over the chicken, then sprinkle seasoning evenly on both sides.
- Make the garlic herb butter: Melt butter in a small bowl. Add minced garlic, parsley, thyme, rosemary, and red pepper flakes. Let it sit while preheating the air fryer.
- Preheat the air fryer: Set to 380°F (193°C) and preheat for 3 minutes.
- Arrange the chicken: Place chicken thighs skin-side down in the air fryer basket, ensuring they are not touching.
- First cook: Air fry at 380°F for 12 minutes without opening the basket.
- Flip and baste: Carefully flip the chicken using tongs. Brush garlic herb butter generously over the skin side.
- Second cook: Air fry at 400°F (204°C) for 8-10 minutes, until internal temperature reaches 165°F (74°C) in the thickest part.
- Rest and serve: Remove chicken and let rest for 5 minutes. Drizzle remaining garlic herb butter over the top before serving.
Notes
Dry the chicken skin thoroughly for maximum crispiness. Avoid overcrowding the air fryer basket. Let the garlic infuse in the melted butter for at least 5 minutes. Reserve some butter for drizzling at the end.
Nutrition
- Serving Size: 1 chicken thigh
- Calories: 375
- Sodium: 650
- Fat: 26
- Saturated Fat: 10
- Carbohydrates: 2
- Protein: 28
Keywords: air fryer chicken thighs, crispy chicken thighs, garlic herb butter chicken, easy chicken recipe, quick dinner



