I was supposed to be making a layered peppermint cheesecake for a holiday cookie swap. I had the crust chilling, the cream cheese softening, and I felt pretty good about myself. Then I realized I was completely out of eggs. The store was twenty minutes away, it was pouring rain, and I had exactly one hour before I needed to leave for the party. I stood there staring into my fridge like it had personally betrayed me.
So I did what any reasonable person would do — I panic-browsed my own pantry. I found a bag of white chocolate chips, a bag of semi-sweet chips, a jar of marshmallow creme from some long-forgotten project, and a box of candy canes that were probably from last December. I thought, “Well, this is either going to be a disaster or a miracle.” Honestly? It was a miracle. The fudge set in under an hour. I cut it into uneven squares, threw them on a plate, and walked into that party feeling like I had cheated the system.
Everyone asked for the recipe. I mean, everyone. One friend grabbed my arm and said, “You have to tell me this took all day.” I laughed and said, “It took twenty minutes.” The look on her face was priceless. That’s when I knew this wasn’t just a backup plan — it was a keeper. If you’ve ever needed a last-minute dessert that looks like you spent hours on it, you know that feeling when something just works out. This fudge is that feeling in edible form.
I’ve made it every holiday season since. It’s the recipe I turn to when I want to impress without the stress. And honestly? It’s better than the cheesecake would have been.
Why You’ll Love This Recipe
Let me tell you why this fudge has earned a permanent spot in my holiday rotation. It’s not just good — it’s the kind of dessert that makes people close their eyes after the first bite.
- Only 4 Ingredients: You don’t need a specialty grocery run. White chocolate chips, semi-sweet chips, marshmallow creme, and candy canes. That’s it.
- Incredibly Quick: From start to fridge in about 20 minutes of active time. No candy thermometer, no boiling sugar to a specific temperature, no fuss.
- Foolproof Texture: The marshmallow creme keeps the fudge soft and creamy without being sticky. It cuts cleanly and melts on your tongue.
- Perfect for Gifting: This fudge stays fresh for weeks, travels well, and looks gorgeous in a little tin with a ribbon. I’ve mailed it across the country without issues.
- Naturally Crowd-Pleasing: Kids love the crunch, adults love the peppermint-chocolate combo, and everyone loves that it doesn’t taste “homemade” in that gritty, grainy way some fudge does.
What makes this recipe different from every other fudge recipe out there? It’s the texture. Most peppermint fudge leans too hard on the chocolate, making it dense and heavy. This version uses both white and semi-sweet chocolate, which balances the sweetness and gives you that classic bark look without any layering work. The marshmallow creme adds a silky smoothness that you just can’t get from condensed milk alone.
This is comfort food reimagined — faster, simpler, but with the same soul-soothing satisfaction. It’s perfect for impressing guests without stress, or turning a simple Tuesday night into something a little bit special.
What Ingredients You Will Need
This recipe uses simple, pantry-friendly ingredients to deliver bold flavor and satisfying texture without the fuss. Here’s what you need and why each one matters.
- White Chocolate Chips (12 oz or 340g): These form the creamy, sweet base of your fudge. I prefer Ghirardelli or Guittard white chips for the smoothest melt. Avoid white morsels labeled “baking chips” — they often contain less cocoa butter and can seize up. Look for chips that list cocoa butter as an ingredient, not just palm oil.
- Semi-Sweet Chocolate Chips (12 oz or 340g): These give the fudge its rich chocolate flavor and that beautiful marbled look. Nestlé Toll House works great here. If you want a deeper flavor, use 60% cacao chips. Don’t use milk chocolate — it will make the fudge too sweet and soft.
- Marshmallow Creme (7 oz or 198g): This is the secret ingredient. It adds body and creaminess without making the fudge grainy. Jet-Puffed is the most widely available brand. Do not substitute mini marshmallows melted down — they have a different sugar composition and will make the fudge gritty. You need the creme.
- Crushed Candy Canes (about 6-8 full-sized canes): These provide the peppermint crunch and that iconic red-and-white speckled look. You can buy pre-crushed peppermint pieces, but crushing your own gives you better control over the texture. I like leaving some larger chunks for visual interest. (Pro tip: crush them in a zip-top bag with a rolling pin — less mess, more control.)
Optional but recommended: A pinch of flaky sea salt to sprinkle on top. It sounds fancy, but it just balances the sweetness and makes the peppermint pop. Maldon is my go-to.
Substitution guidance: For a dairy-free version, use dairy-free white and semi-sweet chocolate chips. The marshmallow creme is typically dairy-free, but check the label. For a gluten-free version, this recipe is naturally gluten-free as long as your candy canes are certified gluten-free (most are, but holiday brands vary).
Equipment Needed
You don’t need a lot of fancy gear for this recipe, which is part of its charm.
- 8×8-inch baking pan: This is the perfect size for a thick fudge that cuts into neat squares. If you only have a 9×9, your fudge will be thinner — still delicious, just less substantial.
- Parchment paper: Non-negotiable. You need it to lift the fudge out cleanly. Let about 2 inches overhang on two opposite sides for easy removal.
- Medium saucepan: For melting the chocolate. Use a heavy-bottomed pan to prevent scorching.
- Rubber spatula: For stirring. A wooden spoon works too, but a spatula gets into the corners better.
- Rolling pin or meat mallet: For crushing candy canes. A zip-top bag and your fists work in a pinch, but a rolling pin is more dignified.
- Sharp knife: For cutting the fudge. A chef’s knife or a long serrated knife works best. Run it under hot water and dry it between cuts for clean edges.
I learned the hard way that using a cheap nonstick pan with thin metal means your chocolate can burn in spots. A sturdy stainless steel or enameled pan distributes heat more evenly. If you’re on a budget, IKEA’s 365+ saucepans are surprisingly good for the price.
Preparation Method
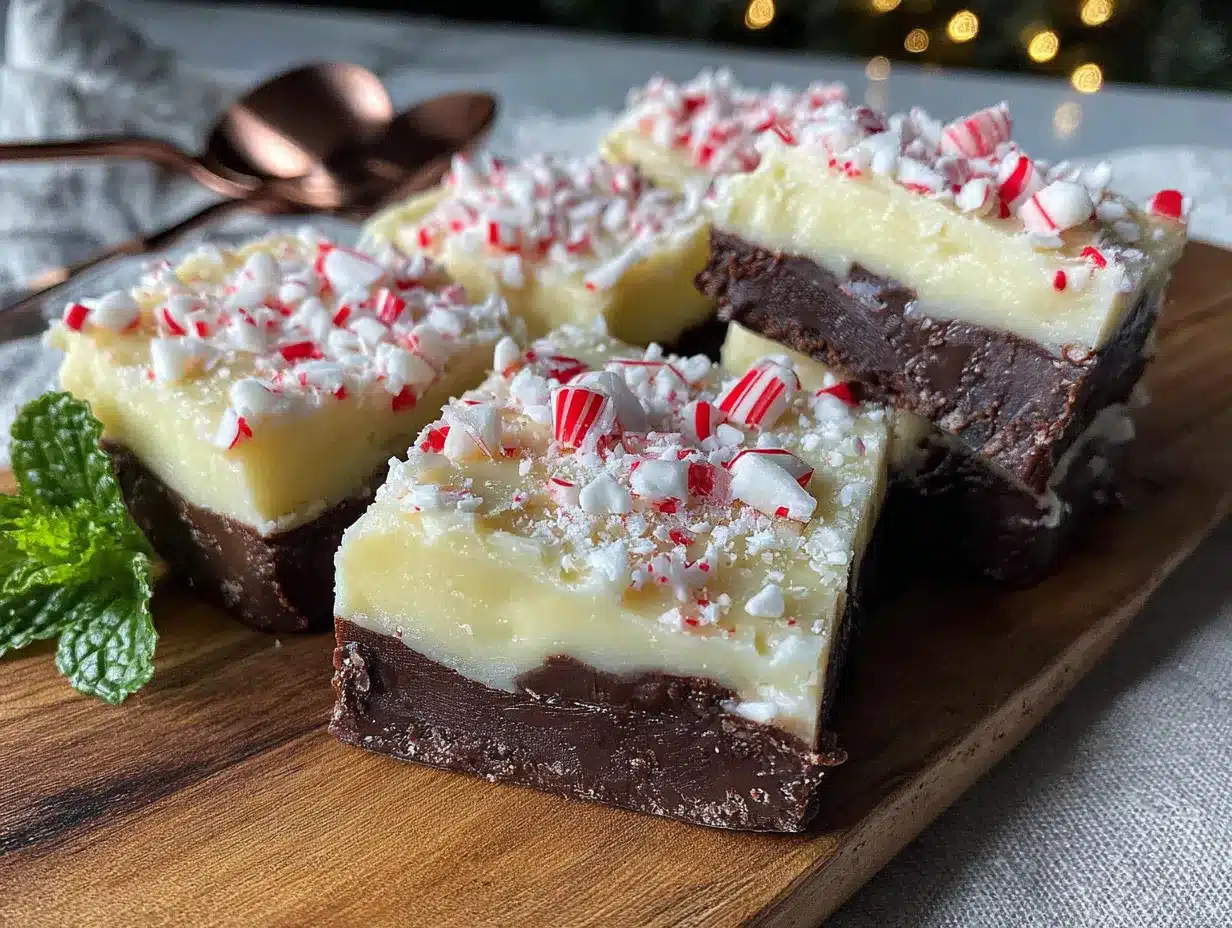
- Prepare your pan: Line your 8×8-inch baking pan with parchment paper, leaving overhang on two sides. Lightly grease the parchment with butter or nonstick spray. This ensures the fudge releases without a fight.
- Crush your candy canes: Place 6-8 full-sized candy canes in a zip-top bag. Seal it, then crush them with a rolling pin or the bottom of a heavy skillet. You want a mix of fine powder and small chunks — not dust, not boulders. Set aside about 2 tablespoons for the top garnish.
- Melt the white chocolate: In your saucepan over low heat, combine the white chocolate chips and half of the marshmallow creme (about 3.5 oz or half the jar). Stir constantly. White chocolate burns easily, so keep the heat low and be patient. It should take about 3-4 minutes. Once it’s smooth and glossy, remove from heat immediately.
- Spread the white layer: Pour the melted white chocolate mixture into your prepared pan. Spread it evenly with your spatula. It will be a thin layer — that’s fine. Pop the pan in the fridge for 5 minutes to set slightly. This creates a base layer so the dark chocolate doesn’t sink in completely later.
- Melt the semi-sweet chocolate: In the same saucepan (no need to wash it), combine the semi-sweet chocolate chips and the remaining marshmallow creme. Again, low heat, constant stirring. This one will take about 3-4 minutes as well. It should look dark, glossy, and smooth.
- Add the crunch: Stir most of the crushed candy canes (save your reserved 2 tablespoons) into the semi-sweet chocolate mixture. Work quickly so the chocolate doesn’t start setting.
- Layer the dark chocolate: Pour the semi-sweet mixture over the white layer in the pan. Spread it evenly. Gently tap the pan on the counter a few times to release any air bubbles.
- Swirl for that bark look: Take a butter knife or a toothpick and drag it through the two layers in a zigzag pattern. Don’t over-swirl — you want distinct ribbons of white and dark, not a muddy brown mess. Three or four passes is plenty.
- Garnish: Sprinkle the reserved crushed candy canes over the top. Press them in gently with your fingers so they stick.
- Set the fudge: Place the pan in the refrigerator, uncovered, for at least 2 hours. Overnight is better if you have the time. The fudge should be firm to the touch and pull away from the parchment edges slightly.
- Cut and serve: Lift the fudge out using the parchment overhang. Place it on a cutting board. Use a sharp knife to cut into 1-inch squares. For the cleanest cuts, wipe the knife between each slice. You should get about 36 pieces.
Sensory cues: When the white chocolate is ready, it should look like thick, silky cream. When the semi-sweet is ready, it should be dark and shiny like polished obsidian. If either looks grainy or dull, you overheated it — next time, use even lower heat.
Cooking Tips & Techniques
I’ve made this fudge at least twenty times, and I’ve made every mistake in the book. Here’s what I’ve learned so you don’t have to.
Low heat is your friend. I cannot stress this enough. High heat makes chocolate seize up into a grainy, clumpy mess. If you’re impatient like me, use a double boiler instead of direct heat. It takes an extra minute but guarantees a smooth melt. I once tried to speed things up on medium-high heat, and I ended up with a pan of brown sludge. My neighbor’s dog wouldn’t even eat it.
Don’t skip the marshmallow creme. I know it looks weird in the jar. I know you might be tempted to use regular marshmallows. Don’t. The creme has a stabilizer that prevents sugar crystals from forming, which is what gives fudge that gritty texture. Regular marshmallows have a different sugar structure and will leave you with a disappointing, sandy mess.
Timing matters. The white chocolate layer only needs 5 minutes in the fridge before you add the dark layer. If you leave it much longer, it will be fully set and the dark chocolate won’t stick to it properly. You’ll end up with two separate layers that slide apart when you cut them. Still tasty, but not as pretty.
Room temperature ingredients aren’t critical here. Unlike baking, where cold eggs can ruin a cake, this fudge is forgiving. Just make sure your candy canes are crushed before you start melting anything — you don’t want to be scrambling with a rolling pin while your chocolate is cooling.
For the cleanest cuts: Let the fudge sit at room temperature for about 10 minutes after coming out of the fridge. Too cold, and the chocolate will shatter. Too warm, and it will smudge. That 10-minute window is the sweet spot.
Variations & Adaptations
This base recipe is a blank canvas. Here are a few ways I’ve adapted it over the years.
Dark Chocolate Mint Version: Swap the semi-sweet chips for dark chocolate (70% cacao or higher) and replace the crushed candy canes with crushed Andes mints. The result is a more sophisticated, less sweet fudge that tastes like a fancy after-dinner mint. I brought this to a dinner party once, and my friend’s husband ate half the pan before anyone noticed.
Cookies and Cream Twist: Crush 10 Oreos (cream filling included) into coarse crumbs and fold them into the semi-sweet layer along with the candy canes. The cookie bits add a wonderful texture contrast. This version is dangerously addictive. I don’t recommend making it unless you have people to share it with — I ate an entire batch myself one December and regretted nothing.
Vegan-Friendly Adaptation: Use dairy-free white and semi-sweet chocolate chips. Most marshmallow creme is accidentally vegan, but check the label — some brands use egg whites. For the candy canes, most are vegan, but again, check for confectioner’s glaze. This version sets just as well and tastes nearly identical. I’ve served it to vegans and non-vegans alike, and no one could tell the difference.
Spicy Mexican Chocolate Version: Add 1/2 teaspoon of ground cinnamon and a pinch of cayenne pepper to the semi-sweet chocolate layer. The warmth of the spices plays beautifully against the cool peppermint. This is my personal favorite for winter holidays when I want something a little different.
Serving & Storage Suggestions
This fudge is best served chilled or at cool room temperature. If it’s a warm day, keep it in the fridge until just before serving. The peppermint crunch is most satisfying when the fudge is firm.
For presentation, I like to arrange the squares on a white platter or in a festive tin lined with parchment. A dusting of powdered sugar or a few extra crushed candy canes on top makes it look professional. For gift-giving, stack the squares in a mason jar or a small box with a ribbon. This fudge is my go-to for teacher gifts, hostess presents, and holiday cookie exchanges.
Storage: Keep the fudge in an airtight container in the refrigerator for up to 3 weeks. Yes, three weeks! The marshmallow creme acts as a preservative. Layer the squares between sheets of parchment or wax paper to prevent sticking.
Freezing: This fudge freezes beautifully. Wrap individual squares in plastic wrap, then place them in a freezer-safe bag or container. They’ll keep for up to 3 months. Thaw in the refrigerator overnight or at room temperature for about 30 minutes. I always keep a stash in my freezer for unexpected guests or late-night cravings.
One note: the crushed candy canes on top can soften over time if exposed to humidity. If you’re making this fudge for a gift that won’t be eaten for a week, consider adding the top garnish just before giving it away. The candy canes mixed into the fudge itself will stay crunchy.
Nutritional Information & Benefits
Let’s be honest — this is a treat, not a health food. But here’s the nutritional breakdown for one square (based on 36 pieces from an 8×8 pan):
| Nutrient | Per Serving |
|---|---|
| Calories | 145 |
| Total Fat | 8g |
| Saturated Fat | 5g |
| Carbohydrates | 18g |
| Sugar | 16g |
| Protein | 1g |
| Sodium | 20mg |
That said, there are a few bright spots. Dark chocolate contains antioxidants called flavonoids, which can support heart health. Peppermint has been shown to aid digestion and reduce nausea. And honestly? Sometimes the mental health benefit of enjoying a small, beautiful treat is worth more than any nutrient count. I believe in balance — enjoy a square or two, savor it, and don’t feel guilty.
This recipe is naturally gluten-free and can be made dairy-free and vegan with simple substitutions. It contains dairy and soy in the chocolate chips, so check labels if you have allergies.
Conclusion
This peppermint bark fudge is proof that the best recipes often come from the most chaotic moments. It’s simple enough for a beginner, impressive enough for a holiday party, and forgiving enough for a distracted cook who forgot to buy eggs. I’ve made it for cookie swaps, teacher gifts, and quiet nights on the couch, and it never disappoints.
I hope you give it a try — and I hope you make it your own. Add extra candy canes if you like a big crunch. Sprinkle sea salt on top if you’re feeling fancy. Double the batch and keep some in the freezer for emergencies. This recipe is yours now.
I’d love to hear how it turns out! Drop a comment below and tell me about your fudge-making adventures. Did you try a variation? Did you eat the whole pan in one sitting? (No judgment here.) Share your photos and tag me — I love seeing your creations. Until next time, happy cooking!
Frequently Asked Questions
Can I use white chocolate bars instead of chips?
Yes, but chop them into small, even pieces first. Chips are designed to melt evenly, while bars can melt unevenly if the pieces are different sizes. Use the same weight — 12 ounces.
My fudge turned out grainy. What went wrong?
You likely overheated the chocolate. Next time, use lower heat and stir constantly. If the chocolate gets too hot, the sugar separates and creates a gritty texture. A double boiler is your best defense against this.
Can I make this without marshmallow creme?
Technically yes, but the texture will be completely different. You’d need to use a traditional fudge recipe with sweetened condensed milk. This recipe is specifically designed around marshmallow creme for that silky, foolproof texture.
How far in advance can I make this fudge?
You can make it up to 3 weeks ahead if stored in the refrigerator. For the best texture and crunch, add the top layer of crushed candy canes no more than 2 days before serving.
Can I double this recipe?
Absolutely. Use a 9×13-inch pan and double all ingredients. The baking time and setting time remain the same. Just make sure you have a large enough saucepan to melt everything at once, or work in batches.
Pin This Recipe!
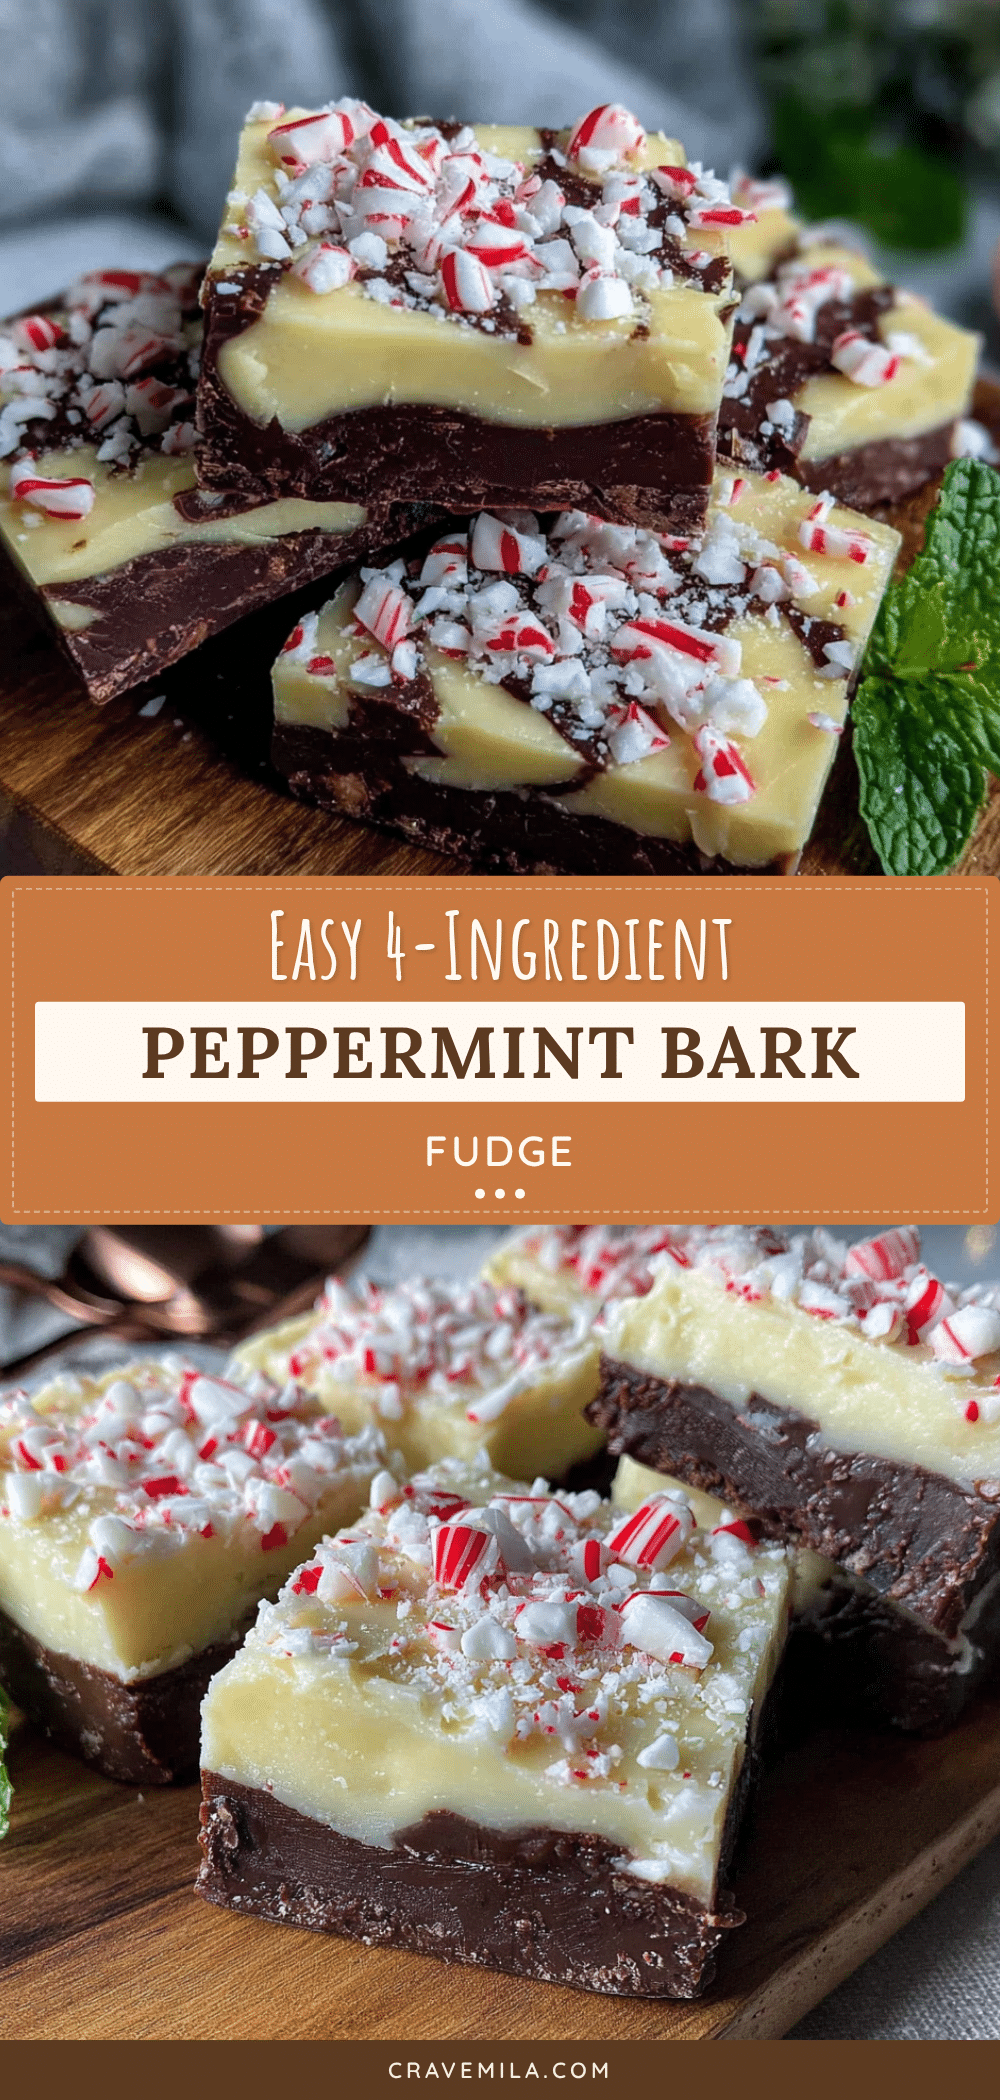
Easy Peppermint Bark Fudge (4-Ingredient Best Recipe)

This 4-ingredient peppermint bark fudge is a quick, foolproof dessert that looks like you spent hours on it. With a creamy white chocolate base, rich semi-sweet chocolate layer, and crunchy candy cane pieces, it’s perfect for holiday gifting or last-minute entertaining.
- Prep Time: 20 minutes
- Cook Time: 10 minutes
- Total Time: 2 hours 30 minutes (includes chilling)
- Yield: 36 servings 1x
- Category: Dessert
- Cuisine: American
Ingredients
- 12 oz (340g) white chocolate chips
- 12 oz (340g) semi-sweet chocolate chips
- 7 oz (198g) marshmallow creme
- 6–8 full-sized candy canes, crushed (about 1/2 cup)
- Optional: flaky sea salt for garnish
Instructions
- Line an 8×8-inch baking pan with parchment paper, leaving overhang on two sides. Lightly grease the parchment with butter or nonstick spray.
- Place 6-8 full-sized candy canes in a zip-top bag and crush with a rolling pin or heavy skillet until you have a mix of fine powder and small chunks. Set aside about 2 tablespoons for garnish.
- In a medium saucepan over low heat, combine the white chocolate chips and half of the marshmallow creme (about 3.5 oz). Stir constantly until smooth and glossy, about 3-4 minutes. Remove from heat immediately.
- Pour the white chocolate mixture into the prepared pan and spread evenly. Refrigerate for 5 minutes to set slightly.
- In the same saucepan over low heat, combine the semi-sweet chocolate chips and the remaining marshmallow creme. Stir constantly until smooth and glossy, about 3-4 minutes. Remove from heat.
- Stir most of the crushed candy canes (reserving the 2 tablespoons for garnish) into the semi-sweet chocolate mixture.
- Pour the semi-sweet mixture over the white layer in the pan and spread evenly. Tap the pan on the counter a few times to release air bubbles.
- Use a butter knife or toothpick to drag through the two layers in a zigzag pattern, creating a swirl. Do not over-swirl.
- Sprinkle the reserved crushed candy canes over the top and press gently to adhere.
- Refrigerate uncovered for at least 2 hours, or overnight, until firm.
- Lift the fudge out using the parchment overhang. Cut into 1-inch squares with a sharp knife, wiping the knife between cuts for clean edges.
Notes
For the cleanest cuts, let the fudge sit at room temperature for about 10 minutes after coming out of the fridge. The marshmallow creme is essential for the silky texture—do not substitute with regular marshmallows. For a dairy-free version, use dairy-free chocolate chips and check the marshmallow creme label. The fudge can be stored in an airtight container in the refrigerator for up to 3 weeks, or frozen for up to 3 months.
Nutrition
- Serving Size: 1 square
- Calories: 145
- Sugar: 16
- Sodium: 20
- Fat: 8
- Saturated Fat: 5
- Carbohydrates: 18
- Protein: 1
Keywords: peppermint bark fudge, 4-ingredient fudge, holiday fudge, easy fudge recipe, no-bake dessert, Christmas fudge



