I was elbow-deep in dish soap last February when the smell hit me — not the lemony suds, but something darker, earthier, coming from the simmering pot on the stove. It was the third batch of homemade elderberry syrup I’d made that month, and honestly, I still wasn’t sure I was doing it right. But that smell, that deep purple aroma of berries and cinnamon, it took me right back to my neighbor Mrs. Kowalski’s kitchen when I was maybe nine years old.
She was this tiny Polish woman with hands that never stopped moving, and she’d press a spoonful of something thick and dark into my hand every time I came over sniffling. “Drink this,” she’d say, like it was the most obvious thing in the world. I never asked what was in it. I just drank it because it tasted like warm berries and because she said it would help. I didn’t know then that I was getting my first dose of homemade elderberry syrup for immune support. I just knew Mrs. Kowalski always made me feel better.
Fast forward thirty years, and here I am, standing in my own kitchen, trying to recreate that exact feeling from a memory I can almost but not quite hold onto. The first few batches were a disaster — too thin, too bitter, too sweet. I burned one so badly the smoke alarm went off and my dog hid under the bed for an hour. But I kept at it because, you know, that’s what you do when something matters. And this matters. Maybe you’ve been there — chasing a taste from your past, trying to bottle up a little bit of comfort and health in a jar you can keep on your counter.
This homemade elderberry syrup recipe is the result of all those failed batches and stubborn attempts. It’s the version I finally got right, the one that tastes like Mrs. Kowalski’s but with a few tweaks I figured out along the way. It’s thick, it’s rich, it’s got that deep berry flavor with just enough warmth from the spices. And every time I take a spoonful, I close my eyes for a second and I’m nine years old again, standing in that tiny yellow kitchen, feeling like everything’s going to be okay.
Why You’ll Love This Recipe
Let me tell you why this particular homemade elderberry syrup recipe has earned a permanent spot in my refrigerator door. I’ve tested this thing more times than I care to admit, and I’ve shared it with friends who were skeptical at first and now text me when they’re running low. That’s the kind of recipe this is.
- Simple Ingredients: No weird extracts or hard-to-find powders. You need dried elderberries, a few spices, some honey, and water. That’s it. You can find everything at a regular grocery store or online without any hassle.
- Quick & Easy: From start to finish, you’re looking at about 45 minutes. Most of that is just letting it simmer on the stove while you do other things. I usually make a batch while I’m catching up on laundry or listening to a podcast.
- Budget-Friendly: A bag of dried elderberries costs around $10-15 and makes multiple batches. Compare that to the $12-20 you’d pay for a small bottle at the health food store, and you’re saving serious money.
- Customizable: Don’t like ginger? Leave it out. Want it spicier? Add more cinnamon. This recipe is forgiving and flexible, which is exactly what a good staple recipe should be.
- Actually Works: I’m not a doctor and I won’t pretend to be one, but I’ve been using this homemade elderberry syrup for immune support through three cold seasons now, and I’ve noticed a real difference. Fewer sick days, milder symptoms, faster recovery. That’s enough proof for me.
What makes this recipe different from all the others I tried? It’s the ratios. I spent weeks tweaking the balance between the berries, the water, and the honey until I got that perfect consistency — thick enough to coat a spoon but thin enough to pour easily. And the spice blend? It took some trial and error, but I landed on a combination that complements the elderberries without overpowering them. This isn’t just another version of elderberry syrup. This is the one I reach for every single time.
Honestly, this recipe makes me feel like I’m doing something good for myself and my family. It’s a small act of care that takes less than an hour, and it sits in my fridge as a reminder that sometimes the simplest things are the most effective.
What Ingredients You Will Need
This homemade elderberry syrup recipe uses straightforward ingredients that work together to create something greater than the sum of their parts. Each one plays a specific role, and understanding that will help you make the best possible syrup.
For the Syrup Base
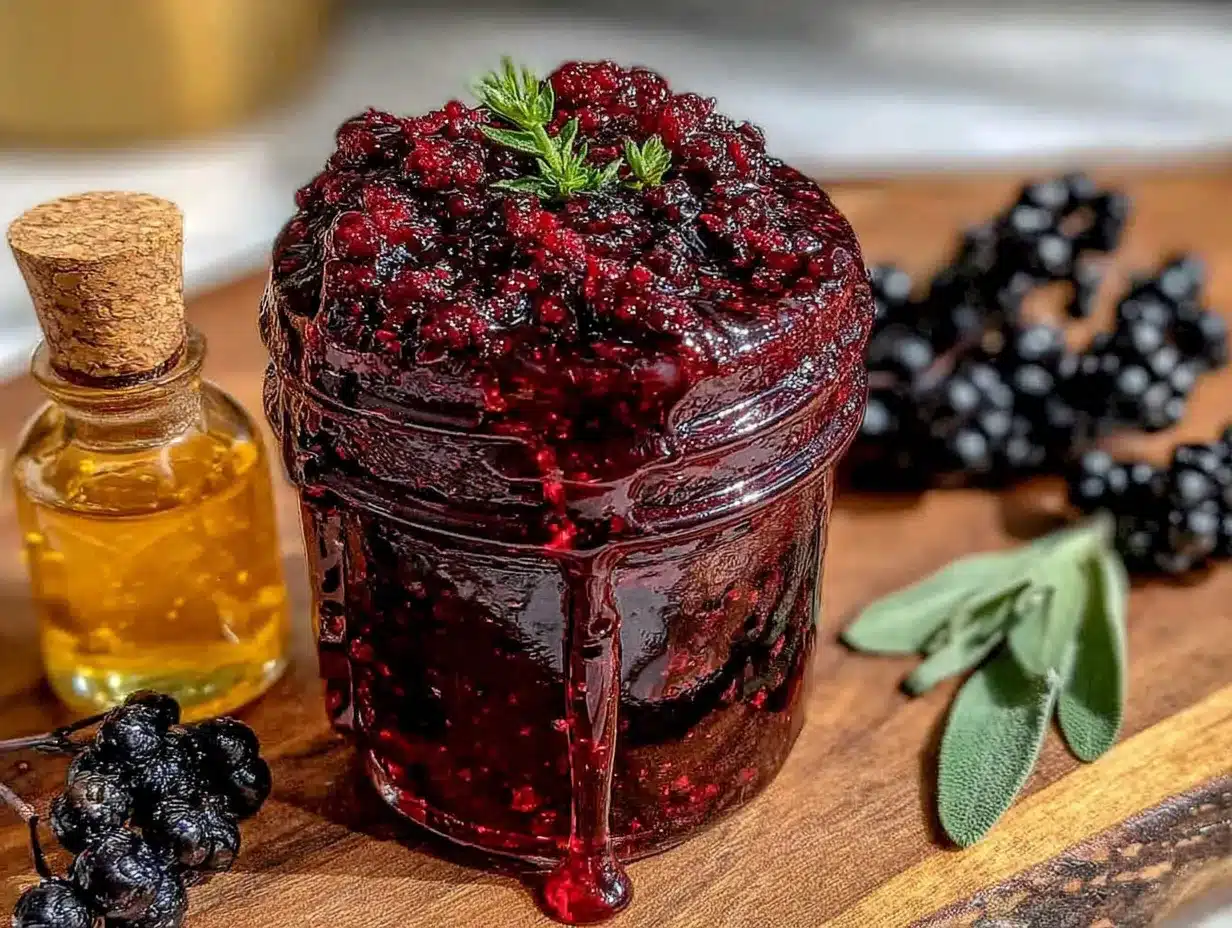
- 1 cup dried elderberries — These are the star of the show. Look for organic dried elderberries from a reputable source. I prefer Starwest Botanicals or Frontier Co-op for consistent quality. The berries should be deep purple-black and smell slightly sweet and earthy.
- 4 cups filtered water — Tap water can contain chlorine or minerals that affect the flavor. Filtered water gives you a cleaner taste. Plus, you’re simmering this down, so you want the purest start possible.
- 1 cinnamon stick — Adds warmth and depth. I use Ceylon cinnamon when I can find it because it’s milder and sweeter than the cassia variety. But honestly, whatever cinnamon you have in your pantry will work fine.
- 1 tablespoon fresh ginger, sliced — Ginger brings a gentle heat and helps with digestion. Don’t skip this one — it adds a layer of complexity that makes the syrup feel more medicinal and comforting at the same time.
- 1 teaspoon whole cloves — A little goes a long way here. Cloves add that slightly spicy, almost numbing quality that makes the syrup feel like it’s doing something. Plus, they smell incredible while simmering.
- 1 cup raw honey — This is where the magic happens. Raw honey is antibacterial and adds natural sweetness without refined sugar. Make sure it’s raw and unfiltered for the most benefits. Local honey is even better if you can get it.
Optional Add-Ins
- 1 tablespoon dried rose hips — Adds extra vitamin C and a slightly floral note. I add these when I’m feeling like my immune system needs extra support.
- 1 teaspoon astragalus root — An adaptogenic herb that supports immune function. I’ve been experimenting with this lately and really like what it adds.
- Zest of one orange — Brightens up the flavor and adds more vitamin C. Use organic oranges if you’re including the zest.
Ingredient Tips from My Kitchen
I learned the hard way that not all dried elderberries are created equal. The first batch I bought was old and dusty, and my syrup came out tasting like dirt. Now I always check the harvest date on the package and buy from companies that specialize in herbs and spices. Freshness matters more than you’d think.
For the honey, please don’t use the stuff in the plastic bear. That’s been pasteurized and filtered within an inch of its life. Find a local beekeeper or look for raw honey at your grocery store. The flavor difference is night and day, and you’re getting all those beneficial enzymes and probiotics that make honey so good for you.
If you’re vegan or avoiding honey, you can substitute maple syrup or agave nectar. The flavor will be different — less complex and more straightforwardly sweet — but it’ll still work. Just know that the texture will be thinner because honey has a thicker consistency than maple syrup.
Equipment Needed
You don’t need a fancy kitchen to make this homemade elderberry syrup for immune support. Here’s what you’ll need:
- Medium saucepan — Any pot with a heavy bottom will work. I use my trusty 4-quart stainless steel saucepan that’s seen better days but still gets the job done.
- Fine-mesh strainer or cheesecloth — This is crucial for straining out the berries and spices. A fine-mesh strainer works great, but if you want an even smoother syrup, line it with cheesecloth. I’ve used both and honestly prefer the cheesecloth for a cleaner result.
- Glass jar or bottle for storage — A 16-ounce Mason jar works perfectly. Make sure it’s clean and completely dry before you pour in the syrup.
- Wooden spoon — For stirring. Metal can react with the honey and change the flavor slightly, so stick with wood or silicone.
- Measuring cups and spoons — Basic kitchen tools, but important for getting the ratios right.
If you don’t have a fine-mesh strainer, you can use a regular colander lined with a clean kitchen towel or paper towels. I’ve done this in a pinch when my strainer was in the dishwasher, and it worked fine. Just be careful not to burn yourself when you pour the hot liquid through.
One thing I wish someone had told me: don’t use a plastic container for storing this syrup. The honey and spices can absorb flavors from plastic over time, and you’ll end up with syrup that tastes faintly of whatever was in that container before. Glass is the way to go.
Preparation Method
Making homemade elderberry syrup is straightforward, but there are a few tricks I’ve picked up along the way that make a real difference. Follow these steps and you’ll end up with a syrup that’s dark, rich, and perfectly balanced.
- Combine the berries and water — Add the dried elderberries and filtered water to your saucepan. Give them a quick stir to make sure the berries are mostly submerged. Some will float, and that’s fine. Don’t worry about it.
- Add the spices — Toss in the cinnamon stick, sliced ginger, and whole cloves. If you’re using any optional add-ins like rose hips or astragalus root, add them now. This is where the flavor building begins.
- Bring to a boil — Turn the heat to medium-high and bring everything to a gentle boil. You’ll see small bubbles forming around the edges of the pot. This usually takes about 5-7 minutes depending on your stove.
- Reduce to a simmer — Once it’s boiling, turn the heat down to low. You want a gentle simmer, not a rolling boil. The liquid should be moving slightly but not aggressively. Set a timer for 30 minutes.
- Let it simmer — This is the hands-off part. Let the mixture simmer gently for 30 minutes. You’ll notice the liquid turning a deep purple color and the kitchen filling with that amazing spicy-berry smell. Give it an occasional stir to make sure nothing’s sticking to the bottom.
- Check the consistency — After 30 minutes, the liquid should have reduced by about half. If it still looks thin, let it go another 10 minutes. I like my syrup on the thicker side, so I usually let it simmer for 35-40 minutes total.
- Remove from heat — Take the pot off the stove and let it cool for about 10 minutes. You don’t want to strain it while it’s boiling hot because, well, burns are no fun.
- Strain the mixture — Place your fine-mesh strainer or cheesecloth over a large bowl or measuring cup. Carefully pour the liquid through. Press down on the berries with the back of a spoon to extract as much liquid as possible. Don’t rush this step — get every last drop.
- Discard the solids — The spent berries and spices go in the compost or the trash. They’ve given up all their goodness at this point.
- Let the liquid cool — Let the strained liquid cool for another 15-20 minutes. It should be warm but not hot — about body temperature. This is important because adding honey to hot liquid can destroy its beneficial enzymes.
- Stir in the honey — Once the liquid has cooled to warm, add the raw honey and stir gently until it’s fully dissolved. The mixture will become thicker and more syrupy as the honey incorporates. Taste it here and adjust if needed — I sometimes add an extra tablespoon of honey if I want it sweeter.
- Bottle it up — Pour the finished syrup into your clean glass jar. Let it cool completely before putting the lid on and transferring it to the refrigerator. It will thicken more as it cools.
Cooking Tips & Techniques
I’ve made this homemade elderberry syrup recipe probably two dozen times by now, and I’ve made every mistake in the book. Here’s what I’ve learned so you don’t have to repeat my errors.
Don’t boil the honey — This is the biggest mistake I made early on. I was so excited to get the syrup done that I added the honey while the liquid was still hot. Raw honey contains beneficial enzymes and probiotics that get destroyed at high temperatures. Let that liquid cool down to warm — think bath water temperature — before you add the honey. Your immune system will thank you.
Watch the simmer — A gentle simmer is what you’re after. If you boil the berries too aggressively, you’ll end up with a bitter, tannic syrup that tastes more like medicine than something you’d actually want to take. Low and slow is the way to go. Trust me, I’ve made the bitter batch and it was not fun to choke down.
Don’t over-strain — Some people like their syrup completely clear, but I actually prefer leaving a little bit of sediment in mine. That sediment contains fiber and other good stuff from the berries. Plus, it gives the syrup a more rustic, homemade feel. If you want it crystal clear, use cheesecloth. If you’re like me, a fine-mesh strainer is plenty.
Timing is everything — I like to make this syrup on a Sunday afternoon when I have a few hours of downtime. The active work is only about 15 minutes, but the simmering time gives me a chance to meal prep, read a book, or just sit and enjoy the amazing smell filling my house.
Scale it up — This recipe makes about 2 cups of syrup, which lasts me about a month. But you can easily double or triple it. Just make sure your pot is big enough — a double batch needs at least a 6-quart pot to give everything room to simmer properly.
Variations & Adaptations
One of the things I love about this homemade elderberry syrup for immune support is how adaptable it is. Here are some variations I’ve tried and loved:
Spicy Ginger Version
Double the fresh ginger and add a pinch of cayenne pepper. This version is amazing when you feel a cold coming on and want something that really clears out your sinuses. The heat from the ginger and cayenne is warming and comforting, and it gives the syrup an extra kick that I personally love.
Herbal Immune Booster
Add 1 tablespoon each of dried echinacea and dried astragalus root along with the elderberries. These herbs have been used for centuries to support immune function. The flavor gets a little more earthy and complex, but it’s still pleasant. I make this version during flu season when I want all the immune support I can get.
Kid-Friendly Version
Reduce the ginger to just 1 teaspoon and skip the cloves entirely. Kids can be sensitive to strong spice flavors, and this milder version is still effective without being overwhelming. My niece calls this “purple honey” and asks for it by name.
Low-Sugar Version
If you’re watching your sugar intake, you can reduce the honey to 1/2 cup and add a few drops of stevia to taste. The texture will be thinner, but the immune-supporting properties of the elderberries remain the same. I’ve made this for friends who are diabetic, and they appreciated having an option that worked for their needs.
Dried Fruit Version
Add 1/4 cup dried goji berries or dried schisandra berries along with the elderberries. Both of these are adaptogenic and add additional immune-supporting properties. The flavor gets a little more complex and fruity, which is a nice change of pace.
Serving & Storage Suggestions
This homemade elderberry syrup is versatile and easy to incorporate into your daily routine. Here’s how I use and store mine:
Daily Maintenance Dose: Take 1 tablespoon (15 ml) daily during cold and flu season. I take mine first thing in the morning, straight from the spoon. It’s sweet and spicy enough that it doesn’t feel like taking medicine.
Booster Dose: If you feel a cold coming on or have been exposed to someone who’s sick, take 1 tablespoon every 3-4 hours. I keep a small bottle in my bag for days when I’m out and about.
For Kids: Children ages 2-12 can take 1 teaspoon (5 ml) daily. Always check with your pediatrician before giving any herbal remedy to children, especially if they have underlying health conditions.
Storage: Keep your syrup in a sealed glass jar in the refrigerator. It will stay good for 2-3 months. I write the date on the jar with a permanent marker so I know when I made it. If you see mold or fermentation bubbles, toss it and make a fresh batch.
Freezing: You can freeze elderberry syrup in ice cube trays for longer storage. Each cube is about 2 tablespoons, which makes it easy to thaw just what you need. Frozen syrup will keep for up to 6 months.
Serving Ideas: Add a spoonful to hot tea for a soothing winter drink. Drizzle it over pancakes or oatmeal for a immune-boosting breakfast. Mix it into sparkling water for a refreshing mocktail. Stir it into yogurt or smoothies. The possibilities are endless.
Nutritional Information & Benefits
While I’m not a nutritionist or doctor, I can share what I’ve learned about the key ingredients in this homemade elderberry syrup for immune support.
Estimated Nutritional Values (per 1 tablespoon serving):
- Calories: 45-50
- Carbohydrates: 12g
- Sugars: 10g (from honey)
- Vitamin C: 4-6 mg (from elderberries and optional add-ins)
- Antioxidants: High (elderberries are rich in flavonoids)
Key Benefits:
- Elderberries are packed with antioxidants and vitamins that support immune function. Studies suggest they may help reduce the duration and severity of cold and flu symptoms.
- Raw honey contains antibacterial and anti-inflammatory properties. Local honey may also help with seasonal allergies by exposing you to local pollen in small amounts.
- Ginger has anti-inflammatory effects and can help soothe sore throats and settle upset stomachs.
- Cinnamon is rich in antioxidants and has anti-inflammatory properties. It also helps regulate blood sugar, which is a nice bonus.
Dietary Considerations: This recipe is gluten-free, dairy-free, and soy-free. It is not vegan due to the honey, but you can substitute maple syrup if needed. Always check with your healthcare provider before starting any new herbal regimen, especially if you are pregnant, nursing, or taking medications.
Conclusion
Making your own homemade elderberry syrup for immune support is one of those small acts of care that adds up to something meaningful. It’s not complicated, it doesn’t require fancy equipment, and the ingredients are simple and accessible. But every time you take that spoonful, you’re doing something good for yourself.
I still think about Mrs. Kowalski sometimes, especially when I’m stirring a fresh batch on the stove. I wonder if she knew how much those little moments meant to a kid who just wanted to feel better. Probably not. She was just doing what she knew how to do — taking care of people the best way she could. And that’s what this recipe is for me now. A way to take care of myself and the people I love.
I’d love to hear how this recipe works for you. Do you add any special ingredients to yours? Have you found a favorite way to take it? Drop a comment below and let me know. And if you share this recipe with someone who needs it, even better. That’s how these things spread — one spoonful at a time.
Stay healthy, friends. And don’t forget to take your purple honey.
Frequently Asked Questions
Can I use fresh elderberries instead of dried?
You can, but fresh elderberries need to be cooked thoroughly because they contain compounds that can cause stomach upset when eaten raw. If using fresh, use 2 cups of fresh berries in place of 1 cup dried, and be sure to simmer them for at least 30 minutes. Also, fresh elderberries are only in season for a few weeks in late summer, so dried are much more convenient for year-round use.
How long does homemade elderberry syrup last in the fridge?
Properly stored in a sealed glass jar in the refrigerator, your syrup will stay fresh for 2-3 months. The honey acts as a natural preservative, which helps extend its shelf life. If you notice any mold, off smells, or fermentation bubbles, it’s time to make a fresh batch. I always label my jars with the date so I can keep track.
Can I give elderberry syrup to my children?
Many parents give elderberry syrup to children over age 2, but I always recommend checking with your pediatrician first. For kids ages 2-12, a typical dose is 1 teaspoon (5 ml) daily. Start with a smaller amount to make sure they tolerate it well. The kid-friendly version in the variations section is milder and more appealing to little ones.
Is it safe to take elderberry syrup every day?
For most healthy adults, taking elderberry syrup daily during cold and flu season is considered safe. I take 1 tablespoon daily from October through March. However, if you have an autoimmune condition or are on immunosuppressant medications, talk to your doctor before adding elderberry to your routine. It’s always better to be safe than sorry.
Can I make this syrup without honey?
Absolutely. If you’re vegan or avoiding honey, you can substitute maple syrup or agave nectar. The texture will be thinner and the flavor less complex, but it will still work as an immune-supporting syrup. You can also use 1/2 cup of coconut sugar dissolved in the warm liquid, though this will give you a more crystallized texture as it cools.
Pin This Recipe!
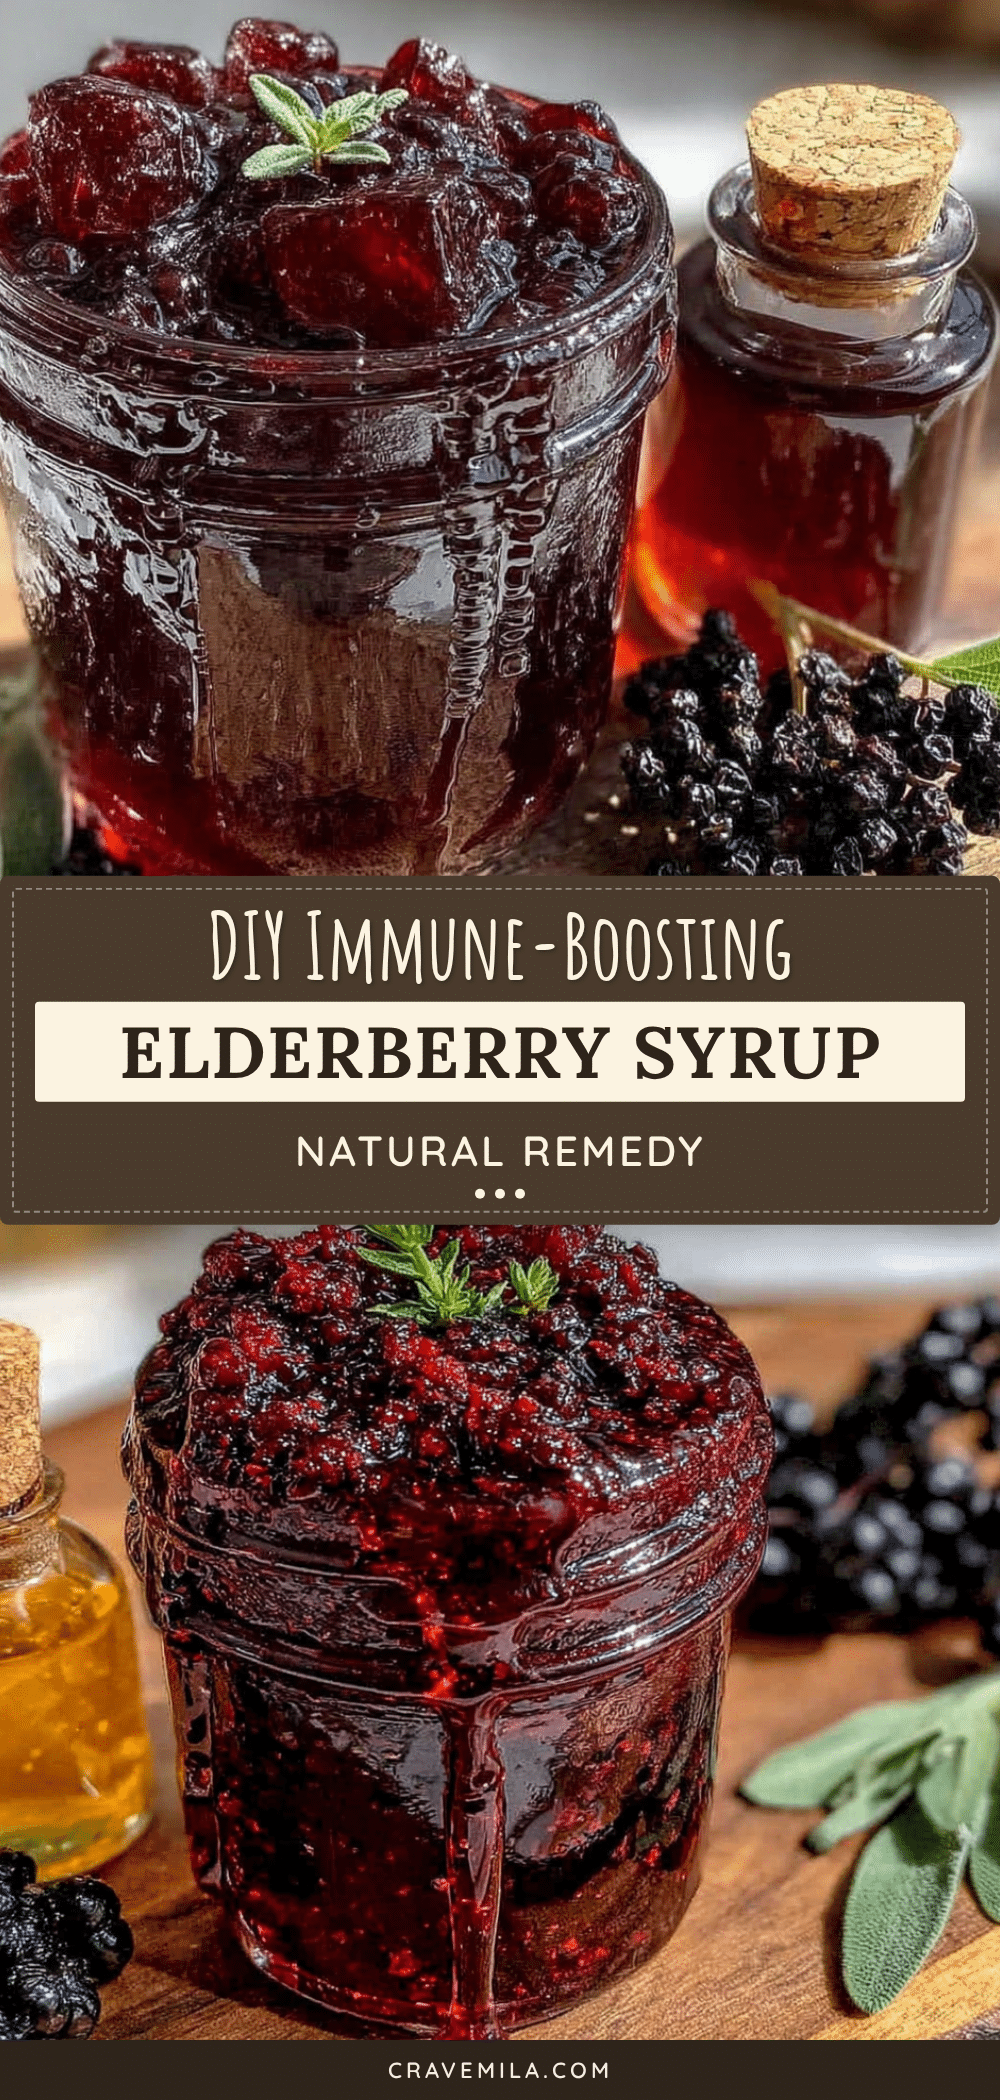
Best Homemade Elderberry Syrup Recipe for Immune Health
This homemade elderberry syrup is thick, rich, and perfectly balanced with deep berry flavor and warm spices. It’s a simple, budget-friendly way to support your immune system during cold and flu season.
- Prep Time: 15 minutes
- Cook Time: 30 minutes
- Total Time: 45 minutes
- Yield: 2 cups (about 32 servings of 1 tablespoon each) 1x
- Category: Condiment
- Cuisine: American
Ingredients
- 1 cup dried elderberries
- 4 cups filtered water
- 1 cinnamon stick
- 1 tablespoon fresh ginger, sliced
- 1 teaspoon whole cloves
- 1 cup raw honey
- 1 tablespoon dried rose hips (optional)
- 1 teaspoon astragalus root (optional)
- Zest of one orange (optional)
Instructions
- Combine the dried elderberries and filtered water in a medium saucepan. Stir to ensure berries are mostly submerged.
- Add the cinnamon stick, sliced ginger, and whole cloves. Add optional add-ins if using.
- Bring to a gentle boil over medium-high heat, about 5-7 minutes.
- Reduce heat to low and let simmer gently for 30 minutes, stirring occasionally.
- Check consistency: liquid should have reduced by about half. If too thin, simmer another 10 minutes.
- Remove from heat and let cool for 10 minutes.
- Strain the mixture through a fine-mesh strainer or cheesecloth into a large bowl or measuring cup. Press on berries to extract as much liquid as possible.
- Discard the solids.
- Let the strained liquid cool for 15-20 minutes until warm (about body temperature).
- Stir in the raw honey until fully dissolved.
- Pour the syrup into a clean glass jar. Let cool completely before sealing and refrigerating.
Notes
Do not add honey while liquid is hot to preserve beneficial enzymes. Use raw, unfiltered honey for best results. Store in refrigerator for 2-3 months. Can be frozen in ice cube trays for up to 6 months.
Nutrition
- Serving Size: 1 tablespoon (15 ml)
- Calories: 4550
- Sugar: 10
- Carbohydrates: 12
Keywords: elderberry syrup, homemade elderberry syrup, immune support, elderberry recipe, natural remedy, cold and flu, elderberry honey syrup



