My neighbor, a guy named Leo who I swear lives on frozen pizza and energy drinks, asked me why I couldn’t just bake the stuffing in a muffin tin instead of that big casserole dish. I started to explain why that wouldn’t work—something about moisture distribution and the need for a crowded pan to get that perfect texture. Then I stopped. Honestly, I had no good reason. I just assumed it wouldn’t work because I had never seen it done that way.
So I tried it. And let me tell you, Leo was a genius. The first batch came out of the oven, and I stood there holding a perfectly crisp, golden-brown muffin of stuffing with a soft, tender center. It was like Thanksgiving had been reborn in a cupcake pan. I mean, who knew that the crispy edges everyone fights over could be multiplied by twelve? Each muffin gets its own personal crust. It was one of those kitchen moments where you realize you have been overcomplicating something for years.
These Perfect Brown Butter Sage Stuffing Muffins are now my go-to for holidays, potlucks, and even random Tuesday nights when I am craving comfort food. They have that nutty, rich flavor from the brown butter, the earthy warmth of fresh sage, and that satisfying crunch on every side. If you have ever stood over a pan of stuffing wishing every bite had that crispy top, this recipe is for you. Maybe you have been there, digging through a casserole dish for the corner pieces? Yeah, this solves that problem.
What started as a silly question from a neighbor turned into one of my most-requested recipes. That is the thing about cooking—sometimes the best ideas come from the people who know the least about it.
Why You’ll Love This Recipe
These stuffing muffins are not just another holiday side dish. They are a game-changer for anyone who loves that perfect balance of crispy edges and soft, flavorful centers. I have tested this recipe at least a dozen times, tweaking the liquid ratio and the baking time until every single muffin came out consistently perfect. Trust me, I have made the mistakes so you do not have to.
- Quick & Easy: Ready in about 45 minutes from start to finish, with only 15 minutes of active prep. Perfect for busy holiday mornings or last-minute dinner invites.
- Simple Ingredients: You likely have most of these in your pantry right now. Bread, butter, onions, celery, and herbs—nothing fancy required.
- Perfect for Gatherings: These individual portions are ideal for Thanksgiving, Friendsgiving, Christmas dinner, or any potluck where you want to avoid the dreaded stuffing scoop struggle.
- Crowd-Pleaser: Kids love the muffin shape, adults love the crispy edges, and everyone loves that they get their own personal serving. No more fighting over the corner pieces.
- Unbelievably Delicious: The brown butter adds a deep, nutty richness that takes this stuffing from good to “can I have the recipe?” in one bite. The fresh sage ties it all together with its earthy, slightly peppery warmth.
What makes this recipe different from every other stuffing out there is the texture. By baking in a muffin tin, every single muffin develops that coveted crispy exterior while staying soft and moist inside. You get twelve perfect servings, each one a little tower of Thanksgiving magic. Plus, the brown butter technique is something I picked up from a pastry chef friend years ago, and it has never let me down. It is not just another version of stuffing—it is the best version.
This recipe is the kind that makes you close your eyes after the first bite. It is comfort food reimagined—faster, more portable, and with the same soul-soothing satisfaction as the classic dish. Perfect for impressing guests without stress, or turning a simple weeknight dinner into something memorable.
What Ingredients You Will Need
This recipe uses simple, wholesome ingredients that work together to create something truly special. Most of these are pantry staples, but a few key players make all the difference. Here is everything you need and why each one matters.
For the Stuffing Muffins
- 1 loaf (about 12-14 ounces) day-old French bread or sourdough, cut into 1/2-inch cubes (stale bread absorbs the liquid better and holds its shape)
- 6 tablespoons unsalted butter (I prefer Kerrygold for its rich flavor, but any good quality butter works)
- 1 medium yellow onion, finely diced (about 1 cup)
- 2 celery stalks, finely diced (about 3/4 cup)
- 3 cloves garlic, minced
- 2 tablespoons fresh sage leaves, finely chopped (about 8-10 leaves—do not use dried here, fresh is non-negotiable for that earthy punch)
- 1 tablespoon fresh thyme leaves (or 1 teaspoon dried)
- 1 teaspoon kosher salt
- 1/2 teaspoon black pepper
- 1 1/2 cups low-sodium chicken or vegetable broth
- 1 large egg, lightly beaten (this is the secret to holding the muffins together without them falling apart)
- 1/4 cup fresh parsley, chopped (for garnish, optional but recommended)
Ingredient Tips and Substitutions
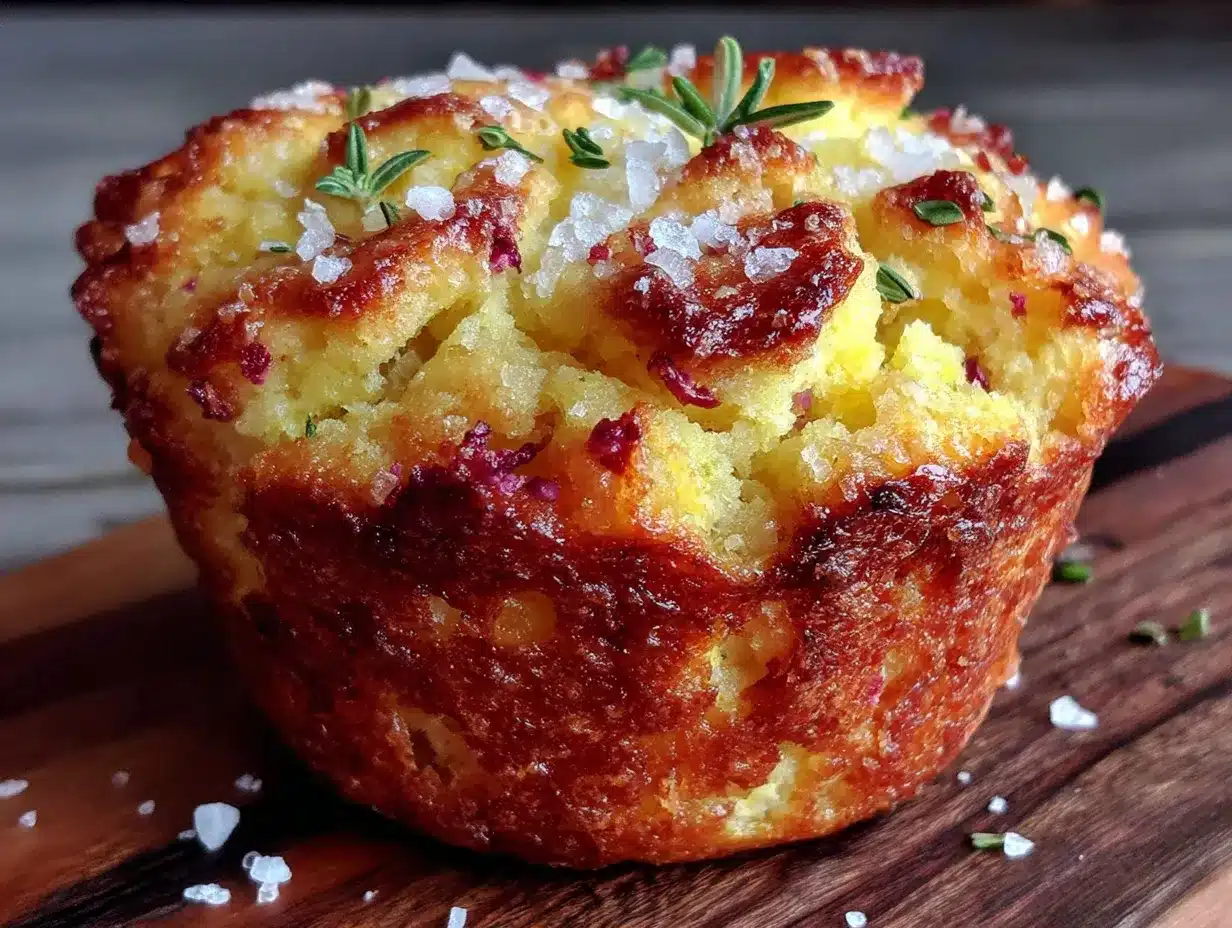
For the bread, day-old is best because it is dry enough to soak up the broth without turning into mush. If you only have fresh bread, cube it and spread it on a baking sheet at 300°F for about 10 minutes to dry it out. I have used gluten-free bread successfully—just make sure it is sturdy, not the soft sandwich kind.
The butter is the star here. Browning it transforms the flavor completely, so do not skip that step even if you are tempted. If you are dairy-free, use a high-quality vegan butter like Miyoko’s—it browns beautifully. For the herbs, fresh sage is essential. Dried sage has a different, more bitter flavor that can overpower the dish. If you must substitute, use half the amount and add a pinch of dried rosemary.
For the broth, low-sodium is important because the bread absorbs the liquid and you do not want overly salty muffins. I have used turkey broth when I had it leftover from Thanksgiving, and it was incredible. Vegetable broth works perfectly for a vegetarian version.
Equipment Needed
You do not need anything fancy for this recipe, which is part of its charm. Here is what you will need:
- 12-cup standard muffin tin (non-stick works best, but grease it well regardless)
- Large skillet (for browning the butter and sautéing the vegetables—a light-colored pan helps you see the butter change color)
- Large mixing bowl
- Wooden spoon or silicone spatula
- Measuring cups and spoons
- Chef’s knife and cutting board
- Cooling rack (for letting the muffins cool slightly before serving—this keeps them from getting soggy on the bottom)
If you do not have a muffin tin, you can use a standard 8×8 baking dish and bake for about 35-40 minutes. You will not get the same crispy edges, but it will still taste amazing. I have also used silicone muffin cups on a baking sheet, and they worked great—just place them on a tray for stability. Budget tip: a basic non-stick muffin tin from any grocery store costs under $15 and will last for years if you hand wash it.
Preparation Method
Let me walk you through this step by step. I have made this recipe more times than I can count, so I know exactly where things can go wrong and how to keep them right.
- Preheat your oven to 375°F (190°C). Place the oven rack in the middle position. Generously grease a 12-cup muffin tin with butter or non-stick spray. Do not skimp here—the muffins need to release cleanly, and stuffing loves to stick.
- Brown the butter. In a large skillet over medium heat, melt the 6 tablespoons of butter. Swirl the pan occasionally as it melts. After about 3-4 minutes, the butter will start to foam and you will see golden-brown specks forming at the bottom. This is the milk solids toasting—that is where the magic happens. The butter will smell nutty and amazing. Once it turns a deep amber color (think the color of a hazelnut), immediately remove it from the heat and pour it into a heat-safe bowl to stop the cooking. Do not walk away from the pan—brown butter goes from perfect to burnt in about 30 seconds. I learned this the hard way, and let me tell you, burnt butter smells like regret.
- Sauté the vegetables. In the same skillet (no need to wash it—there is flavor left behind), add the diced onion and celery. Cook over medium heat for 5-6 minutes until they are soft and translucent. The residual butter in the pan will add even more flavor. Add the minced garlic, chopped sage, and thyme, and cook for another minute until fragrant. Your kitchen should smell like a cozy autumn afternoon at this point.
- Prepare the bread. Place the cubed bread in a large mixing bowl. If your bread is not day-old, spread the cubes on a baking sheet and toast them at 300°F for 8-10 minutes. You want them dry but not browned. The bread should feel slightly stale to the touch—this helps it absorb the liquid without turning into paste.
- Combine the ingredients. Pour the sautéed vegetables over the bread cubes. Add the brown butter, salt, and pepper. Toss everything gently with your hands or a spatula until the vegetables and butter are evenly distributed. Take your time with this—every cube should get some love.
- Add the liquid. In a small bowl or measuring cup, whisk together the chicken broth and the beaten egg. Pour this mixture evenly over the bread mixture. Toss gently to combine. The bread should be moist but not soggy—if there is liquid pooling at the bottom of the bowl, you have added too much. Let the mixture sit for 5 minutes to allow the bread to absorb the liquid. This resting time is crucial; do not skip it.
- Fill the muffin tin. Divide the stuffing mixture evenly among the 12 muffin cups. Press each portion down firmly with your fingers or the back of a spoon. You want them packed tight so they hold together. Each cup should be heaped slightly above the rim—they will shrink a bit as they bake.
- Bake. Place the muffin tin in the preheated oven and bake for 20-25 minutes, or until the tops are golden brown and crispy. If you want extra-crispy tops, broil for 1-2 minutes at the end, but watch them like a hawk. I burned a batch this way once—never again.
- Cool and serve. Let the muffins cool in the pan for 5 minutes. Then run a knife around the edges and gently lift them out. Place them on a cooling rack for another 5 minutes before serving. This resting time helps them set so they do not fall apart when you pick them up.
Cooking Tips & Techniques
Over the years, I have learned a few things that make this recipe foolproof. Here are my best tips, earned through trial and error.
Do not skip the brown butter. I know it is an extra step, but it is the single most important thing in this recipe. Regular melted butter just does not give you that deep, nutty flavor. If you have never browned butter before, here is the trick: use a light-colored pan so you can see the color change, and keep the heat at medium. The butter will foam, then the foam will subside, and you will see brown specks appear. That is your cue to pull it off the heat immediately.
Pack the muffins firmly. This is where most people go wrong. If you gently spoon the mixture into the muffin cups, they will fall apart when you try to remove them. You need to press the stuffing down firmly so the ingredients are compacted. Think of it like making a sandcastle—the tighter you pack it, the better it holds its shape.
Watch your liquid ratio. The amount of broth you need depends on how dry your bread is. Day-old bread absorbs more liquid than fresh bread. Start with 1 1/4 cups of broth and add more if needed. The mixture should look moist but not wet. If you see liquid pooling at the bottom of the bowl, you have gone too far. I once added too much broth and ended up with stuffing soup—not my finest moment.
Let them rest. I know it is tempting to dig in right away, but letting the muffins cool for 5-10 minutes makes a huge difference. They need that time to set so they hold their shape. If you try to remove them too soon, they will crumble. Patience pays off here.
Variations & Adaptations
One of the best things about this recipe is how easy it is to customize. Here are some of my favorite variations.
Vegetarian Version: Use vegetable broth instead of chicken broth. Add 1 cup of sautéed mushrooms (cremini or shiitake work great) along with the onions and celery. The mushrooms add an earthy, umami flavor that makes you not miss the meat at all.
Sausage and Apple Stuffing Muffins: Brown 1/2 pound of Italian sausage (casings removed) in the skillet before sautéing the vegetables. Remove the sausage and set it aside, then proceed with the recipe. Add 1/2 cup of finely diced apple (Granny Smith or Honeycrisp) along with the onions. The sweetness of the apple pairs beautifully with the savory sausage and brown butter.
Gluten-Free Option: Use a good quality gluten-free bread. I have had the best results with a crusty gluten-free sourdough or a sturdy multigrain loaf. Avoid soft gluten-free sandwich bread—it turns to mush. The rest of the ingredients are naturally gluten-free, so this is an easy swap.
Herb Variations: If you do not have fresh sage, you can use a mix of fresh rosemary, thyme, and a little dried marjoram. I once made these with fresh dill and chives for a spring brunch, and they were surprisingly delicious. Do not be afraid to experiment with your favorite herbs.
Make It Spicy: Add 1/2 teaspoon of red pepper flakes along with the garlic, or stir in a diced jalapeño (seeds removed) with the onions. The heat cuts through the richness of the brown butter beautifully.
Serving & Storage Suggestions
These stuffing muffins are versatile and can be served in so many ways. Here is how to make the most of them.
Serving Temperature: Serve these warm, straight from the oven. The contrast between the crispy exterior and the soft interior is at its peak within the first 15 minutes. If you are serving them at a holiday meal, time the baking so they come out just before everyone sits down.
What to Serve With Them: These muffins are perfect alongside roasted turkey, chicken, or pork. They also pair beautifully with a simple green salad dressed with lemon vinaigrette—the acidity cuts through the richness. For a vegetarian meal, serve them with roasted root vegetables and a cranberry sauce. They are also amazing as a base for leftover turkey and gravy the next day.
Storage: Store leftover muffins in an airtight container in the refrigerator for up to 4 days. They will lose some of their crispiness, but the flavor will still be fantastic. I actually think they taste even better the next day after the flavors have melded together.
Reheating: The best way to reheat these is in the oven or toaster oven at 350°F for 8-10 minutes. This restores the crispy edges. You can microwave them in a pinch, but they will be soft rather than crispy. If you are reheating from frozen, bake directly from frozen at 350°F for 15-18 minutes.
Freezing: These muffins freeze beautifully. Let them cool completely, then wrap each one individually in plastic wrap and place them in a freezer bag. They will keep for up to 3 months. This is a lifesaver for holiday prep—make them a month ahead and just reheat on the big day.
Nutritional Information & Benefits
While these stuffing muffins are definitely a comfort food, they do offer some nutritional benefits worth noting. Here is a rough estimate per muffin (based on 12 servings):
| Nutrient | Amount Per Muffin |
|---|---|
| Calories | 185 |
| Total Fat | 9g |
| Saturated Fat | 5g |
| Carbohydrates | 21g |
| Fiber | 2g |
| Protein | 5g |
| Sodium | 410mg |
The brown butter, while rich, contains butyrate, a fatty acid that supports gut health. Fresh sage is packed with antioxidants and has anti-inflammatory properties. The celery and onion provide fiber and vitamins. If you use whole-grain bread, you will get even more fiber and nutrients. For a lighter version, you can reduce the butter to 4 tablespoons and use low-sodium broth. These muffins are not health food, but they are made with real, whole ingredients—and that counts for something.
Frequently Asked Questions
Can I make these stuffing muffins ahead of time?
Absolutely. You can assemble the muffins completely (steps 1-7) and refrigerate them unbaked for up to 24 hours. When you are ready to bake, add about 5 minutes to the baking time since you are starting from cold. You can also bake them fully, cool them, and reheat as directed.
Why did my stuffing muffins fall apart?
This usually happens for one of two reasons: you did not pack the mixture firmly enough into the muffin cups, or you did not let them cool long enough before removing them. Press the mixture down firmly with your fingers, and let them rest for at least 5 minutes after baking. The egg helps bind everything together, so make sure you do not skip it.
Can I use dried herbs instead of fresh?
You can, but I really recommend fresh sage for this recipe. Dried sage has a more concentrated, sometimes bitter flavor that can overpower the dish. If you must use dried, use about 2 teaspoons of dried sage and crumble it between your palms before adding it to release the oils. For the thyme, use 1 teaspoon dried instead of 1 tablespoon fresh.
How do I get the tops extra crispy?
After baking, switch your oven to broil and watch the muffins closely for 1-2 minutes. The tops will turn golden and crunchy. Be careful—broilers vary wildly in intensity, and it is very easy to go from perfect to burnt. If you want consistently crispy tops without the risk, bake the muffins for an additional 3-5 minutes without broiling.
Can I make these dairy-free?
Yes. Use a high-quality vegan butter that browns well (Miyoko’s is my favorite). Use vegetable broth instead of chicken broth. The rest of the ingredients are naturally dairy-free. The texture will be slightly different, but the flavor will still be delicious. I have made this version for dairy-free friends, and they always ask for seconds.
Conclusion
These Perfect Brown Butter Sage Stuffing Muffins are the kind of recipe that makes you wonder why you ever did it the old way. They are easier to serve, more fun to eat, and somehow even more delicious than traditional stuffing. Every single muffin gets those coveted crispy edges, and the brown butter adds a depth of flavor that feels special without being complicated.
I love this recipe because it reminds me that sometimes the best ideas come from unexpected places—like a neighbor who does not cook asking a simple question. It is a reminder to stay open to new ways of doing things, even in the kitchen. Whether you are making these for a holiday feast, a potluck, or just because you want a taste of comfort on a random Tuesday, I hope they bring you as much joy as they have brought me.
If you try these, I would love to hear how they turned out. Leave a comment below and let me know your favorite variation, or tag me in your photos. And if you have your own stuffing muffin twist, share it—I am always looking for new ideas. Happy cooking, friends.
Pin This Recipe!
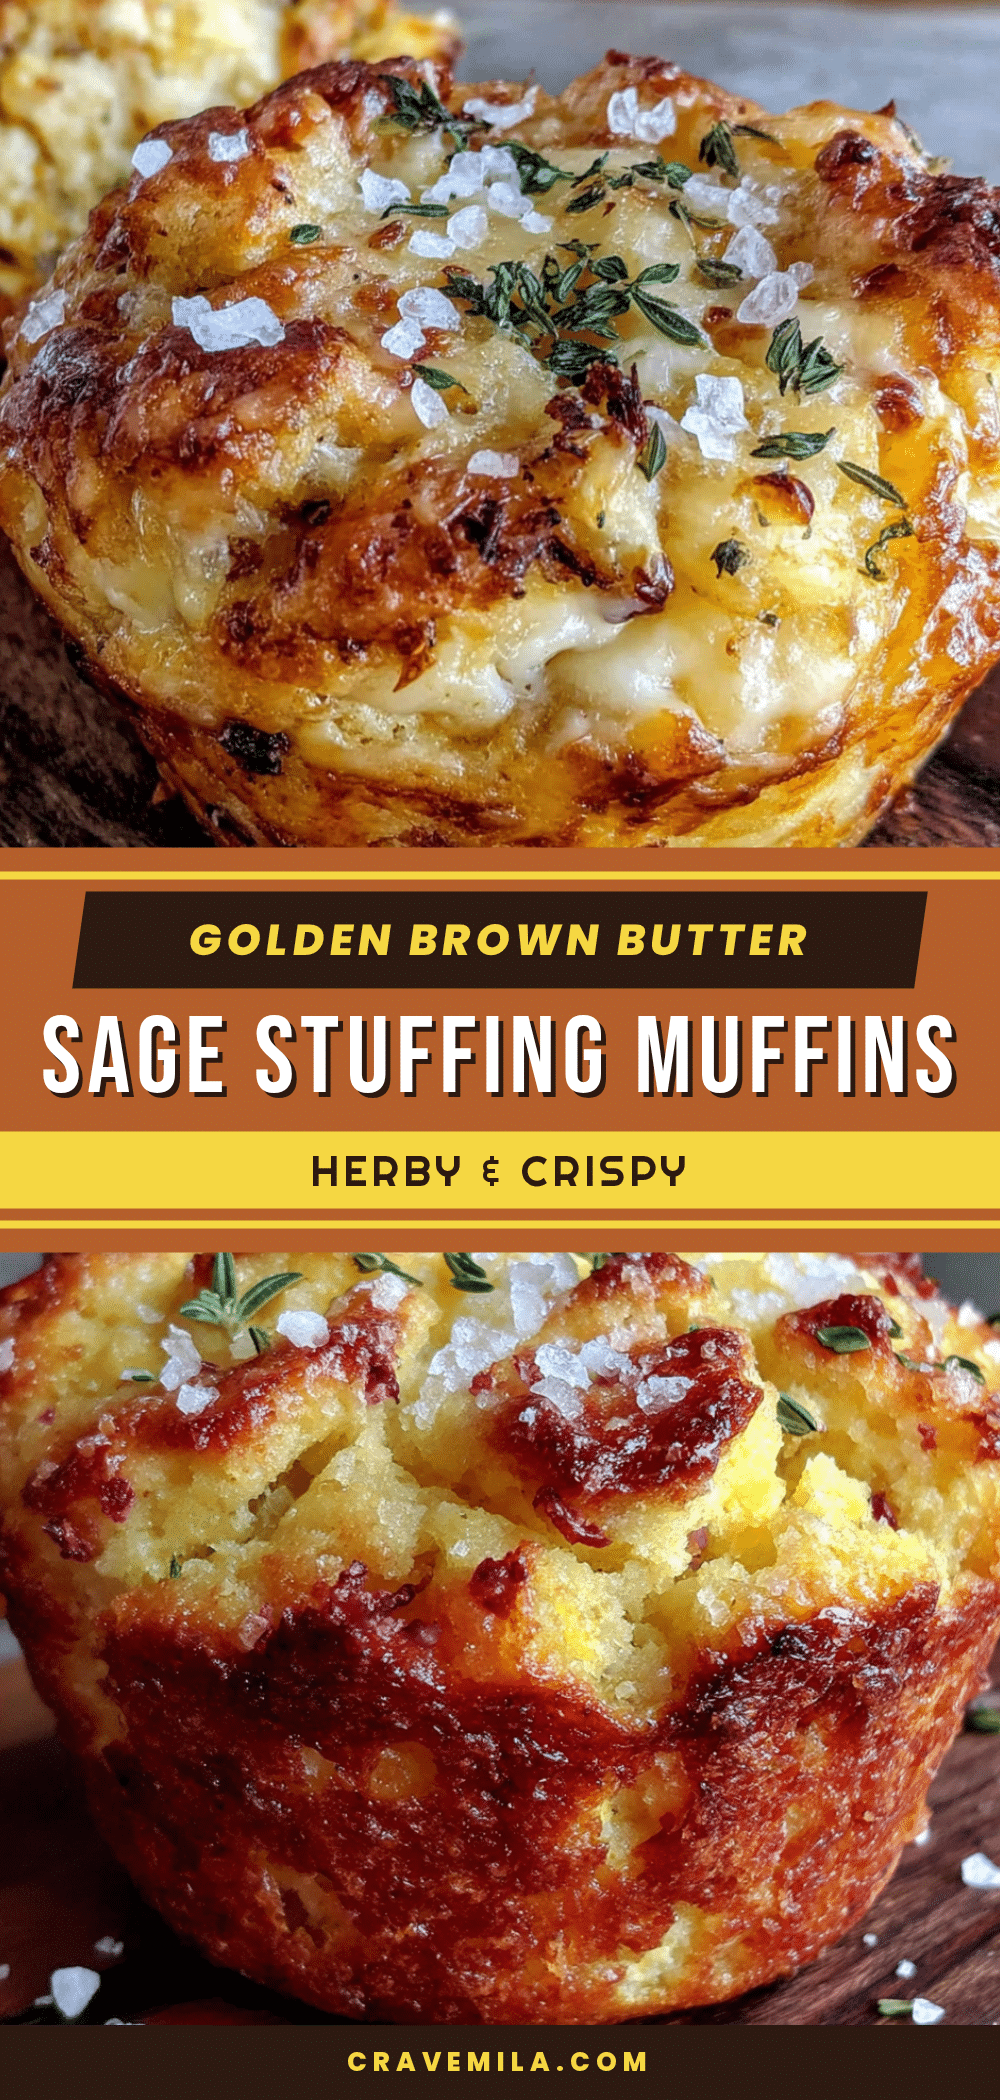
Perfect Brown Butter Sage Stuffing Muffins

These individual stuffing muffins are a game-changer for holiday meals, offering perfectly crispy edges and a soft, tender center in every bite. Made with nutty brown butter and fresh sage, they’re easier to serve and more fun to eat than traditional stuffing.
- Prep Time: 15 minutes
- Cook Time: 25 minutes
- Total Time: 45 minutes
- Yield: 12 servings 1x
- Category: Side Dish
- Cuisine: American
Ingredients
- 1 loaf (12-14 ounces) day-old French bread or sourdough, cut into 1/2-inch cubes
- 6 tablespoons unsalted butter
- 1 medium yellow onion, finely diced (about 1 cup)
- 2 celery stalks, finely diced (about 3/4 cup)
- 3 cloves garlic, minced
- 2 tablespoons fresh sage leaves, finely chopped (about 8–10 leaves)
- 1 tablespoon fresh thyme leaves (or 1 teaspoon dried)
- 1 teaspoon kosher salt
- 1/2 teaspoon black pepper
- 1 1/2 cups low-sodium chicken or vegetable broth
- 1 large egg, lightly beaten
- 1/4 cup fresh parsley, chopped (for garnish, optional)
Instructions
- Preheat your oven to 375°F (190°C). Place the oven rack in the middle position. Generously grease a 12-cup muffin tin with butter or non-stick spray.
- Brown the butter: In a large skillet over medium heat, melt the 6 tablespoons of butter. Swirl the pan occasionally as it melts. After about 3-4 minutes, the butter will start to foam and golden-brown specks will form at the bottom. Once it turns a deep amber color, immediately remove from heat and pour into a heat-safe bowl to stop cooking.
- Sauté the vegetables: In the same skillet, add the diced onion and celery. Cook over medium heat for 5-6 minutes until soft and translucent. Add the minced garlic, chopped sage, and thyme, and cook for another minute until fragrant.
- Prepare the bread: Place the cubed bread in a large mixing bowl. If bread is not day-old, spread cubes on a baking sheet and toast at 300°F for 8-10 minutes until dry but not browned.
- Combine the ingredients: Pour the sautéed vegetables over the bread cubes. Add the brown butter, salt, and pepper. Toss gently until evenly distributed.
- Add the liquid: In a small bowl, whisk together the chicken broth and beaten egg. Pour evenly over the bread mixture and toss gently. Let the mixture sit for 5 minutes to allow the bread to absorb the liquid.
- Fill the muffin tin: Divide the stuffing mixture evenly among the 12 muffin cups. Press each portion down firmly with your fingers or the back of a spoon. Each cup should be heaped slightly above the rim.
- Bake: Place the muffin tin in the preheated oven and bake for 20-25 minutes, or until the tops are golden brown and crispy. For extra-crispy tops, broil for 1-2 minutes at the end, watching carefully.
- Cool and serve: Let the muffins cool in the pan for 5 minutes. Run a knife around the edges and gently lift them out. Place on a cooling rack for another 5 minutes before serving.
Notes
Do not skip browning the butter—it’s essential for the nutty flavor. Pack the muffins firmly to prevent them from falling apart. Let them rest after baking to set properly. For best results, use day-old bread. If using fresh bread, dry it out in the oven first.
Nutrition
- Serving Size: 1 muffin
- Calories: 185
- Sugar: 2
- Sodium: 410
- Fat: 9
- Saturated Fat: 5
- Carbohydrates: 21
- Fiber: 2
- Protein: 5
Keywords: stuffing muffins, brown butter sage stuffing, Thanksgiving stuffing, individual stuffing, crispy stuffing muffins, holiday side dish



