“I don’t do cake pops,” my friend Jenna insisted for years. That was until last October, right in the middle of pumpkin-spiced everything season, when I found myself throwing together a last-minute fall baby shower treat. Honestly, I wasn’t aiming to convert anyone—I just wanted something cute, festive, and easy to handle for a crowd of chatty moms-to-be. Then, somehow, those Perfect Fall Baby Shower Pumpkin Spice Cake Pops happened.
Jenna was supposed to be out grabbing drinks, but she came back early—and there she was, sneaking a bite behind the snack table, trying not to look caught. I mean, who could blame her? The warm spices, subtle sweetness, and that moist cake crumb all wrapped up in these little pop-sized pockets were a surprise. You know that feeling when you expect a quick snack, and suddenly it’s the highlight of your day? That was her, quietly admitting defeat with pumpkin-spiced crumbs on her lips.
Let me tell you, this recipe stuck around long after that day. It’s not just a baby shower thing anymore. Whether it’s a crisp afternoon or a cozy gathering, these cake pops bring that perfect balance of fall comfort without the fuss of slicing and serving a cake. Maybe you’ve been there—trying to find a dessert that’s both festive and fuss-free. That’s exactly what these pumpkin spice cake pops deliver, every single time.
Why You’ll Love This Recipe
After testing countless pumpkin spice treats, this recipe rose to the top because it nails that warm fall flavor in a fun, handheld form. I’m proud to say it’s been vetted by my toughest crowd—Jenna included—and it never disappoints. Here’s why it’s a keeper:
- Quick & Easy: Ready in under an hour, ideal for last-minute baby showers or spontaneous get-togethers.
- Simple Ingredients: Uses pantry staples and seasonal spices, no specialty shopping required.
- Perfect for Fall Celebrations: The cozy pumpkin and spice combo fits right in with autumn gatherings and baby showers alike.
- Crowd-Pleaser: Kids love the pop-friendly size, and adults appreciate the nuanced flavor.
- Unbelievably Delicious: The texture is tender and moist, with a cream cheese frosting that’s just the right tangy balance.
What sets this apart? It’s not just about adding pumpkin and spices — it’s the way the cream cheese frosting is whipped to a silky finish, binding the crumbs perfectly without being too heavy. Plus, the subtle hint of vanilla and cinnamon in the cake itself makes each bite a little celebration. Honestly, it’s the kind of dessert that makes you close your eyes and smile after the first taste. If you want a fall baby shower treat that’s as charming as it is tasty, this is your go-to recipe.
What Ingredients You Will Need
This recipe relies on straightforward ingredients that come together for bold fall flavor and a moist texture. You likely have most of these in your pantry or fridge already, and substitutions are easy if you need them.
- For the Cake:
- All-purpose flour (2 cups / 250g) – I prefer King Arthur for consistency
- Granulated sugar (1½ cups / 300g)
- Brown sugar, packed (½ cup / 110g) – adds moistness and depth
- Baking soda (1 tsp)
- Ground cinnamon (2 tsp) – key for that pumpkin spice vibe
- Ground nutmeg (½ tsp)
- Ground ginger (½ tsp)
- Salt (¼ tsp)
- Large eggs (2, room temperature) – helps with binding
- Vegetable oil (½ cup / 120ml) – keeps cake extra moist
- Pure pumpkin puree (1 cup / 240g) – not pumpkin pie filling
- Vanilla extract (1 tsp)
- Buttermilk (½ cup / 120ml) – adds tang and tenderness (substitute with milk + 1 tsp lemon juice)
- For the Frosting & Assembly:
- Cream cheese, softened (8 oz / 225g) – I trust Philadelphia brand for smooth texture
- Unsalted butter, softened (¼ cup / 55g)
- Powdered sugar (2 cups / 240g) – sifted for smoothness
- Vanilla extract (1 tsp)
- White chocolate or candy melts (12 oz / 340g) – for dipping
- Sprinkles or crushed nuts (optional) – for festive decoration
- Lollipop sticks
Seasonal tip: If you’re making these beyond fall, swapping the pumpkin for sweet potato puree can be a fun twist. Also, for a gluten-free option, try almond flour or a gluten-free blend, but expect a slightly denser texture.
Equipment Needed
- Mixing bowls (at least two: one for dry ingredients, one for wet)
- Electric mixer (handheld or stand mixer) – helps with smooth frosting, but whisk works too
- Baking pan (9×13 inch / 23×33 cm) – to bake the cake evenly
- Cooling rack – essential for letting the cake cool completely before crumbling
- Food processor or fork – to crumble the cake into fine crumbs
- Mixing spatula and spoon
- Lollipop sticks and styrofoam block or cake pop stand – to hold the pops upright while drying
- Microwave-safe bowl or double boiler – to melt the chocolate or candy melts
For those without a food processor, a fork works fine to crumble the cake, just takes a bit more elbow grease. I’ve found that a simple styrofoam block from the craft store makes drying cake pops much easier and neater. If you don’t have one, a glass with floral foam works too.
Preparation Method
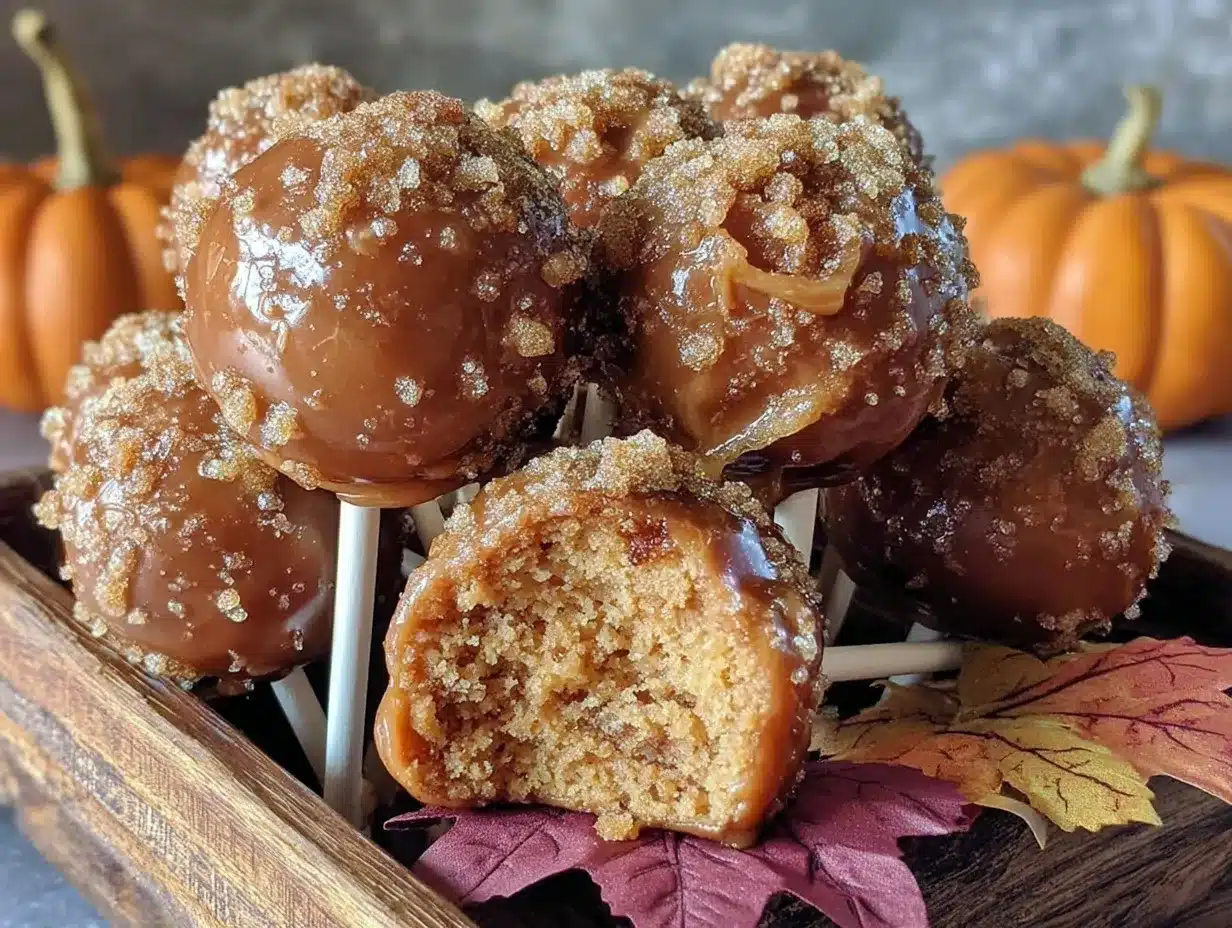
- Preheat your oven to 350°F (175°C) and grease your 9×13 inch baking pan. Line it with parchment paper for easy removal.
- Mix the dry ingredients: In a large bowl, whisk together 2 cups flour, 1½ cups granulated sugar, ½ cup packed brown sugar, 1 tsp baking soda, 2 tsp cinnamon, ½ tsp nutmeg, ½ tsp ginger, and ¼ tsp salt until well combined.
- Combine the wet ingredients: In another bowl, beat the 2 eggs, then add ½ cup vegetable oil, 1 cup pumpkin puree, 1 tsp vanilla extract, and ½ cup buttermilk. Mix until smooth and uniform.
- Slowly add the dry ingredients to the wet, stirring gently with a spatula until just combined. Avoid overmixing — the batter should be thick but smooth.
- Pour the batter into the prepared pan and spread evenly. Bake for 35-40 minutes or until a toothpick inserted in the center comes out clean. (Ovens vary, so start checking at 30 minutes if you’re cautious.)
- Cool the cake completely on a wire rack. This step is crucial; warm cake will make the pops too soft to form.
- Once cooled, crumble the cake into a large bowl. Use your hands or a fork to break it down into fine crumbs with no large chunks.
- Make the frosting: Beat together 8 oz softened cream cheese and ¼ cup softened butter until creamy. Gradually add 2 cups powdered sugar and 1 tsp vanilla extract, mixing until smooth and spreadable.
- Combine crumbs and frosting: Add frosting to the crumbs a little at a time, mixing with a spoon or hands until the mixture holds together when pressed.
- Roll the mixture into 1-inch (2.5 cm) balls and place them on parchment-lined baking sheets. Refrigerate for at least 1 hour to firm up.
- Melt the white chocolate or candy melts in the microwave in 30-second bursts, stirring between, until smooth.
- Dip the tip of each lollipop stick into the melted chocolate, then insert it about halfway into each cake ball. This “glue” helps the stick stay put.
- Dip each cake pop into the melted chocolate, gently tapping off excess. Add sprinkles or crushed nuts immediately if desired.
- Stick the finished pops upright in styrofoam or a cake pop stand to set. Chill again for 15-30 minutes or until firm.
Pro tip: If the chocolate thickens while dipping, warm it gently again. Also, don’t skip chilling the cake balls before dipping; otherwise, they might fall apart. Trust me, been there, messy kitchen moment!
Cooking Tips & Techniques
Here’s the scoop from my many cake pop attempts and some lessons learned the hard way (and the easy way):
- Don’t skimp on chilling: The cake balls need to be cold and firm before dipping; otherwise, the chocolate won’t stick well, and the pops can fall apart.
- Use room temperature ingredients: For the best texture, especially the eggs and cream cheese, bring them to room temp before mixing.
- Mix frosting gradually: Adding the frosting a little at a time to the crumbs helps you control the texture—too much frosting makes the mixture gummy.
- Tap, don’t shake: When dipping the pops in chocolate, gently tap off excess instead of shaking vigorously to keep the coating even.
- Keep candy melts smooth: Stir often while melting to avoid lumps or overheating, which can cause cracking later.
- Multitasking tip: While the cake is baking, prep your frosting and set up the dipping station, so you’re ready when the cake cools.
- Don’t overbake the cake: It should be moist, not dry — check early and often starting around 30 minutes.
Honestly, cake pops can seem tricky at first, but once you get the rhythm, they’re as fun as they are tasty. Plus, they’re great little conversation starters at baby showers!
Variations & Adaptations
Want to switch things up? These pumpkin spice cake pops are surprisingly versatile.
- Dairy-Free Option: Use coconut cream cheese and dairy-free butter alternatives; swap buttermilk for almond or oat milk with a splash of lemon juice.
- Chocolate Pumpkin Spice: Add ¼ cup cocoa powder to the cake batter and dip the pops in dark chocolate instead of white for a richer twist.
- Maple Pecan Topping: Swap sprinkles for finely chopped toasted pecans and drizzle with warm maple syrup after dipping.
- Seasonal Swaps: In place of pumpkin, try sweet potato puree or mashed ripe banana for a different flavor profile that’s still moist and tender.
- Mini Cake Pops: Make smaller ½-inch balls for bite-sized treats, perfect for kids or as party favors.
One time, I added a pinch of cardamom with the cinnamon—unexpected but delicious. It’s a neat way to surprise guests without extra fuss.
Serving & Storage Suggestions
These cake pops are best served slightly chilled or at room temperature. They’re adorable on a decorated platter or arranged in a festive foam block centerpiece for a baby shower.
Pair them with warm apple cider, chai tea, or a simple coffee bar to keep guests cozy. For a savory counterpoint, offer them alongside herb-infused cheese boards or spiced nuts.
To store, keep the cake pops in an airtight container in the refrigerator for up to 5 days. They freeze well too—wrap individually in plastic wrap and place in a freezer-safe container for up to 3 months. Thaw in the fridge overnight before serving.
When reheating, avoid the microwave as it can melt the coating unevenly. Instead, let them sit at room temperature for 30 minutes to soften slightly.
Flavors actually deepen after a day or two, so if you can wait, they’re even better the next day. Just a heads-up if you’re prepping early for a party!
Nutritional Information & Benefits
Each pumpkin spice cake pop contains approximately 150-180 calories, depending on size and toppings. They provide a modest amount of protein and fat from the cream cheese and butter, balanced by carbohydrates from the flour and sugars.
Pumpkin puree is a nutritional star here—rich in fiber, vitamin A, and antioxidants. The warm spices like cinnamon and nutmeg may help with digestion and inflammation.
This recipe isn’t low-sugar, but the portion-controlled pops make it easier to enjoy a sweet treat without overindulging. For gluten-free or dairy-free diets, simple substitutions keep it inclusive without sacrificing flavor.
Honestly, I like to think of these pops as a little seasonal indulgence that also brings a touch of wholesome goodness to the table.
Conclusion
So, there you have it—Perfect Fall Baby Shower Pumpkin Spice Cake Pops that are cute, easy, and honestly delicious. Whether you’re planning a baby shower, a fall-themed gathering, or just want a sweet bite to celebrate the season, this recipe won’t let you down.
Feel free to tweak the spices, experiment with toppings, or even try the dairy-free or chocolate variations to make it your own. I keep coming back to this recipe because it’s reliable, festive, and always sparks a little joy—and maybe a secret cake pop convert or two.
Give it a try, and let me know how yours turn out. I’d love to hear your twists or any stories from your own kitchen! After all, food is best when shared, and these pumpkin spice cake pops are just the perfect little treat to bring people together.
FAQs
Can I make these pumpkin spice cake pops ahead of time?
Absolutely! You can prepare the cake pops, dip, and decorate them up to two days before your event. Keep them refrigerated in an airtight container until ready to serve.
What if I don’t have a food processor to crumble the cake?
No worries! You can crumble the cake using your hands or a fork. It just takes a bit more effort but works just as well.
How do I prevent the cake pops from falling off the sticks?
Dipping the sticks into melted chocolate before inserting into the cake balls helps act as glue. Also, chilling the cake balls before dipping is key to firmness.
Can I use boxed pumpkin spice cake mix instead of making from scratch?
You can, but homemade allows you to control the spice balance and moisture better. If using boxed mix, add extra pumpkin puree and spices to boost flavor.
Are these cake pops freezer-friendly?
Yes! Wrap them individually in plastic wrap and store them in a freezer-safe container for up to 3 months. Thaw overnight in the fridge before serving.
Pin This Recipe!
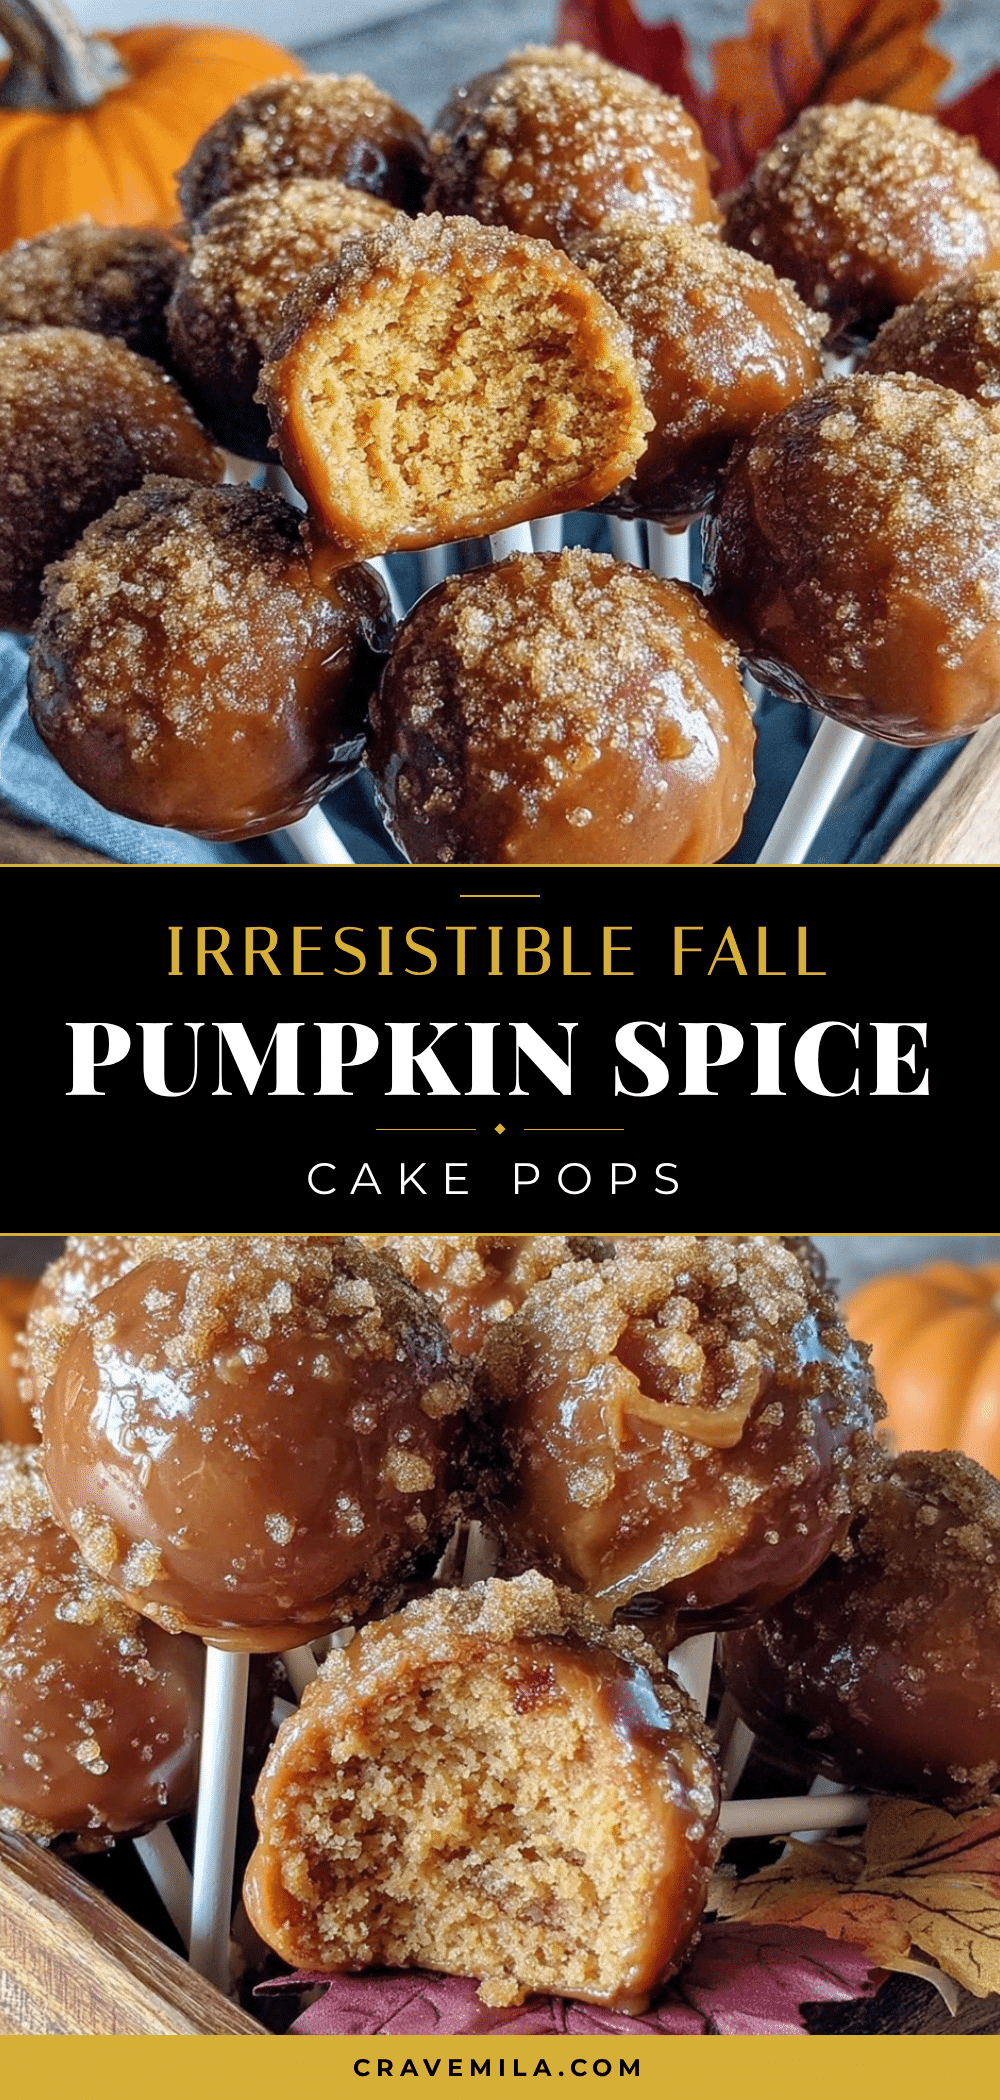
Perfect Fall Baby Shower Pumpkin Spice Cake Pops
These pumpkin spice cake pops are a cute, festive, and easy-to-handle fall treat perfect for baby showers and cozy gatherings. They feature moist pumpkin spice cake crumbs bound with silky cream cheese frosting and dipped in white chocolate.
- Prep Time: 20 minutes
- Cook Time: 35-40 minutes
- Total Time: 1 hour 10 minutes
- Yield: 24 cake pops 1x
- Category: Dessert
- Cuisine: American
Ingredients
- 2 cups all-purpose flour (250g)
- 1½ cups granulated sugar (300g)
- ½ cup packed brown sugar (110g)
- 1 tsp baking soda
- 2 tsp ground cinnamon
- ½ tsp ground nutmeg
- ½ tsp ground ginger
- ¼ tsp salt
- 2 large eggs, room temperature
- ½ cup vegetable oil (120ml)
- 1 cup pure pumpkin puree (240g), not pumpkin pie filling
- 1 tsp vanilla extract
- ½ cup buttermilk (120ml) (or milk + 1 tsp lemon juice)
- 8 oz cream cheese, softened (225g)
- ¼ cup unsalted butter, softened (55g)
- 2 cups powdered sugar, sifted (240g)
- 1 tsp vanilla extract
- 12 oz white chocolate or candy melts (340g)
- Sprinkles or crushed nuts (optional)
- Lollipop sticks
Instructions
- Preheat oven to 350°F (175°C) and grease a 9×13 inch baking pan. Line with parchment paper.
- In a large bowl, whisk together flour, granulated sugar, brown sugar, baking soda, cinnamon, nutmeg, ginger, and salt until well combined.
- In another bowl, beat eggs, then add vegetable oil, pumpkin puree, vanilla extract, and buttermilk. Mix until smooth.
- Slowly add dry ingredients to wet ingredients, stirring gently until just combined. Avoid overmixing.
- Pour batter into prepared pan and spread evenly. Bake 35-40 minutes or until a toothpick inserted in center comes out clean.
- Cool cake completely on a wire rack.
- Crumble cooled cake into fine crumbs using hands or a fork.
- Beat cream cheese and butter until creamy. Gradually add powdered sugar and vanilla extract, mixing until smooth and spreadable.
- Add frosting to cake crumbs a little at a time, mixing until mixture holds together when pressed.
- Roll mixture into 1-inch balls and place on parchment-lined baking sheets. Refrigerate at least 1 hour to firm up.
- Melt white chocolate or candy melts in microwave in 30-second bursts, stirring between until smooth.
- Dip tip of each lollipop stick into melted chocolate, then insert halfway into each cake ball to secure stick.
- Dip each cake pop into melted chocolate, tapping off excess. Add sprinkles or crushed nuts immediately if desired.
- Place cake pops upright in styrofoam block or cake pop stand to set. Chill 15-30 minutes or until firm.
Notes
Chill cake balls before dipping to prevent falling apart. Use room temperature ingredients for best texture. Tap off excess chocolate gently instead of shaking. If chocolate thickens, warm gently again. Cake pops can be made ahead and stored refrigerated up to 5 days or frozen up to 3 months.
Nutrition
- Serving Size: 1 cake pop
- Calories: 165
- Sugar: 15
- Sodium: 110
- Fat: 9
- Saturated Fat: 5
- Carbohydrates: 20
- Fiber: 1
- Protein: 2
Keywords: pumpkin spice, cake pops, baby shower, fall dessert, pumpkin, cream cheese frosting, easy recipe, festive treats



